

Page 1
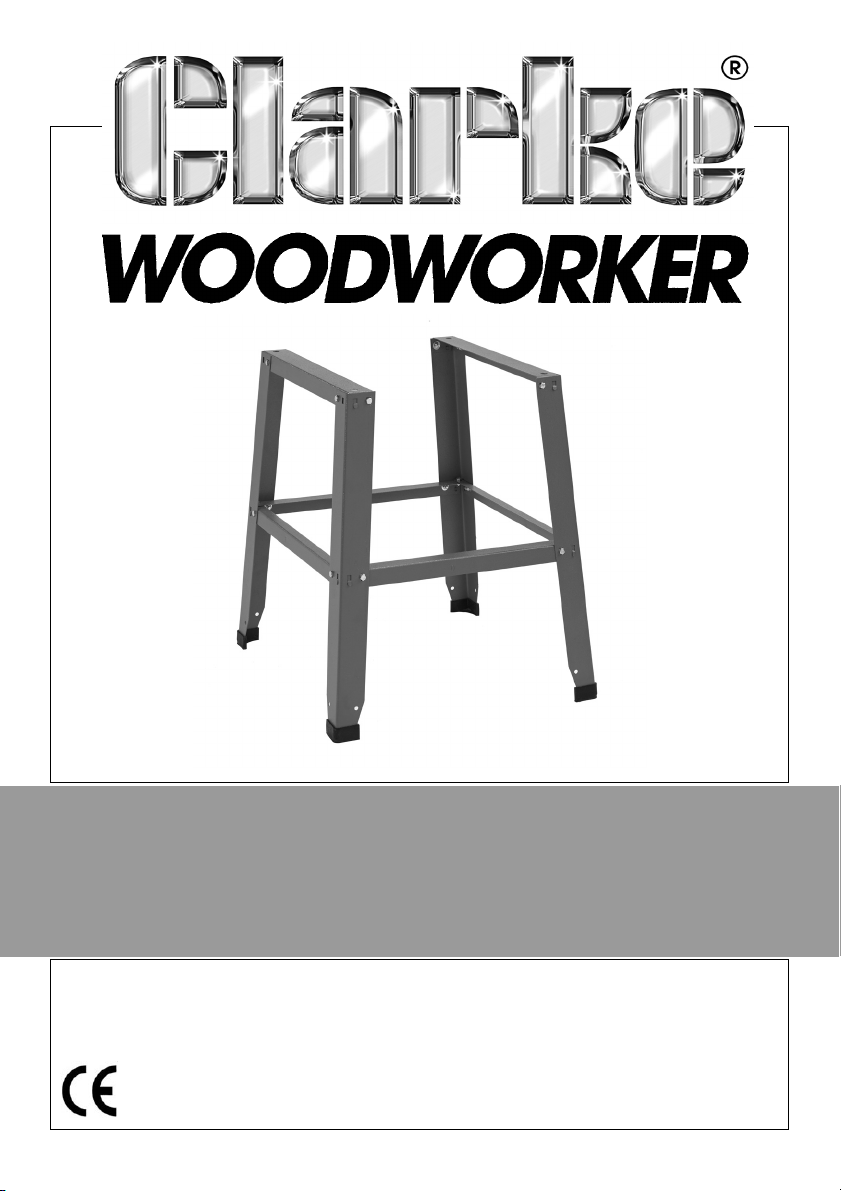
LEG KIT FOR CTS14
MODEL NO: CLK5
PART NO: 6500717
OPERATION & MAINTENANCE
INSTRUCTIONS
LS0314
Page 2
INTRODUCTION
Thank you for purchasing this CLARKE product.
Before attempting to use this product, please read this manual thoroughly and
follow the instructions carefully. In doing so you will ensure the safety of yourself
and that of others around you, and you can look forward to your purchase
giving you long and satisfactory service.
GUARANTEE
This product is guaranteed against faulty manufacture for a period of 12
months from the date of purchase. Please keep your receipt which will be
required as proof of purchase.
This guarantee is invalid if the product is found to have been abused or
tampered with in any way, or not used for the purpose for which it was
intended.
Faulty goods should be returned to their place of purchase, no product can
be returned to us without prior permission.
This guarantee does not effect your statutory rights.
CONTENTS
The following items should be supplied in the carton.
1 x Stand Assembly, consisting of: 4 x Legs
4 x Rubber Feet (in fixings pack)
4 x Spreader Bars
2 x Top Rails
Bolts, Nuts & Washers (in fixings pack)
2
Parts & Service: 020 8988 7400 / E-mail: [email protected] or [email protected]
Page 3
ASSEMBLE THE LEG KIT
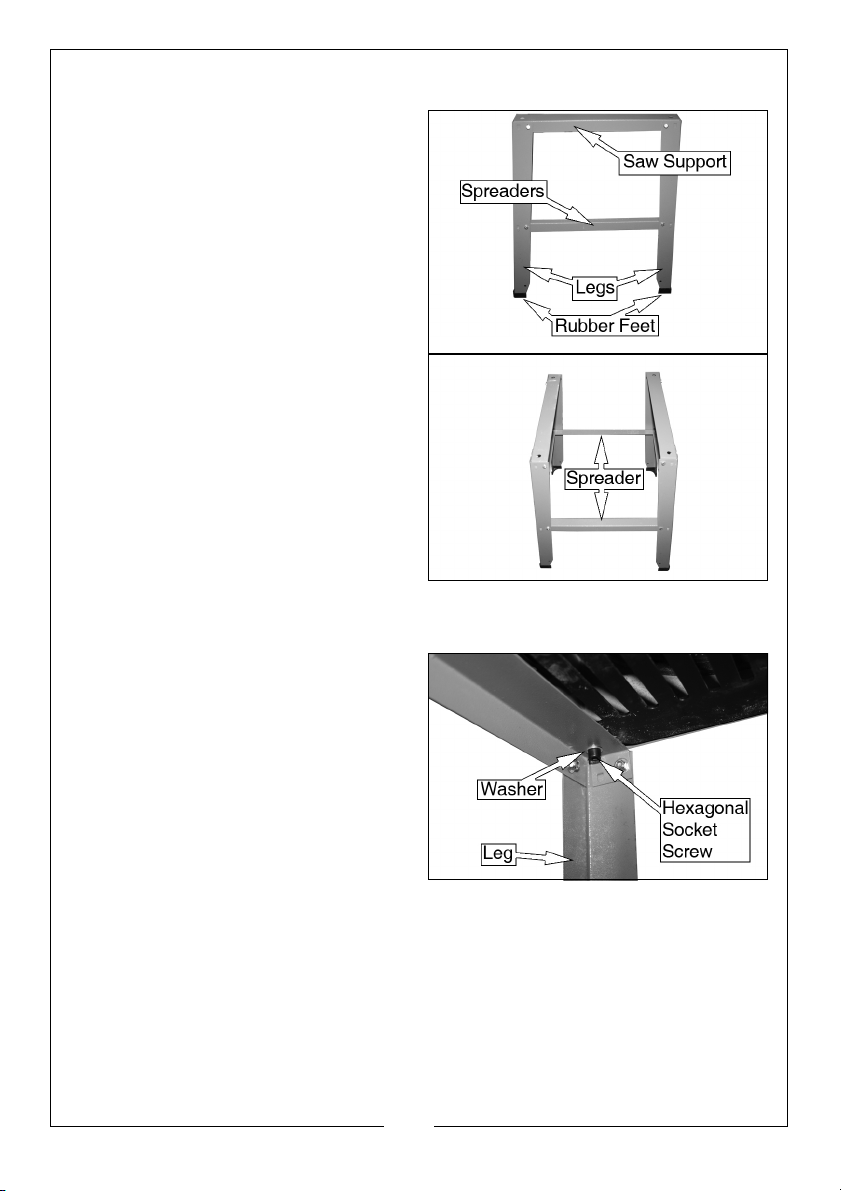
1. Join two legs together using a saw
support and spreader as shown.
• Use the bolts, washers and
nyloc nuts supplied to secure
each piece.
2. Push fit a rubber foot onto the
bottom of each leg.
3. Repeat for the second leg
assembly.
4. Join the two leg assemblies
together using the remaining
spreaders as shown.
• Use the bolts washers and nyloc
nuts supplied to secure each
piece.
ATTACH THE TABLE SAW TO THE LEG KIT
1. Place the table saw onto the
completed leg kit and secure
from below using the washers and
hexagonal socket screws
supplied.
2. Push fit the rubber feet over the
hexagonal socket screws.
• The hexagonal socket screws,
washers and rubber feet act as
slip resistant feet / shock
absorbers when the saw is being used without the leg kit.
MAKE SURE ALL FIXINGS ARE SECURELY
TIGHTENED AND THE TABLE SAW IS COMPLETELY
STABLE AND SECURE BEFORE USE.
3
Parts & Service: 020 8988 7400 / E-mail: [email protected] or [email protected]
Page 4

 Loading...