

Page 1

12” DISC SANDER
MODEL NO: CDS300B
PART NO: 6500411
OPERATION & MAINTENANCE
INSTRUCTIONS
ORIGINAL INSTRUCTIONS
DL1022 - ISS 6
Page 2

INTRODUCTION
Thank you for purchasing this CLARKE 305 mm disc sander product.
Before attempting to use this product, please read this manual thoroughly and
follow the instructions carefully. In doing so you will ensure the safety of yourself
and that of others around you, and you can look forward to your purchase
giving you long and satisfactory service.
GUARANTEE
This product is guaranteed against faulty manufacture for a period of 12
months from the date of purchase. Please keep your receipt which will be
required as proof of purchase.
This guarantee is invalid if the product is found to have been abused or
tampered with in any way, or not used for the purpose for which it was
intended.
Faulty goods should be returned to their place of purchase, no product can
be returned to us without prior permission.
This guarantee does not effect your statutory rights.
LIST OF CONTENTS.
• 1 x 12" Disc sander
• 1 x 12" Self-adhesive 60 Grit Sanding Disc (fitted)
• 1 x Guide assembly (with protractor)
• 1 x Brake assembly
• 1 x Vacuum hose adaptor
2
Parts & Service: 020 8988 7400 / E-mail: [email protected] or [email protected]
Page 3
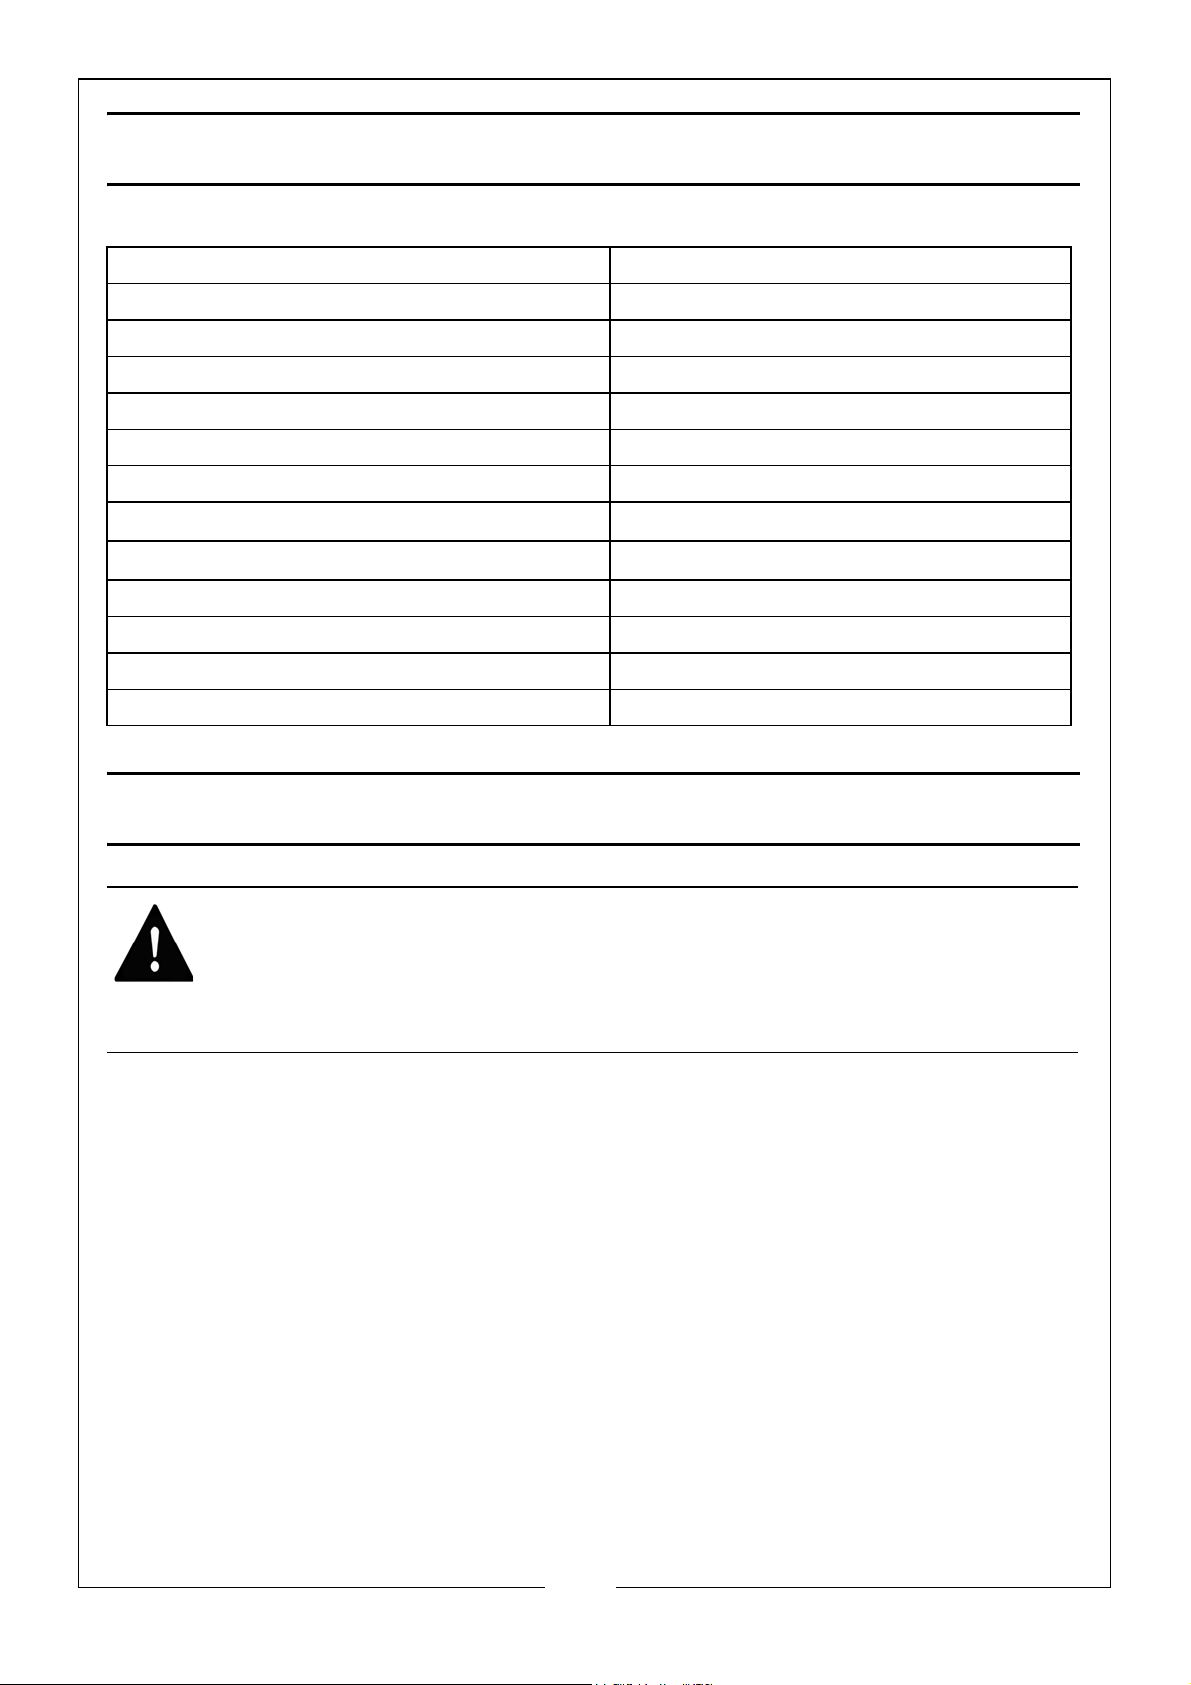
SPECIFICATION
Motor 230V 50Hz 1Ph
Speed 1490 RPM
Power Rating - On load 900 Watts
Fuse Rating 13 Amps
Disc Size. 305 mm
Dimensions Overall 440 x 437 x 386
Table Size. 437 x 153mm
Table T ilt
Mitre Gauge
Dust Extraction Outlet ID 46 mm
Dust Extraction Outlet OD 51 mm
Weight unpacked 29.8 kg
Noise Level (no load) 93.4 dB(A)
O
0-45
Down
O
Both directions
0-60
GENERAL SAFETY RULES
WARNING: WHEN USING ELECTRIC TOOLS BASIC SAFETY PRECAUTIONS
SHOULD ALWAYS BE FOLLOWED TO REDUCE THE RISK OF FIRE, ELECTRIC
SHOCK AND PERSONAL INJURY INCLUDING THE FOLLOWING. READ ALL
THESE INSTRUCTIONS BEFORE ATTEMPTING TO OPERATE THIS PRODUCT
AND SAVE THESE INSTRUCTIONS.
1. Keep work area clear - Cluttered areas and benches invite injuries.
2. Consider work area environment - Do not expose tools to rain, Do not use
tools in damp or wet locations., Keep work area well lit. Do not use tools in
the presence of flammable liquids or gases.
3. Guard against electric shock - Avoid body contact with earthed or
grounded surfaces (e.g. pipes, radiators, ranges, refrigerators).
4. Keep other persons away - Do not let persons, especially children, not
involved in the work touch the tool or the extension cord and keep them
away from the work area.
5. Store idle tools - When not in use, tools should be stored in a dry locked-up
place, out of reach of children.
6. Do not force the tool - It will do the job better and safer at the rate for which
it was intended.
3
Parts & Service: 020 8988 7400 / E-mail: [email protected] or [email protected]
Page 4

7. Use the right tool - Do not force small tools to do the job of a heavy duty
tool. Do not use tools for purposes not intended; for example do not use
circular saws to cut tree limbs or logs.
8. Dress properly - Do not wear loose clothing or jewellery, they can be
caught in moving parts. Non-skid footwear is recommended when working
outdoors. Wear protective hair covering to contain long hair.
9. Use protective equipment - Use safety glasses. Use face or dust mask if
working operations create dust.
10. Connect dust extraction equipment - If the tool is provided for the
connection of dust extraction and collecting equipment, ensure these are
connected and properly used.
11. Do not abuse the cord - Never yank the cord to disconnect it from the
socket. Keep the cord away from heat, oil and sharp edges.
12. Secure work - Where possible use clamps or a vice to hold the work. It is
safer than using your hand.
13. Do not overreach - Keep proper footing and balance at all times.
14. Disconnect tools - When not in use, before servicing and when changing
accessories such as blades, bits and cutters, disconnect tools from the
power supply.
15. Maintain tools with care - Keep cutting tools sharp and clean for better and
safer performance. Follow instruction for lubricating and changing
accessories. Inspect tool cords periodically and if damaged have them
repaired by an authorized service facility. Inspect extension cords
periodically and replace if damaged. Keep handles dry, clean and free
from oil and grease.
16. Remove adjusting keys and wrenches - Form the habit of checking to see
that keys and adjusting wrenches are removed from the tool before
turning it on.
17. Avoid unintentional starting - Ensure switch is in “off' position when plugging
in.
18. Use outdoor extension leads - When the tool is used outdoors, use only
extension cords intended for outdoor use and so marked.
19. Stay alert - Watch what you are doing, use common sense and do not
operate the tool when you are tired.
20. Check damaged parts
• Before further use of tool, it should be carefully checked to
determine that it will operate properly and perform its intended
function.
4
Parts & Service: 020 8988 7400 / E-mail: [email protected] or [email protected]
Page 5
• Check for alignment of moving parts, binding of moving parts,
breakage of parts, mounting and any other conditions that may
affect its operation.
• A guard or other part that is damaged should be properly repaired
or replaced by an authorized service centre unless otherwise
indicated in this instruction manual.
• Have defective switches replaced by an authorized service centre.
• Do not use the tool if the switch does not turn it on and off.
WARNING: THE USE OF ANY ACCESSORY OR ATTACHMENT OTHER THAN
ONE RECOMMENDED IN THIS INSTRUCTION MANUAL MAY PRESENT A RISK
OF PERSONAL INJURY.
21. Have your tool repaired by a qualified person - This electric tool complies
with the relevant safety rules. Repairs should only be carried out by
qualified persons using original spare parts, otherwise this may result in
considerable danger to the user.
ADDITIONAL SAFETY INSTRUCTIONS FOR DISC
SANDERS
• ALWAYS place the sander on a solid wood workbench which will not
move under load.
• ALWAYS wear safety goggles as protection against flying grit and/or
sawdust. In many cases, a full face shield is even better protection. A
dust mask is also recommended to keep saw dust out of your lungs.
• ALWAYS clear the work table of all objects except the workpiece
(tools, scraps, rulers etc.) before switching on the sander.
• ALWAYS keep your fingers well away from the disc.
• ALWAYS switch off the sander, and make sure the disc has come to a
complete stop before clearing sawdust from the table.
• ALWAYS make sure there are no nails or foreign objects in the part of
the workpiece to be sanded.
• ALWAYS set up the machine and make all adjustments with the
power OFF, and disconnected from the supply.
• ALWAYS use the correct type and size of sanding disc for each
operation.
5
Parts & Service: 020 8988 7400 / E-mail: [email protected] or [email protected]
Page 6
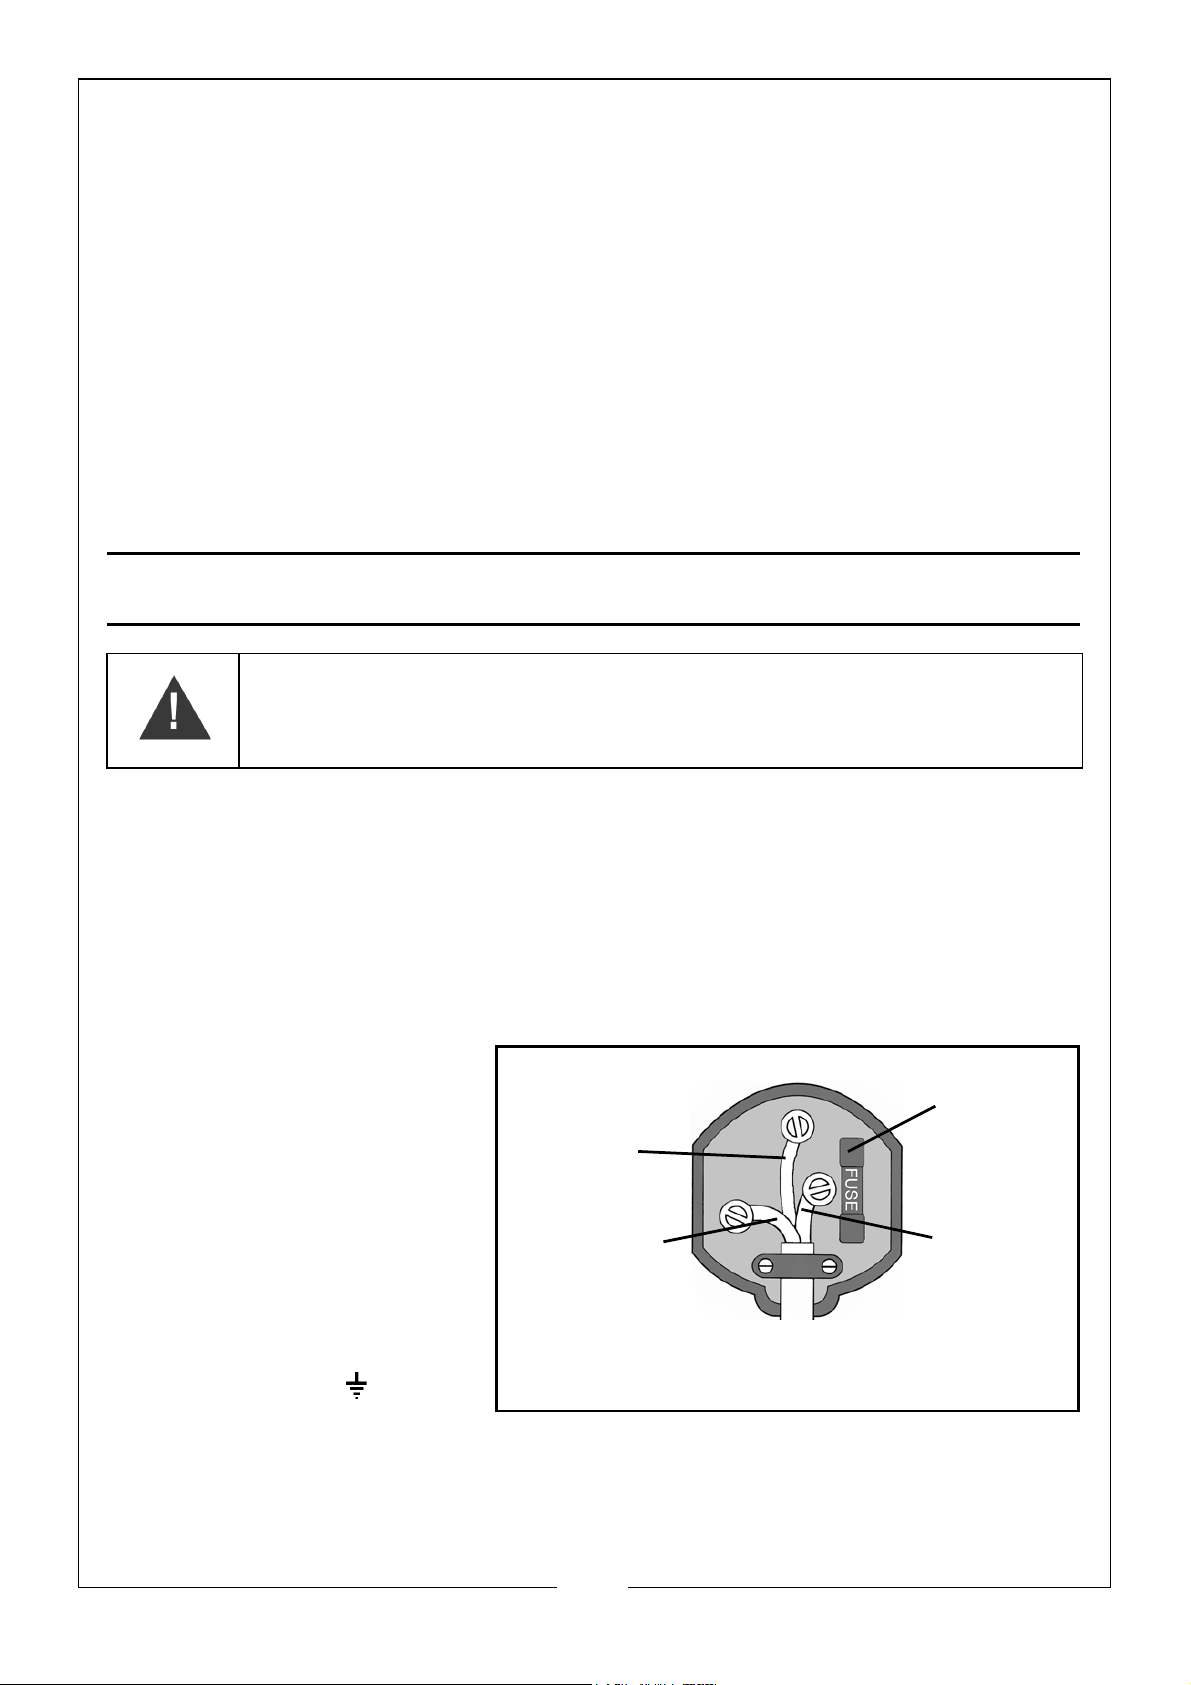
• ALWAYS maintain the smallest gap possible (approximately 3mm)
Plug must be BS1363/A approved.
Always fit
Ensure that the outer sheath of
Neutral
(Blue)
Live
(Brown)
Earth
(Green and
a 10 Amp
the cable is firmly held by the clamp
fuse.
Yellow)
between the sanding disc and the table.
• NEVER operate the machine with the guards or table removed. They
must all be in place and securely fastened when performing any
operation
• NEVER sand any material that does not have a flat surface on which
to bear.
• NEVER force the work into the disc....Hold it FIRMLY and press it gently
into the disc, on the DOWNWARD direction side.
• NOTE: The disc spins in an ANTICLOCKWISE direction. The workpiece
should ALWAYS be sanded on the LEFT HAND HALF of the disc.
ELECTRICAL CONNECTIONS
WARNING: READ THESE ELECTRICAL SAFETY INSTRUCTIONS
THOROUGHLY BEFORE CONNECTING THE PRODUCT TO THE MAINS
SUPPLY.
Connect the mains lead to a standard, 230 Volt (50Hz) electrical supply through an
approved 13 amp BS 1363 plug, or a suitably fused isolator switch.
If the plug has to be changed because it is not suitable for your socket, or because of
damage, it must be removed and a replacement fitted, following the wiring instructions
shown below. The old plug must be discarded safely, as insertion into a power socket
could cause an electrical hazard
If the colours of the wires in the power cable do not agree with the markings on the
plug.
We strongly recommend that this machine is connected to the mains supply through a
Residual Current Device (RCD)
If you are not sure, consult a qualified electrician. DO NOT try to do any repairs.
• The BLUE wire must be
connected to the
terminal which is marked
N or coloured black.
•The BROWN wire must be
connected to the
terminal which is marked
L or coloured red.
• The YELLOW AND GREEN
wire must be connected
to the terminal which is
marked E or or
coloured green.
.
6
Parts & Service: 020 8988 7400 / E-mail: [email protected] or [email protected]
Page 7
INSTALLATION INSTRUCTIONS
Remove the sander from the packing and ensure it is complete and has not
suffered any damage in transit. Should any damage be apparent, contact
your Clarke dealer immediately.
POSITIONING THE SANDER
Install the machine on a solid base, one that will not move easily. Ensure that
the machine is horizontal and perfectly stable.
Alternatively, the rubber feet may be removed and the machine bolted
directly to a solid workbench. This avoids the possibility of the machine moving
when in use.
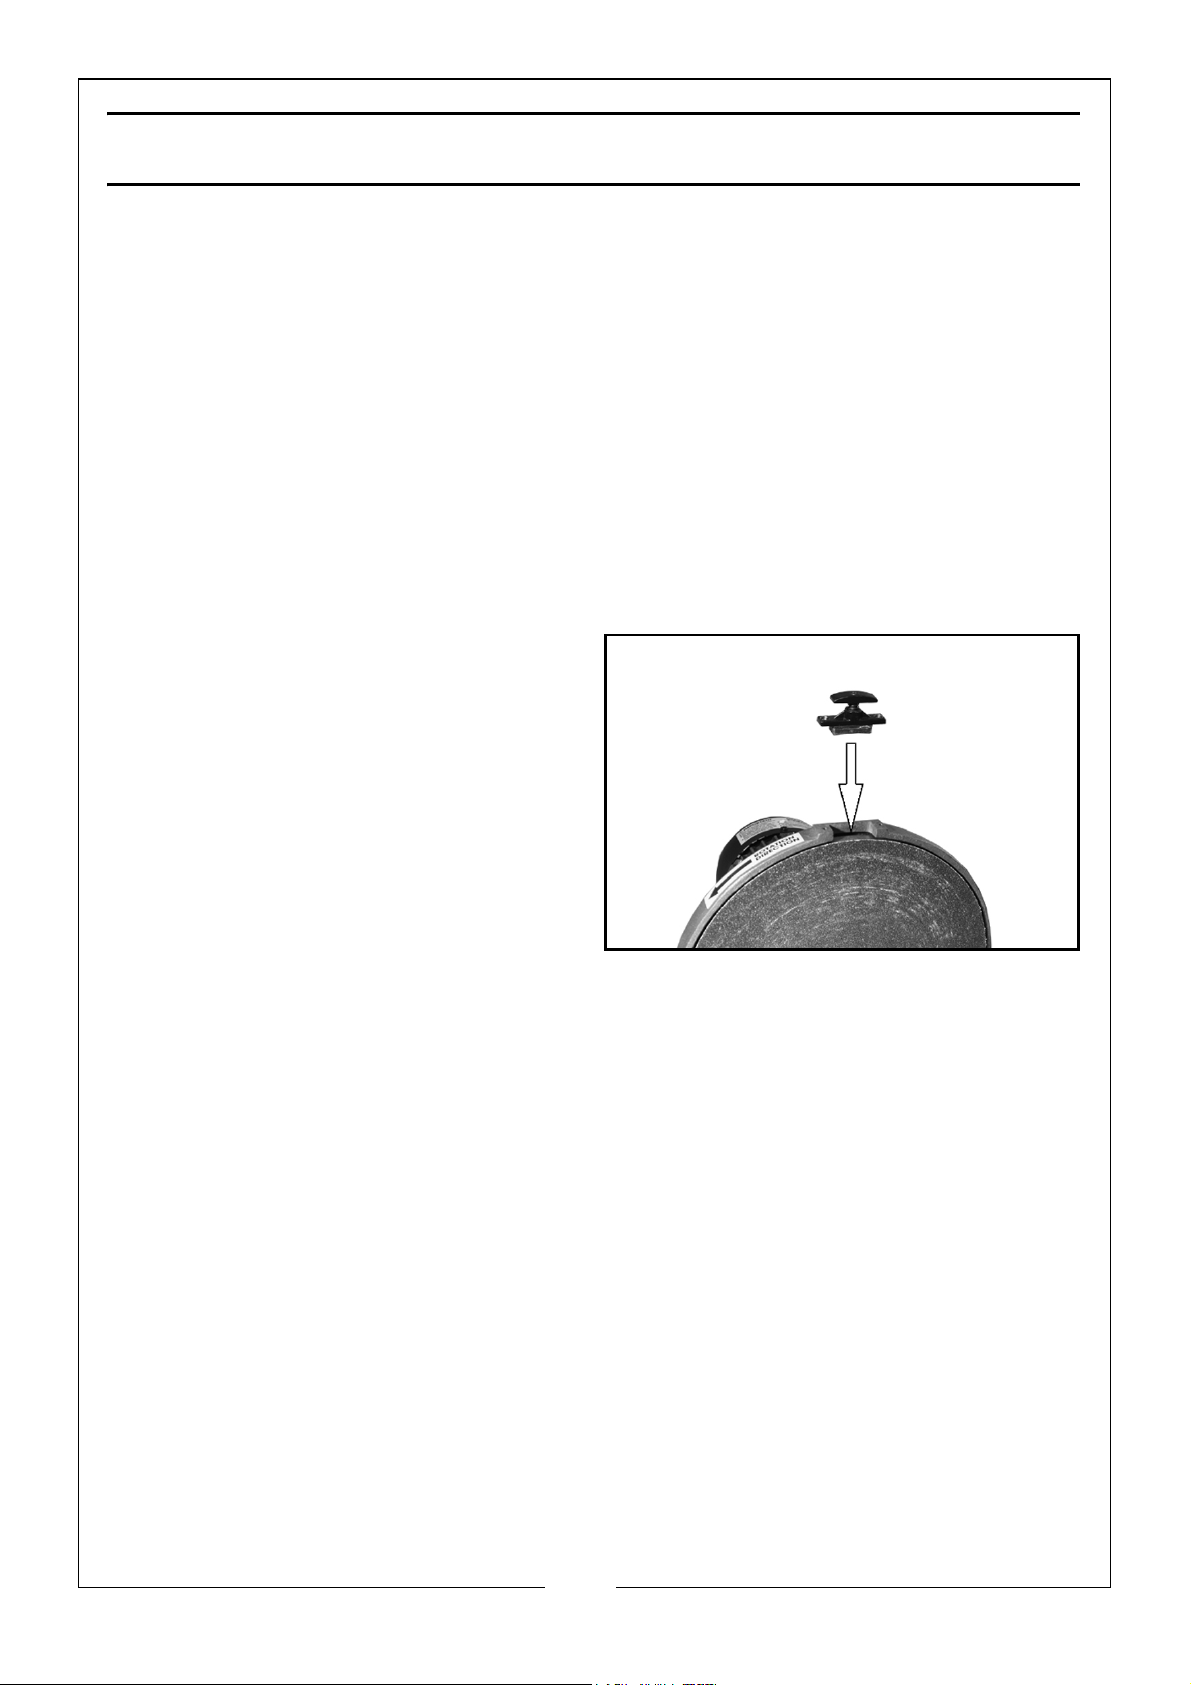
FITTING THE BRAKE
1. Place the brake into position as
shown.
2. Secure using the 2 screws
provided.
BEFORE FIRST USE
Wipe the table surface with a rag moistened with white spirit to remove any
transportation lacquer.
7
Parts & Service: 020 8988 7400 / E-mail: [email protected] or [email protected]
Page 8
OPERATING INSTRUCTIONS
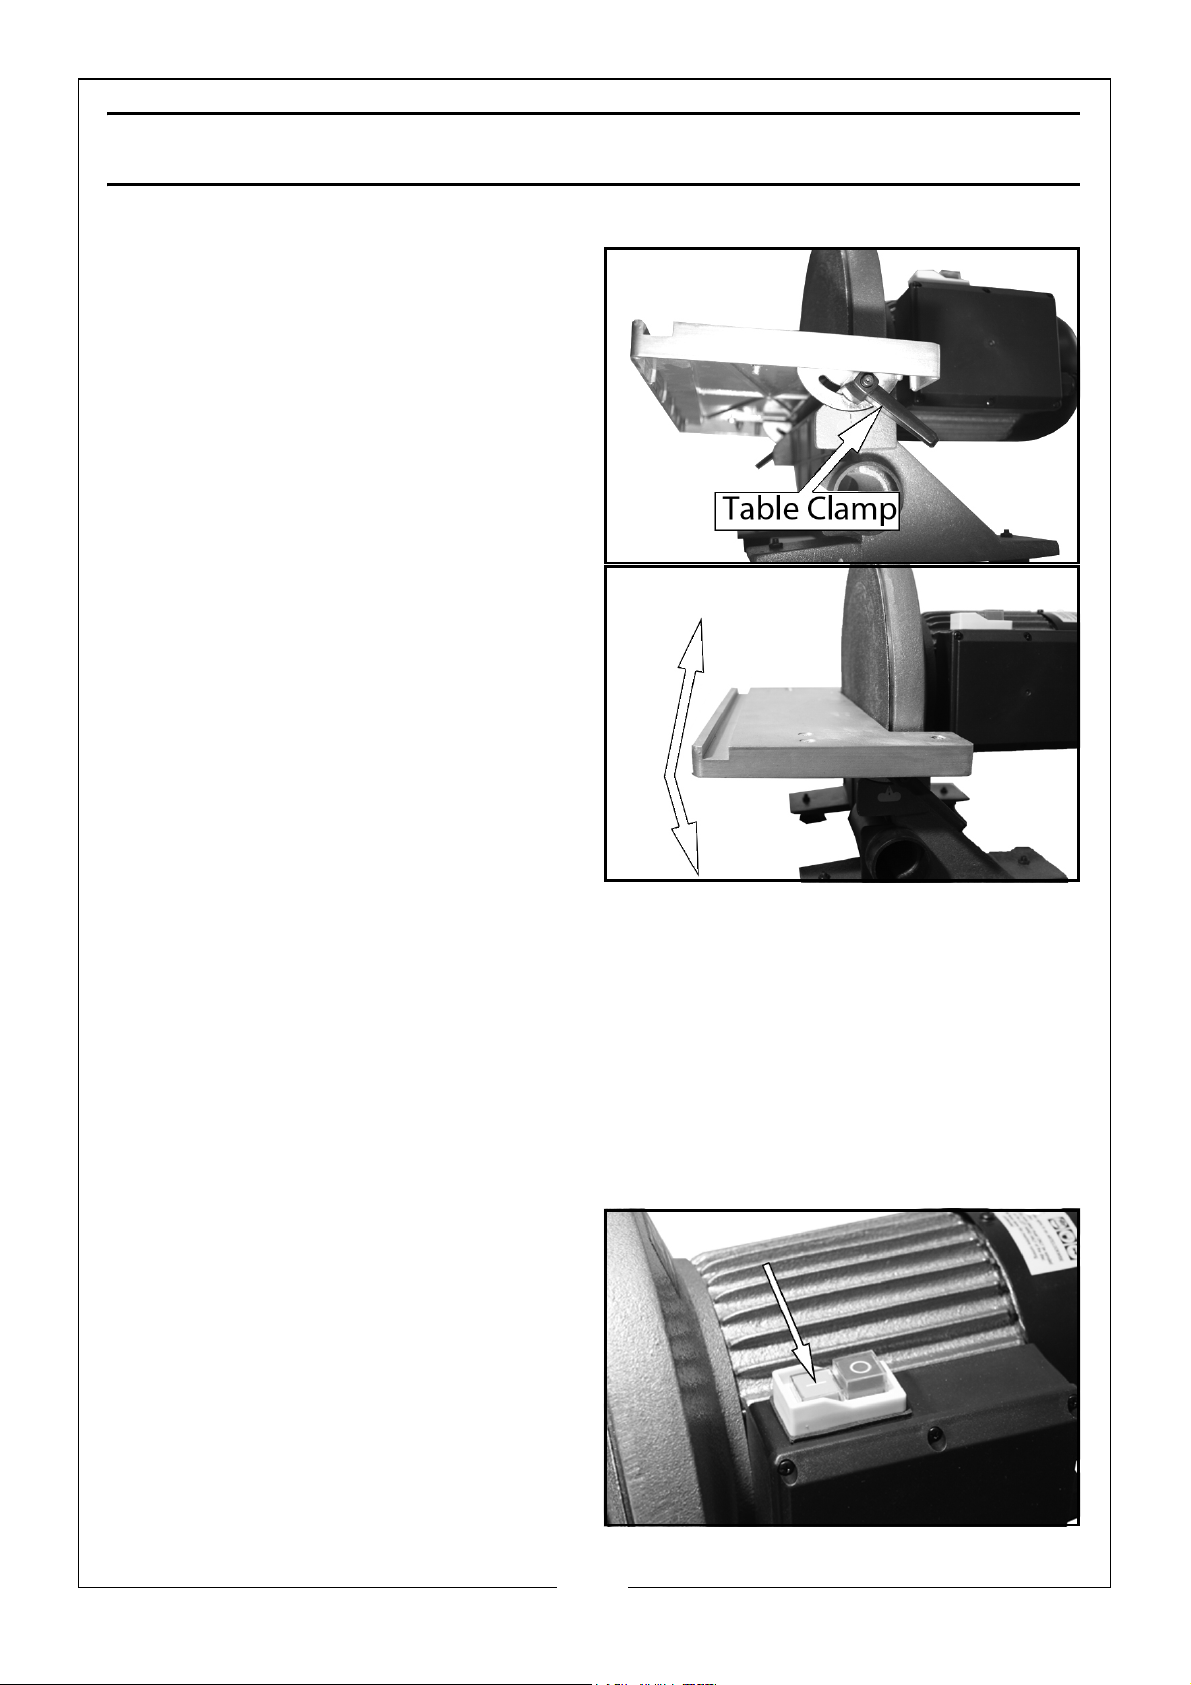
ADJUSTING THE WORK TABLE
1. Adjust the work table to the
desired angle by slackening the
two table clamps, one either side,
2. Move the table to the required
angle.
NOTE: The scale indicating the
table angle is to be used as
a guide only, please use a
calibrated device to get a
precise angle.
3. Retighten the clamps.
• The clamps are spring loaded.
Turn the lever clockwise to
clamp, as far as possible.
• Then pull the lever out against spring pressure which allows the lever
to be turned anticlockwise without unclamping.
• Allow the lever to spring inwards again, then proceed to turn it
clockwise once more.
NOTE: Repeat the process until the table is securely clamped.....but DO
NOT overtighten, otherwise damage to the mechanism will occur.
STARTING THE MACHINE
1. Press the GREEN START button
marked ‘I’.
• Allow the disc to reach full
speed before commencing
work.
8
Parts & Service: 020 8988 7400 / E-mail: [email protected] or [email protected]
Page 9
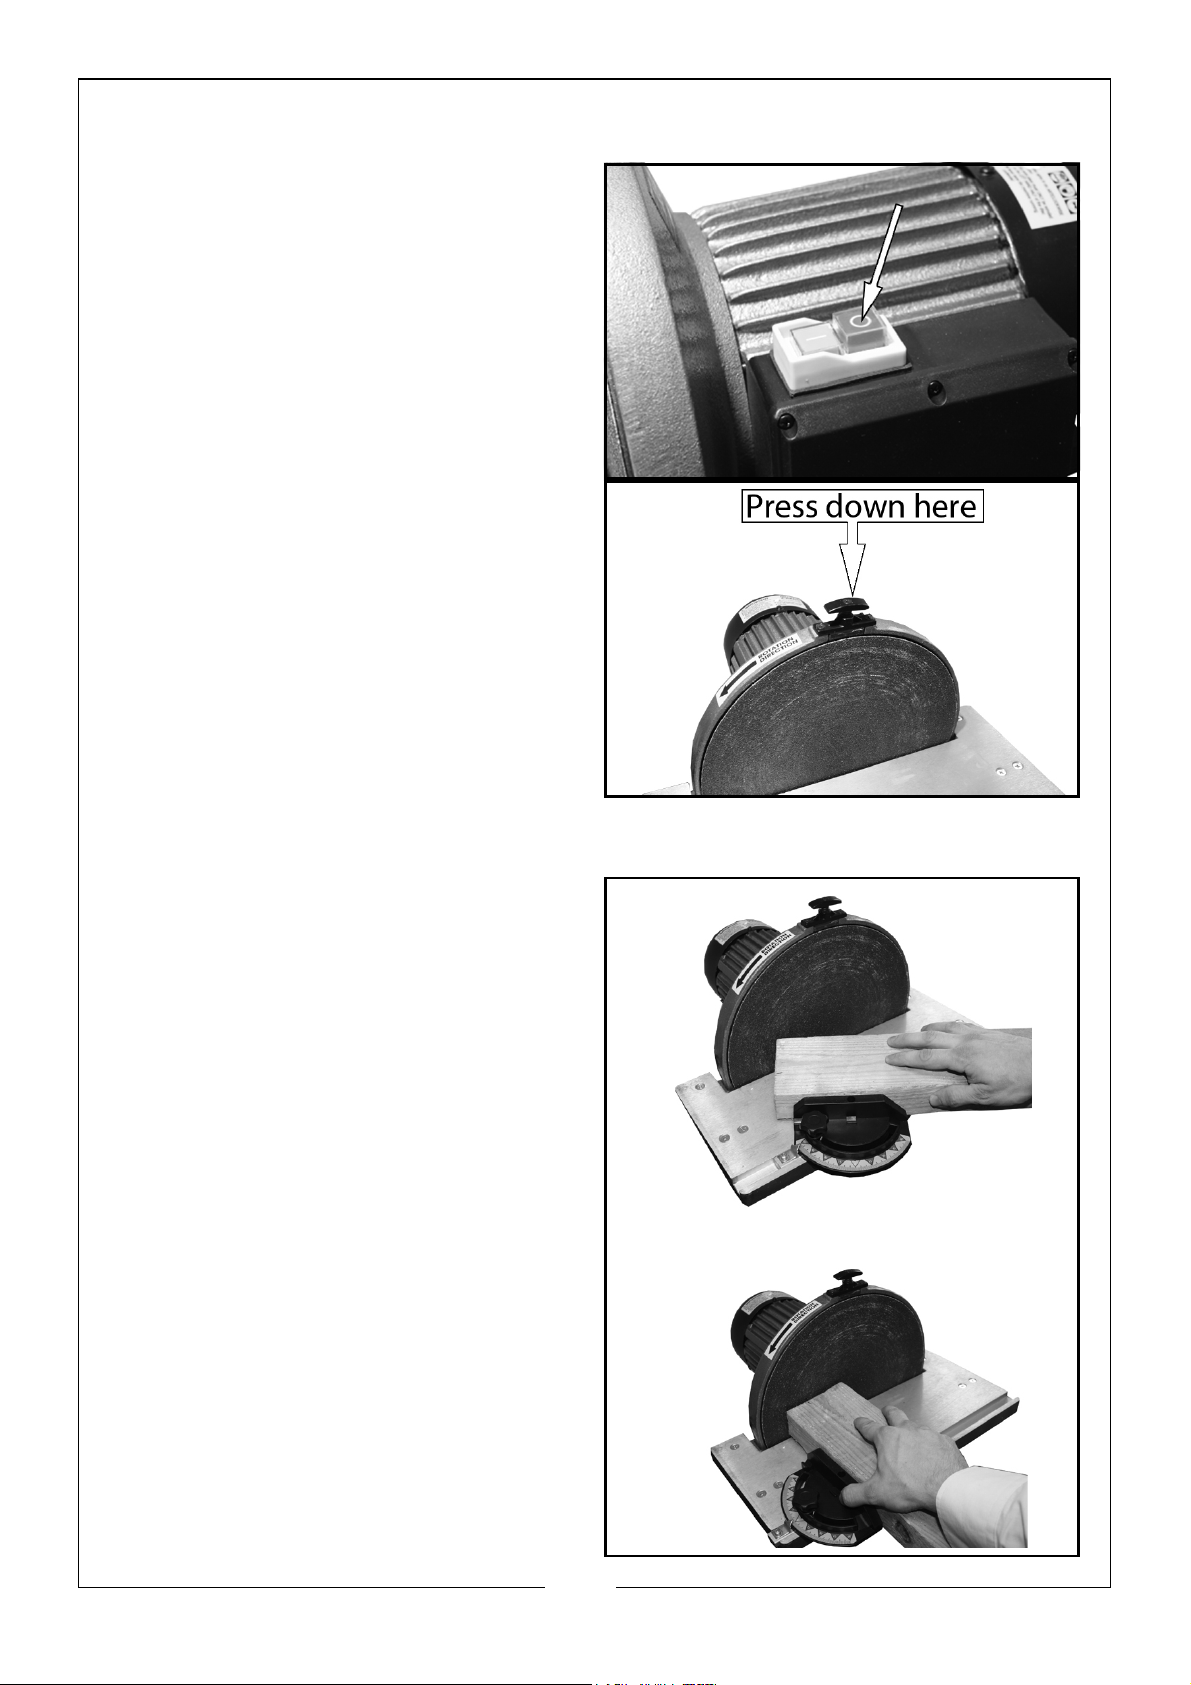
TO STOP THE DISC SANDER
1. Press the RED STOP button marked
‘O’ and wait for the disc to stop
completely before removing any
dust.
• Take care, the disc may take
some time to come to a full
stop.
• If required, press the brake on
top of the disc sander to help
slow the disc.
MITRE GAUGE
If the angle is critical, a mitre gauge
should be used between the table
and disc to ensure accuracy. For
right angles, simply slide a square on
the table, up to the disc, and adjust
accordingly. The angle should be
correct when slight pressure is placed
on the table.
For greater accuracy, the mitre
gauge is used so that the work may
be held at a required angle and
moved across the disc as shown.
Use a slight pressure ONLY... let the
disc do the work. Pressure should be
on the DOWNWARDS direction of
motion of the disc ONLY. i.e. on the
left half of the disc as shown.
NOTE: Applying the workpiece to
the right hand side of the
disc may cause kickback.
9
Parts & Service: 020 8988 7400 / E-mail: [email protected] or [email protected]
Page 10
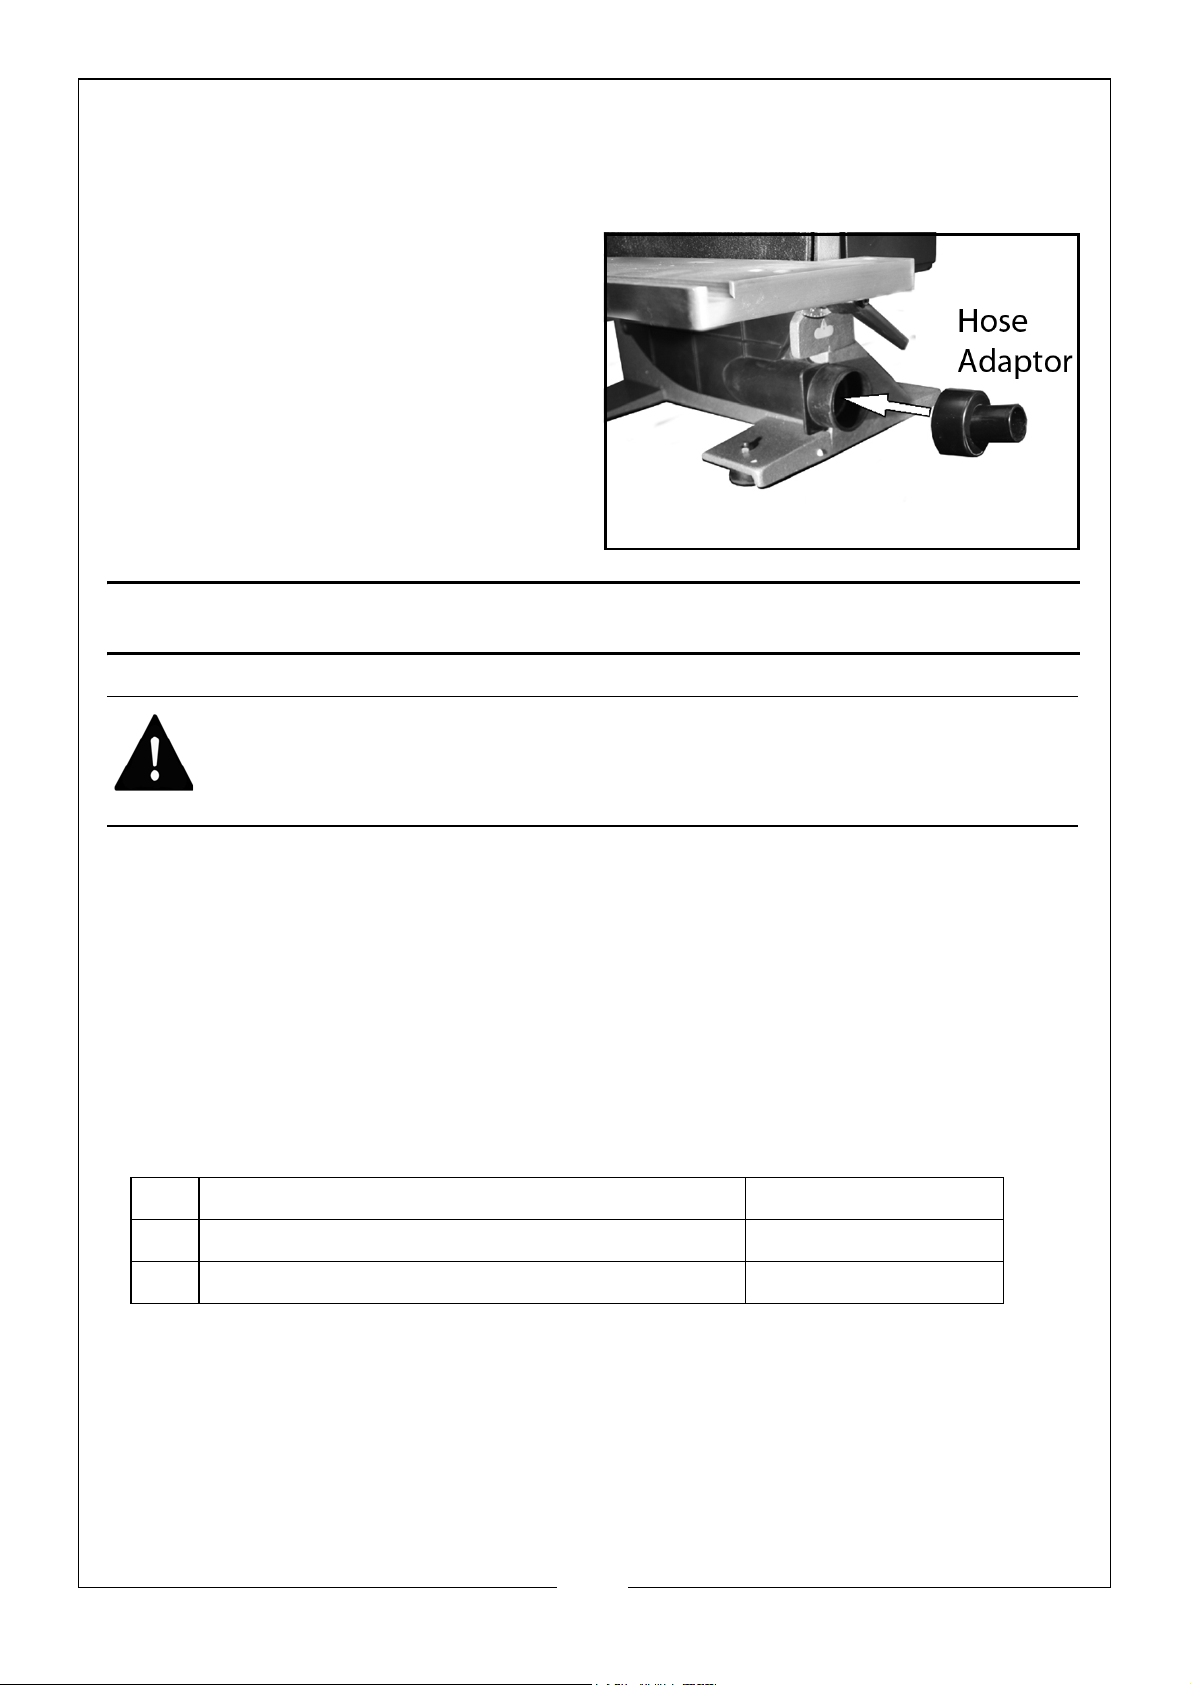
DUST EXTRACTION
We STRONGLY recommend that a dust extraction device is used with this
machine.
1. Attach a suitable hose from the
dust extractor to the outlet,
beneath the table.
• Dust extractors are available
from your Clarke dealer).
MAINTENANCE AND SERVICING
WARNING: REMOVE THE PLUG FROM THE POWER SUPPLY BEFORE
CARRYING OUT ANY ADJUSTMENT, SERVICING OR MAINTENANCE.
The machine is completely maintenance free, with the exception of ensuring it
is kept clean and free from build up of sawdust at all times. This should be
carried out with an old paintbrush or similar, and a vacuum cleaner.
The panel beneath the table is secured by two screws. Remove these to gain
access to the lower half of the disc.
REPLACING SANDING DISCS
Replacement sanding discs (packets of 5) in three different grit sizes are
available from your Clarke dealer.
1 60 grit - self adhesive (Packets of 5) Part No. 6502305
2 80 grit - self adhesive (Packets of 5) Part No. 6502310
3 120 grit - self adhesive (Packets of 5) Part No. 6502315
1. Peel off the worn disc from the machine.
2. Remove the protective cover from the back of the new sanding disc.
3. Gently slide it between the work table and disc so that it is concentric
about the disc.
4. Press firmly so that it adheres to the disc, turning the disc as you do so.
10
Parts & Service: 020 8988 7400 / E-mail: [email protected] or [email protected]
Page 11
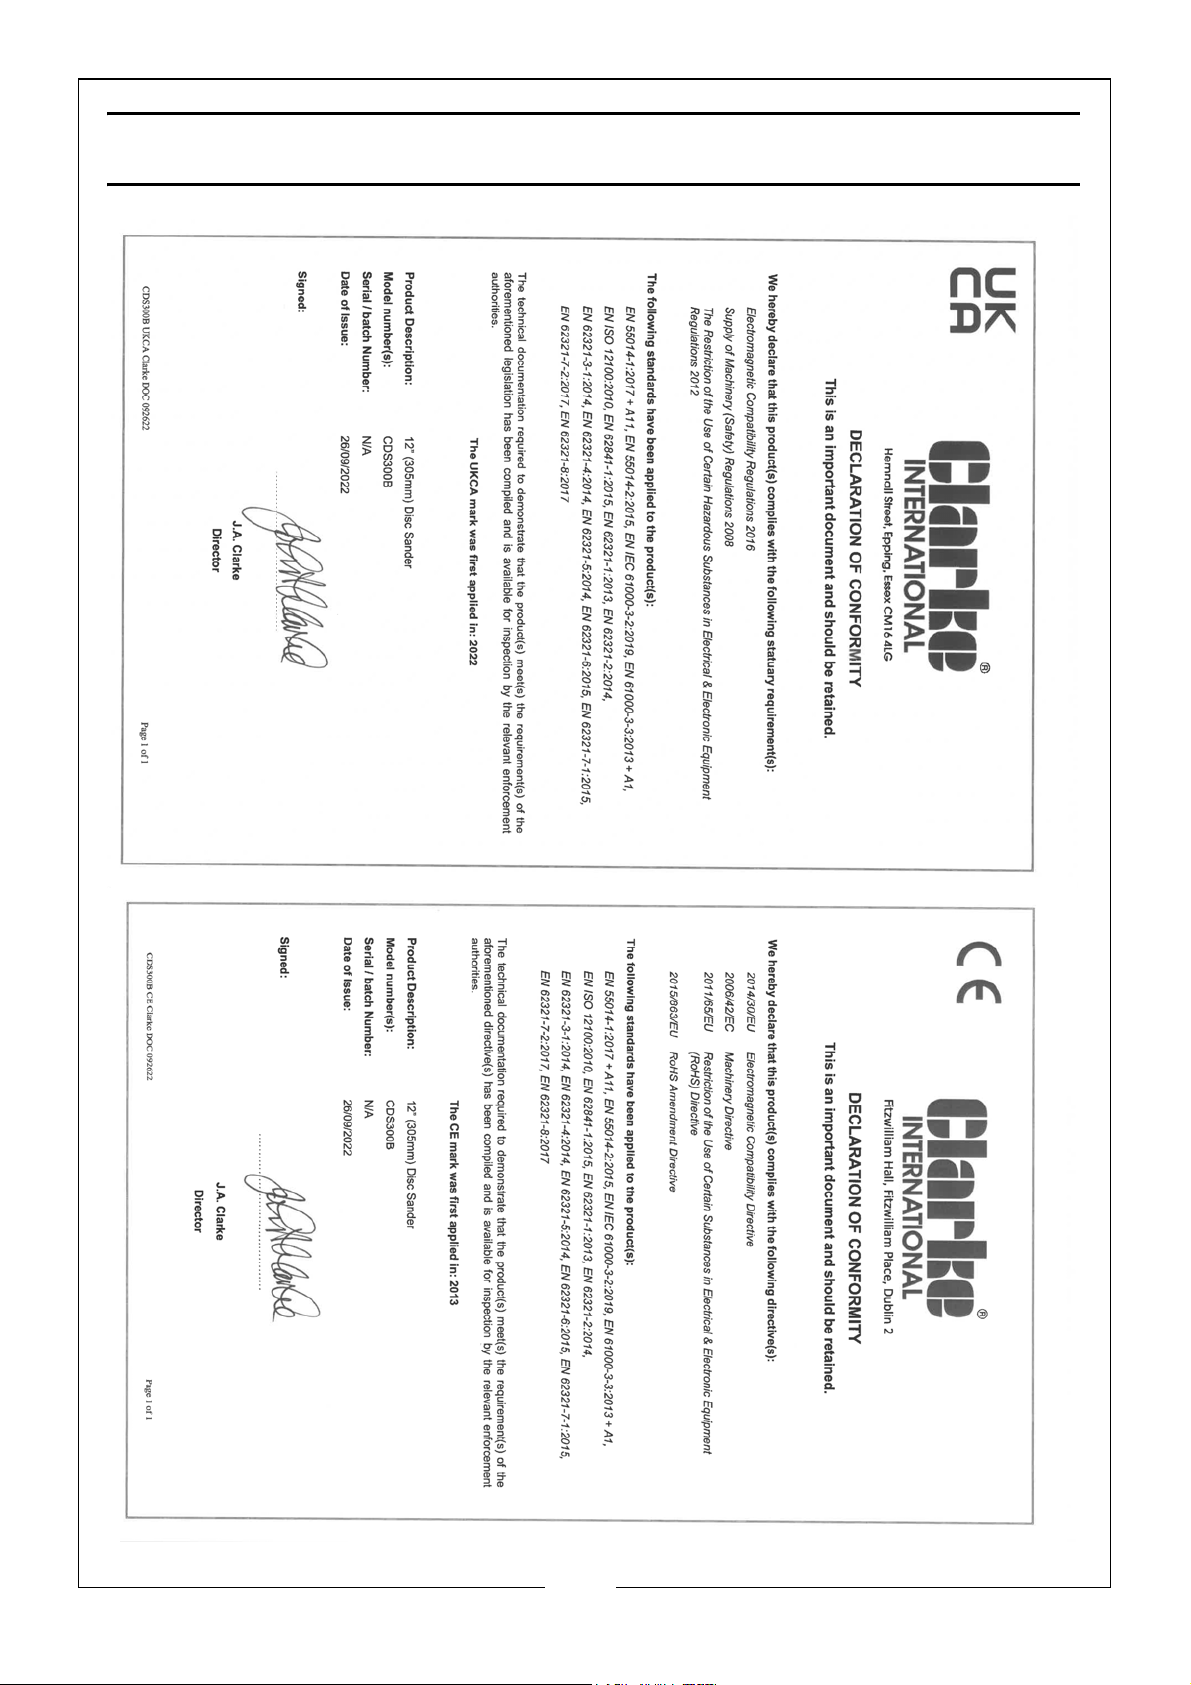
DECLARATION OF CONFORMITY
11
Parts & Service: 020 8988 7400 / E-mail: [email protected] or [email protected]
Page 12

 Loading...