

Page 1
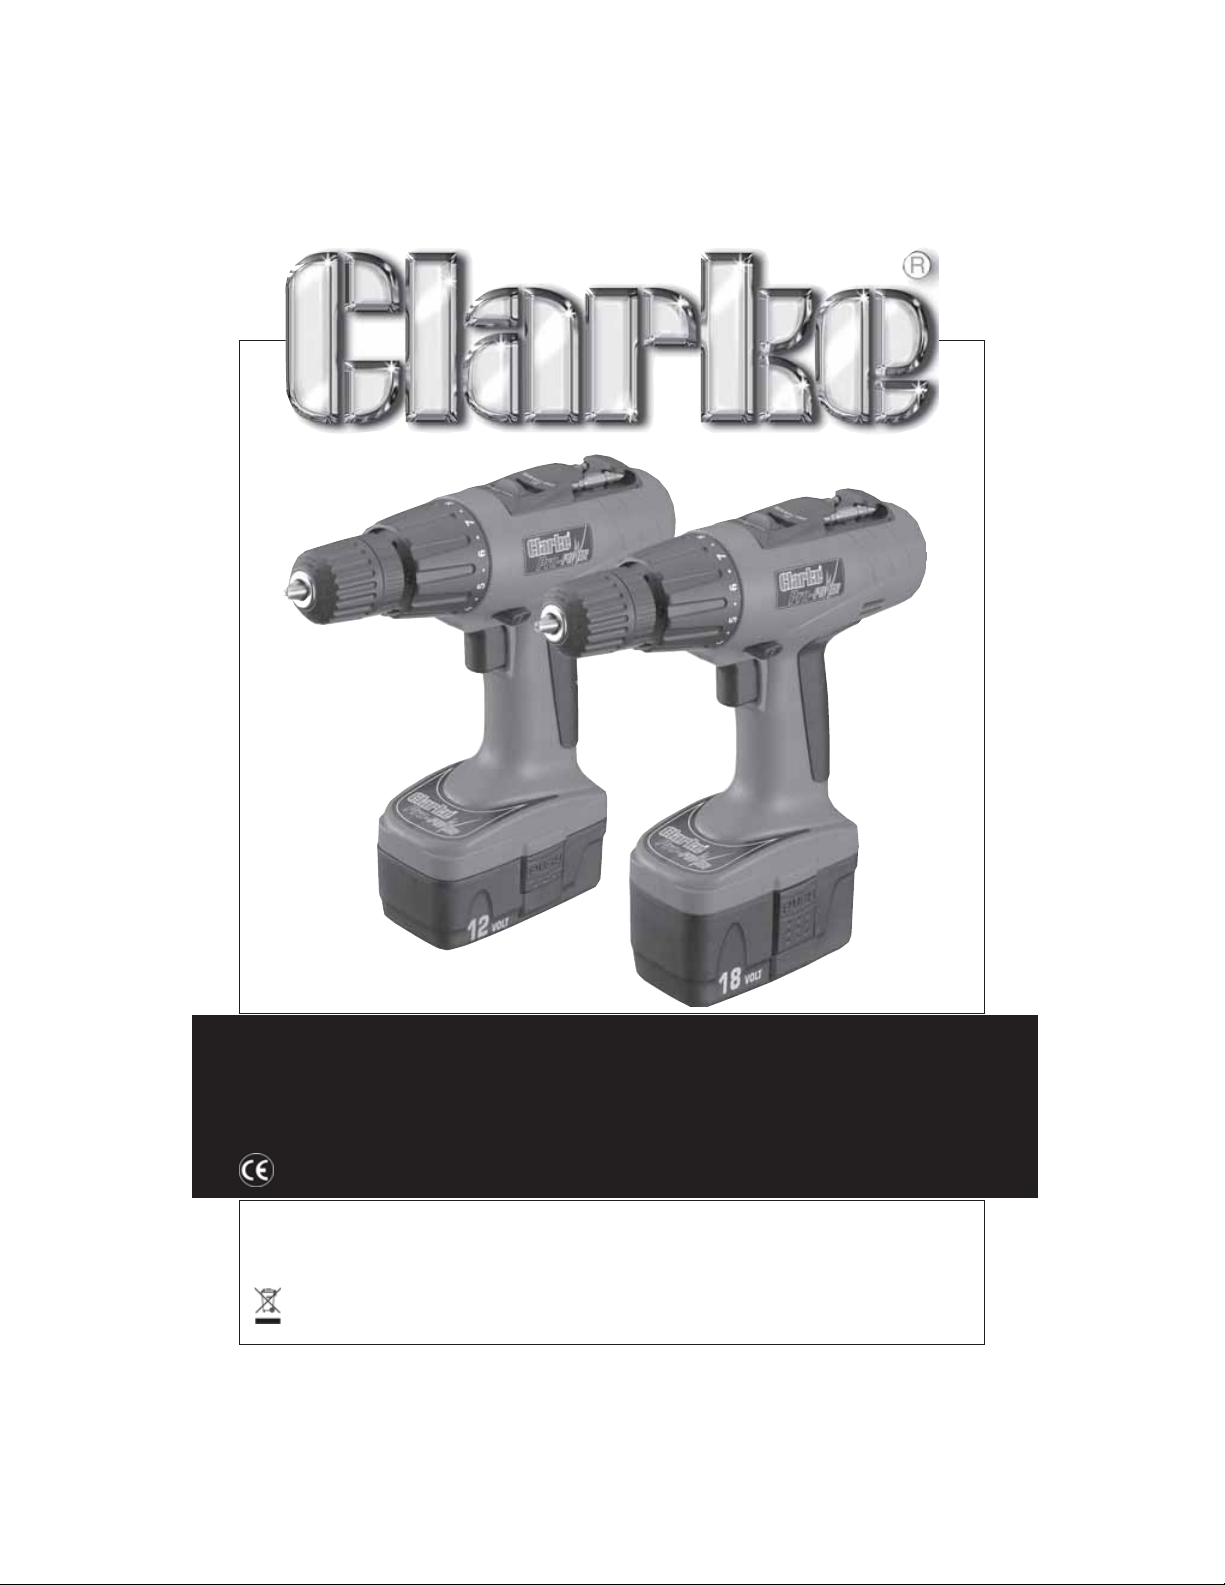
CORDLESS DRILL/SCREWDRIVER
CORDLESS DRILL/SCREWDRIVER
Model Nos.
CCD12T • CCD18T
OPERATING & MAINTENANCE
INSTRUCTIONS
0606
Page 2

Thank you for purchasing this CLARKE Cordless Drill/Screwdriver, designed for use
in a professional/industrial environment.
Please read this booklet thoroughly. Your Clarke Cordless drill will give good service
if it is used carefully and in accordance with the following advice and
recommendations. Do not use excessive force and as with all tools, it should be
treated with respect.
GUARANTEE
This CLARKE product is guaranteed against faulty manufacture for a period of 12
months from the date of purchase. Please keep your receipt as proof of purchase.
This guarantee is invalid if the product is found to have been abused or tampered
with in any way, or not used for the purpose for which it was intended.
Faulty goods should be returned to their place of purchase, no product can be
returned to us without prior permission. This guarantee does not effect your
statutory rights.
TECHNICAL DATA Drill
Model No. CCD12T CCD18T
Part No. 6485055 6485060
Chuck Capacity 10mm Jacobs 10mm Jacobs
Speed Range 0-400 / 0-1100 0-400 / 0-1100
Voltage 12 V 18V
Vibration Levels <2.5m/s
Sound Pressure Level (LwA) <70dBA at 1M <70dbA at 1M
Weight 1.7kg 2.1kg
2
<2.5m/s
2
Battery
Part No. GRCCD12T01 GRCCD18T01
1 Hour Charger
Part No. GRCCD12T02 GRCCD18T02
Input Volts 230VAC 230VAC
Charging Time 1hr 1hr
Please quote the above part numbers when ordering any of the above items as
replacement or spare parts.
When disposing of this product, ensure it is disposed of according to all local ordinances. It must not
be disposed of with general household waste.
2
Page 3

GENERAL SAFETY PRECAUTIONS
1. Keep your Clarke Cordless drill and all other power tools out of reach of children.
2. Keep all equipment dry especially the battery and battery charger.
3. When drilling into walls, ceilings and floors, check first for concealed main
services, Water, Electric and Gas.
4. Always wear safety goggles*. Take particular care when drilling overhead.
5. We recommend the use of an appropriate dust mask*.
6. Loose clothing and long hair can prove a danger if caught up in machinery.
Take suitable precautions.
7. When drilling into certain materials, sound pressure levels may prove a
discomfort, in which case we recommend the use of ear defenders*.
8. ALWAYS disconnect from the mains supply when changing bits or when the
drill is not required for immediate use..
9. ALWAYS hold the drill firmly with BOTH hands when drilling. A drill could stall if
overloaded or used improperly. ALWAYS expect a stall and be prepared for it.
10. DO NOT use in damp or wet conditions. Keep the work area well lit. DO NOT use
where a risk of fire or explosion is present.
11. ALWAYS ensure the workpiece is perfectly secure before drilling. Use clamps or
a vice which is safer than your hands and frees both hands to operate the drill.
*Contact your dealer for information on the various Clarke safety products
available.
HELPFUL HINTS ON DRILLING
• After drilling material to the full depth, do not simply pull out the drill but maintain
chuck rotation to ease withdrawal.
• Keep drill bits sharpened for optimum performance.
• Always drill directly in line with the bit. Do not use sideways movement as this
may damage the drill or cause the bit to break.
• Always use a cutting lubricant when drilling all metals except brass and cast
iron which should be drilled dry.
• As a general rule, when drilling metal, the harder the metal the slower the drill
speed. Similarly, the bigger the drill the slower the speed. Consult a suitable
book of reference if necessary.
• Always start drilling at a slow speed to prevent the drill from slipping out of the
pop mark or indent, gradually increasing speed until the optimum cutting speed
is achieved whilst maintaining a MODERATE pressure ONLY. NEVER force the
drill bit into the work. This will overheat the tip and cause it to dull very quickly.
• If the drill is not cutting the metal then sharpen the drill, ensuring the various
cutting angles are correct. Consult a suitable book of reference or suitably
qualified technician..
3
Page 4
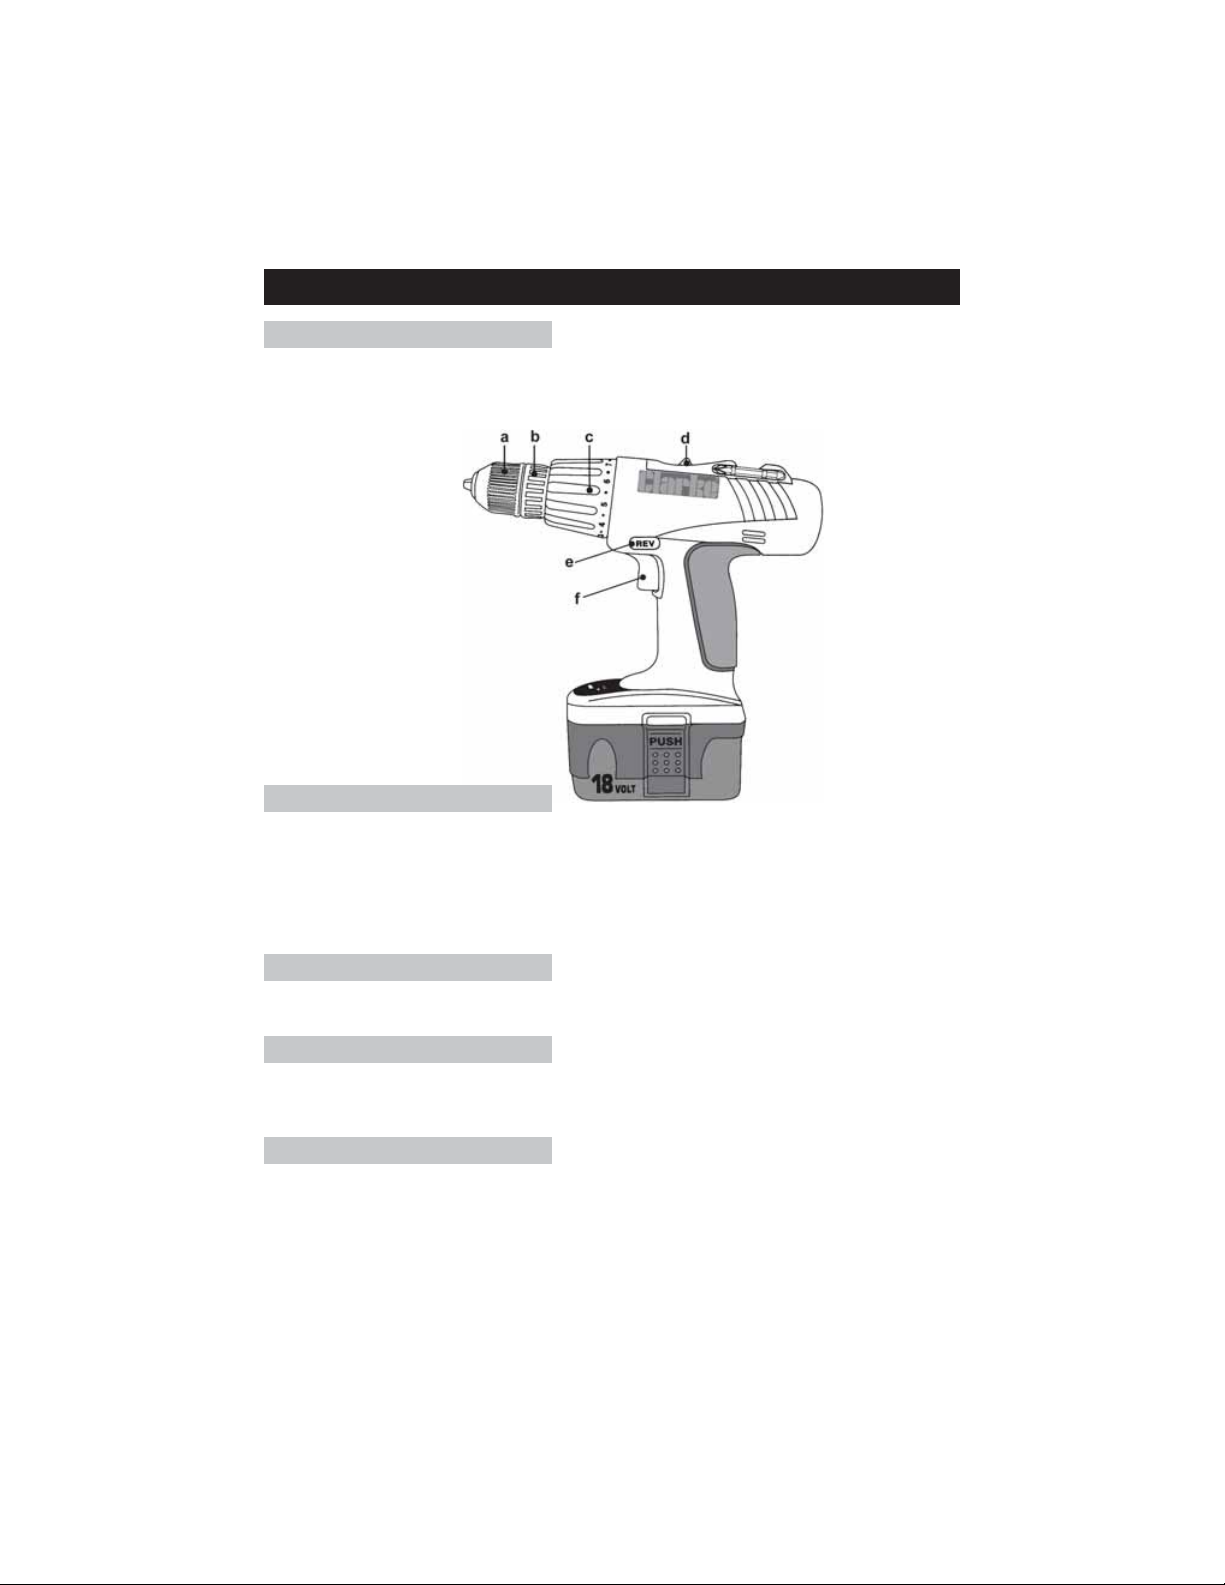
GET TO KNOW YOUR CORDLESS DRILL
Chuck
No key is required for operation. To secure a bit, hold the rear portion of the chuck
(b) securely with one hand and turn the front portion (a) clockwise (from the
front) . To remove the bit, repeat the foregoing but turn the chuck anticlockwise.
Removing the Chuck
Open the jaws to their fullest extent to allow a cross head screwdriver to be inserted,
down through the jaws, to engage in the cross head slot of the securing screw..
The screw has a LEFT HAND THREAD and must therefore be turned CLOCKWISE.
With the screw fully loosened, grasp the chuck and unscrew it from the drill in the
normal manner, i.e., by screwing it ANTICLOCKWISE.
Variable Speed
Variable speed is possible according to the amount of finger pressure on the trigger (f).
Speed Range
2 speed ranges are provided. The selector lever is shown at (d). Operate this lever
ONLY when the chuck is stationary. The lower speed produces a higher torque.
Torque Adjustment (c)
(For correct tightening of screws/nuts)
This control is located immediately behind the chuck assembly and is numbered
in steps from 1 to 8, plus one extra step, marked with a sign for a drill bit.
These settings allow the exact amount of torque, or turning force required, to be
applied and will help maintain consistent performance, especially where there
are many identical fixings to be made. It is particularly useful for preventing
4
Page 5
excessive tightening, but because of the wide variety of screws available and
different material densities, the optimum setting is best found by experiment.
Always release the main trigger immediately the percussive clicking sound is felt
and heard. This indicates that the tool has reached its torque setting and the bit
will turn no further. Turn to a lower number if screws go too deep or strip the material.
Turn to a higher number if screws stand too proud. NOTE: For drilling always set to
the Drill setting marked with a sign for a drill bit.
Direction of rotation
The 3-position control lever (e) controls forward or reverse direction of rotation. Select
the appropriate setting ONLY when the chuck is STATIONARY. Do not move the lever
when the chuck is moving. When in the central position, the trigger is locked.
BATTERY CHARGING AND CARE
Your Clarke Cordless drill is supplied with a 1 hour battery charger and TWO
batteries. To disengage a battery from the drill, simply press the two lugs, one
either side of the battery, whist gently pulling down.
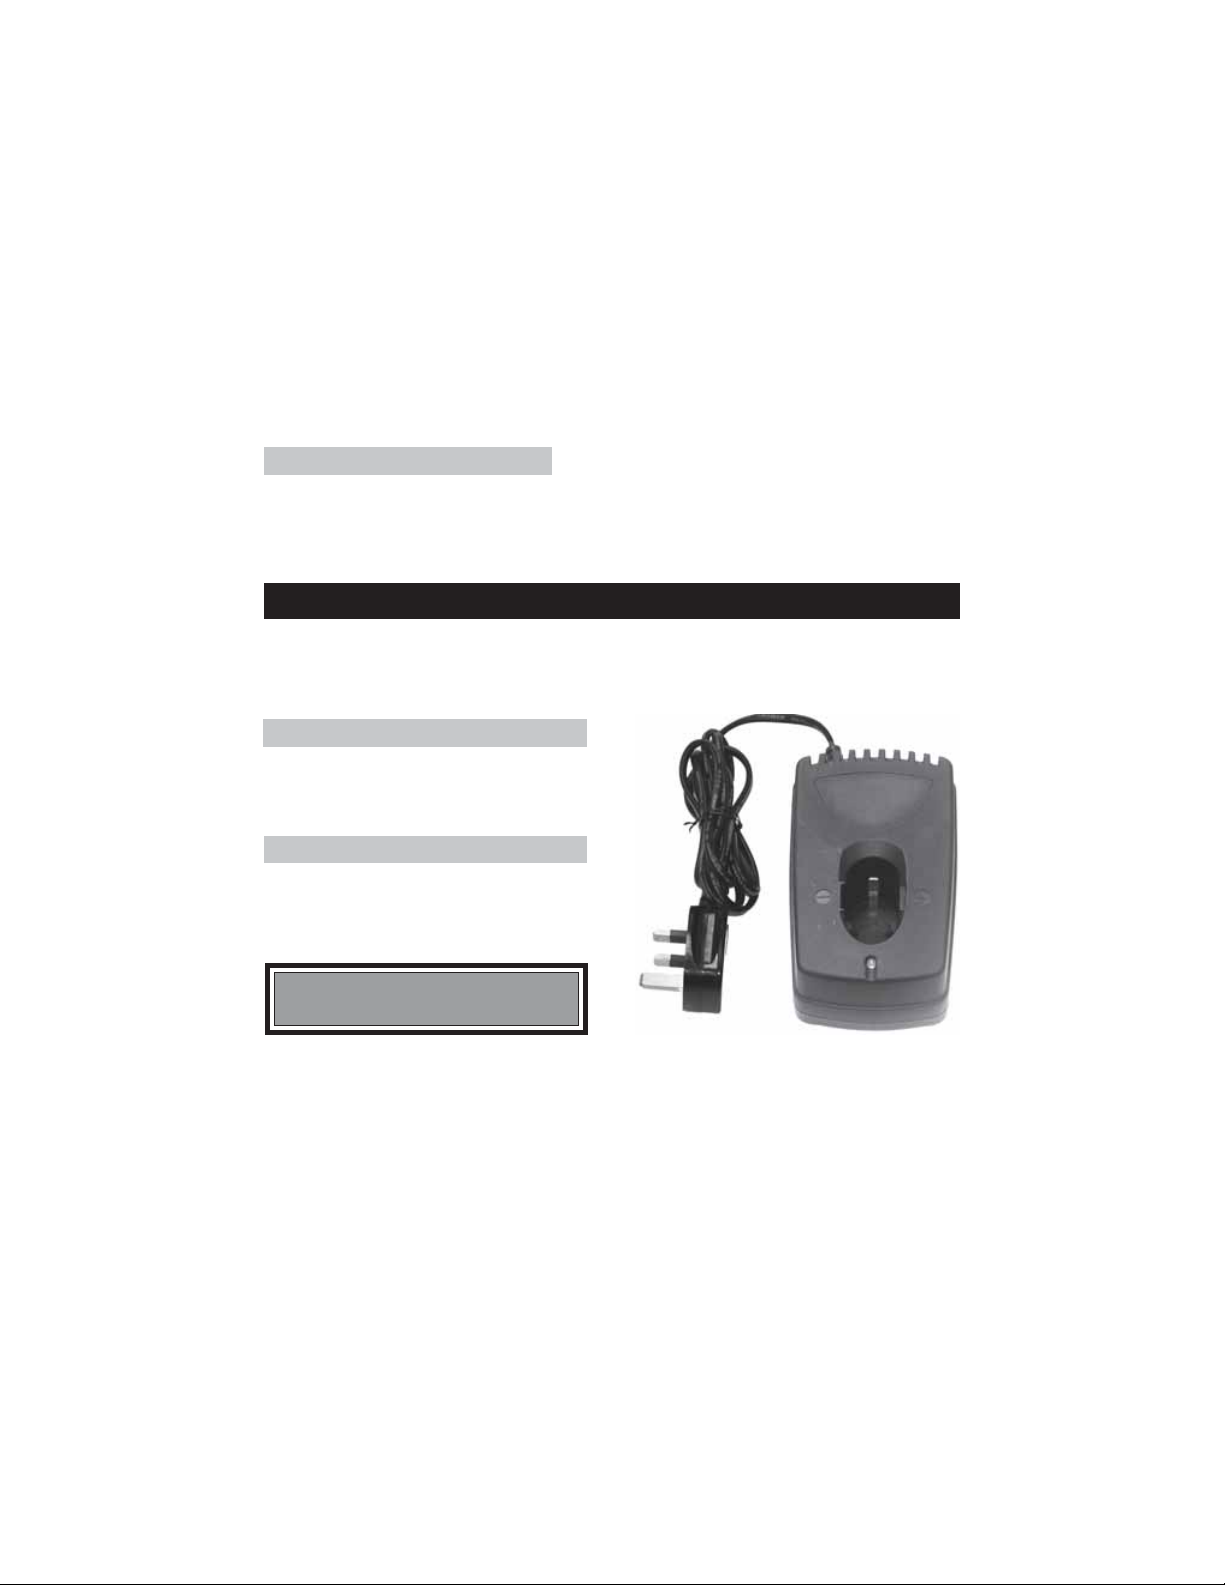
A. One Hour Charger
This is a one piece unit incorporating
a transformer/charger fitted with a 2
core mains lead and a 13 Amp Plug.
B. Electrical Connections
Connect the mains lead to a standard
240Volt (50Hz) electrical supply
through an approved plug.
WARNING! THIS CHARGER IS
DOUBLE INSULATED
IMPORTANT: The wires in the mains lead are coloured in accordance with the
following code:
Blue - Neutral
Brown - Live
As the colours of the flexible cord of this appliance may not correspond with the
coloured markings identifying terminals in your plug proceed as follows:
Connect BROWN coloured cord to plug terminal marked with a letter ‘L’ or
coloured RED Connect BLUE coloured cord to plug terminal marked with a letter
‘N’ or coloured BLACK
The fuse in the plug for this appliance must be rated at 5 amps.
5
Page 6
If this appliance is fitted with a plug which is moulded onto the electric cable (i.e.
non-rewirable) please note:
1. The plug must be thrown away if it is cut from the electric cable. There is a
danger of electric shock if it is subsequently inserted into a socket outlet.
2. Never use the plug without the fuse cover fitted.
3. Should you wish to replace a detachable fuse carrier, ensure that the correct
replacement is used (as indicated by marking or colour code).
4. Replacement fuse covers can be obtained from your local dealer or most
electrical stockists.
5. The fuse in the plug must be replaced with one of the same rating (5 amps)
and this replacement must be ASTA approved to BS1362. If in doubt, consult
a qualified electrician.
C. Battery Charging
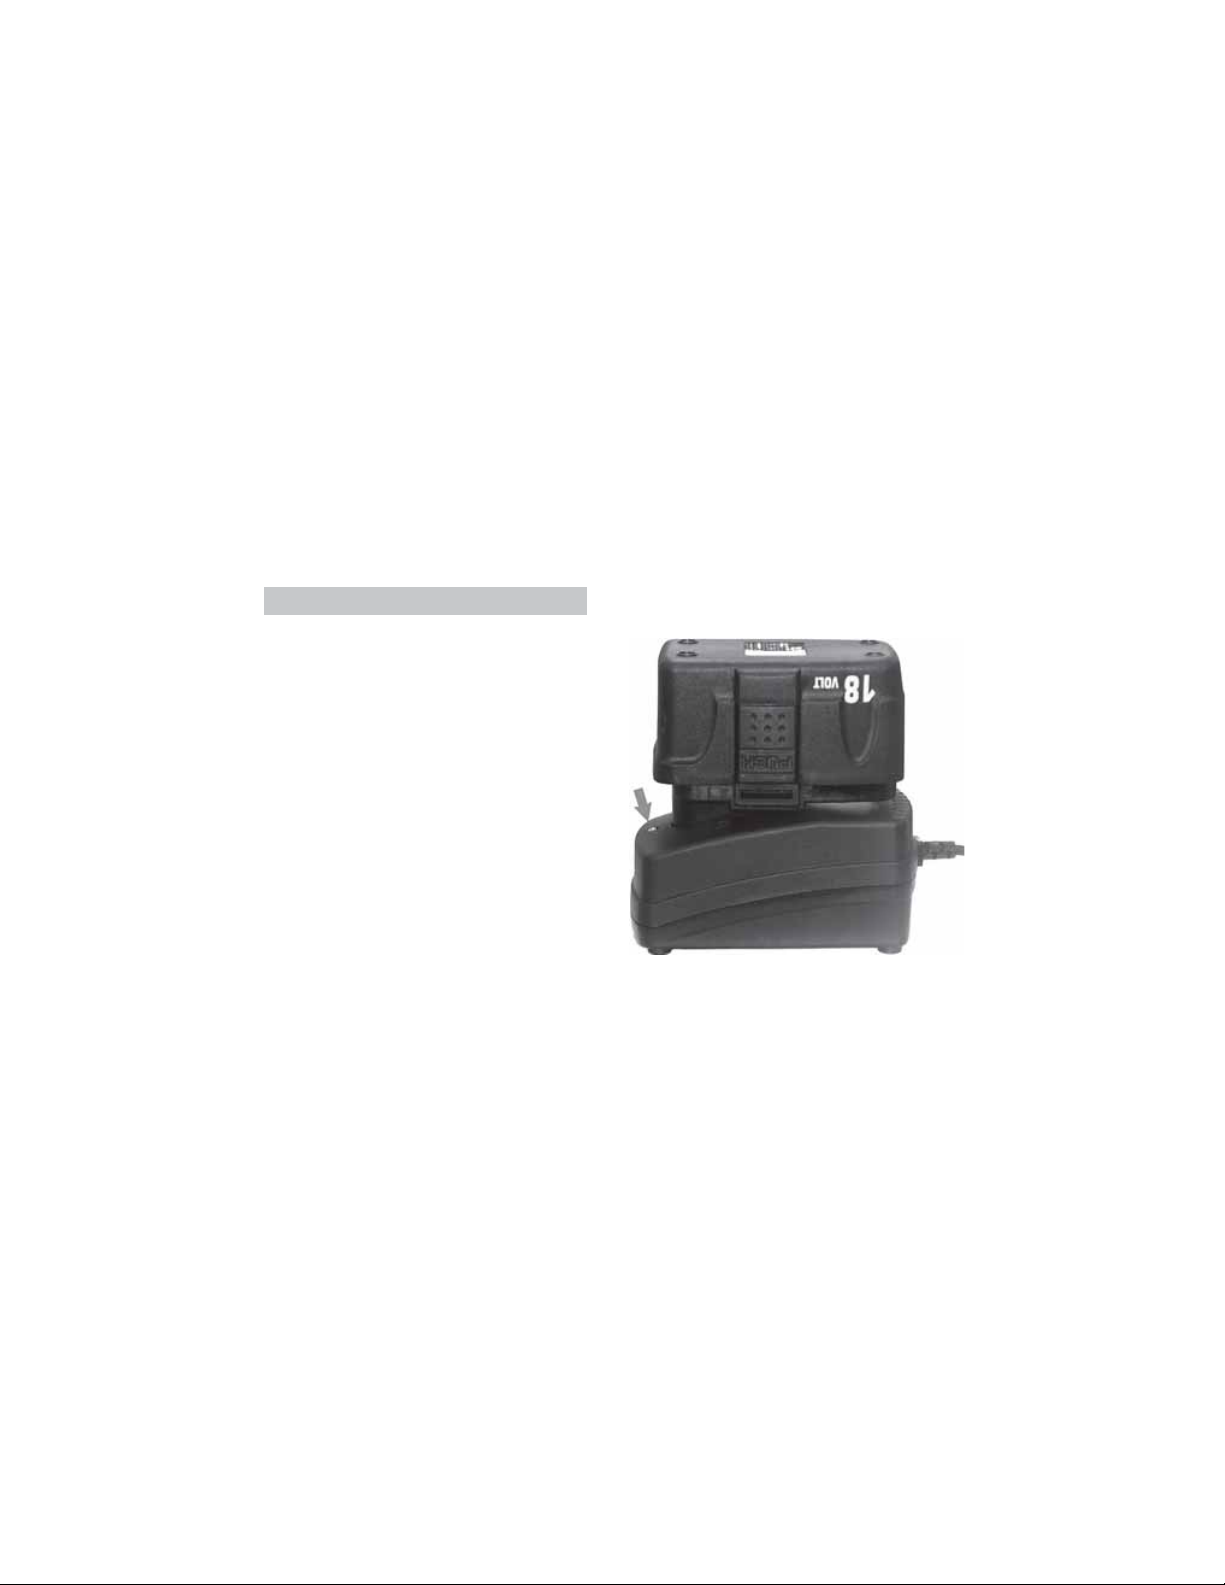
When plugging the battery into the
charger please note that it will fit one
way only...DO NOT FORCE it .
When it is correctly plugged in, the
battery should sit as shown in the
illustration opposite.
Install the battery in the charger, then
plug the charger into the mains and
switch ON (at the mains).
The LED (arrowed) will immediately
illuminate RED.
When the battery is fully charged, the
LED will turn GREEN. At this point,
switch OFF and disconnect the
charger at the mains . Remove the battery and install in the drill.
NOTE: A complete charge will take approx. 1 hour, depending upon the state of
the battery.
If the battery is not to be fitted immediately, ensure that the metal contacts are
protected so as to avoid the possibility of a short circuit which would cause damage.
Remember to avoid extremes of heat or cold when charging.
NOTE:
Ni-Cad batteries as used in Clarke Cordless Drills should be given a full charge
when first supplied new. Maximum battery performance will be achieved after
approximately 5 complete charge/discharge cycles.
7
The battery should be fully discharged before recharging....see important notice
- page 7.
6
Page 7

Protect batteries from extremes of temperature at all times, but especially whilst
charging. Minimum 4°C. Maximum 40°C.
Avoid placing batteries in direct strong sunlight or any other heat source. If the
battery becomes warm, disconnect and allow it to cool down for a few minutes.
Nickel cadmium batteries will slowly lose their power whilst in storage.
If they become fully discharged, no not leave the batteries in this state for any
length of time.
IMPORTANT:
The full capacity of a Ni-Cad battery will only be realised if it is allowed to
discharge almost completely before once again being recharged.
Constant topping up after only a small amount of charge has been used
will, in effect, reduce its capacity
Two batteries are supplied which should allow constant use of the drill
over long periods, if required.
BATTERIES - IMPORTANT NOTES
After being recharged many times, nickel cadmium batteries will eventually lose
their ability to hold the charge. This will be evident if power is lost much sooner
than usual after a complete recharge. In this case, such batteries should be
replaced. Dispose of old batteries with consideration for the environment. They
may be returned by post to the Clarke Parts and Service Centre ( see below)
where you can be assured they will be disposed of safely. Alternatively, seek advice
from your local waste disposal authority. Do not incinerate or crush, as this will
increase the risk of explosion and contamination. If the battery contents should
under any circumstance be spilt wash away with soap and plenty of water. Vinegar
or lemon juice will also help to neutralise the harmful effects of the battery contents.
If these come into contact with skin or more especially the eyes, rinse with clean
water for several minutes and seek medical advice immediately afterwards.
PARTS & SERVICE CONTACTS
For Spare Parts and Service, please contact your nearest dealer, or CLARKE International,
on one of the following numbers.
PARTS & SERVICE TEL: 020 8988 7400
PARTS & SERVICE FAX: 020 8558 3622
or e-mail as follows:
PARTS: [email protected]
SERVICE: [email protected]
7
 Loading...