

Page 1
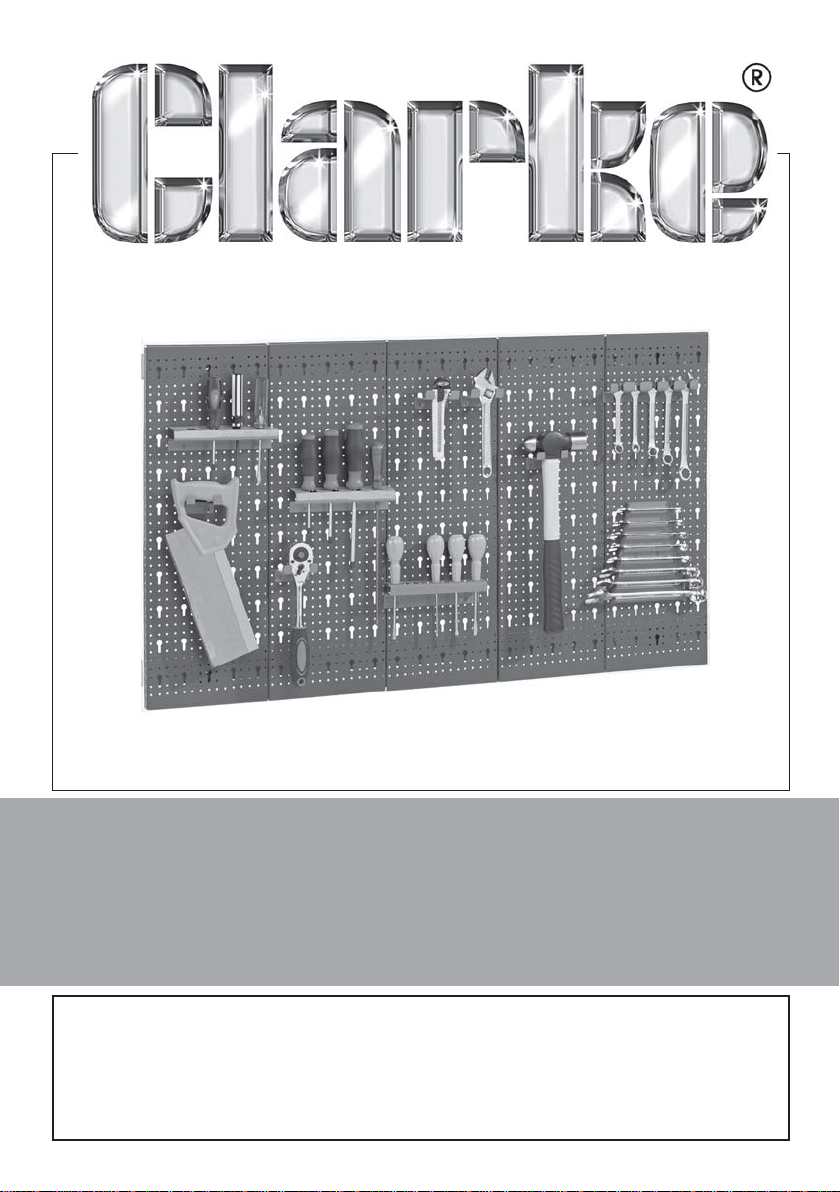
WALL MOUNTED TOOL RACK
Model CWR45B
Part No: 4800200
ASSEMBLY & INSTALLATION
INSTRUCTIONS
GC07/12
Page 2
INTRODUCTION
Thank you for purchasing this CLARKE wall rack. Please follow these assembly
instructions carefully.
GUARANTEE
This CLARKE product is guaranteed against faulty manufacture for a period of
12 months from the date of purchase. Please keep your receipt as proof of
purchase.
This guarantee is invalid if the product is found to have been abused or
tampered with in any way, or not used for the purpose for which it was
intended. Faulty goods should be returned to their place of purchase, no
product can be returned to us without prior permission.
This guarantee does not effect your statutory rights.
ENVIRONMENTAL PROTECTION
Do not dispose of workshop products with general household waste. All tools,
accessories and packaging should be sorted, taken to a re-cycling centre
and disposed of appropriately.
TECHNICAL DATA
• Dimensions (mm) 1115 long x 15 deep x 635 high
• Weight 6.2 kg
2
Parts & Service: 020 8988 7400/E-mail:[email protected] or [email protected]
Page 3
PARTS LIST
Unpack your wall rack and check to ensure that no damage was suffered
during transit. Should any damage be apparent, you should contact your
Clarke dealer immediately.
The kit comprises: 5 x panels
10 x assorted tool holders
8 x sets of bolts & nuts
2 screws with rawlplugs
Tools required: Power drill with masonry drill bits
X-head screwdriver
6mm spanner/ flat screwdriver
ASSEMBLY
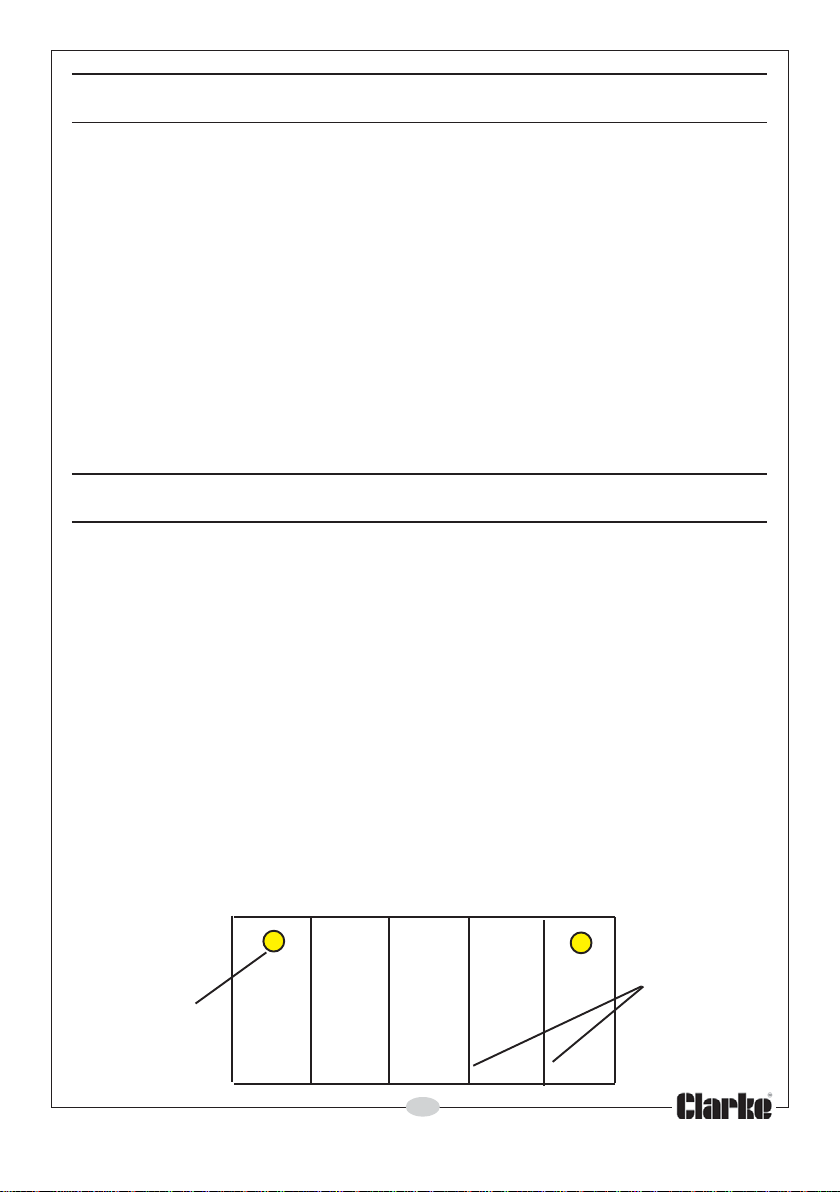
1. Fix the five panels together, side by side, using the nuts and bolts supplied.
Ensure that the panels with the wall fixing brackets are at each end of the
assembly. Use two bolts per panel joint. Fully tighten all the nuts.
2. Mark the intended position of the product on the wall. Accurately
measure the distance between the centres of the holes of the integral
supporting brackets on the back of the end panels.
• End panels only are used for fixing.
3. Mark these hole centres on the wall and drill holes for the rawlplugs
supplied. Secure the screws into each fixing position.
4. The wall rack can now be hung on these screws, ensuring the head of
each screw fully locates into the supporting bracket on the back of each
end panel.
5. After securing the wall rack to the wall, attach the tool holders in the
desired positions to suit your tools.
x x x x
Connecting
bolts here
Wall fixings
here
x x x x
3
Parts & Service: 020 8988 7400/E-mail:[email protected] or [email protected]
Page 4
 Loading...