

Page 1
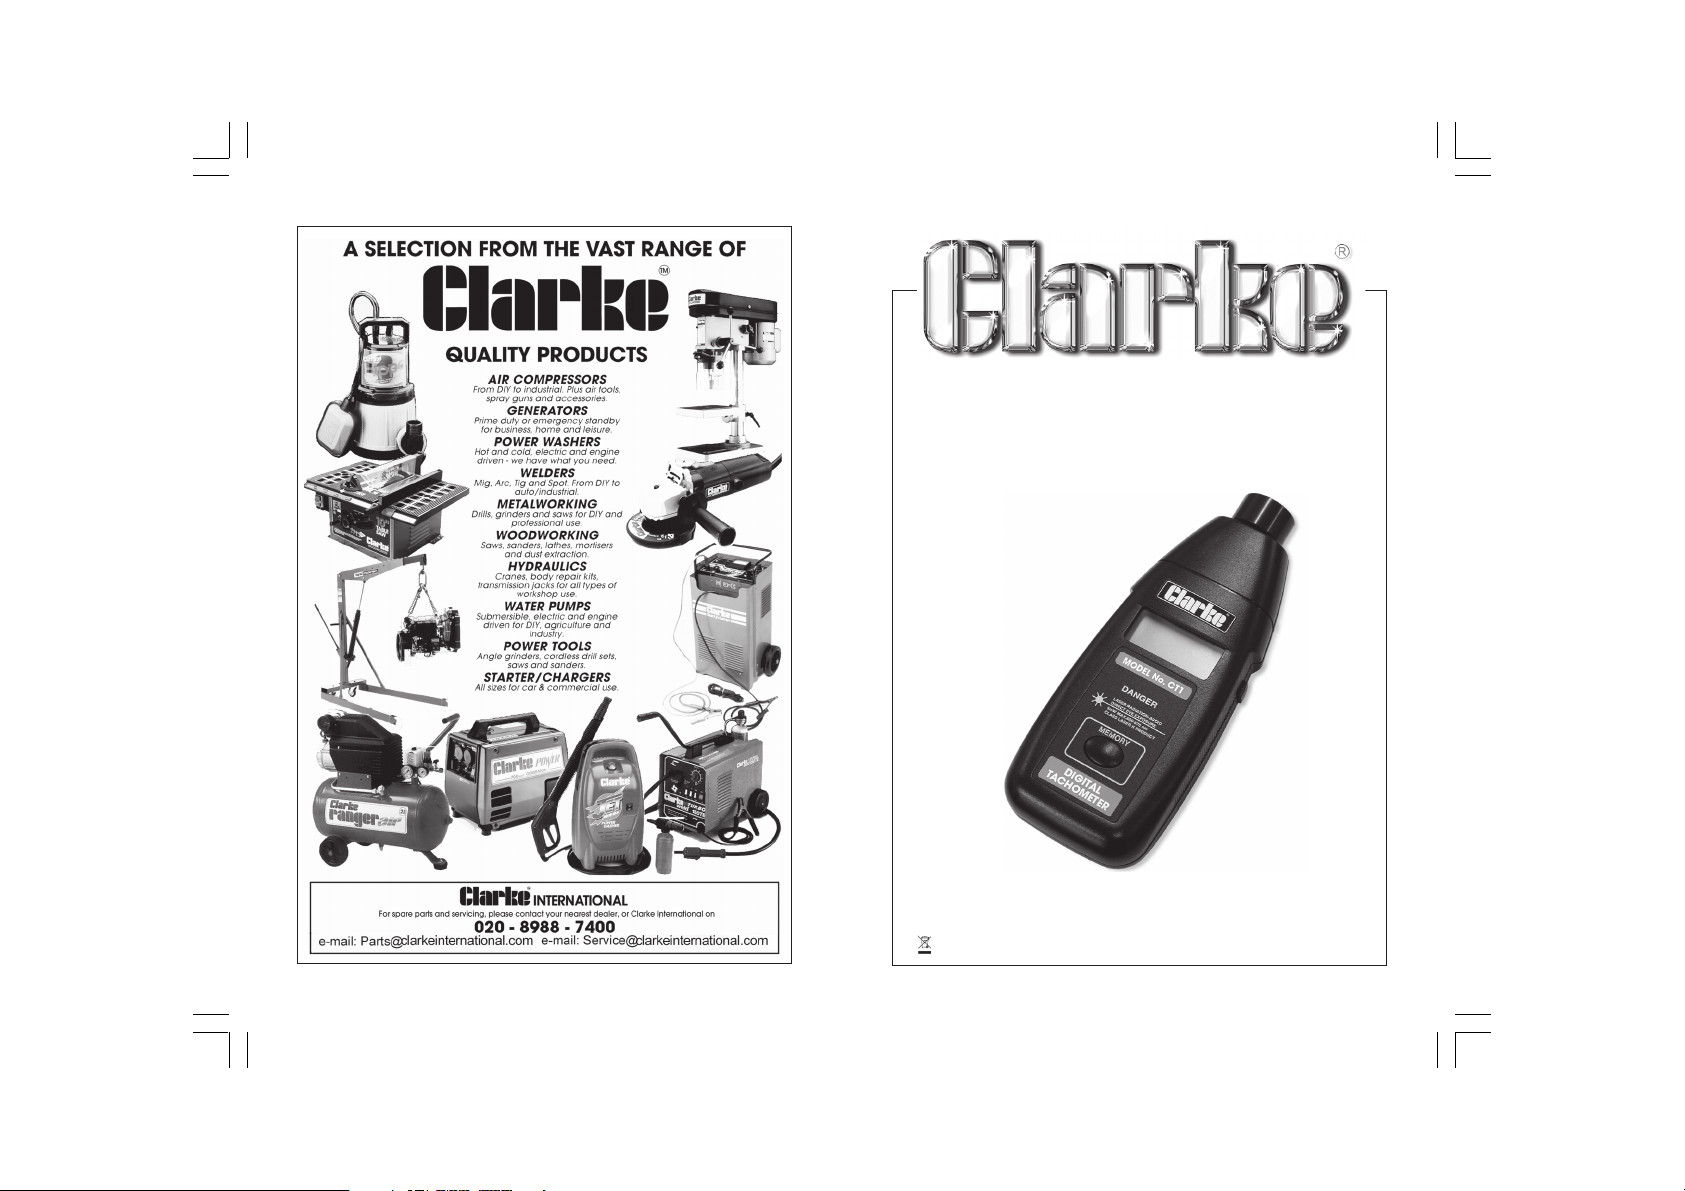
DIGITAL
DIGITAL
LASER TACHOMETER
LASER TACHOMETER
MODEL No.
CT1
OPERATING INSTRUCTIONS
0507
Page 2

When disposing of this product, do not dispose of with general waste. It
must be disposed of according to the laws governing Waste Electrical
and Electronic equipment, at a recognised disposal facility.
2
7
Page 3

BATTERY REPLACEMENT
When the batteries need relacement, the symbol ‘LO’ will appear
on the digital display.
To replace the batteries, slide back the cover on thre rear of the unit
and remove the spent batteries.
Pay particular attention to polarity when replacing the batteries as
incorrect polarity could cause permanent, serious damage to the
instrument.
If the instrument is not to be used for some time, it is strongly advised
to remove the batteries.
PARTS & SERVICE CONTACTS
For Spare Parts and Service, please contact your nearest dealer,
or CLARKE International, on one of the following numbers.
PARTS & SERVICE TEL: 020 8988 7400
PARTS & SERVICE FAX: 020 8558 3622
or e-mail as follows:
PARTS: [email protected]
SERVICE: [email protected]
6
Thank you for purchasing this CLARKE Digital Laser Tachometer.
Please read this booklet thoroughly. Your Clarke Tachometer will
give excellent service if it is used carefully and in accordance with
the following advice and recommendations. Never use excessive
force and as with all tools, it should be treated with care and respect.
GUARANTEE
This CLARKE product is guaranteed against faulty manufacture for a
period of 12 months from the date of purchase. Please keep your
receipt as proof of purchase. This guarantee is invalid if the product
is found to have been abused or tampered with in any way, or not
used for the purpose for which it was intended.
Faulty goods should be returned to their place of purchase, no
product can be returned to us without prior permission. This
guarantee does not effect your statutory rights.
SPECIFICATIONS
Model No. ............................................... CT1
Part No. ................................................... 4501110
Measuring Range .................................. 5 - 99,999 RPM
Resolution ............................................... 0.1RPM up to 1000RPM
1 RPM above 1000RPM
Accuracy ............................................... ±(0.05% + 1 digit)
Laser Class ............................................. II
Operating Temperature ........................ 0 - 50
Dimensions ............................................. 190x72x32mm
Sampling Time ....................................... 1 sec (over 6RPM)
Weight ..................................................... 0.2kg
Voltage ................................................... 6V
Batteries .................................................. 4xAA
3
O
C (32 - 132OF)
Page 4
FEATURES
Your Digital Laser Tachometer provides a wide measuring range at
high resolution, using a large LCD display.
An exclusive microchip, LSI-circuit and crystal time base provide a
highly accurate measurement with a fast measuring time.
The last value Max and Min values are stored in memory and may
be recalled by pressing a memory button.
Self adhesive reflectors are provided for the surface of the object to
be measured.
The unit is constructed from light, strong, durable components,
ensuring long and maintenance free service, and is designed to fit
comfortably into the palm of the hand.
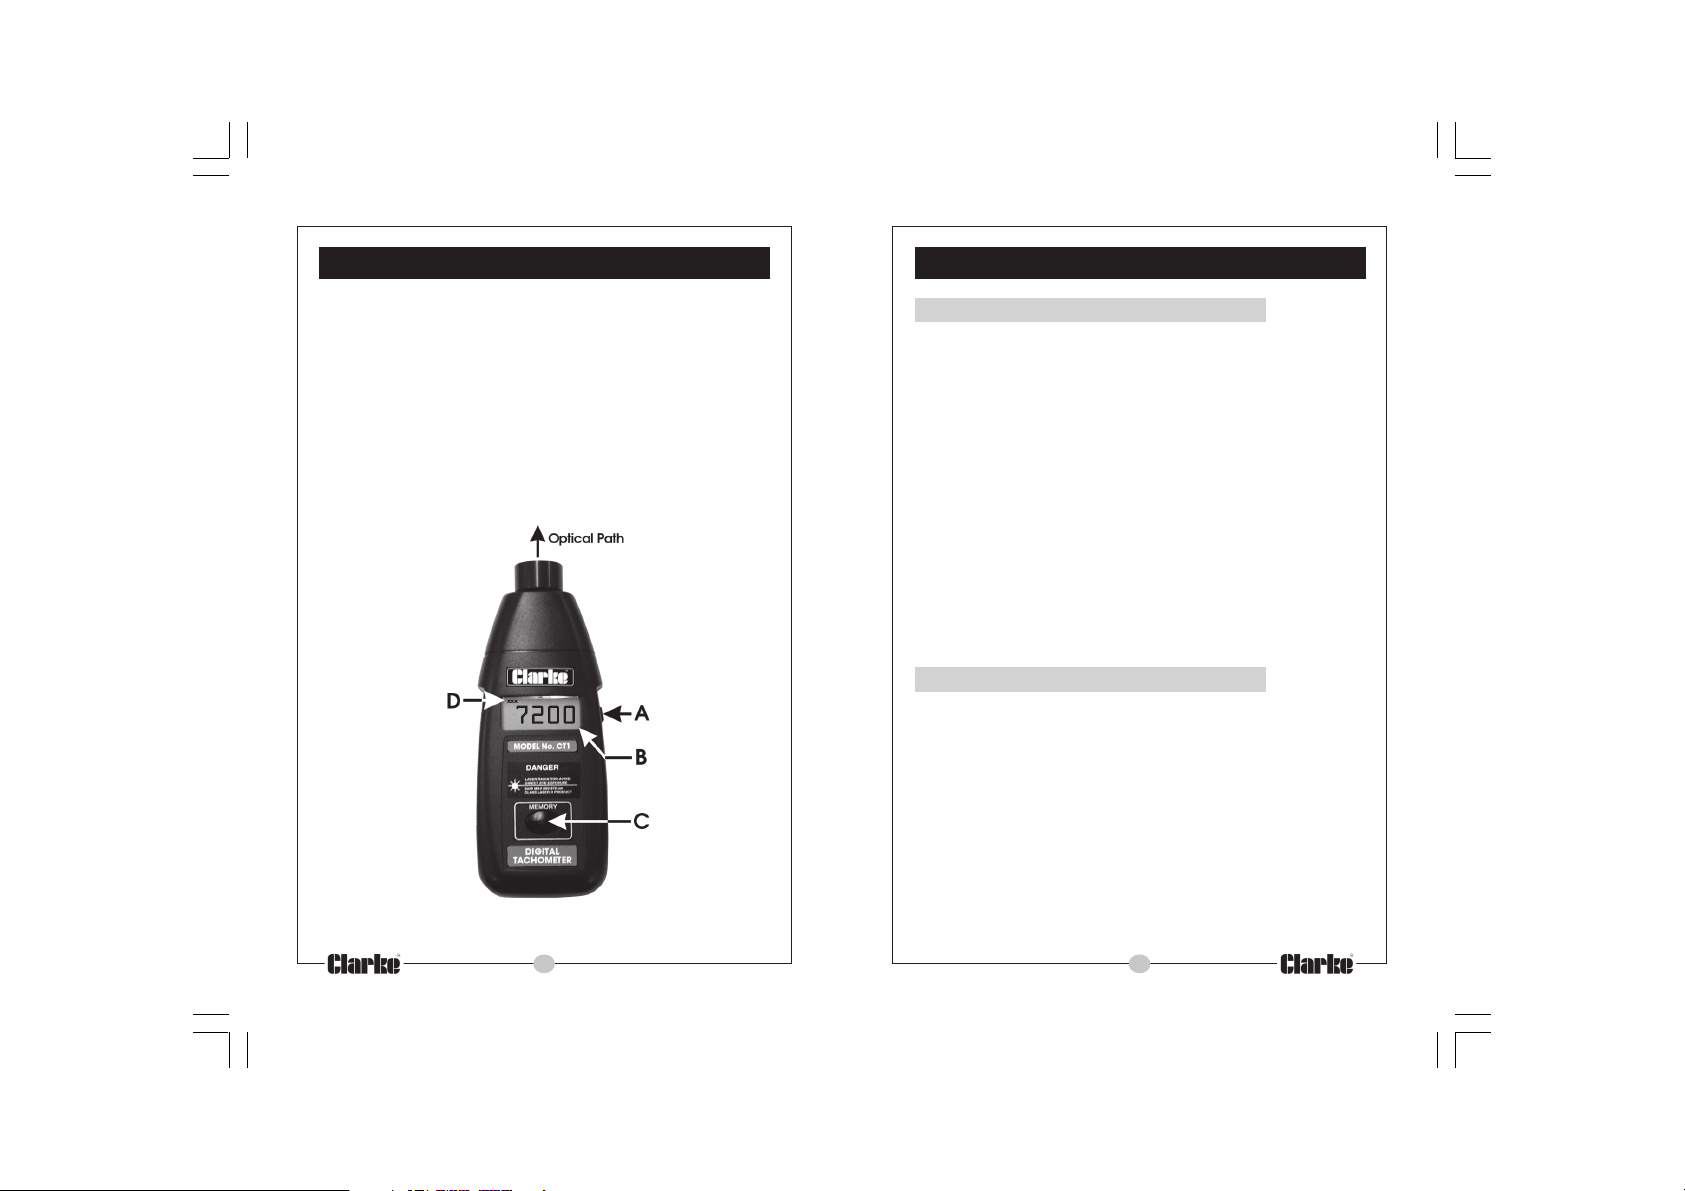
A - Operation Button
B - LCD Display
C - Memory Recall Button
D - Target Indicator
4
MEASURING PROCEDURE
1. RPM Measurement
1.1 Apply the reflecting mark to the surface of the object to be
measured.
1.2 With the object rotating, depress the Operation Button and align
the visible light beam with the reflecting mark, as it passes the
beam.
Check to ensure the ‘Target Indicator’, on the display,
illuminates when the reflector passes through the light beam.
1.3 When the reading stabilises, release the Operation Button.
NOTE:
If the revolutions being measured are very low, i.e. less than 50RPM,
it is advisable to stick more reflectors at regular (measured) intervals
on the surface of the object.
To obtain a correct reading, simply divide the display reading by the
numbers of reflectors.
2. Memory Recall Button
The last measurement, Maximum and Minimum values are stored in
memory, that is, the last values before the Operation Button was
released. To recall the values, proceed as follows:
3.1 Press the Memory button once. The symbols ‘LA’ will be
displayed along with the LAST VALUE
3.2 Press the Memory Button a second time and the symbols ‘UP’
will be displayed together with the MAXIMUM VALUE of the
last measurement.
3.3 Press the Memory Button a third time and the symbols ‘dn’ will
be displayed together with the MINIMUM VALUE of the last
measurement.
5
 Loading...