

Page 1
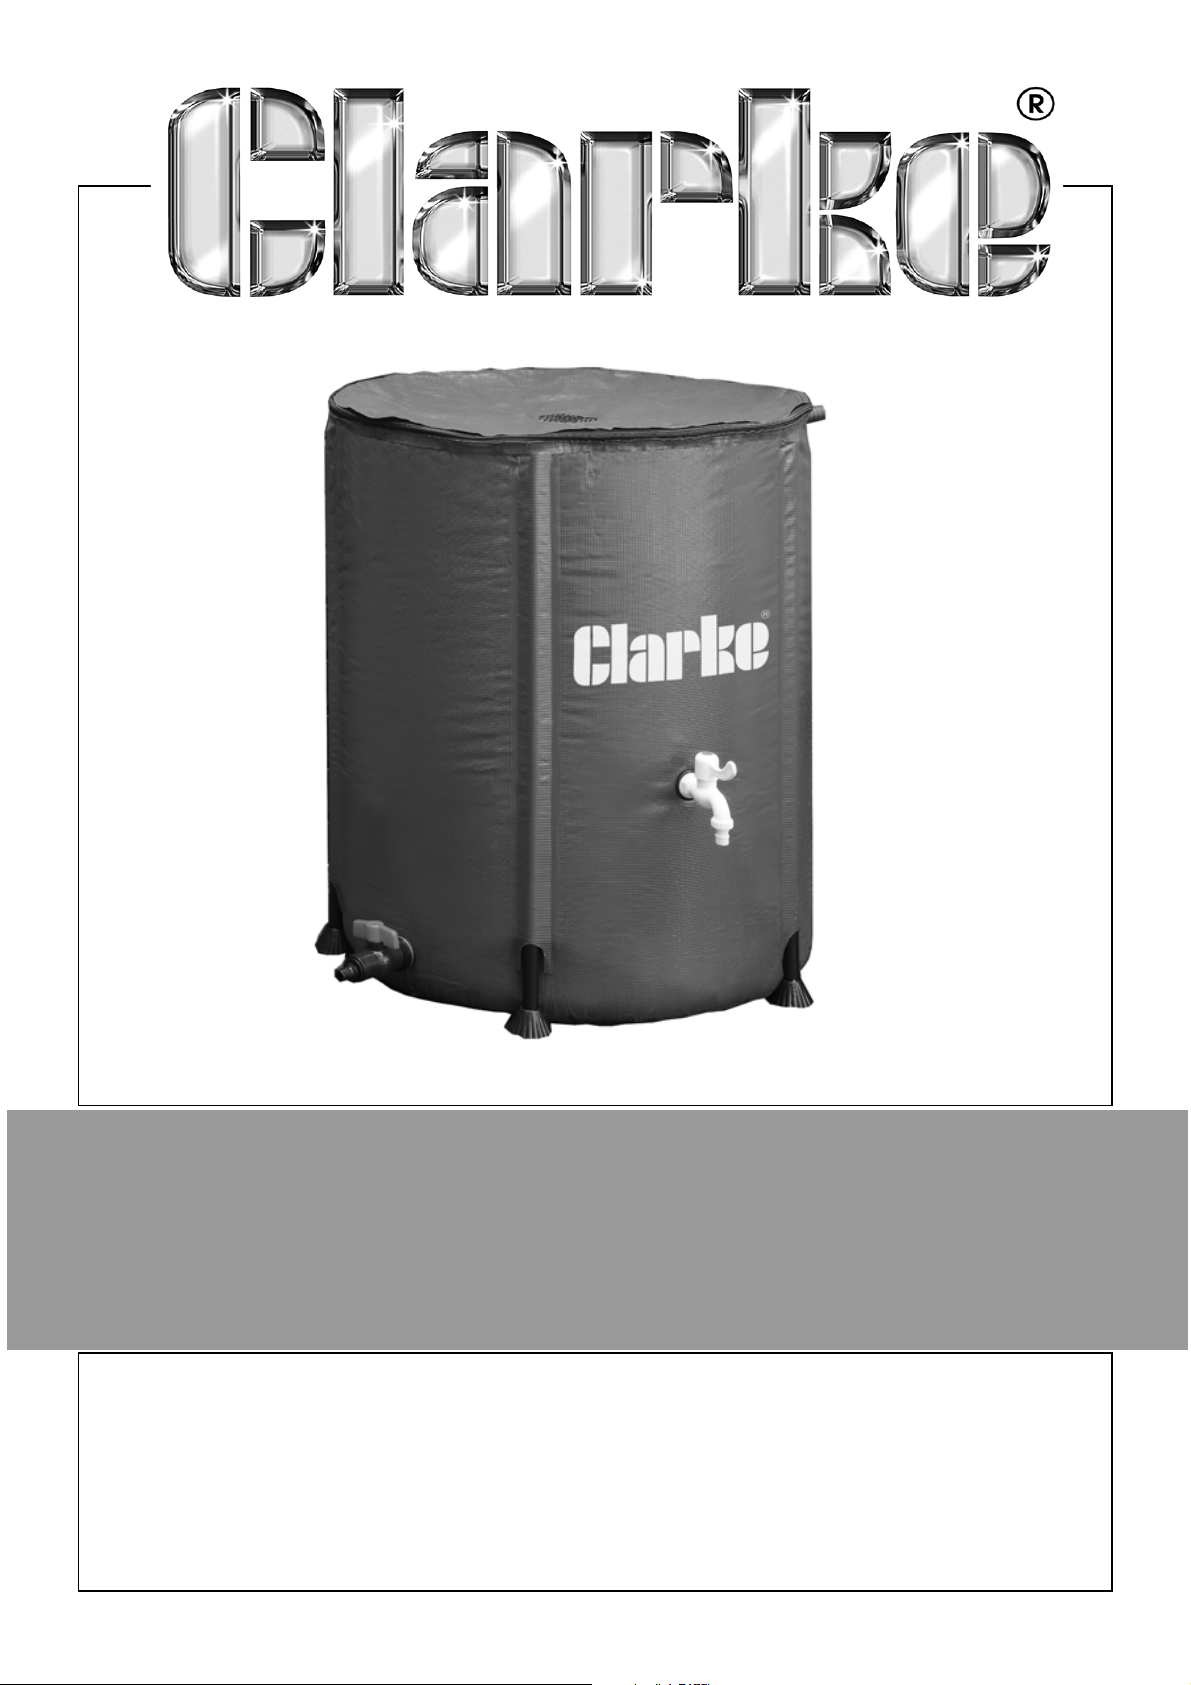
200L COLLAPSIBLE WATER BUTT
MODEL NO: WB200
PART NO: 3402238
ASSEMBLY & USER
INSTRUCTIONS
D1021
Page 2
GUARANTEE
This product is guaranteed against faulty manufacture for a period of 12
months from the date of purchase. Please keep your receipt which will be
required as proof of purchase.
This guarantee is invalid if the product is found to have been abused or
tampered with in any way, or not used for the purpose for which it was
intended.
Faulty goods should be returned to their place of purchase, no product can
be returned to us without prior permission.
This guarantee does not effect your statutory rights.
SPECIFICATIONS
Product Part No. WB200
Volume 200 Litres
Dimensions (L x W x H) 590mm x 590mm x 710mm
Weight (Empty) 2.05kg
Weight (Full) 202.05kg
Material Ripstop PVC
Temperature Range -35°C to 80°C
2
Parts & Service: 020 8988 7400 / E-mail: [email protected] or [email protected]
Page 3
OVERVIEW
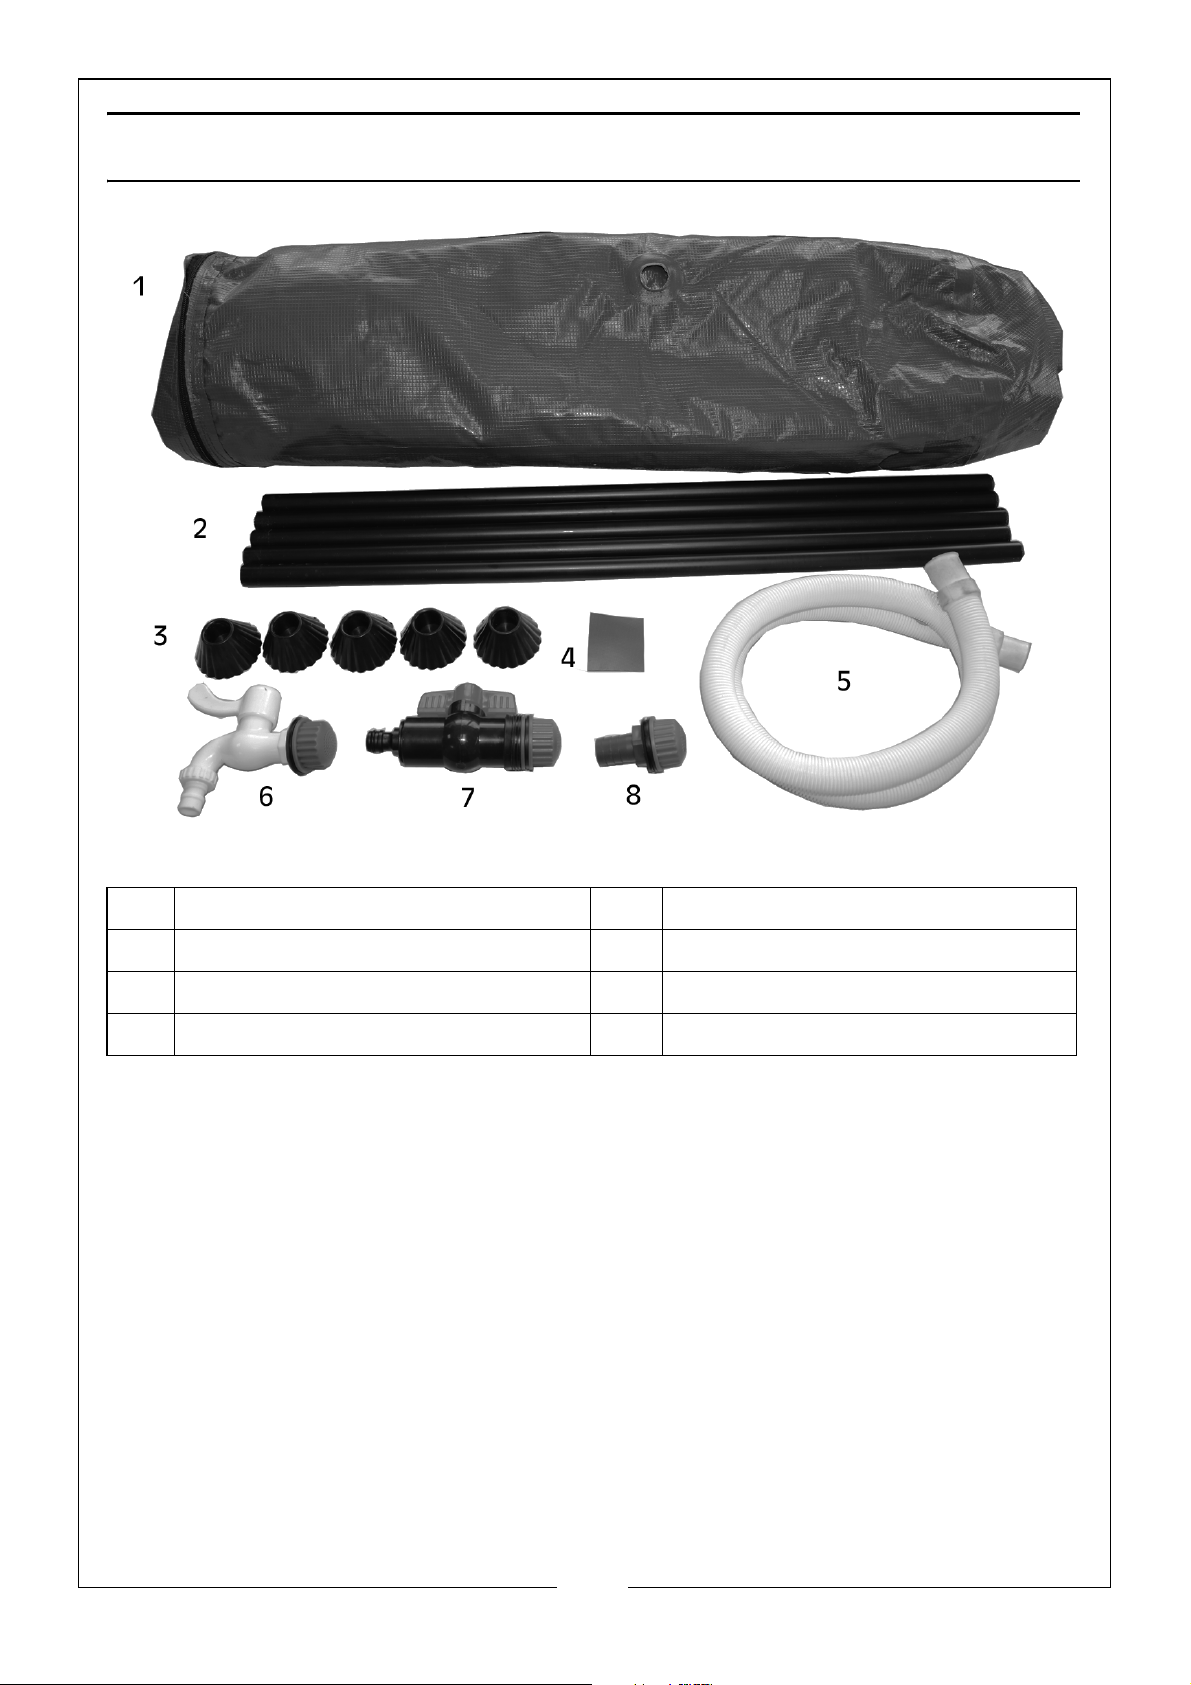
1 200Lt Ripstop PVC Water Tank 5 32mm x 1.2m Hose
2 Support Poles (x5) 6 High Outlet Tap
3 Feet (x5) 7 Low Drain Tap
4 Ripstop PVC Repair Patch 8 Overflow Pipe
3
Parts & Service: 020 8988 7400 / E-mail: [email protected] or [email protected]
Page 4
ASSEMBLY
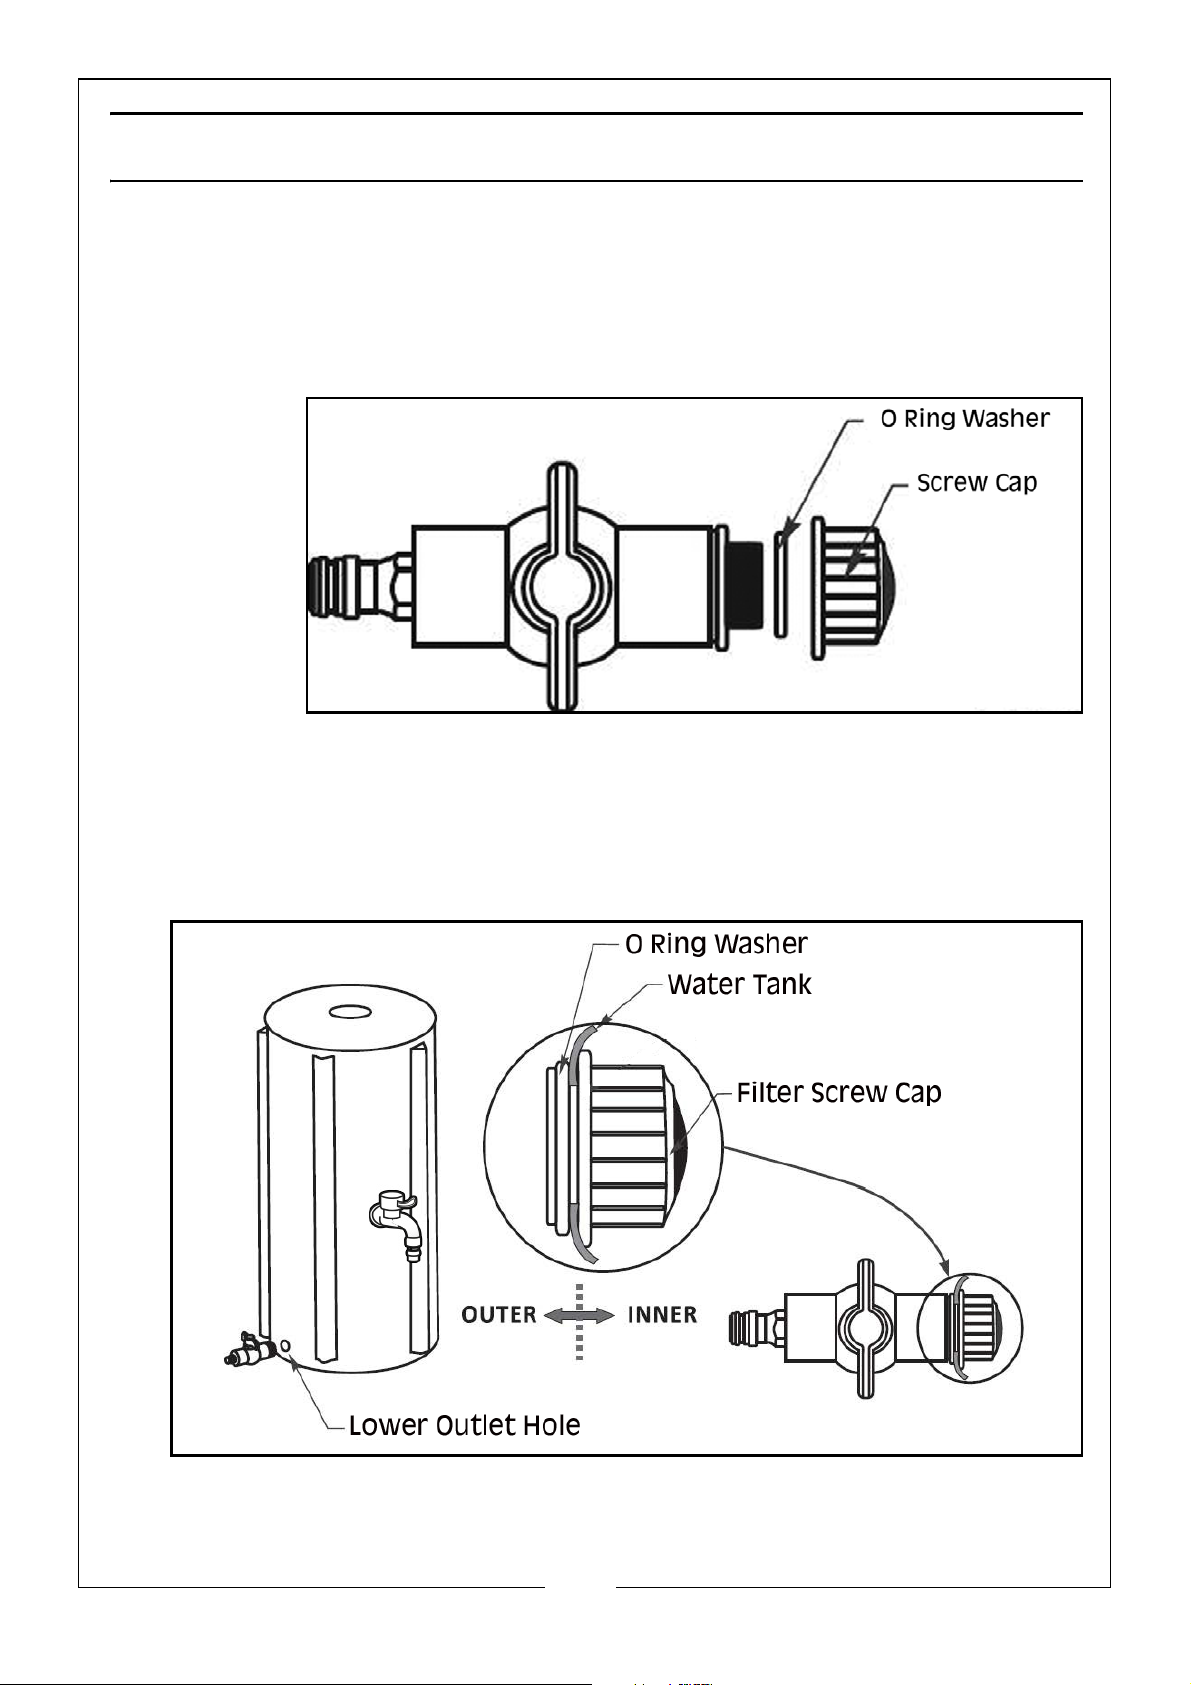
NOTE: Steps 1 & 2 only shows the lower drain tap as an example, but also
applies to the high outlet tap.
1. Take the outlet/drain taps and unscrew the filter caps and O ring washers.
2. Place the main body of the outlet/drain tap through the outlet holes in the
tank exterior and replace the O ring and filter screw cap on the inside of
the water tank, as shown.
4
Parts & Service: 020 8988 7400 / E-mail: [email protected] or [email protected]
Page 5
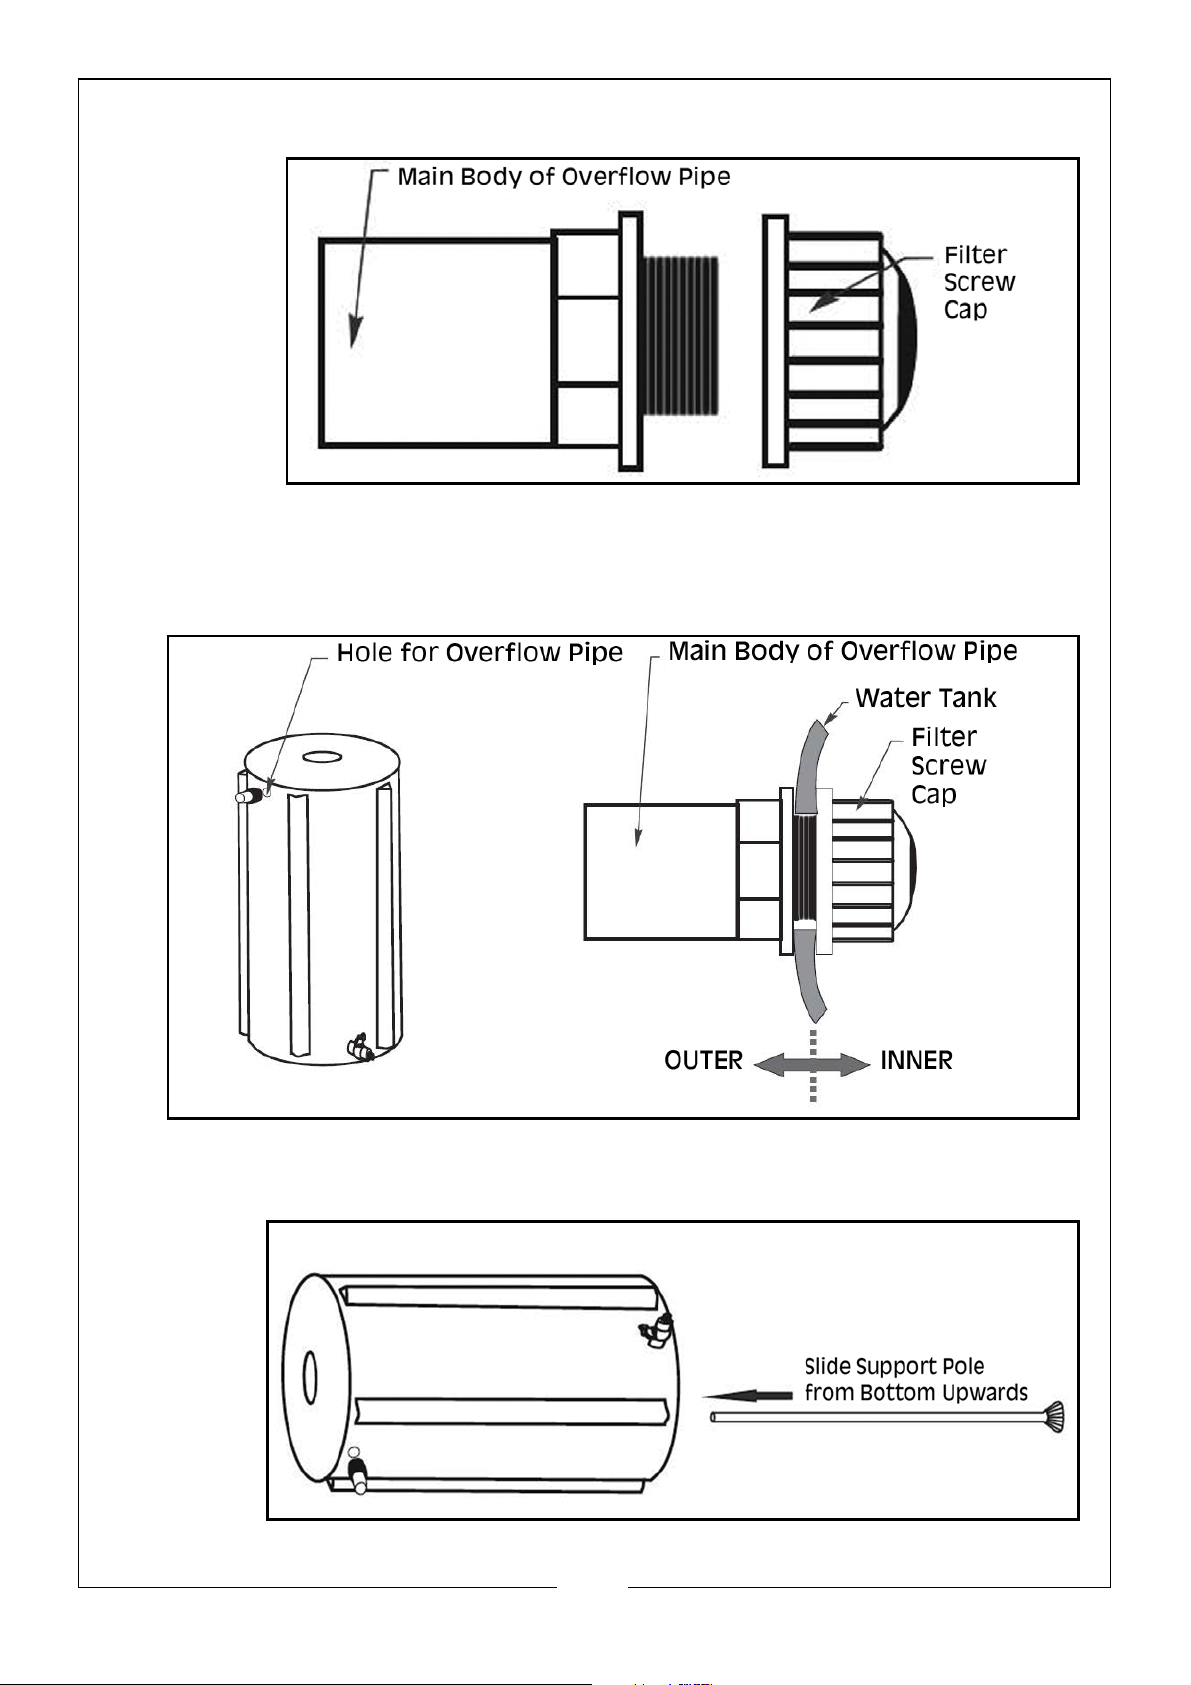
3. Take the overflow pipe and unscrew the filter screw cap.
4. Place the main body of the overflow pipe through the outlet hole in the
tank exterior and replace the filter screw cap on the inside of the water
tank, as shown.
5. Place the feet on the support poles and slide the poles into the loops on
the outside of the water tank.
5
Parts & Service: 020 8988 7400 / E-mail: [email protected] or [email protected]
Page 6
OPERATION & MAINTENANCE INSTRUCTIONS
OPERATION
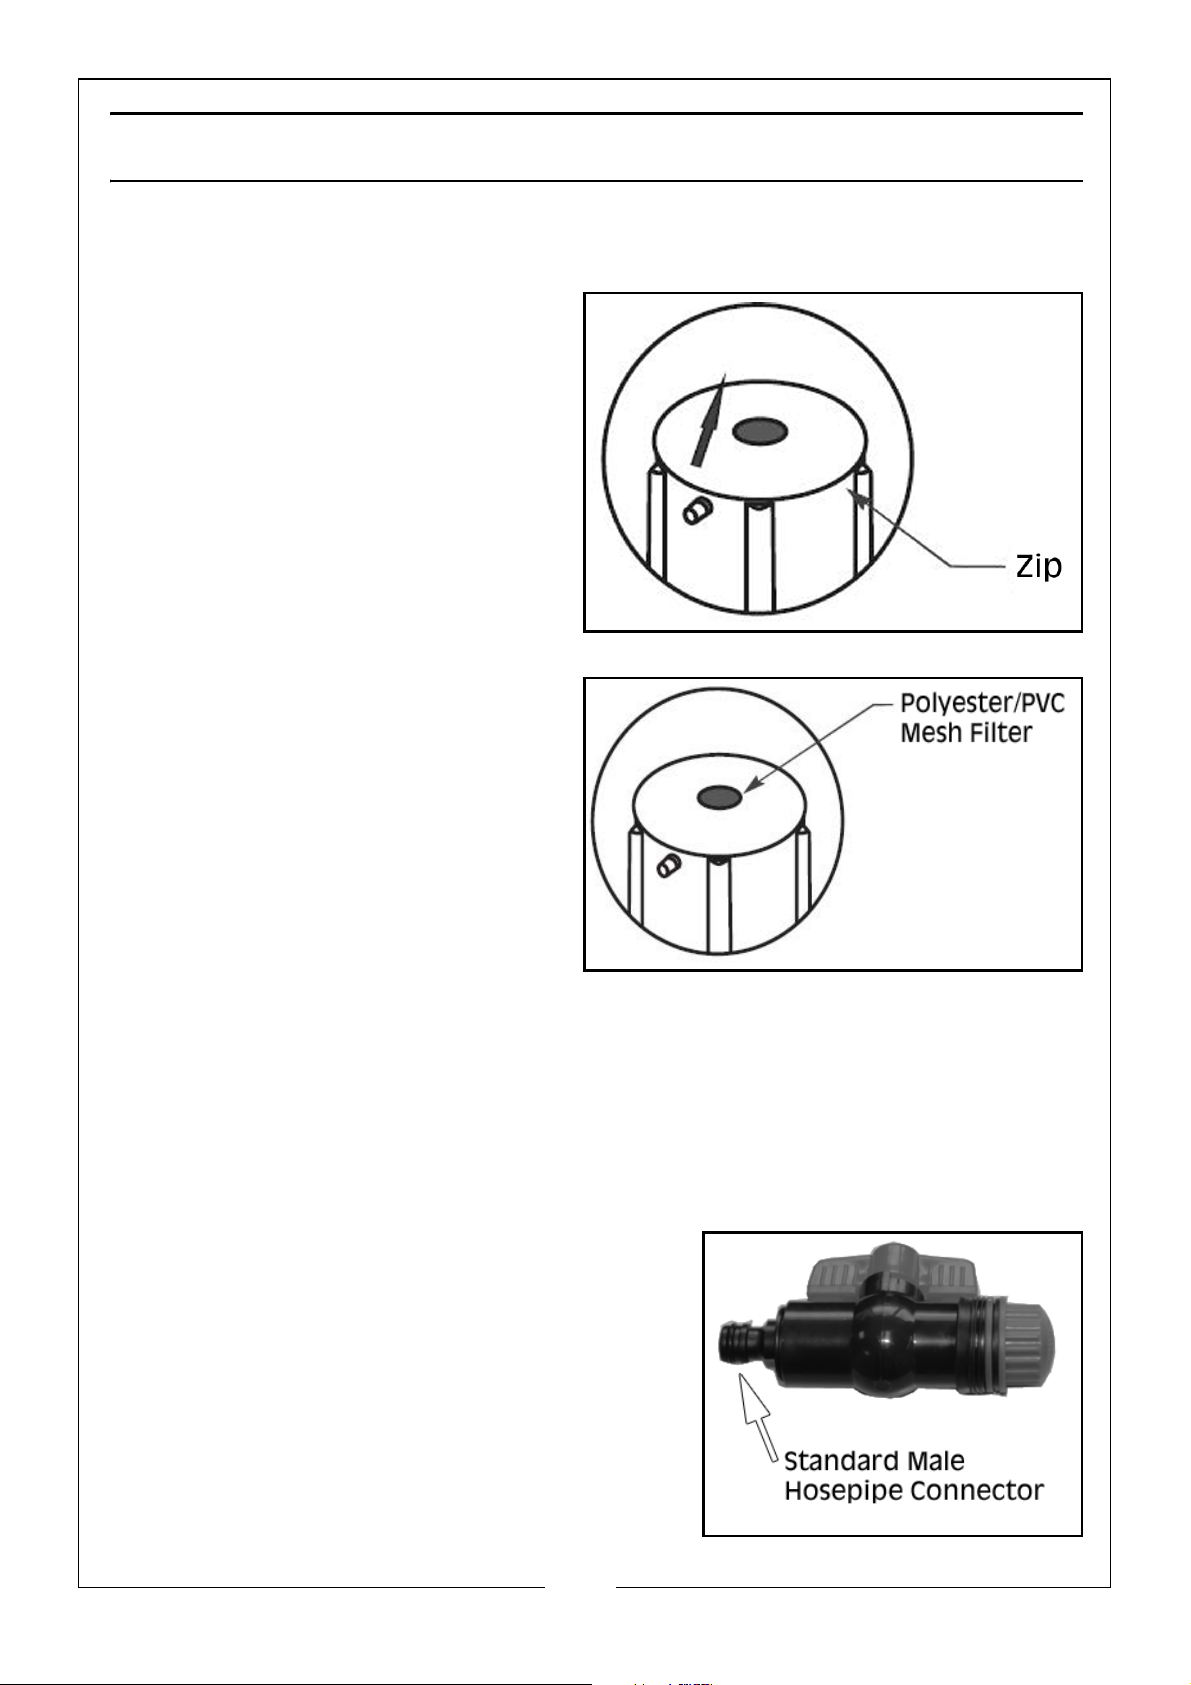
1. The lid of the water tank has a
dual zip for easy access to the
water.
2. The lid has a polyester/PVC
mesh filter in the centre to stop
large impurities such as leaves
entering the tank.
3. If required, the 1.2m hose can be attached to the overflow pipe to direct
any overflow away from the water tank and surrounding area.
4. Once assembled, place the water tank on level and solid ground to ensure
it is well balanced and unlikely to topple over.
5. Once in place, pour a small quantity of water into the tank in order to
stabilise it.
6. The lower tap is designed to attach to a
standard hosepipe female connector
(not supplied). This will allow the tank to
be connected to a variety of garden/
maintenance tools such as pressure
washers.
6
Parts & Service: 020 8988 7400 / E-mail: [email protected] or [email protected]
Page 7

MAINTENANCE
1. To ensure the lifetime of the product, ALWAYS clean it after each use, using
a stiff bristled brush
2. ALWAYS thoroughly dry the water tank before storing it for any length of
time.
3. ALWAYS store in a frost free environment.
4. ALWAYS check fittings and materials regularly for any damage or leaks.
5. The water tank is made of ripstop PVC. If a rip does appear, this can be
mended with the repair patch. ALWAYS test the adhesive on a small section
of the repair patch before use, as some adhesives will damage/melt the
material of the water tank.
7
Parts & Service: 020 8988 7400 / E-mail: [email protected] or [email protected]
Page 8

 Loading...