

Page 1
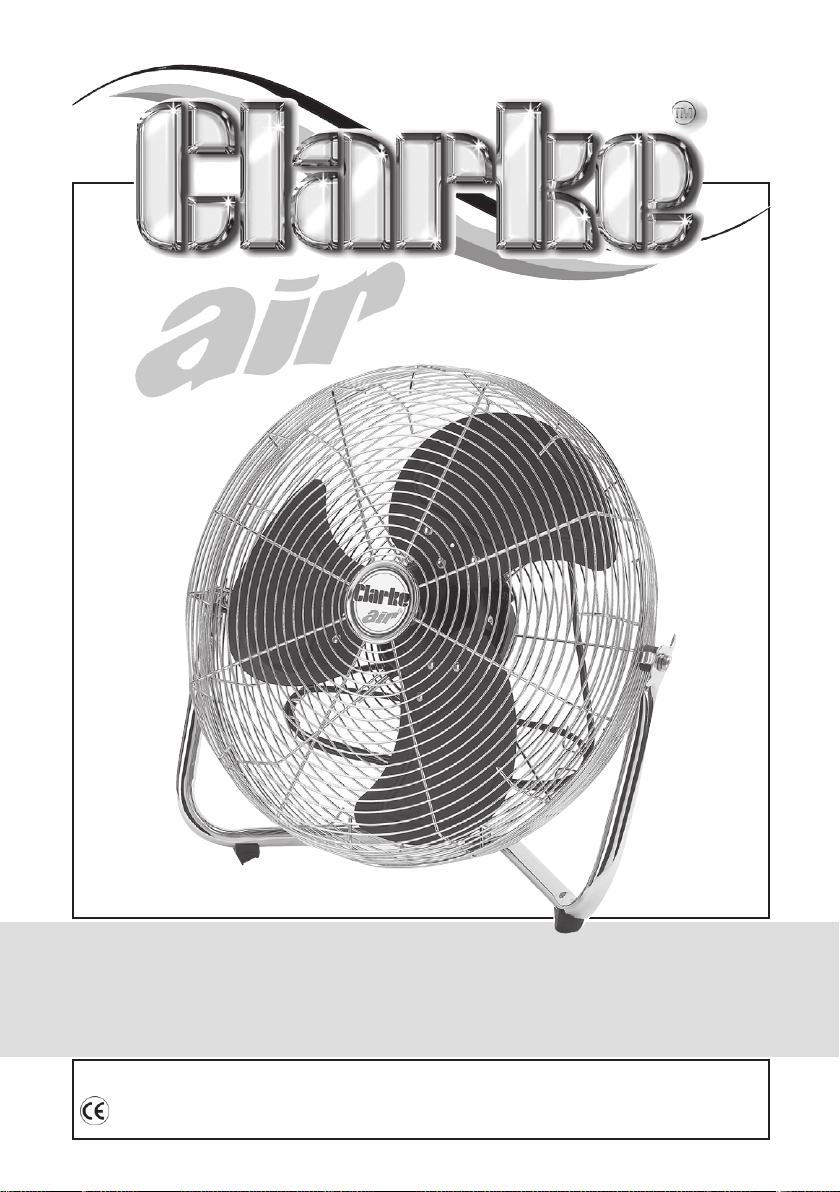
20” HIGH OUTPUT FAN
20” HIGH OUTPUT FAN
MODEL No: CDF20HV-B
Part No: 3231515
OPERATING & MAINTENANCE
INSTRUCTIONS
0108
Page 2
Please read these instructions carefully before operating the tool
Thank you for purchasing this CLARKE 20” HIGH OUTPUT FAN.
Before using the product, please read this manual thoroughly and carefully follow all instructions given. This is for your own safety and that of others around you,
and is also to help you achieve long and trouble free service from your new fan.
CLARKE GUARANTEE
This CLARKE product is guaranteed against faulty manufacture for a period of 12 months from the date of purchase. Please keep your receipt as
proof of purchase.
This guarantee is invalid if the product is found to have been abused or
tampered with in any way, or not used for the purpose for which it was
intended.
Faulty goods should be returned to their place of purchase, no product
can be returned to us without prior permission.
This guarantee does not affect your statutory rights.
PARTS & SERVICE TEL: 020 8988 7400
or e-mail as follows:
PARTS: [email protected]
SERVICE: [email protected]
Please note that the details and specifications contained herein are correct at the time of going to
print. However CLARKE International reserve the right to change specifications at any time without
prior notice. Always consult the machines data plate
- 2 -
Page 3

SPECIFICATIONS
This lightweight portable 230v fan is ideal for effective air movement in a wide range of
domestic and commercial applications. Constructed entirely from steel, it has a three speed
control, strong tilt stand and easy to carry handle.
Model: .................................................................................... CDF20HV-B
Part No: .................................................................................. 3231515
Voltage: .................................................................................. 230vac
Wattage: ................................................................................150w
Speeds: ...................................................................................3
Dimensions (LWH): ................................................................. 620 x 240 x 570 mm
Weight: ................................................................................... 6.2 kg
LIST OF CONTENTS
Before commencing assembly, check for damage and or shortages etc, any damage or
shortage should be reported to your Clarke dealer where the fan was originally
purchased.
• 1 x Fan Assembly
• 1 x Stand
SAFETY PRECAUTIONS
• DO NOT use in dusty environments.
• DO NOT use in environments with high fumes from chemicals etc.
• DO NOT use as an extractor fan.
• DO NOT use in areas of high humidity/water vapour, i.e. bathrooms etc.
• DO NOT connect fan to ducting system.
Cleaning
• Ensure the fan is switched off, then remove the plug from the socket.
• Do not use any harmful cleaning agents for cleaning.
• Only use a clean soft dampened cloth and wipe dry after cleaning.
• DO NOT bend the blades.
• The motor bearings are permanently sealed and do not require any additional
lubrication.
- 3 -
Page 4
ELECTRICAL CONNECTIONS
This product is provided with a standard 13 amp, 230 volt (50Hz), BS 1363 plug, for
connection to a standard, domestic electrical supply. Should the plug need changing at
any time, ensure that a plug of identical specification is used.
WARNING ! THIS APPLIANCE MUST BE EARTHED
This machine must be wired up in accordance with the following colour code:
BLUE - NEUTRAL
BROWN - LIVE
GREEN/YELLOW - EARTH
• Connect the BLUE coloured cord to the plug terminal marked “N”
• Connect the BROWN coloured cord to the plug terminal marked “L”
• Connect the GREEN/YELLOW coloured cord to the plug terminal marked “E”
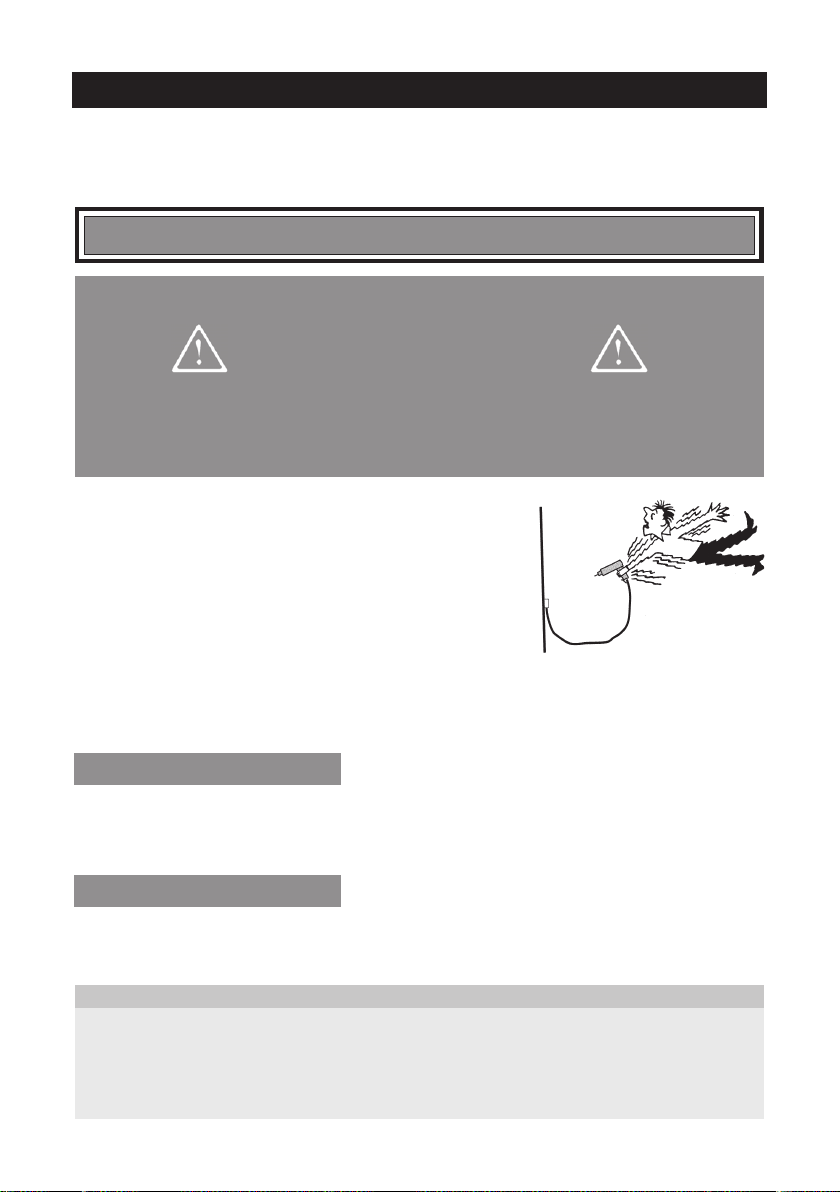
If this appliance is fitted with a plug which is moulded on to
the electric cable (i.e. non-rewireable) please note:
1. The plug must be thrown away if it is cut from the
electric cable. There is a danger of electric shock if it
is subsequently inserted into a socket outlet.
2. Never use the plug without the fuse cover fitted.
3. Should you wish to replace a detachable fuse carrier, ensure that the correct
replacement is used (as indicated by marking or colour code).
4. Replacement fuse covers can be obtained from your local dealer or most electrical
stockists.
Fuse Rating
The fuse in the plug must be replaced with one of the same rating and this replacement
must be approved to BS1362.
If in doubt, consult a qualified electrician. Do not attempt any electrical repairs yourself.
Cable Extension
Always use an approved cable extension suitable for the power rating of this tool (see
specifications), the conductor size should also be at least the same size as that on the
machine, or larger. When using a cable reel, always unwind the cable completely.
IMPORTANT:
If a cable extension is needed, it is essential to comply with the following data.
Voltage Extension length Cable section
230v Up to 20m 2.5mm
230v From 20 to 50m 4mm
- 4 -
2
2
Page 5
ASSEMBLY
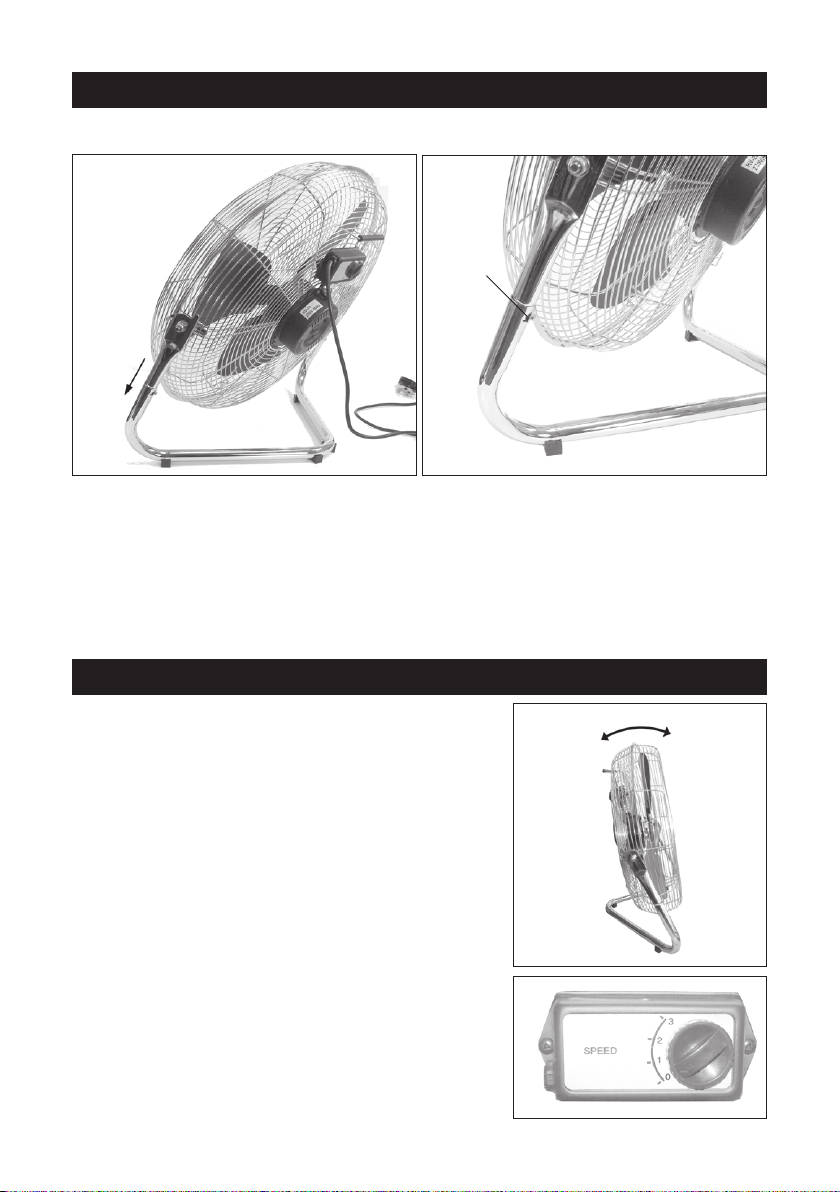
Screw
1. Slide the fan assembly into the stand as shown.
2. Use the 2 screws and 2 washers supplied to fix the stand in place, one screw and
washer should be used on each side of the stand.
WARNING
NEVER OPERATE THE FAN WITH EITHER FRONT OR REAR GRILLS REMOVED.
OPERATION
Tilting the fan
You can adjust the angle of the fan by holding
the base and grill and tilting the fan to the
required angle.
Adjusting the Speed
There are 3 speed settings available:
1. Rotate the dial to the speed you require.
2. Set the Dial to 0 to turn the fan off.
- 5 -
Page 6
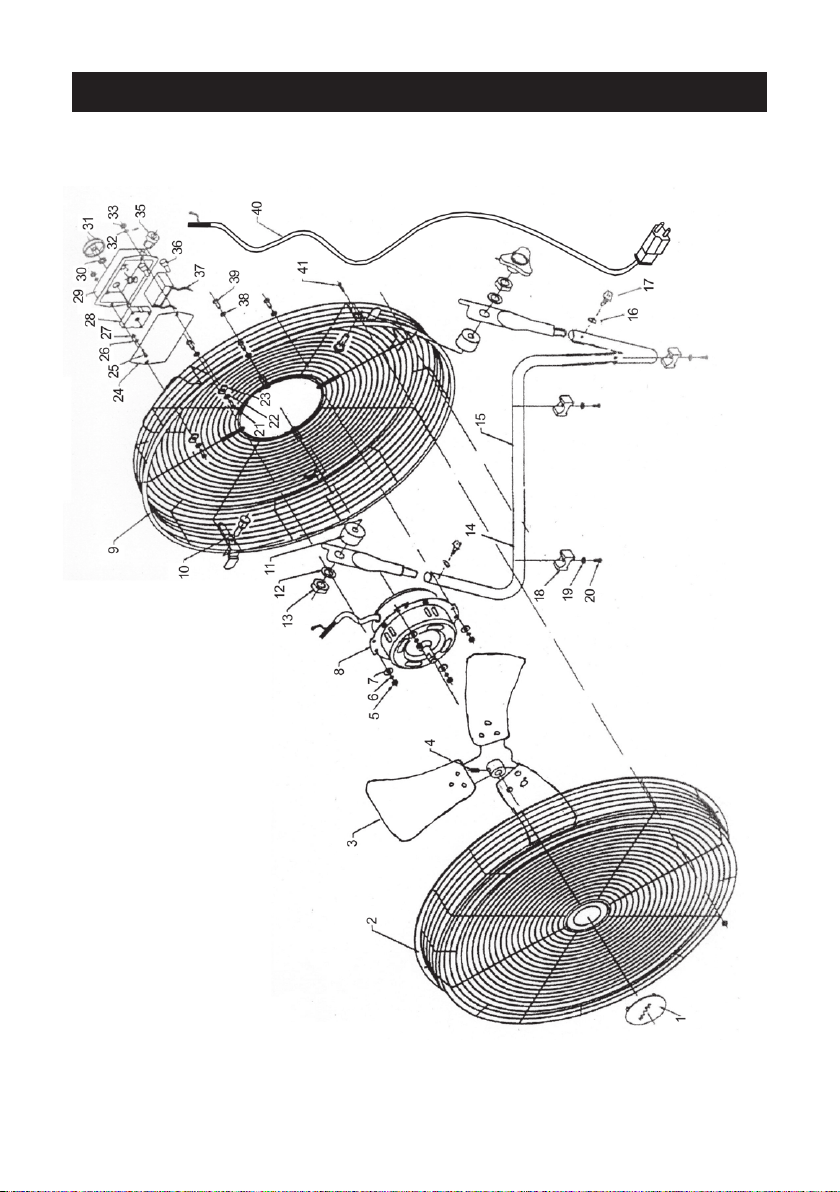
PARTS DIAGRAM
- 6 -
Page 7
PARTS LIST
ITEM PART NUMBER DESCRIPTION QTY
1 OTCDF20HVB01 BRAND NAME PLATE 1
2 OTCDF20HVB02 FRONT GRILL 1
3 OTCDF20HVB03 FAN BLADE 1
4 OTCDF20HVB04 FAN HOLDER 1
5 OTCDF20HVB05 NUT 4
6 OTCDF20HVB06 SPRING WASHER 4
7 OTCDF20HVB07 WASHER 4
8 OTCDF20HVB08 MOTOR 1
9 OTCDF20HVB09 REAR GRILL 1
10 OTCDF20HVB10 SCREW 2
11 OTCDF20HVB11 SPACER 2
12 OTCDF20HVB12 FLAT WASHER 2
13 OTCDF20HVB13 NUT 2
14 OTCDF20HVB14 STAND A 2
15 OTCDF20HVB15 STAND B 1
16 OTCDF20HVB16 WASHER 2
17 OTCDF20HVB17 SCREW 2
18 OTCDF20HVB18 FEET 3
19 OTCDF20HVB19 WASHER 3
20 OTCDF20HVB20 SCREW 3
21 OTCDF20HVB21 SCREW 2
22 OTCDF20HVB22 TOOTH WASHER 2
23 OTCDF20HVB23 WASHER 2
24 OTCDF20HVB24 SWITCH HOUSING COVER 1
25 OTCDF20HVB25 EARTH SCREW 1
26 OTCDF20HVB26 TOOTH WASHER 1
27 OTCDF20HVB27 NUT 1
28 OTCDF20HVB28 SWITCH 1
29 OTCDF20HVB29 SWITCH HOUSING 1
30 OTCDF20HVB30 NUT 1
31 OTCDF20HVB31 SWITCH KNOB 1
32 OTCDF20HVB32 SPRING WASHER 1
33 OTCDF20HVB33 NUT 1
34 OTCDF20HVB34 PROTECTION RING 1
35 OTCDF20HVB35 CABLE CLIP 1
36 OTCDF20HVB36 CONNECTOR 2
37 OTCDF20HVB37 CAPACITOR 1
38 OTCDF20HVB38 TOOTH WASHER 4
39 OTCDF20HVB39 SCREW 4
40 OTCDF20HVB40 CABLE 1
41 OTCDF20HVB41 SCREW 8
- 7 -
Page 8

 Loading...