

Page 1
Cl
ar
ity P
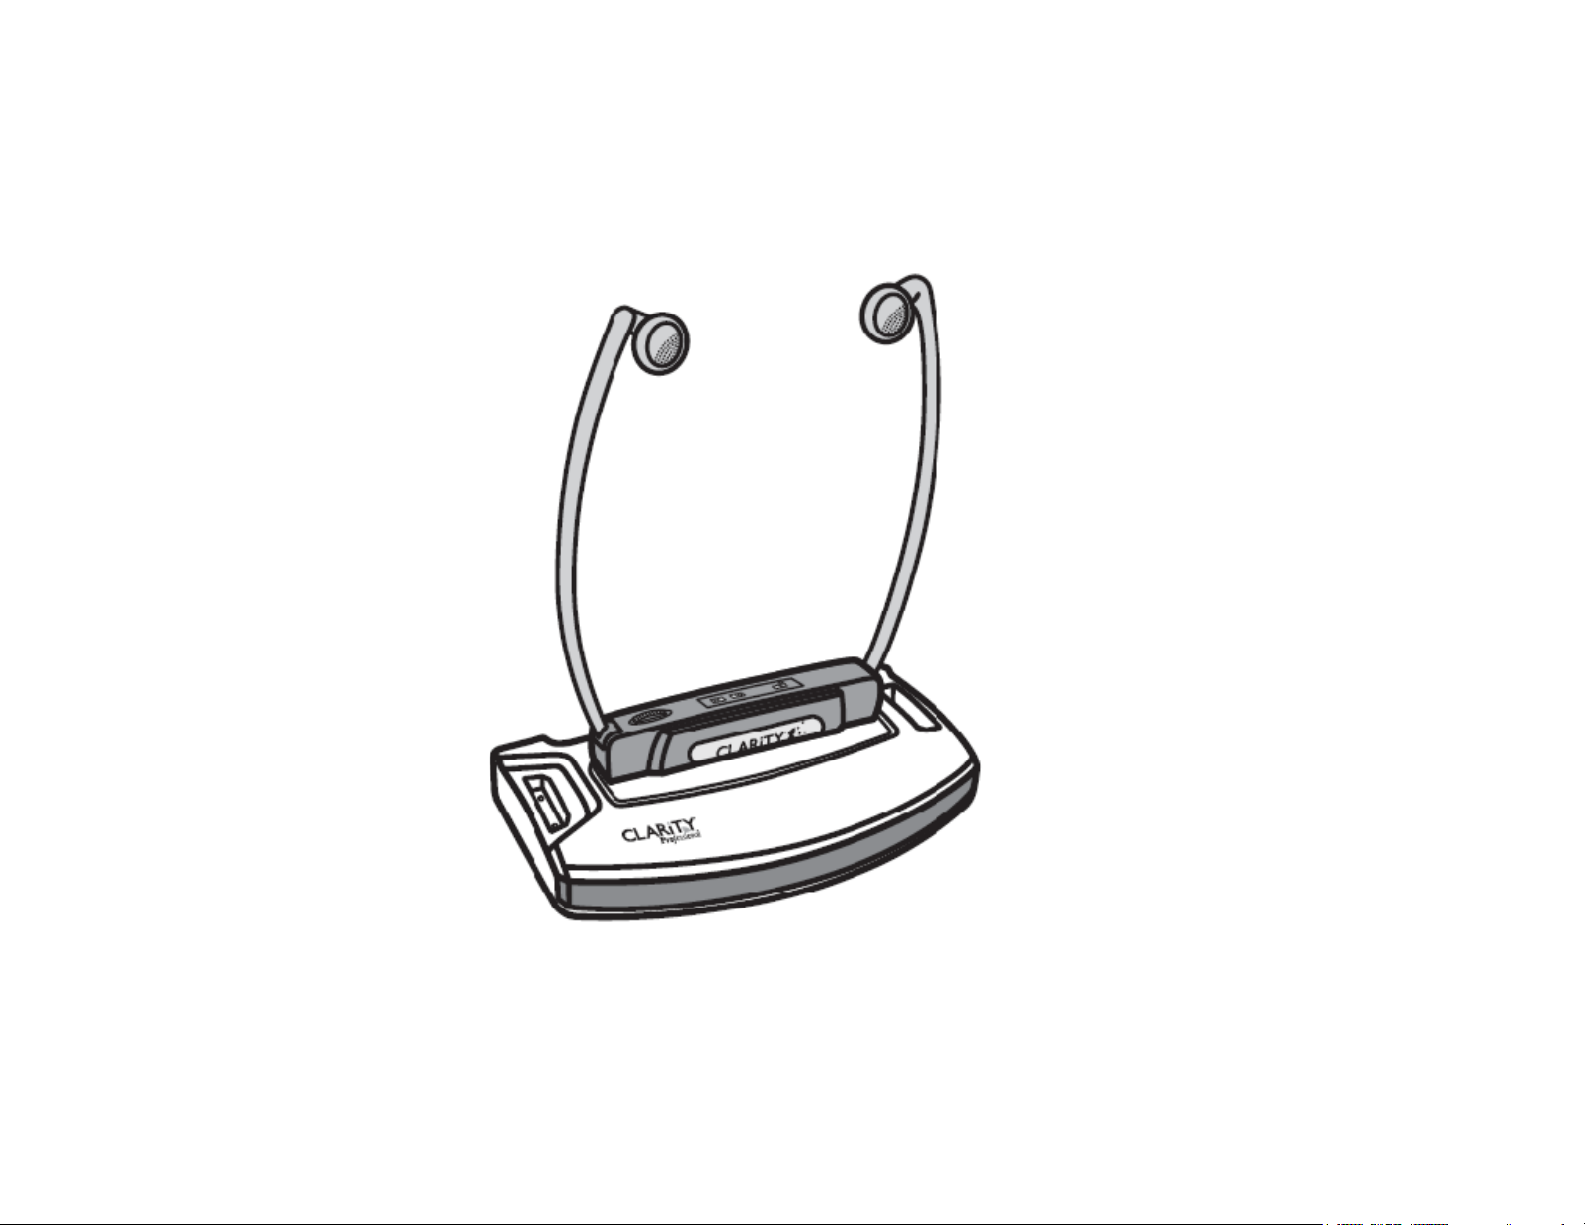
l® C120™ Wi
TV A
plifi
rofessiona
reless
m
er
Training
Page 2

C120 Training
Product Positioning
It is perfect for those with a moderate-to-severe hearing loss
who have difficulty understanding TV dialog. The C120 allows
the end-user to hear the TV clearly and comfortably without
disturbing others.
Sound and Comfort: Together Again
Page 3

C120 Training
dBSPL
Features
Listen to the TV in wireless
Stereo Surround Sound!
Featuring Clarity Power with
amplification up to 50dB at 124
Telephone Call Notification
lets the user know when the
phone is ringing.
The Public IR feature allows
the headset to be used with
public IR systems at places like
theaters and museums.
Compatible with TVs, Stereos,
MP3 Players.
Page 4

C120 Training
p
p
Ability t
Features
Clarity Power: 50dB of Amplification
Adjustable Tone and Balance
Multi Headset Capable
Range: 38 ft. (Line of Sight)
Automatic Power On/Off (Headset)
High Fidelity Surround Sound
Public IR Com
Two (2) Rechargeable Batteries:
4 hour usage/charge time
Headset Carrying Pouch
atible
o charge 3 at a time
Page 5
C120 Training
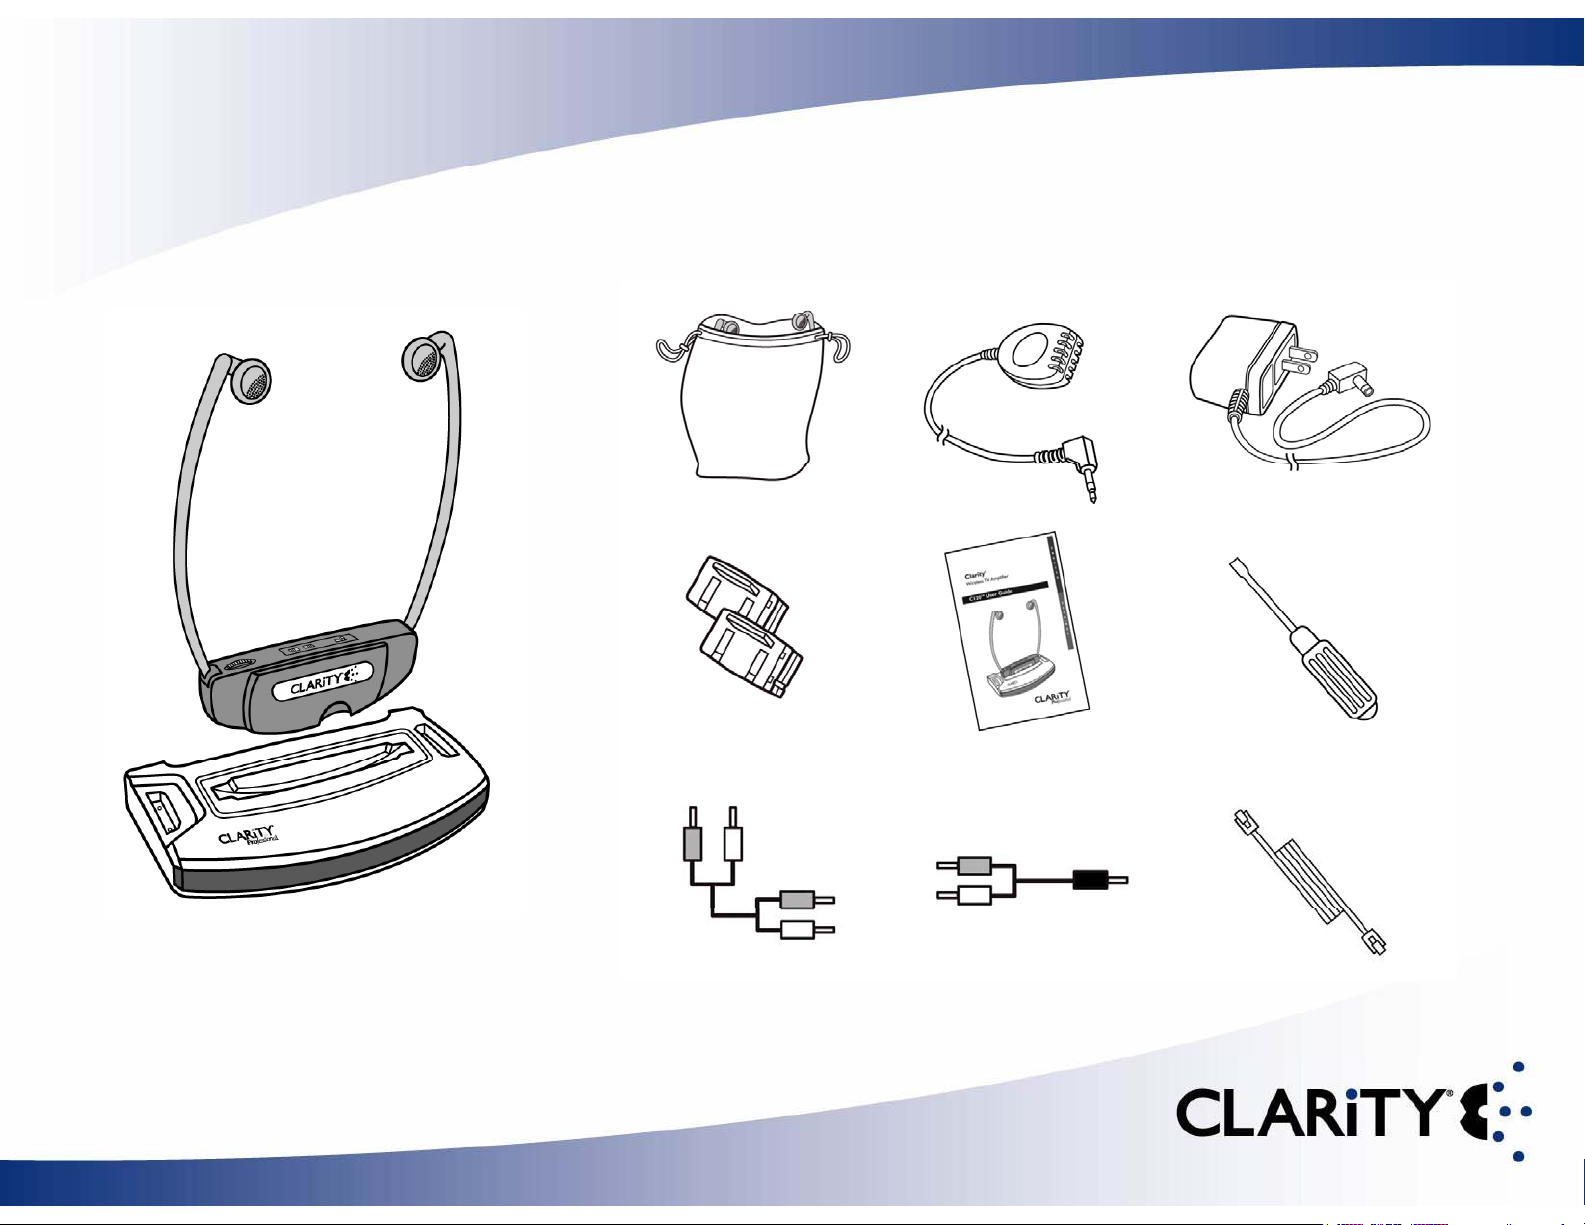
t
Parts Checklis
Page 6
C120 Installation
r
g
in the direct sunlight
Sunlight and
y
gg
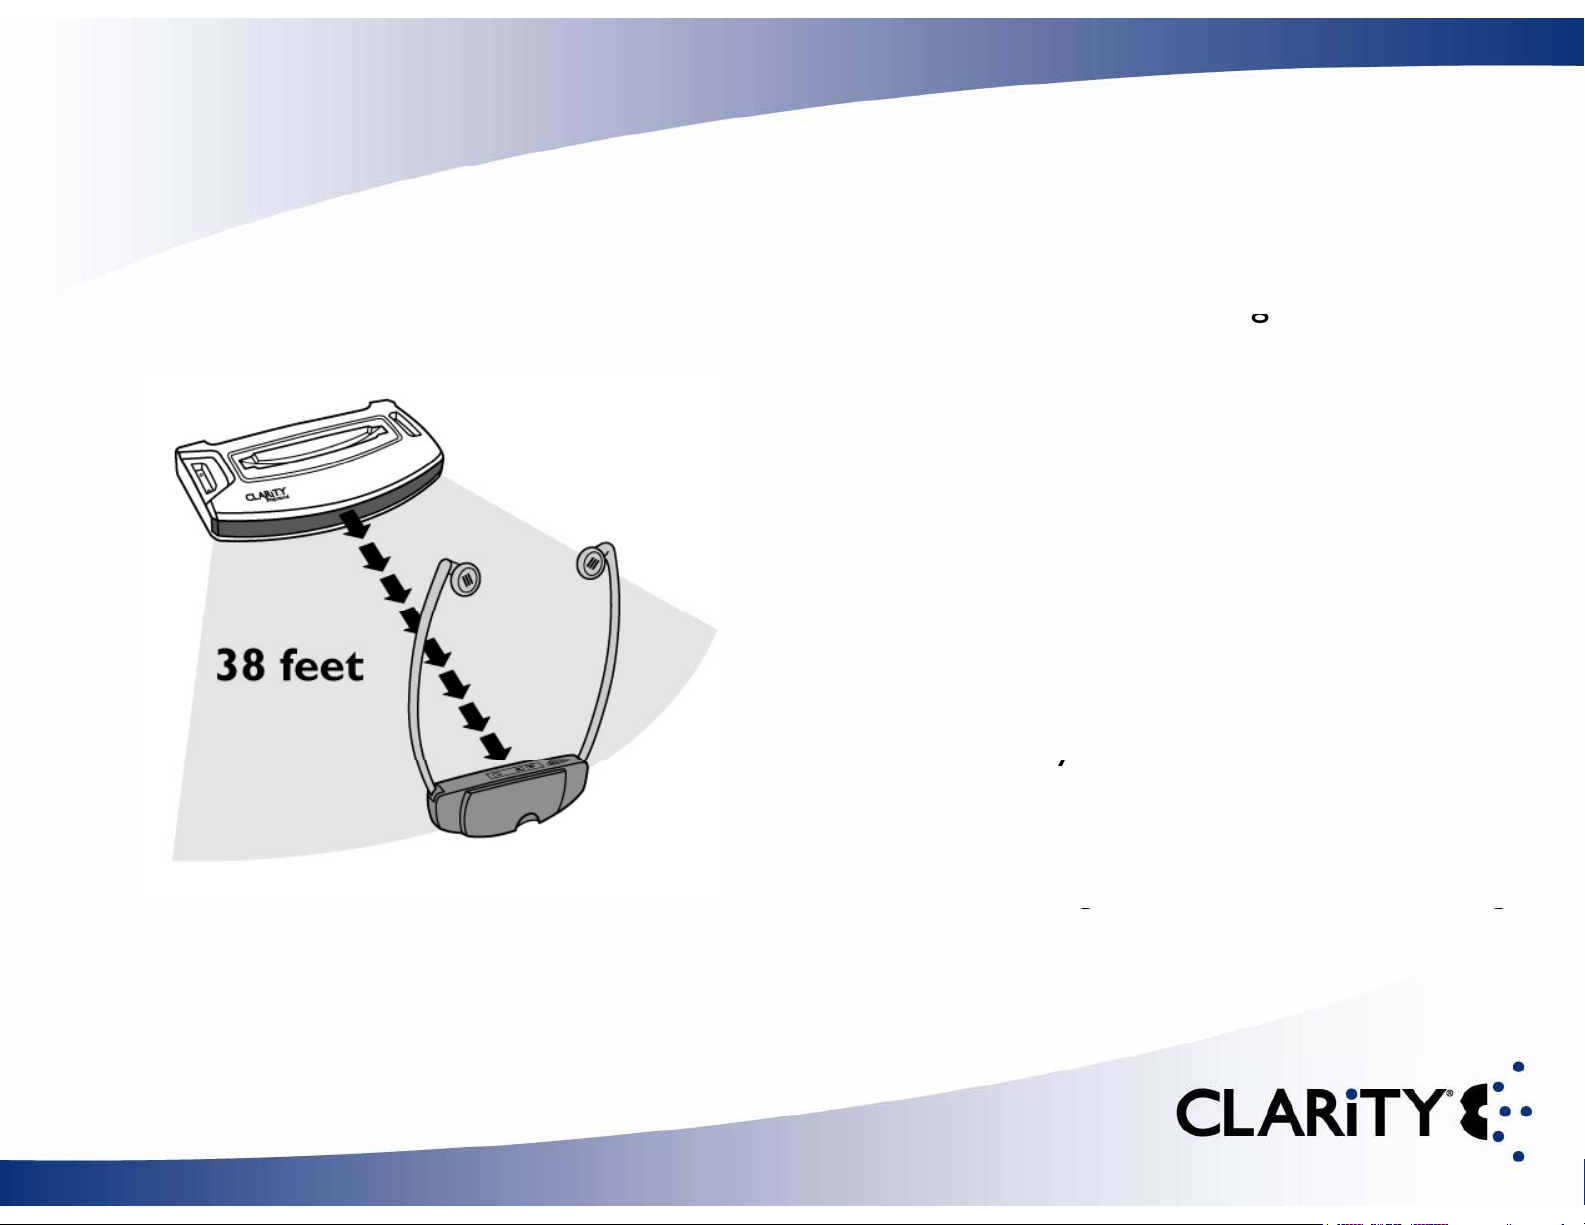
Transmitte
1. For the clearest signal, place the
base at the same height of the
viewing level.
2. Do not place the transmitter (base)
.
fluorescent lights can cause
interference.
3. The headset must be used in the same
room as the base and no more than 38
feet away.
4. IR type of invisible light and requires a
“line of sight” to work. If something
blocks the headset from the base, it
will create a “shadow” and the unit will
not work.
Page 7

C120 Installation
r
Transmitte
Connect the Power
1. Connect the AC Adapter into the DC12V port located
on the back of the base.
2. Plug the AC Adapter into a wall outlet.
Page 8

C120 Installation
r
1.Ch
TV
2.D
Transmitte
A
B
Selecting the Appropriate Cord
eck the
or other device for the type of Audio
Outputs available.
epending on the outputs available, select the
appropriate cord included with the C120.
C
Page 9

C120 Installation
r
Outputs:
and connect to both the device outputs and the C120 base
Transmitte
A. If the device has both Red (Right) and White (Left) RCA
1. Use the provided RCA Stereo Cable pictured above
2. Set the “Stereo/Mono” switch on base to “Stereo.”
.
Page 10

C120 Installation
r
Transmitte
B. If the device has a 3.5mm (Std. Headphone) Output:
1. Use the provided RCA –3.5mm Stereo Cable pictured above
and connect to both the device output and the RCA ports on
the C120 base.
2. Set the “Stereo/Mono” switch on base to “Mono.”
3. This option is for use with all other types of audio devices.
Page 11

C120 Installation
r
2
Connect it to the back of the C120 base in the Mic port
Transmitte
C. If the device has no Output port:
1. Use the provided Microphone pictured above.
.
3. Place the Microphone close to the speaker of the TV or
other device.
.
Page 12

C120 Installation
g
gpg
Telephone Ring Notification
The C120 has the ability to produce an audible tone
heard throu
h the headset when the telephone rings.
First, Plug the telephone cord coming from the wall into the “Line”
port at back of base.
Next, connect the phone cord from the C120 port labeled
“Phone” to your telephone
Page 13

C120 Operation
gy
The battery takes four (4) hours to fully
Backup batteries may be bought and
Batteries
Install the rechargeable battery in
bottom of the headset and place into base
charge
•
placed in the additional charging dock
• At full volume, the battery will last for
approx. 4 hours
Page 14

C120 Operation
t
When the headset arms are
extended
the unit
N
The inf
Headse
,
automatically powers ON.
The C120 will turn OFF, if there is no audio
signal detected.
ote:
rared sensor that
communicates with the transmitter base is
on the front of the headset and should
remain within sight of the C120 base.
Page 15

C120 Operation
t
2. Switch to
Away
to use with public infrared systems
Headse
On top of the headset there is a “Home and Away” Switch
1. Switch to “Home” to listen to the television with the included base.
“
”
.
Page 16

C120 Operation
t
+
p
Headse
The Volume Control is located on the top of the headset
_
1. To increasethe volume turn the wheel in toward the “+”
2. To decrease the volume turn the wheel toward the “-”
Page 17

C120 Operation
t
There are two controls:
1
For
the
right earphone
Headse
The tone control is located on the back of the headset
The screwdriver will be needed to adjust this control
.
2. For the left earphone
Page 18

Technical
p
p
Di
1/16”L
5/8”W
1/8”H (17.9
AC Adapter:
100
240V, 50/60 Hz, 0.15 Amps
y
y
T
MH
8MH
Microphone Input:
3.5 mm jack for supplied TV microphone
S
ecifications
Transmitter Information
mensions:7
Weight: 5.2 oz (147g)
-
Charging Docks: Charges one (1) C120 headset and two (2) additional
Batteries in the auxiliar
Auto Off Power: Transmitter turns off after it has not detected audio
signal for 90 seconds.
x 3
docks.
x 1
cm x 9.2cm x 2.8xm)
ransmitting Frequency:2.3
Transmitter Range: Approx. 38 ft
Audio Cable Input: One (1) RCA cable, one (1) RCA to 3.5mm cable
z and 2.
z
.
Page 19

Technical
p
p
Frequency Received:
2.3MHz and 2.8MHz from transmitter, 95kHz from
y
yppqy
yp
)
lasts 500 charges (C120 comes with 2 batteries, allowing eight (8) hours of usage
S
ecifications
Headset Information
Weight: 1.75 ounces (49g) without battery, 2.5 ounces (58g) including battery
public IR systems.
Controls: “Home/Awa
volume wheel, tone and balance controls.
Amplified dB Level: 50dB, 124 dBSPL
” switch to set the headset to proper frequency,
Battery T
Battery Life: Four (4) hour usage time, four (4) hour charge time,
Time)
e: Nickel Metal Hydride (NiMH0, Rechargeable, weight is 0.3 oz
 Loading...