

Clam 10945, 10944, BIGFOOT XL6000TC, 9570, Stealth Spearfisher User Manual
...
M o d e l N o .
– 10945 –
S p e c i f i c a t i o n s
▪
Center Height - 9 0 i n c h e s
▪
Footprint – 1 1 . 5 ’ d i a m e t e r
▪
Hub-to-Hub - 1 4 0 x 1 4 0 i n c h e s
▪
W e i g h t – 60 l b s .
I n s t r u c t i o n N o . 105565
- C l a m C u s t o m e r S e r v i c e I n f o r m a t i o n -
NOTICE: Please contact Customer Service directly at the email address or phone number
below for any quality issues.
Customer Service Hrs: 9am to 4pm, Monday – Friday CST
Phone: 763-231-4120
Fax: 763-231-4121
Email: customerservice@clamcorp.com
** Warranty cannot be honored without an original, dated receipt ** IMPORTANT! PLEASE
READ: Warranty Information
This product is warranted to the original retail purchaser ( n o t t r a n s f e r a b l e ) t o be free from
manufacturers defects for one (1) year from the date of the original purchase. W a r r a n t y d o e s n o t
c o v e r c r a c k e d w i n d o w s , t e n t t e a r s , b r o k e n o r b e n t p o l e s d u e t o h i g h w i n d w e a t h e r
c o n d i t i o n s o r u n a t t e n d e d u s e . T h e p a r t will b e replaced or repaired (manufacturer’s option) i f
found defective within the one (1) year time frame. Warranty will be void if product has been subject to
neglect, misuse, improper installation, misapplication, alteration, or accident including, but not limited to,
improper maintenance or use of unauthorized parts or attachments. Please read this entire owner’s manual
to ensure proper installation, use, storage, and care for your Clam shelter.
To submit a Warranty Claim Request, please use one of the following methods:
•
Email: CustomerService@ClamCorp.com (Preferred Method)
•
Call: 763-231-4120
•
Write: Customer Service – Warranty Department
12135 Brockton Lane N.
Rogers, MN 55369
Information needed to submit a warranty claim: If you need to submit a warranty claim, please e- mail
Clam’s Customer Service Department at customerservice@clamcorp.com. In your e-mail, please include your
full name, address, phone number, a copy of your receipt, a brief description of the problem, and pictures to
clearly show the area(s) of concern. Clam’s warranty department will review your request and a Clam
representative will contact you regarding your claim status. If instructed by warranty department, all returns
must be returned with postage pre-paid.
- L i m i t a t i o n o f L i a b i l i t y -
It is expressly understood that Clam Corporation’s liability for its products, whether due to breach of warranty, negligence, strict liability, or
otherwise, is limited to the repair of the product as stated above. Clam Corporation is not liable for any injury, loss, damage, or expense, whether
direct or consequential, including but not limited to loss of use, income, profit, or damage to material arising in connection with the sale,
installation, use of, inability to use, or the repair or replacement of Clam Corporation products. Clam Corporation reserves the right to make
alterations or modifications in its products at any time, which in its opinion, may improve the performance and efficiency of the product. Clam
shall not be obligated to make such alterations or modifications to products already in service.
ESCAPE ICE THERMAL
p / n 110945
Page 2
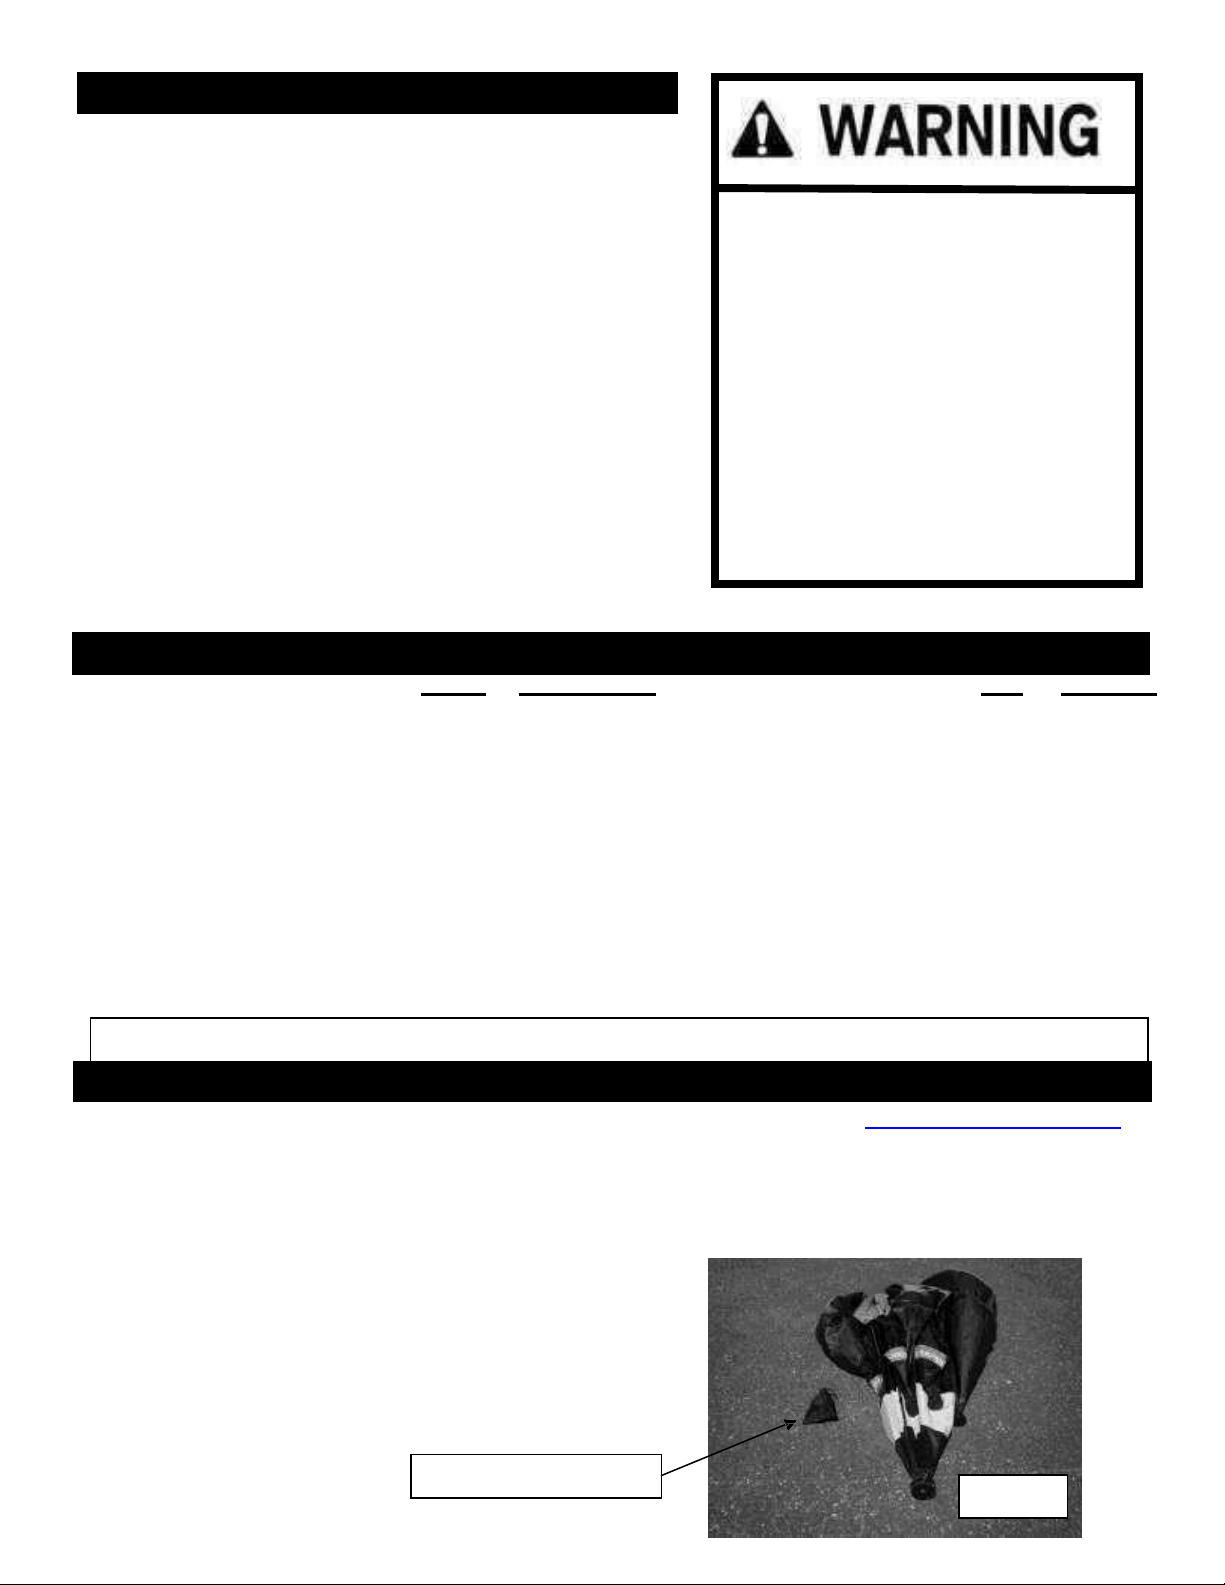
Photo 1
Anchor pouch
Photo 1
SAFETY INSTRUCTIONS
Please fully understand and follow all safety instructions
outlined in this booklet. Failure to do so could result in
severe injury.
•
Do not use open flame heaters in your ice shelter.
Open vents for cross ventilation.
•
Tent fabric will melt when contact is made with hot
surfaces (i.e., heaters).
•
Never leave shelter unattended when set up.
•
Due to the increase in traffic (snowmobiles, autos,
etc.) on area lakes, ice fishing can be hazardous at
night. If you choose to fish at night or in poor visibility
conditions, be sure to take precautions with lights or
reflectors to show drivers your whereabouts.
•
Use external tie-downs in excessive wind (15+mph)
PARTS LIST
ITEM # DESCRIPTION
QTY.
PART NO.
Customer service hours:
9am – 4pm, (CST) MondayFriday.
customerservice@clamcorp.com
Ice Anchors included in small carry pouch
BEFORE ATTEMPTING TO USE THIS PRODUCT ON THE ICE go t o ww w. cl a m c orp .co m ,
c lic k o n yo u r s h e lte r m o d e l , a nd wa t ch th e se t - u p vid e o p ro vid e d . T h en practice
setting up and taking down at home in the comfort of a heated area such as a garage or basement.
Repeat several times until comfortable. This will make your on-ice set-up much easier.
NO TOOLS ARE NEEDED FOR SET-UP OF YOUR CLAM SH ELT E R.
1.
Unzip the storage bag completely and remove
the shelter. Use care not to misplace the anchor
& rope pouch (Photo 1). It is advised to store your
anchors and pouch in the storage pocket of
your carry bag.
Replacement parts can be ordered on-line at www.clamcorp.com.
Death from asphyxiation may result from use
oxygen depleting heaters. Open all
vents for fresh air ventilation.
Injury or death may result from fire if tent
fabric is exposed to open flame.
Tent fabric is not fireproof. Fabric will burn
extended exposure to open flame. Do not
with
use
open flame products inside tent. Tent fabric is
treated with fire retardant. Application of any fo eign substance may render the flame retardant
properties ineffective.
Night time: exterior reflectors must be
visible to reduce risk of collisions.
This tent is made with flame resistant
fabric which meets CPAI-84 specifications.
SET-UP INSTRUCTIONS
1 HUB ASSY - Walls
6 103507
2 HUB ASSY - Roof
1 103750
3
ICE ANCHOR
6 102457
4
EXTERNAL ANCHOR STRAP
6 104042
5
HUB & POLE KIT W ALLS (4 POLES & 1 HUB)
6 109077
6
HUB & POLE KIT ROOF (6 POLES & 1 HUB)
1 109221
7
CARRY BAG
1 104194
8
BUCKLE ASSY W ITH STRAP
6 103244
9
INSTRUCTIONS/OW NER’S MANUAL
1 105564

Page 3
Photo 5
3. Grasp the loop onto the eyelet in the center of one
of the wall panels. Pull upward and outward on the
loop until the wall section pops up (Photo 3).
Photo 3
SET-UP INSTRUCTIONS
2.
It is advised to have at least two people to set
up a Clam Six Pack shelter.
Open the shelter so that one wall is facing upward.
Make sure that the tent is not twisted or
overlapping any of the poles (Photo 2). Do NOT
force the shelter while unfolding.
5. Have a person hold down the shelter while a
second person goes inside the shelter and pushes
the ceiling hub straight up so the ceiling pops up
(Photo 5).
Photo 2
4. W alk around the entire shelter and pull each loop
sewn onto the eyelet in the center of the wall until all
sides are popped out (Photo 4).
Photo 4
Photo 5
 Loading...