

City-Netek CN-1108 Setup And Installation Manual
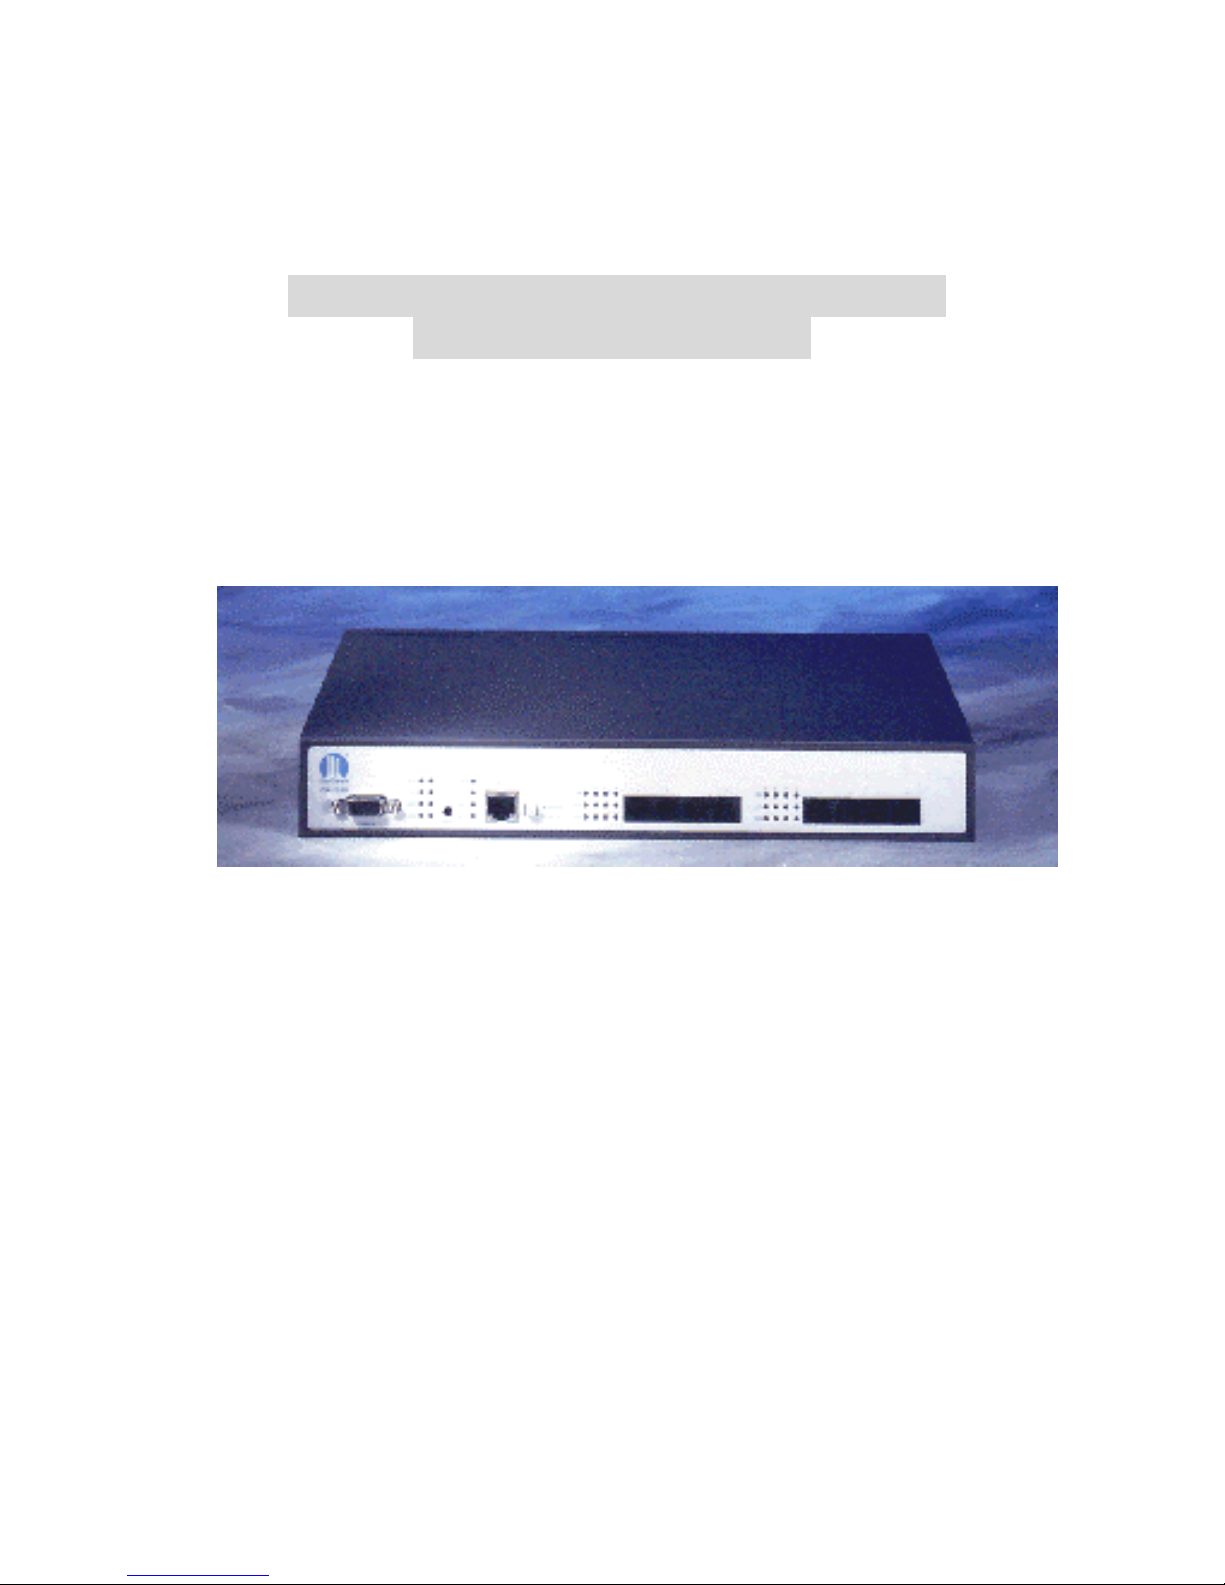
CN-1108
8-Ports 1 Mbps HomePNA+1-Port 10/100
Base-TX Ethernet Switch
Setup and Installation Manual
Version 2.0

CN-1108 Setup and Installation Manual
1
PREFACE 2
1. INTRODUCTION 3
2. CN-1108 TECHNICAL SPECIFICATIONS 4
3. HARDWARE DESCRIPTION & PACKAGE CONTENTS 5
4. EQUIPMENT MOUNTING SETUP 6
4.1 R
ACK MOUNT 6
4.2 S
IMPLE STACK UP 6
4.3 S
TACK MOUNTING 6
4.4 C
ABLE SELECTION 6
5. LED INDICATORS 7
6. CN-1108 CONNECTION 8
7. CONSOLE PORT SETUP 9
8. ICD COMMAND INDEX 10
9. SETTING VLAN FUNCTIONALITY 11
10. AUTO NOISE LEVEL FEATURE 12
11. HIGH/LOW POWER MODE 14
12. FREQUENTLY ASKED QUESTIONS (FAQ) 15
12.1 HPNA 15
12.2 S
WITCH 15
12.3 LAN 17
12.4 WAN 18
12.5 PBX 18
13. TROUBLESHOOTING 19
14. CN-1108 FACTORY DEFAULT 21
CONTACT INFORMATION 22

CN-1108 Setup and Installation Manual
2
PREFACE
This guide has been constructed in a simple to follow and navigate style, meant for
VAR, SI, and reseller installation situations.
Keep this guide in a safe place; it contains useful commands required for the setup
of the switches core functions in the event of a power loss or other interruption.
Information printed within this guide is subject to change at any time without notice.
All specifications and parameters, including commands are subject to change without
notice.
Some information in this guide is acquired from the World Wide Web.
All photographs, text, and diagrams within this publication are the sole property of
City-Netek Inc., and may not be reproduced at anytime, without the written consent of
City-Netek Inc.

CN-1108 Setup and Installation Manual
3
1. INTRODUCTION
Thank you for choosing the CN-1108 HPNA Switch for your MDU Solution.
City-Net has been on the forefront of HPNA technology since its inception, and will
always strive to create quality, cost-effective solutions for HomePNA installers and users.
Conventional office Ethernet LAN installation has become more complicated,
expensive and time consuming. By choosing the CN-1108 HPNA Switch, you have
enabled your network to have Ethernet and HPNA accesses. The CN-1108 an Ethernet
port, to offer you network connection, as well as 8 VLAN HPNA ports ready to plug into
your existing wiring system using current Cat. 3/RJ-11 installations.
Some highlights of the CN-1108 include:
• Supports security with port based VLAN function
• Auto Noise Leveling (Automatic & Manual)
• Eight 1Mbps HPNA Ports
• One 10/100 Mbps Base-TX Ethernet Ports
• One Console Port for CN-1108 unit
• Easy installation – no new wire required inside the building
• Easy to use menu system and command interface
• HomePNA and Ethernet ports statuses monitoring
• Frequency division multiplexing for uninterrupted simultaneous voice/data
transmission
• Layer 2 Switching
• Supports full and half duplex modes
• Store-and-Forward mechanism
• HPNA port transmission speed up to 1Mbps
• Back pressure and IEEE 802.3X compliant flow control
• Supports 8K MAC addresses entries
• Standard 19” Rack-mountable
• Less distance restriction (500 ft or 160 m) than regular Ethernet (100 m)

CN-1108 Setup and Installation Manual
4
2. CN-1108 TECHNICAL SPECIFICATIONS
z Eight (8) HPNA Ports
HPNA Specs 1.1
1Mbps Speed
Transmit Distance: 500 ft full throughput, 1000 ft factory tested
LED: Link, Activity, Collision
RJ-11 port type for use with twisted pair cable
z One (1) Ethernet Port
10/100 Base-TX, Auto-negotiation
IEEE 802.3, 802.3u
LED: Link/Activity, 10/100, Full Duplex/Collision
z One (1) Console Port
Baud Rate: 19200 bps, 8 Data Bits, 1 Stop Bit, No Parity, No Flow Control
Console Management Command (Local Mode)
z Physical Specifications:
AC Input: 100 - 250 VAC, 47-63 Hz, Internal Universal Power Supply
Power Consumption: 12W Max
Operating Temp: 0 - 50°C
Storage Temp: -25 - 70°C
Humidity: 10% - 90% Non-Condensing
Certification: FCC, CE, VCCI, JATE Safety Compliance & Emissions, BSMI
Weight (Net): 1.75 kg
Dimensions: 300 mm × 210 mm × 44 mm

CN-1108 Setup and Installation Manual
5
3. HARDWARE DESCRIPTION & PACKAGE CONTENTS
Upon opening your package you should have the following items:
• (1) Power Cord w/Ground
• (1) CN-1108 HomePNA Switch Hub
• (1) Setup and Installation Manual
• (1) Mounting Brackets (Rack Install)
• (4) Screws For Shelf or Rack Install
If any of these items are missing, please contact your vendor immediately before
continuing. For additional manuals or mounting feet please contact your vendor.
Before removing the switch unit from the package please be sure to remove all static
devices and static electricity from your body by touching an available metal plate or
grounding point.
Your new CN-1108 has eight RJ-11 HomePNA Ports, one Ethernet Port, and one Console
Module.

CN-1108 Setup and Installation Manual
6
4. EQUIPMENT MOUNTING SETUP
4.1 RACK MOUNT
The CN-1108 is supplied with mounting ears for easy installation into a Standard
19” rack configuration cabinet. Simply use the supplied ears and screws to mount it to
your current rack.
1. Use the included screws to secure ears into the sides of the CN-1108 in the
provided pre-drilled holes.
2. Align the unit into a single 19” rack space and secure using standard rack
mount screws, the use of a nut is optional.
4.2 SIMPLE STACK UP
When mounting the CN-1108 on a shelf, be sure to install the included rubber feet
onto the bottom of the unit to prevent scratching of the mounting surface, as well as to
allow clearance between the switch and surface for better airflow. Once feet are installed
onto the switch unit, allow for a clearance of at least 5 inches from rear to wall, and 1-2
inches on each side, for adequate airflow.
4.3 STACK MOUNTING
Use the diamond shaped stackable mounts to attach to CN units together from the
sides. Simply apply the diamonds to each side using the included screws to the upper
holes on the bottom device, and the lower holes on the top device.
4.4 CABLE SELECTION
Selecting the correct cable type(s) and length(s) will assist you in making a clean
and error free installation. For Ethernet uplinks and connections use Cat. 5 or higher
certified cables, to minimize cross talk and noise in the cable. For easier connection and
safer operation use booted RJ-45 connections as well. For HPNA ports, use of shielded
Cat. 5 are highly recommended. Refrain from using excess cable when installing to
further reduce line noise and cross talk.
 Loading...