

Page 1
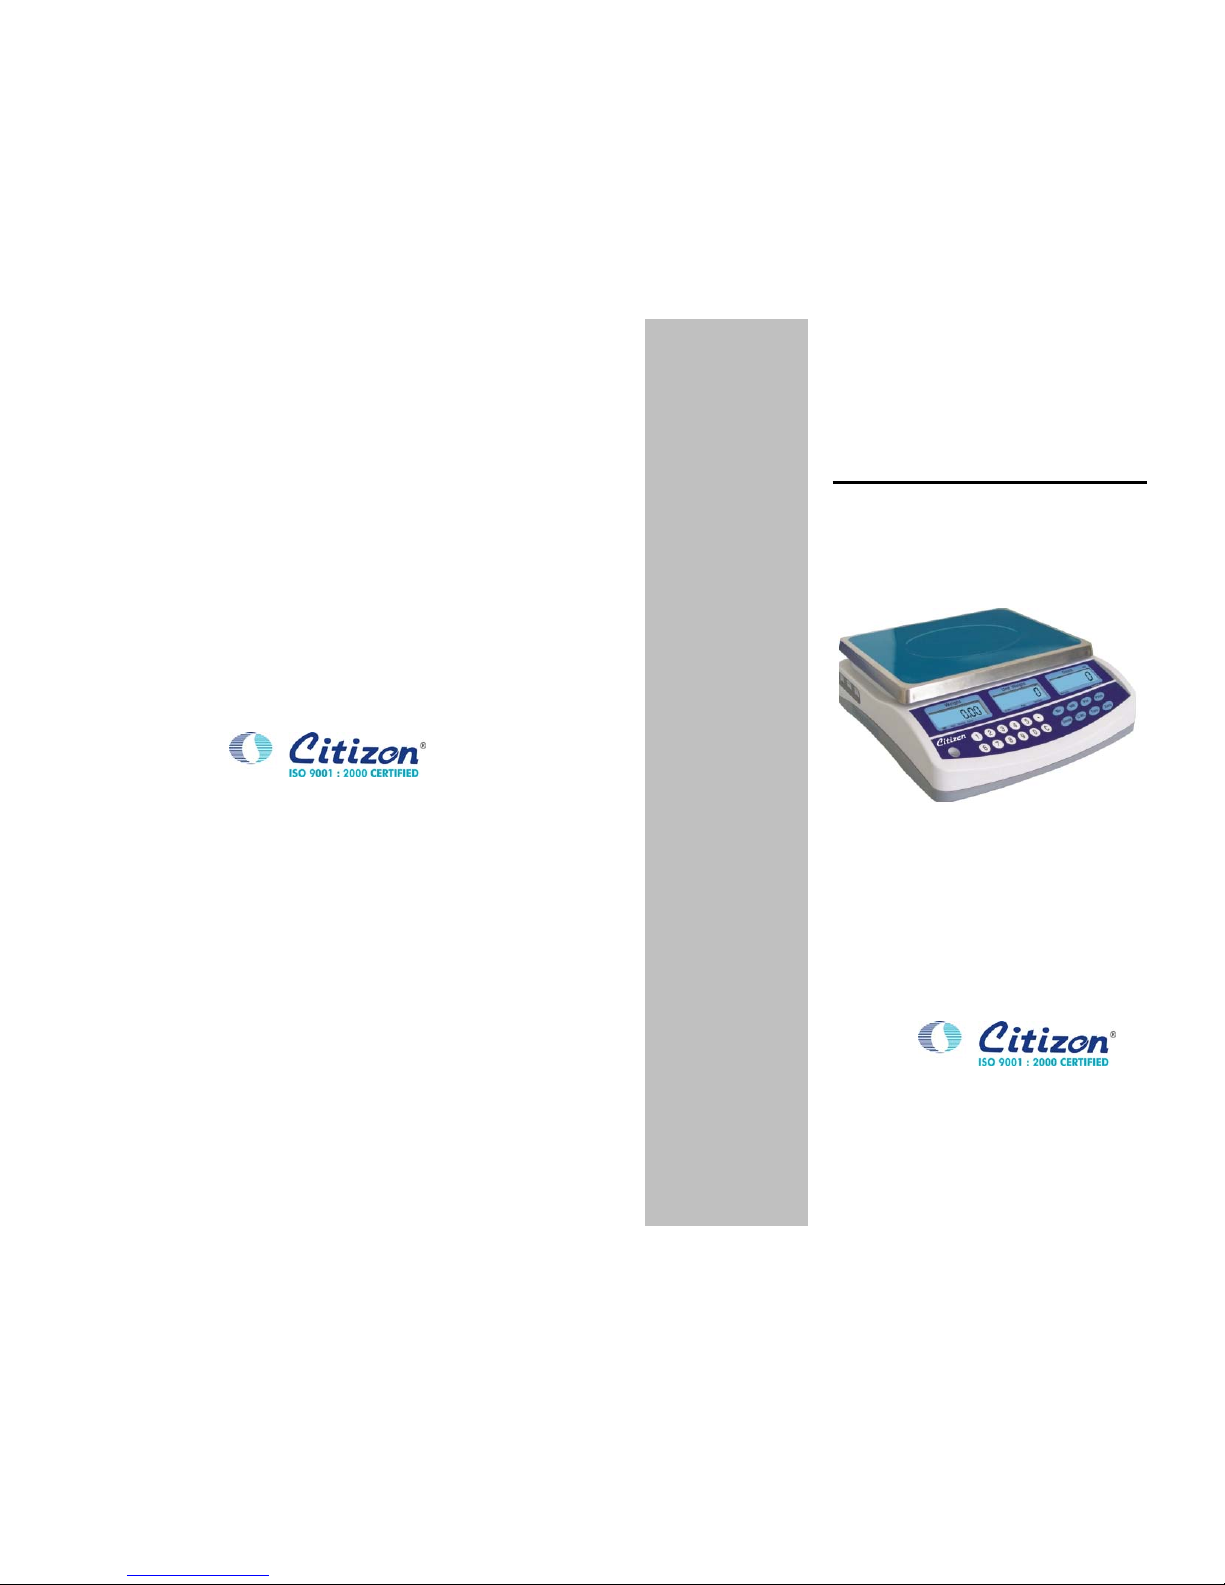
Counting scale
CKG
`
Operating
Manual
Page 2

CKG counting scales operation manual REV C1, June 2012 CKG counting scales operation manual
Page 3
CKG counting scales operation manual REV C1, June 2012 CKG counting scales operation manual
CONTENTS
1. Introduction…………………………………………….….…………..……1
2. Key descriptions……………………….….…………………….…1
3. Displays…………….………………………………………….…….2
4. Basic operation……………………………….………………….…2
4.1 Zeroing The Display………………………………………………….….2
4.2 Taring…………………………………………………………………3
4.2.1 Normal Tare……………………………………………………3
4.2.2 Pretare…………………………………………………………3
5. Parts counting……………….………………………………….…4
5.1 Setting unit weight………….……………………………………4
5.1.1 Weighing a sample to determine the Unit Weight…..……………….…..4
5.1.2 Entering a Known Unit Weight……………..……………………...….5
5.2 Parts counting……………..…………………...………...……………….5
5.3 Automatic part weight updates………………………………….6
6. weighing and counting checking alarm……………………….6
6.1 set hi/low limit………………………………… ……………….6
6.2 checking alarm………………………………………..6
7. Accumulated operation………………………………………..…6
7.1 Manually accumulated total…………………………………….6
7.2 Automatic accumulated totals…………………………………..7
8.Calibration………………………………………………………………….7
9. Battery operation……………………………………………….8
1. INTRODUCTION
The CKG series of scales provides an accu rate, fast and versatile
series of counting scales.
All units include automatic zero tracking, audible alarm for pre-set
weights/quantity, tare, pre-set tare and an accumulation facility that
allows the count to be stored and recalled as an accumulated total.
2. KEY DESCRIPTIONS
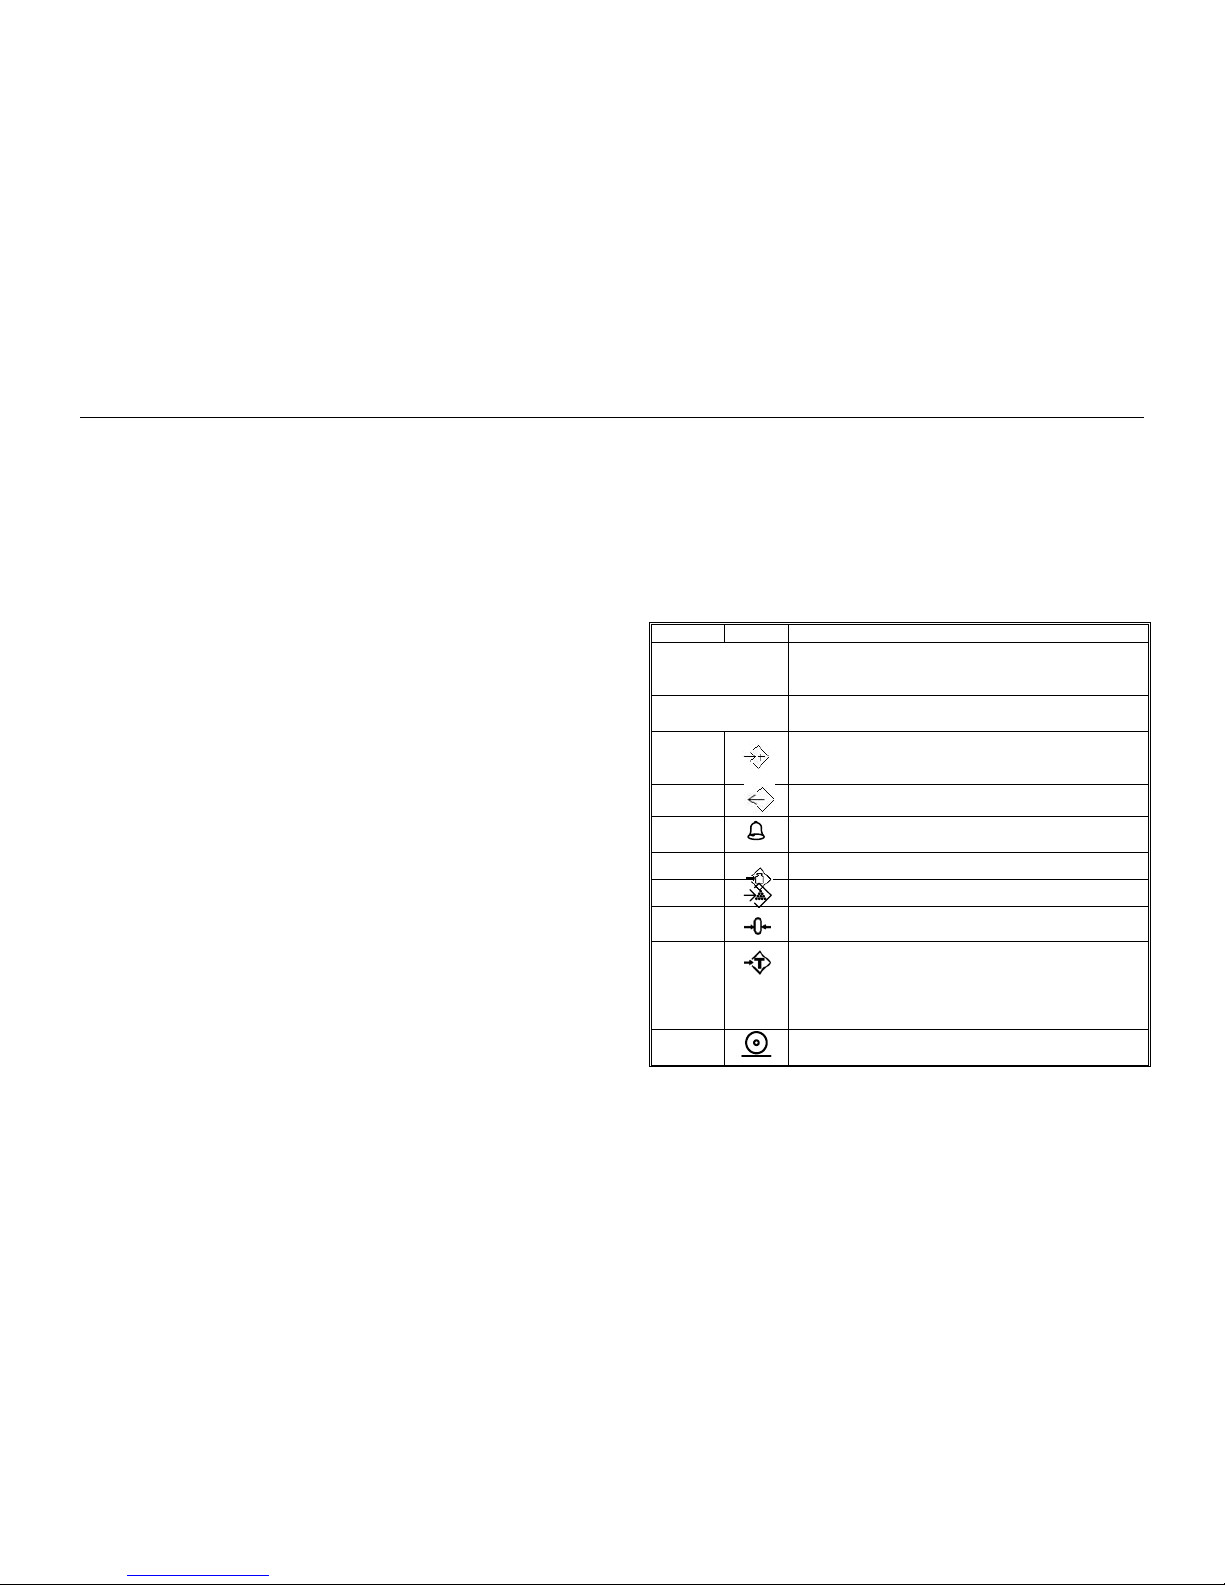
text symbol function
CE Used to clear the unit weight or an erroneous entry .
Hold this key can shift in weighing check alarm and
counting check alarm.
0~9 . Numeric entry keys, used to manually enter a value
for tare weights, unit weight, and sample size.
M+ Add the current count to the accumulator. Up to 99
values or full capacity of the weight display can be
added.
MR To recall the accumulator memory.
Pst To set the high/low limit for the weighing and
counting checking alarm.
Unit. wt. Used to enter the weight of a sample manually.
Sample Used to input the number of items in a sample.
Zero Set the zero point for all subsequent weighing.
Display shows zero.
Tare Tares the scale. Stores the current weight in
memory as a tare value, subtracts the tare value
from the weight and shows the Net weight.
Entering a value using the keypad will store that
value as the tare value.
Print To print the results to a PC or printer using the
optional RS-232 interface.
-1-
Page 4
CKG counting scales operation manual REV C1, June 2012 CKG counting scales operation manual
3. DISPLAYS
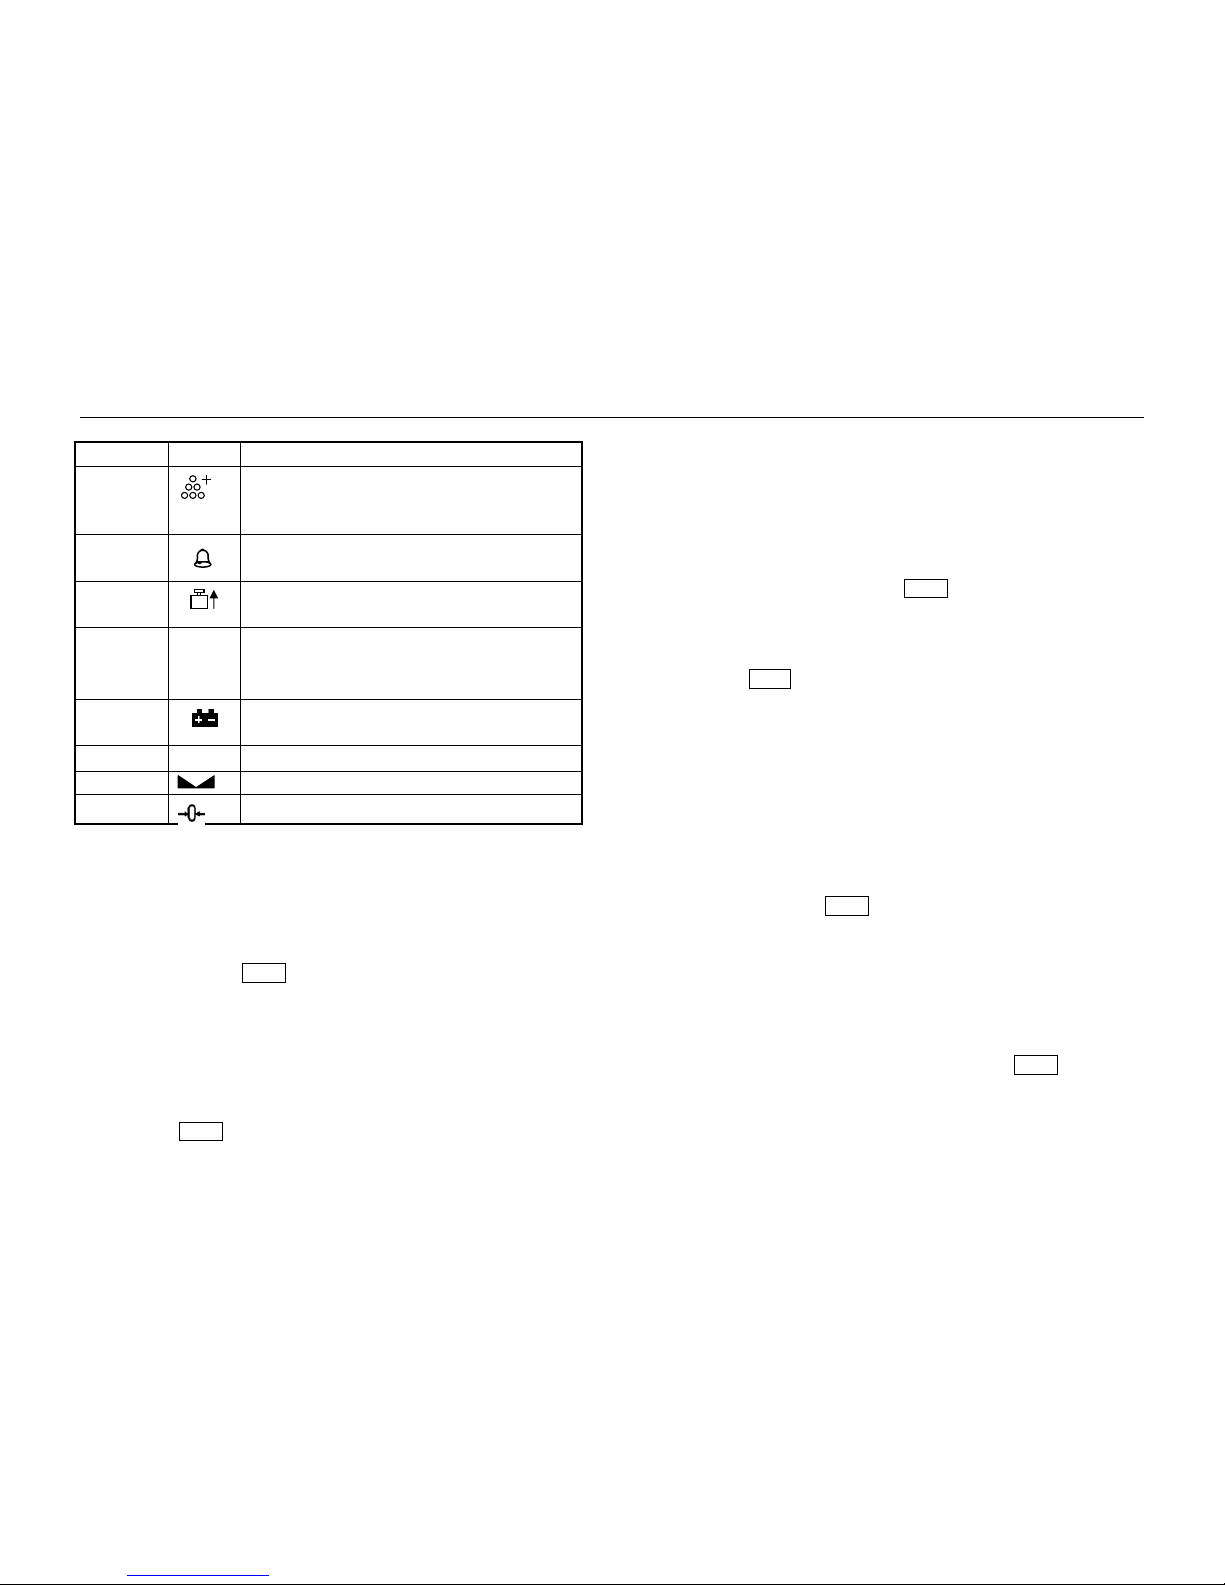
text symbol description
Sample
indicators will show when the scale has
determined that there is an insufficient number
of samples to accurately determine the count:
Preset
If a preset count has been stored, this indicator
will have an arrow above it.
U. weight
When the unit weight is not large enough to
determine an accurate count.
Memory
M+
Indicators will show when a value has been
entered into memory when the arrow above the
"memory" legend is on.
batt.
Low battery, when this indication on, please
charge battery immediately
NET
NET
Net Weight Display,
stable Stability indicator,
zero
Zero Indicator,
Just under the quantity display is an LED to indicate the status of battery
charging. When the scale is plugged into the mains power the internal
battery will be charged. When charge the battery, the LED is read, when
full of charge, the LED turn to green.
4. BASIC OPERATION
4.1 Zeroing The Display
You can press the ZERO key at any time to set the zero point from
which all other weighing and counting is measured, within 2% of power
up zero. This will usually only be necessary when the platform is empty.
When the zero point is obtained the W eight displ ay will show the in dicator
for zero.
The scale has an automatic rezeroing function to account for minor
drifting or accumulation of material on the platform. However you may
need to press ZERO to rezero the scale if small amounts of weight are
-2-
shown when the platform is empty.
4.2 Taring
There are two methods to enter a tare value. The first uses the
weight on the platform and the second uses a value input by the user.
4.2.1 Normal Tare
Zero the scale by pressing the ZERO key if necessa ry. The zero
indicator will be on.
Place a container on the platform, a value for its weight will be
displayed.
Press the TARE key to tare the scale. The weight that was displayed
is stored as the tare value and that value is subtracted from the display,
leaving zero on the display. The "Net" indicator will be on. As product is
added only the weight of the product will be shown. The scale could be
tared a second time if another type of pr oduct was to be added t o the fir st
one. Again only the weight that is added after taring will be displayed.
When the container is removed a negative value will be shown. If t he
scale was tared just before removing the container this value is the gross
weight of the container plus all product that was removed. The zero
indicator will also be on because the platform is back to the same
condition it was when the ZERO key was last pressed.
4.2.2 Pretare
This method allows you to enter a value for the tare weight from the
keypad. This is useful if all containers are the same or if the container
is already full but the net weight is required and the tare weight of the
container is known.
Remove all weight from the platform, press the ZERO key to zero
the display.
-3-
Page 5

CKG counting scales operation manual REV C1, June 2012 CKG counting scales operation manual
Enter the value for the Tare weight using the keypad, press TARE to
store the tare value. The weight will show a negative value equal to the
tare.
Place the container on the platform.
The display will then show the weight of the container minus the tare
weight. Then when the full container is put on the platform the tare value
will be subtracted from the gross weight displaying only the net weight of
the contents.
If the value input is not consistent with the increment of t he scale the
scale will round the tare value to t he nearest value possible. For example
if a tare value of 10.3g is entered onto the 6Kg/0.5g scale then the
display will show -10.5g.
5. PARTS COUNTING
5.1 Setting Unit Weight
In order to do parts counting it is necessary to know the average
weight of the items to be counted. This can be done by weighing a known
number of the items and letting the scale determine the average unit
weight or by manually inputting a known weight using the keypad.
5.1.1 Weighing a sample to determine the Unit Weight
To determine the average weight of the items to be coun ted it will b e
necessary to place a known quantity of the items on the scal e and then to
key in the quantity being weighed.
The scale will then divide the total weight by the number of samples
and display the average unit weight.
Zero the scale by pressing the ZERO key if necessary. If a container
is to be used, place the container on the scale and tare as discussed
earlier.
Place a known quantity of items on the scale. After the weight
display is stable enter the quantity of items using the numeric keys
-4-
followed by SMPL key. The number of units will be displayed on the
"Quantity" display and the computed average weight will be shown on the
"Unit Weight" display.
As more items are added to the scale, the weight and the quantity
will increase.
If the scale is not stable, the calculation will not be completed. If the
weight is below zero, the quantity display will show negative count.
5.1.2 Entering a Known Unit Weight
If the unit weight is already known then it is possible to enter that
value using the keypad.
Enter the value of the unit weight using the numeric keys followe d by
pressing the U.weight key. The "Unit Weight " display will show the value
as it was entered.
The sample is then added to the scale and the weight will be
displayed as well as the quantity based upon the unit weight.
5.2 Parts Counting
After the unit weight has been determined or entered it is possible to
use the scale for parts counting. The scale can be tared to account for
package weight as discussed in an earlier section.
After the scale is tared then the items to be counted are added and
the "Quantity" display will show the number of items computed using the
weight and the unit weight.
It is possible to increase the accuracy of the unit weight at any time
during the counting process by entering the count displayed then
pressing the U.weight key. You must be certain the quantity displayed
matches the quantity on the scale before pressing the key. The unit
weight will be adjusted based upon a larger sample quantity. This will
give greater accuracy when counting larger sample sizes.
-5-
Page 6
CKG counting scales operation manual REV C1, June 2012 CKG counting scales operation manual
5.3 Automatic Part Weight Updates
The scales will automatically update the unit weight when a sample
equal to less than the sample already on the platform is added. A beep
will be heard when the value is updated. It is wise to check the quanti ty is
correct when the unit weight has been updated automatically.
This feature is turned off as soon as the number of items added
exceeds the count used as a sample.
6. WEIGHING AND COUNTING CHECKING ALARM
6.1 Set Hi/low Limit
Press Pst key, display show Hi cnt, key in high limit for counting
alarm, press TARE to confirm, then display show lo cnt, key in low limit
for counting alarm, press TARE t o confirm, then display sh ow hi net,
key in high limit for weighing, press TARE to confirm, then display
show lo net, key in low limit for weighing, press TARE to confirm, back
to normal weighing mode.
6.2 Checking Alarm
At first, you need set checking mode, hold CE key, you will show
check net (weighing checking alarm), check pcs (counting checking
alarm) or check off (don’t use alarm function).
You can set beep when high (when weight/quantity> high limit ,beep
on),low(when weight/quantity<low, beep on), OK(when weight/quantity in
high-low range, beep on),NG(when weight/quantity out of high-l ow range,
beep on), about how to set the beep mode, see detail in technical
manual.
7. ACCUMULA TED OPERA TION
7.1 Manually Accumulated Total
The values (weight and count) shown on the display can be added
-6-
to the values in the accumulator by pressing the M+ key. The "Weight "
display will show the total weight, the "Count" display will show the total
accumulated count and the "Unit Weight" display shows the number of
times items have been added to the accumulation memory. The values
will be displayed for 2 seconds before returning to normal.
The scale must return to zero or a negative number before another
sample can be added to the memo ry.
More product can then be added and the M+ key pressed again.
This can continue for up to 99 entries, or until the capacity weight display
is exceeded.
To observe the total stored press the MR key. The totals will be
displayed for 2 seconds.
To clear the memory press MR to recall the totals from memory and
then press the CE key to clear all values from memory.
7.2 Automatic Accumulated Tot als
The scale can be set to automatically accumulate totals when a
weight is placed on the scale. This eliminates the need to press the M+
key to store values into memory. However the M+ key is still active and
can be pressed to store the values immediately. In this case the values
will not be stored when the scale returns to zero.
8. CALIBRATION
Press TARE key during selfchecking, to enter the parameter menus,
the default password is 0000.
When the parameter menu show "F1 CAL" press the TARE key.
The display will then show "unLoAd" to request all weight be removed
from the platform.
Press the TARE key to set the zero point.
Key in the calibration weight you want to use, then put this weight on
the platform and then press the TARE key. The scale should be
-7-
Page 7

CKG counting scales operation manual REV C1, June 2012 CKG counting scales operation manual
stable before pressing the TARE key to accept a weight. The stability
indicator will turn on to show the value is stable.
When calibration is finished the scale will come into natur al we ig hing
if it was successful.
9. BATTERY OPERATION
The scales can be operated from the battery if desired. The battery
life is approximately 100 hours.
When the battery needs charging the arrow above the low battery
symbol under the weight display will turn on. The battery should be
charged as soon as the arrow above the symbo l is on. The scale will still
operate for about 10 hours after which it will automatically switch off to
protect the battery.
To charge the battery simply plug into the mains power. The scale
does not need to be turned on.
The battery should be charged for 12 hours for full capacity.
Just under the quantity display is an LED to indicate the status of
battery charging. see detail in page2: display.
As the battery is used it may fail to hold a full charge. If the battery
life becomes unacceptable then contact your distributor.
-8-
 Loading...