

Page 1

TM
BUBBLE BUDDY
Operating Instructions
P/N 100189 (110 VAC)
Page 2

TM
Thank you for purchasing this BUBBLE BUDDY
! As you will notice from the table of contents, the manual for your new
product is quite extensive.
! To guarantee perfect and successful work with this machine, please
take some time to read the manual carefully.
! And finally, we believe you will enjoy years of great bubble effects if
TM
you care for and maintain your BUBBLE BUDDY
.
CITC
th
2100 196
Lynnwood, WA 98036
St. S.W., Ste. 138
(888) 786-CITC
www.citcfx.com
1
Page 3

Contents
1. Set of Equipment Supplied 3
2. Accessories and Parts 3
3. Description 4
4. Safety Instructions 4
5. Operating the Bubble BuddyTM 5
5.1 Selecting the Location
5.2 Electrical Power Requirements
5.3 Hooking things up
5.4 Operating the machine
5.5 DMX Control
5.6 Rest Period
5.7 Shut Down
5.8 Troubleshooting
5.9 Notes on Optional DMX Operation
6. Service and Maintenance 8
7. Technical Data 9
8. Limited Warranty Conditions 10
2
Page 4

1. Set of Equipment Supplied
" Bubble BuddyTM
" Hanging Bracket
" Remote with cycle-timer and 25’ (7.6m) cord OR DMX Control
" Power cord
" Operating Instructions Booklet
2. Accessories and Parts
" Bio-Bubble FluidTM P/N 150810 and BubblessenceTM P/N 150131 (available in
quarts (0.95 liter), gallons (3.8 liter), 5-gal. (19 liter) cubitainer & 55-gal.
(208 liter) drum)
" Director Junior Fan (P/N 100130)
" Universal DMX relay (15 A, 1-channel) 3-pin XLR connection P/N 250041
" Bracket, clamps with bolts, C-clamp and safety cable P/N 250155
" Wireless Remote Control (P/N 250010)
" DMX Control with phono plug (P/N 250038)
Please check whether all the products you ordered are supplied.
3
Page 5

3. Description of the Bubble Buddy
TM
The Bubble BuddyTM produces a steady stream of small, uniform, 1” (2.5cm) bubbles.
The size and uniformity of the bubbles, makes them unique and fun to watch. You can
use the Bubble BuddyTM with an optional Universal DMX Controller, or ask to substitute
the Remote for the DMX controller. Use the long distance Director Jr. FanTM for 40’ (12m)
TM
launch of bubbles or the Director Fan
for 70’ (21m) distance. The Bubble BuddyTM
comes with a 25’ (7.6m) remote and cycle-timer.
4. Safety Instructions
WARNING: Read and understand all labels and operating instructions
before attempting installation.
o Never open the machine without disconnecting power lead first! Risk of electrical
shock- This device is supplied with a grounding conductor. To reduce risk of electrical
shock, connect only to properly grounded, grounding type receptacles. Never remove the
third prong from the plug.
o Do not overfill your Bubble BuddyTM. Overfilling will cause the unit to leak, and present
the danger of electric shock.
o Keep this device dry.
o Keep the Bubble BuddyTM upright and level.
o Turn off or unplug when not in use.
o This machine is not waterproof or splash proof.
o No user serviceable parts inside. Refer to your dealer or other qualified service
personnel.
o For indoor use only. Not designed for outdoor use.
o For adult use only. The Bubble BuddyTM must be installed out of the reach of children.
Never leave the unit running unattended.
o Never aim the output at open flames.
o Extended use in one location without a fan, will make all surfaces slippery.
o Position output of bubbles away from persons.
o Unplug the machine when refilling the liquid or cleaning the system.
o Do not transport with liquid. If the machine gets wet, do not use until it is completely dry.
o Do not store Bubble Buddy
TM
in freezing conditions.
4
Page 6
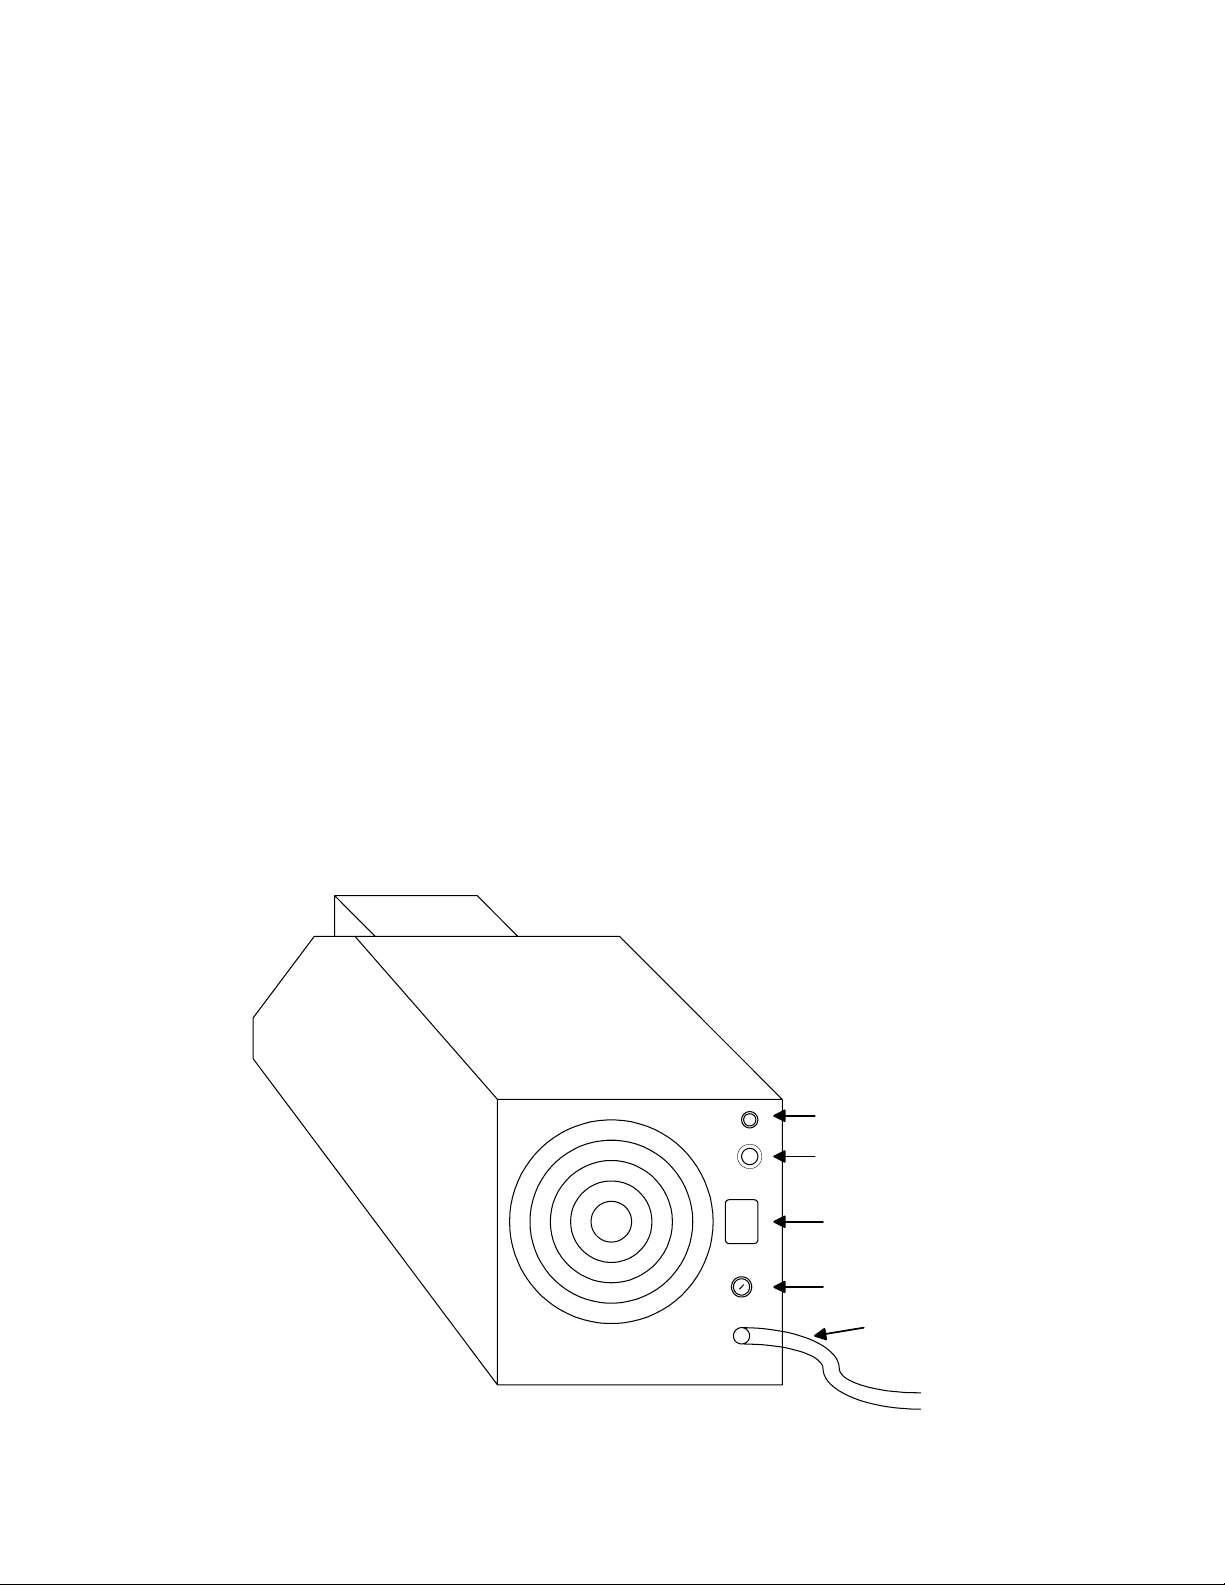
5. Operating the BUBBLE BUDDY
5.1 Selecting the Location
Place bubble machine on a flat surface, or hang it in a horizontal position only. Keep the
Bubble BuddyTM upright and level. Allow an open area in front of the machine for the
bubbles to disperse. Use a fan such as the Director JuniorTM pointing up from below to
disperse bubbles further. If hanging, ask for the fan mounts to hang also. This gives an
array of bubbles displayed much further and will reduce residue.
5.2 Electrical Power Requirements
This machine requires a well-grounded 110VAC circuit for operation. The Bubble
Buddy
necessary. Do not plug into 230VAC without first using the transformer.
5.3 Hooking things up
Input stereo phono-plug into rear of machine. Turn on power to machine. To start/stop
machine, use controls or cycle-timer on remote. (See section 5.5 and 5.9 if you are using
the DMX Control.)
TM
draws approximately 2 amps at 110 VAC. For 230 VAC, a transformer is
TM
Low Fluid Indicator Lamp
Remote Control Jack
|
o
On / Off Switch
Fuse
Power Cord
5
Page 7

5.4 Operating the machine
1. Add Bio-BubbleTM or BubblessenceTM fluid by slowly pouring into front tray until ¾ full.
Do not overfill! BubblessenceTM adds scent to create the fourth dimension in colorful
bubbles.
2. When the power switch is turned on, the light on the switch will illuminate. You may use
the on/off switch on the machine without the Remote Control (or the DMX Control)
plugged in. When the machine is turned on without the remote, you will notice that the
internal bubble drum and fan are activated. Bubbles are now produced. It is possible to
control the bubbles with the optional wireless remote control (110VAC only) from 50ft –
75ft (15m – 30m).
3. For cycle-timing of the machine, you must use the Remote Control. The red “on/off”
button must be depressed for “Timer” or “Bubble” functions to work. The fan and bubble
drum come on when the timer cycle begins and goes off when the cycle ends. The fan
and drum go on or off each time you press “Bubble” for short bursts of bubbles.
5.5 Optional DMX Control
With optional DMX control, you will be able to turn the Bubble BuddyTM on/off. (See
section 5.9 for more details on DMX operation.)
5.6 Rest Period
This machine can be run continuously until the reservoir is empty. Unplug the machine
when refilling the liquid or cleaning the system. Extended use in one location without a
fan, will make all surfaces slippery. Periodically, check surrounding area for safety.
5.7 Shut down
Regular cleaning of the bubble wheel is required. To clean, add warm water to the tray
and turn on machine, allowing the wands to be completely submerged over and over for
ten minutes. Change the water frequently until clean wands appear. Then dry the
machine with a paper towel prior to storage. Always draw out the fluid with a turkey
baster or similar device. (See section 6, Service and Maintenance.) If unavailable,
remove the two screws on each side near the front. Carefully pull up on the top, holding
the base flat. When liquid tray is exposed, remove it and wash before replacing.
5.8 Troubleshooting
1. If the unit does not light up when plugged in (power switch), check power supply, then
check fuse. Check connections. If this does nothing, disconnect power and call for
service.
6
Page 8

2. When I plug in the remote stereo phono plug, it keeps running. Check to be sure
buttons on remote are not depressed. A small switch inside of the phono jack turns off
the machine when plugged fully into socket.
3. How do I attach the DMX? (see section 5.9).
4. When I plug in the remote, I have no control. If the connection is loose, it is possibly
broken. Wiggle the phono plug to check tightness. If loose, you may need a new circuit
board.
5.9 Notes on Optional DMX operation
Each DMX’d unit will occupy a unique DMX address on the DMX chain. By adjusting the
dip switches on the side of the DMX controller, the user may assign one address to the
machine, giving you on/off control with one DMX channel (there is no timer on this DMX).
Step 1). Attach the DMX cable phono plug to the upper “in” female connector located on
the back of the machine.
Step 2). The DMX address is configured by adding the dip switch numbers together to
total the number required (binary numbers). For example, DipSwitch 1 + 6 = 33. Your
DMX channel would be 33.
Dip Switch 1 2 3 4 5 6 7 8 9
Channel # 1 2 4 8 16 32 64 128 256
When you move the slide control or digital control to approximately the 50%
position the fan will turn on.
0 – 50% = Off
51– 100% = On
Attaching DMX cable: “Input” and “Output” designations on the DMX 5-pin XLR
connectors are arbitrary (i.e., you can use the input plug for output and visa-versa). It is
not necessary to attempt converting your DMX line’s connector to female/male to match
the appropriate socket on the plug. As long as it is looped in/out, it will work.
7
Page 9

6. Service and Maintenance
Care of your Bubble BuddyTM will give you years of service. Note:
cleaning your unit is going to pay off in constant good performance.
1. Regular cleaning of the bubble wheel is required. To clean, add warm water to the tray
and turn on machine, allowing the wands to be completely submerged over and over for
ten minutes. Change the water frequently until clean wands appear.
2. To access the tray, loosen the two thumbscrews and remove the two adjacent retention
screws and lift the top. After cleaning, reinstall the retention screws and tighten the
thumbscrews. THE RETENTION SCREWS MUST BE IN PLACE IF THE MACHINE IS
TO BE HUNG BY THE HANGING BRACKET. Never hang without ALL of the screws in
place.
3. Dry the machine with a paper towel prior to storage.
4. Do not transport or ship with bubble fluid inside the machine.
5. Disconnect the remote or DMX control box before moving. This may be broken if pulled
or bumped.
8
Page 10
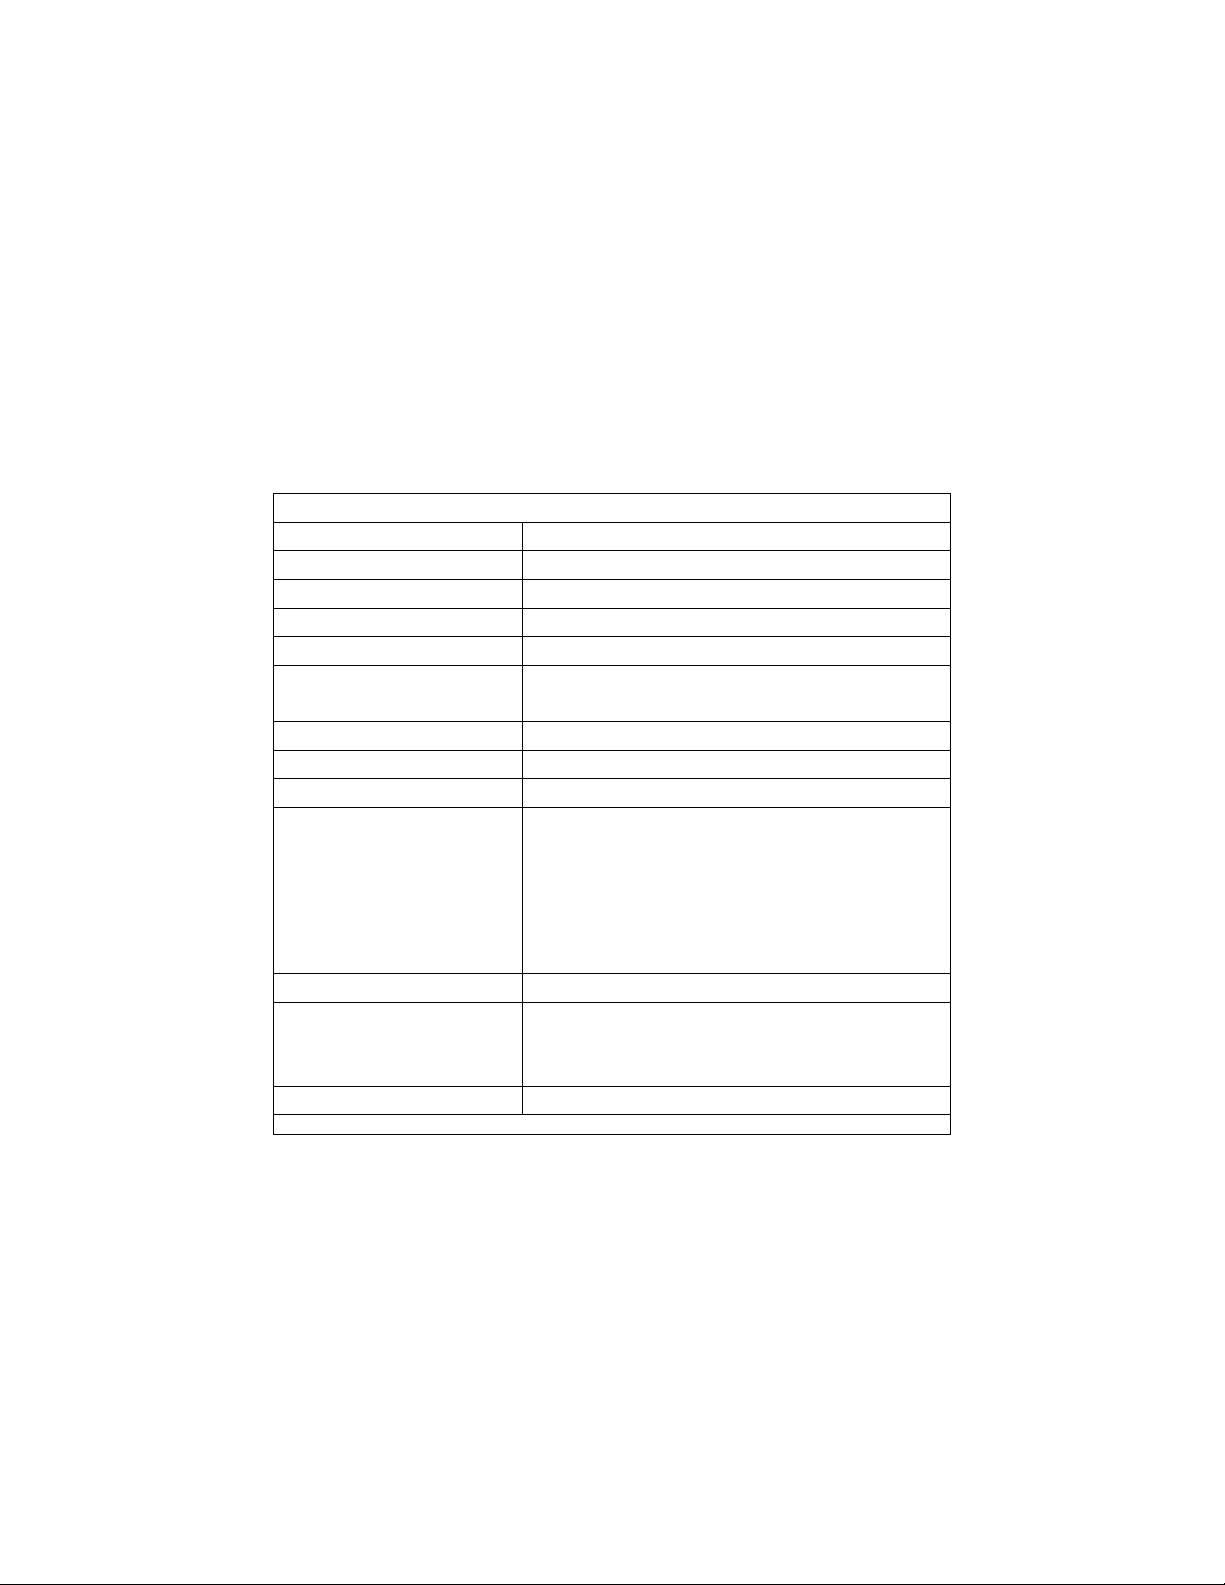
Technical Data
7.
Bubble BuddyTM Technical Data P/N 100189
Dimensions 14" x 7" x 7" (36cm x 18cm x 18cm)
Weight 12 lb (5.5 kg)
Shipping Dimensions 16” x 10” x 12” (41cm x 26cm x 31cm)
Shipping Weight 14 lbs (6.4 kg)
Remote Controls Remote Cycle-Timer or optional DMX
Electrical
Requirements
Bubble Size 1” (2.5cm) uniform bubbles
Wands 2 wheels with 16 wands each
Reservoir Holds 3.5 cups (0.8 liter)
Fluid Type Bio-Bubble FluidTM P/N 150810 and
DMX (optional) Optional 1-channel with phono plug
Remote Cycle-Timer
(included)
Limited Warranty One year
110VAC, 2 A
230VAC with transformer only
BubblessenceTM P/N 150131
(available in quarts (0.95 liter), gallons
(3.8 liter), 5-gal. (19 liter) cubitainer &
55-gal. (208 liter) drum)
On/off on manual momentary button
Cycle-timer = 1 - 11 seconds. "on",
0.2 - 5 minutes. "off"
Rev: 09/30/03
9
Page 11

8. Limited Warranty Conditions
TM
for the BUBBLE BUDDY
1. Subject to the following conditions we will repair any defect or fault in the unit
if it is caused by a proven factory fault and has been advised immediately
after appearance and within 30 days of delivery to the end user. Insignificant
deviations of the regular product quality does not guarantee replacement
rights, nor do faults or defects caused by water, by generally abnormal
environment conditions or Force Majeure.
2. Limited Warranty Service will be done in the following way: Faulty parts will be
repaired or replaced (our choice) with correct parts. Faulty units have to be
shipped to us or sent to us at customer’s expense. The RMA# has to come
with the faulty unit.
3. The customer loses all rights for limited warranty services, if any repairs or
adjustments are done to the units by unauthorized persons and/or if spare
parts are used, which are not approved by us. The right of limited warranty
service is also lost if a fluid other than CITC Bio-Bubble FluidTM or
BubblessenceTM fluid has been used or if units are sent to us without removing
fluid. Also non-compliance with the instructions in this manual or mistakes by
incorrect handling/treating of the machine, any faults and damages caused by
undue force will lead to a loss of limited warranty.
4. Freight costs to CITC when under the limited warranty services are the
responsibility of the customer. CITC will pay freight upon return.
5. Limited warranty services do not cause an extension of the limited warranty
time or the start of a new limited warranty time. The warranty of replaced
parts ends with the limited warranty time of the whole unit.
6. If a defect/fault can not be repaired by us in a satisfactory time, we will, within
30 days after sale of the unit, our choice either:
! Replace the whole unit for free or
! Refund the lesser value or
! Take back the whole unit and refund the purchase price, but not more that
the usual market price at the time of refund.
7. Further claims, especially for damages, losses etc. outside the unit are
excluded.
10
Page 12
If you should send the unit for service, do not forget to
remove any liquid from the fluid bottle. Obtain your RMA#
by calling CITC. Payment arrangements for repair must
be made before receiving RMA # in case unit is not
covered under Limited Warranty.
Send unit to:
CITC
RMA # XXXXXXX
2100 196
Lynnwood, WA 98036
Tel: (888) 786-CITC or (425) 776-4950
Fax: (425) 776-5129
Website: www.citcfx.com
E-mail: [email protected]
2100 196th St. SW, #138, Lynnwood, WA 98036-7083
th
Street SW Suite #138
425-776-4950 # FAX: 425-776-5129
www.citcfx.com # [email protected]
September 30, 2003
11
 Loading...