

Page 1

XO™ VPN Remote Access Client Setup Guide
for Cisco Unity Client 4.0.x
version 1.1
Copy
1
Page 2

A
A
Installation Instructions
a) Obtaining Login Information
i) XO Engineers will send an email containing login information and passwords.
(1) Example:
Thank you for choosing XO as your Managed Security Services Provider!
Included in this email are the usernames and passwords you will need to use your Managed Virtual Private
Network from XO.
s the specified technical contact, you will have the ability to view reports and activity pertaining to your VPN
solution by logging into the highly sophisticated XO™ VPN Management platform. You will also have the
responsibility for creating and deleting accounts for your XO VPN remote clients by using the XO Admin Web
site.
The XO VPN Management platform is located at https://isc1.xo.net:8443/isc/Login.jsp
VPN Administrator Account:
login: xotest
password: *******
The link for the XO VPN Remote Access Administration site is http://admin.xo.com
are available to walk you through the installation and configuration of the remote access client. Please pass
these instructions on to your local users.
Remote Access Administration Account:
login: admin@xotest.com
password: *******
Once you have downloaded the remote access client, you will need the following information to configure it for
use with your XO VPN solution. Please refer to the instruction guide found at http://admin.xo.com
configuration and troubleshooting.
Login Information for Remote Access Client
group name: xotest.com
password: *******
IP Address: x.x.x.x
fter your case has been certified, all future support requests should be directed to 866-295-9696.
Until then, please feel free to contact your security engineer with any questions.
Thank you.
ii) Obtain login information from your Administrator / Technical Contact.
Copyright 2004 XO. All rights reserved. XO and the XO design logo are trademarks of XO Communications, Inc . 1
(will also work for logging in as a remote client)
. Once you log in, instructions
for help with
Page 3
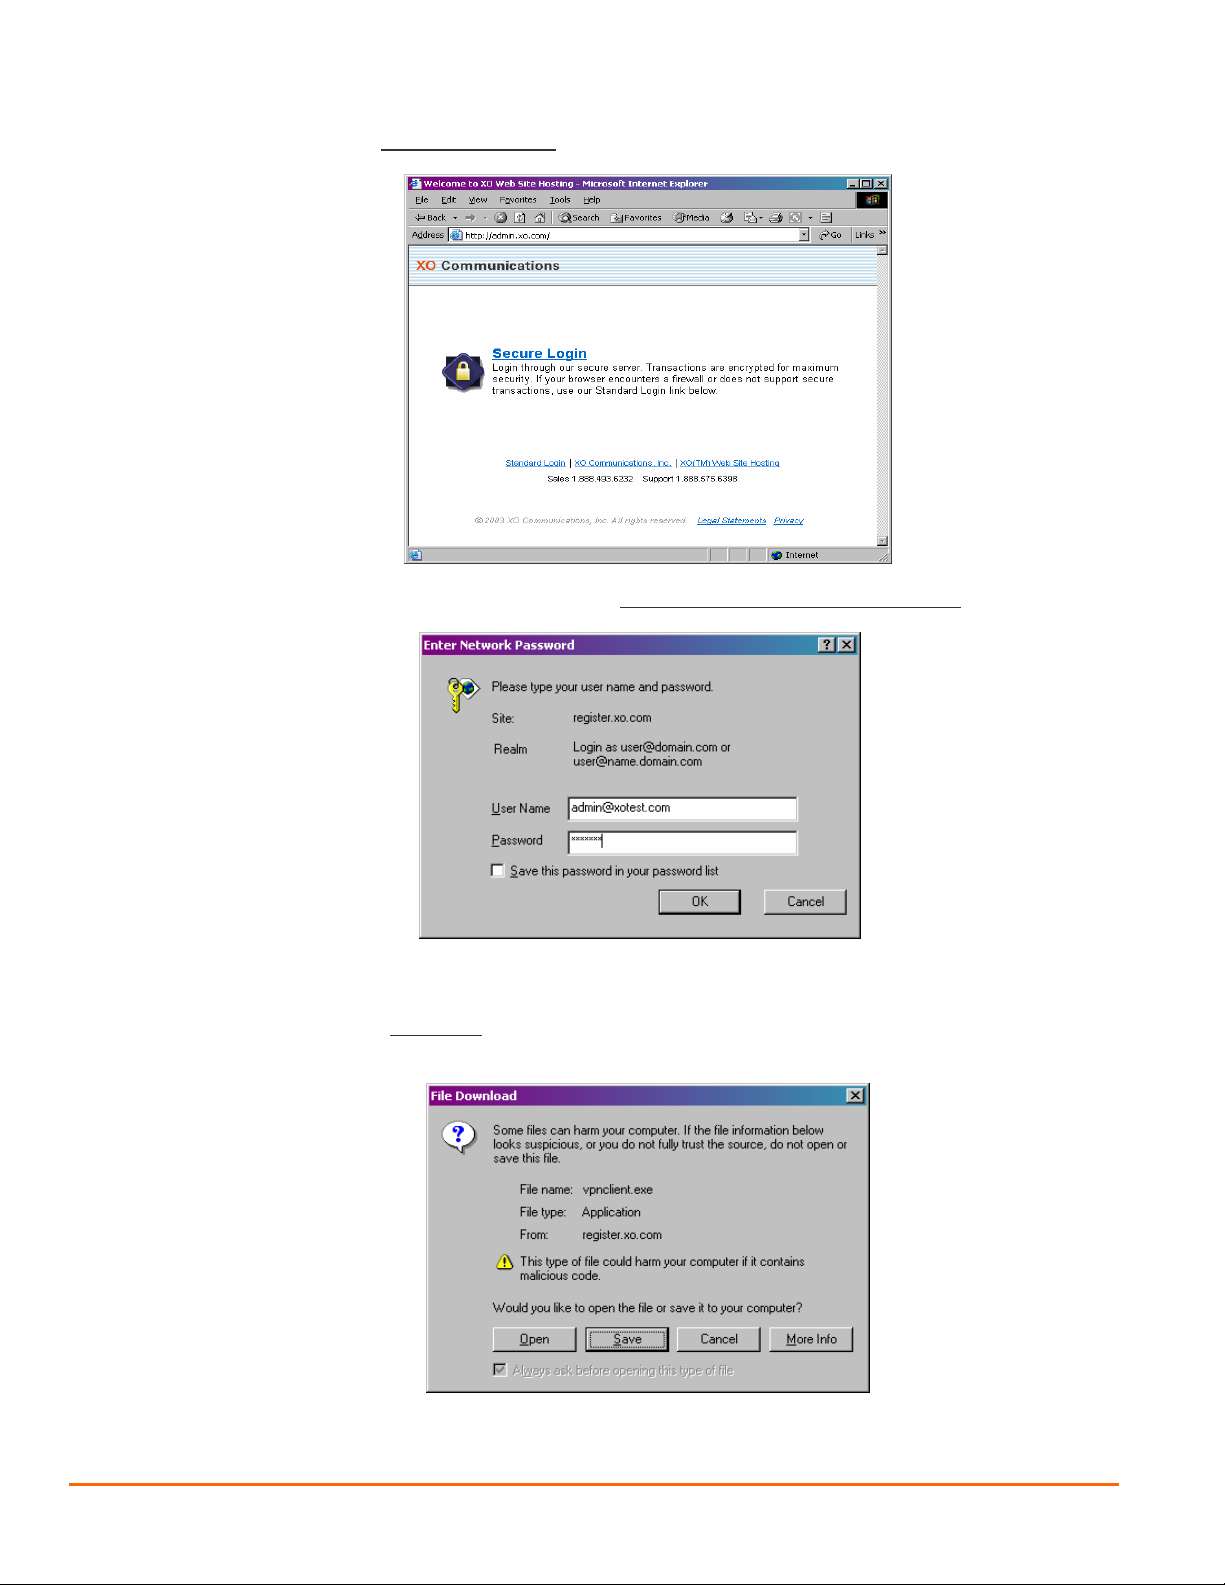
b) Logging into the Remote Access Administration Site
i) Direct your browser to http://admin.xo.com
ii) Log in using the information contained under the “Remote Access Administrator Account
c) Downloading the Client and Administrator Guide
i) Click the link that says “Click Here
to download the VPN Remote Access client.” Save the file to your local
machine.
”
Copyright 2004 XO. All rights reserved. XO and the XO design logo are trademarks of XO Communications, Inc . 2
Page 4
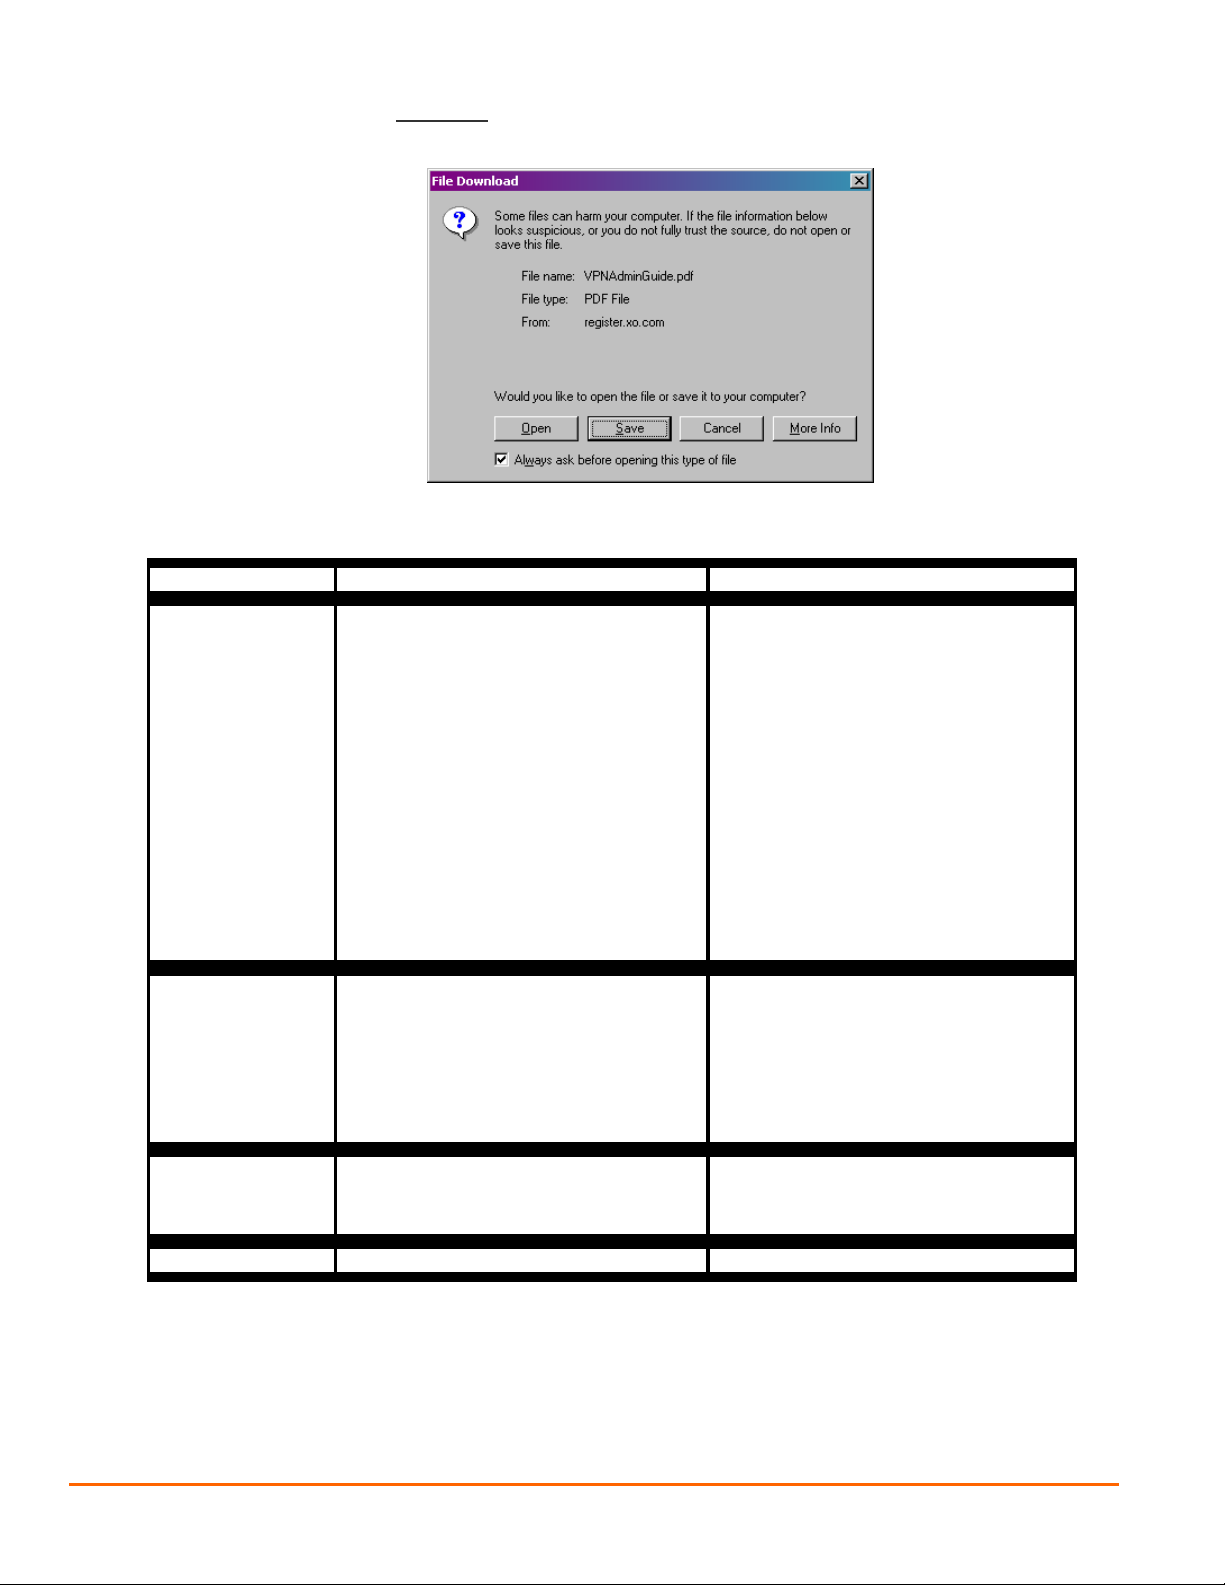
ii) Click the link that says, “Click Here to download the VPN Administrator Guide.” Save the file to your local
machine.
d) Hardware and Software Requirements
Computer Operating System Requirements
• Microsoft® Windows® 98 or
Windows 98 (second edition)
• Windows ME
Computer with a
Pentium®-class
processor or greater
• Windows NT® 4.0 (with Service
Pack 6, or higher)
• Windows 2000 Professional
• Windows XP Home
• Windows XP Professional
RedHat Version 6.2 or later Linux (Intel), or
compatible libraries with glibc Version
Computer with and
Intel x86 processor
2.1.1-6 or later, using kernel Versions
2.2.12 or later
• Microsoft TCP/IP installed.
(Confirm via Start > Settings >
Control Panel > Network >
Protocols or Configuration.)
• 50 MB hard disk space.
• RAM:
o 32 MB for Windows 98
o 64 MB for Windows NT
and Windows ME
o 64 MB for Windows
2000
(128 MB recommended)
o 128 MB for Windows XP
(256 MB recommended)
• 32 MB Ram
• 50 MB hard disk space
Note The VPN Client does not support
Linux kernel Version 2.5.
Sun UltraSPARC
computer
32-bit or 64-bit Solaris kernel OS Version
2.6 or later
• 32 MB Ram
• 50 MB hard disk space
Macintosh computer OS X, Version 10.1.0 or later 50 MB hard disk space
***NOTE: these are Cisco hardware and software requirements. XO is not responsible for supporting any non-Windows
based Remote Access clients.
Copyright 2004 XO. All rights reserved. XO and the XO design logo are trademarks of XO Communications, Inc . 3
Page 5

e) Installing the Client Using the Installshield Wizard as an initial install
i) Navigate to the client file you downloaded in step (c). Double-click to start the Installshield Wizard
ii) Accept the license agreement, choose the destination file location, and continue following the directions in the
wizard until the client is installed.
iii) Once completed, you will see this screen. Choose “Yes, I want to restart my computer now” and click “Finish.”
f) Installing the Client Using the Installshield Wizard as an upgrade
i) The following error may appear if you attempt to install the new 4.0.x client before uninstalling the existing
version on your computer:
ii) Go to Start ÆControl Panel Æ Administrative Tools Æ Add/Remove Programs
(1) Remove existing Cisco Unity Client installation. When asked if you want to retain configuration files, click
“YES”
Copyright 2004 XO. All rights reserved. XO and the XO design logo are trademarks of XO Communications, Inc . 4
Page 6

iii) If this message appears, follow the steps to proceed with uninstalling the old client and installing the new
version:
iv) Reboot your computer when prompted.
v) Continue installing the new version of the client once computer has rebooted. Accept the license agreement
and choose a location for the installation.
vi) Reboot and then launch the client to begin configuration
Copyright 2004 XO. All rights reserved. XO and the XO design logo are trademarks of XO Communications, Inc . 5
Page 7

g) Configuring the Cisco VPN Client
i) Navigate to the installed client by going to StartÆProgramsÆCisco Systems VPN ClientÆVPN Client
ii) Click on “New”
iii) Choose a name for the connection, and then refer to the email sent by the XO Managed Security Engineer to
fill in the rest of the required information.
(1) Host: IP Address
(2) Group Authentication:
(a) Group Name and Password
iv) Navigate to the “Transport” tab
Copyright 2004 XO. All rights reserved. XO and the XO design logo are trademarks of XO Communications, Inc . 6
Page 8

(1) This tab is used for configuring access from a Private, or non-routable IP (RFC 1918). Not all XO VPN
security devices will support this feature. Contact your Managed Security Engineer for clarification.
v) Click “Save”
h) Using the Client to connect to your XO VPN
i) Navigate to StartÆProgram FilesÆCisco VPN ClientÆVPN Client
ii) Highlight the connection entry, and then click “Connect.”
iii) The next pop-up will request a username and password; this should be the username provided to you as your
remote access login ID.
iv) Once this is successful, you will see the little yellow lock in the lower right hand corner of your desktop. This
means the connection is secured.
Copyright 2004 XO. All rights reserved. XO and the XO design logo are trademarks of XO Communications, Inc . 7
Page 9
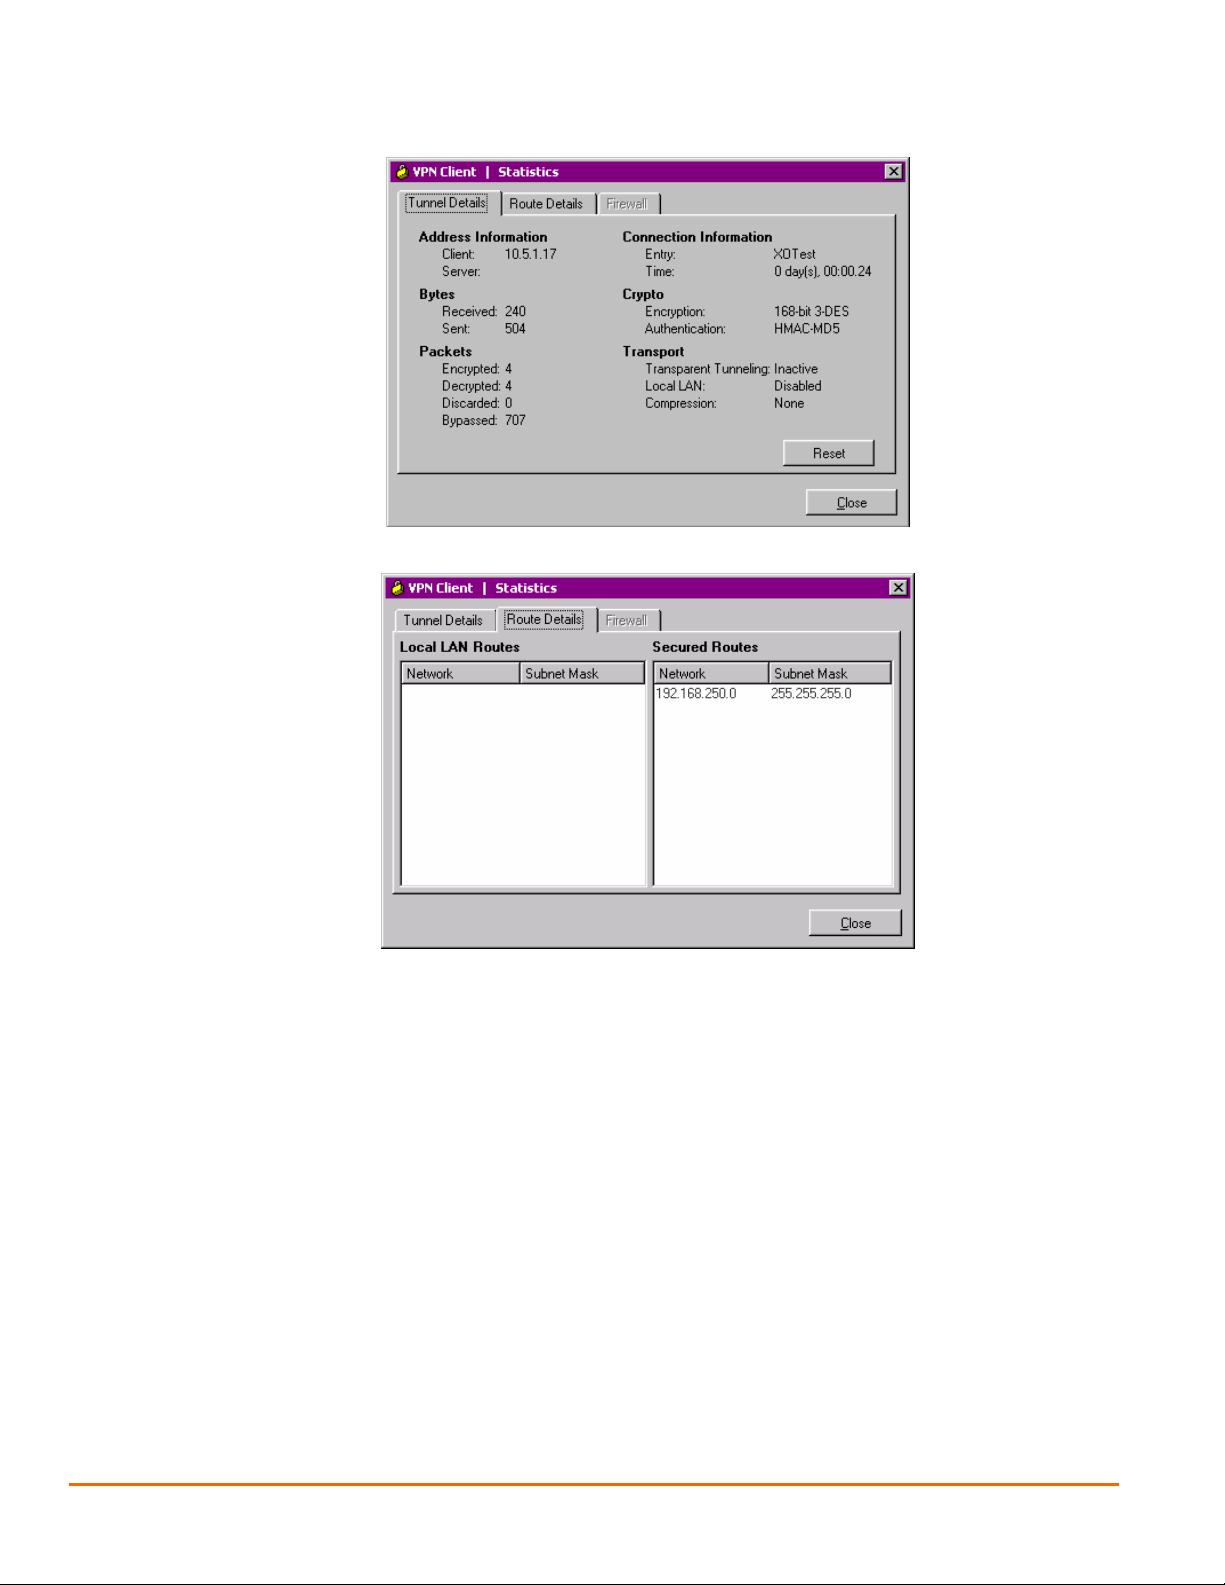
v) Right click on the lock and select “Statistics”. This will give you the tunnel information, including the virtual IP
of your PC and the number of packets that have passed through the encrypted tunnel.
(1) Select “Route Details” to confirm privately routed subnets.
i) Enjoy your XO VPN Remote Access Client!
Copyright 2004 XO. All rights reserved. XO and the XO design logo are trademarks of XO Communications, Inc . 8
Page 10

Frequently Asked Questions
1. Does this client work with PPPoE?
Yes. However, you cannot install the client when the PPPoE session is live. Disconnect DSL/PPPoE session,
install the client, reboot your machine, reconnect the DSL session, and then run the client.
2. Will this client work behind a NAT’d connection?
Certain routers will support NAT Transparency. Speak to your security engineer to discuss your options. If you
have a compatible router, the setting for NAT Transparency is located on the Properties tab.
3. Where can I find Dial-Up Networking v. 1.3 for Windows 95 and Windows 98?
Windows 95:
http://www.microsoft.com/windows95/downloads/contents/WURecommended/S_WUNetworking/dunwinsky2k/Def
ault.asp
Windows 98 is provided with DUN 1.3. However, v. 1.4 is available if you are experiencing problems
http://www.microsoft.com/windows98/downloads/contents/wurecommended/s_wunetworking/dun14/default.asp
4. Is there a Cisco client compatible with non-Windows based systems?
Yes, however, XO is not responsible for the installation, configuration, management, or maintenance of a nonWindows client. The client can be obtained from www.cisco.com
5. What ports do I need to open on my firewall to allow the client to connect from my internal network?
This is an IPSec client, and therefore requires the following ports to be opened:
Encapsulation Security Payload (ESP) – IP 50
Authentication Header (AH) – IP 51
Internet Security Association and Key Management Protocol (ISAKMP) – UDP 500
or by emailing your security engineer.
Copyright 2004 XO. All rights reserved. XO and the XO design logo are trademarks of XO Communications, Inc . 9
Page 11

6. Does this client support Windows Networking?
Yes. Please provide the WINS or Active Directory server IP, DNS information, and domain to your security
engineer and he/she will configure the policy for you to support Windows Networking.
7. I get a pop up saying the driver for the Cisco client has not passed Windows Logo testing. Is this safe to
install on my computer?
Yes. Acquiring a digital signature from Microsoft is costly and time consuming. Accepting this non-Microsoft
signed driver will not negatively impact your workstation.
8. How do I map a drive to my server when connected with the remote access client?
Once logged on to the remote access client, go to Windows ExplorerÆToolsÆMap Network Drive. Choose the
drive letter, and then type in the path to the server with the shared drive. Format: \\x.x.x.x\share
, where x.x.x.x is
the IP of the server to which you are trying to connect. If WINS is enabled, format can be: \\servername\share.
You may need to click on the “Connect using a different user name” depending on the permissions set on the
server.
9. I keep getting a “username or password is incorrect” error when trying to access network resources. How
do I fix that?
Windows NT and Windows 2000 have built-in functionality for accessing resources not in the same domain as
your workstation. When trying to map a network drive, fill in the “connect as” prompt with your domain and
network username. Format: \DOMAIN\username. The server will then prompt you for your password. Windows 95
and 98 do not offer this functionality, so the username and password used to log on to the workstation will be the
ones transmitted to the remote server. In order to access resources, the network administrator must add the
usernames and passwords of all Windows 95 and 98 clients to the shared resources on the server.
10. I can connect with the client but am unable to ping my internal network or access any applications. What
is the troubleshooting process?
First, confirm the connection is active by right clicking on the lock in the lower right-hand corner of the screen and
going to ‘Statistics”.
Confirm the client is configured correctly for the type of access used to establish connectivity
1. Go to StartÆRunÆ Type “cmd”.
2. At the prompt, type “ipconfig”, and write down the information next to “IP Address”.
3. If the IP address starts with any of the following, continue reading. If not, proceed to c)
a. 10.x.x.x
b. 172.x.x.x
c. 192.168.x.x
Copyright 2004 XO. All rights reserved. XO and the XO design logo are trademarks of XO Communications, Inc . 10
Page 12

4. Confirm that “Transparent Tunneling” is selected using IPSec over UDP in the properties
menu, and reconnect with the client
Check to make sure there is no local firewall configured on your network, including ZoneAlarm, the built-in XP or
2000 firewall, or a Linksys router that may have a firewall enabled
1. If any of the above are on your network, confirm that the ports you are trying to access are
open on the firewall device
11. I can connect with the client, but I cannot join my Windows domain.
Only certain Windows operating systems are capable of joining a Windows domain. These include: Windows NT,
Windows 2000, and Windows XP Professional.
Windows 98, 98SE, Millenium, and XP Home do not support Windows domain authentication. Contact your
administrator if you are using one of these Operating Systems. Further clarification can be obtained from
Microsoft’s website at
http://support.microsoft.com
.
Copyright 2004 XO. All rights reserved. XO and the XO design logo are trademarks of XO Communications, Inc . 11
 Loading...