

Page 1
Meraki MX64W Installation Guide
This document describes how to install and set up the MX64W security appliance. Additional
reference documents are available online at: www.meraki.com/library/products.
MX64W Overview
The Meraki MX64W (model: MX64W-HW) is an enterprise security appliance designed for
distributed deployments that require remote administration. It is ideal for network
administrators who demand both ease of deployment and a state-of-the-art feature set.
This appliance provides the following new features:
• USB port, to support approved 3G/4G cards for failover to cellular networks.
• Support for four LAN connections
• Wall screws and anchors for mounting drywall surface, either vertically or
horizontally
MX64W Operational Temperature: 32 o F to 104 o F (0 o C to 40 o C)
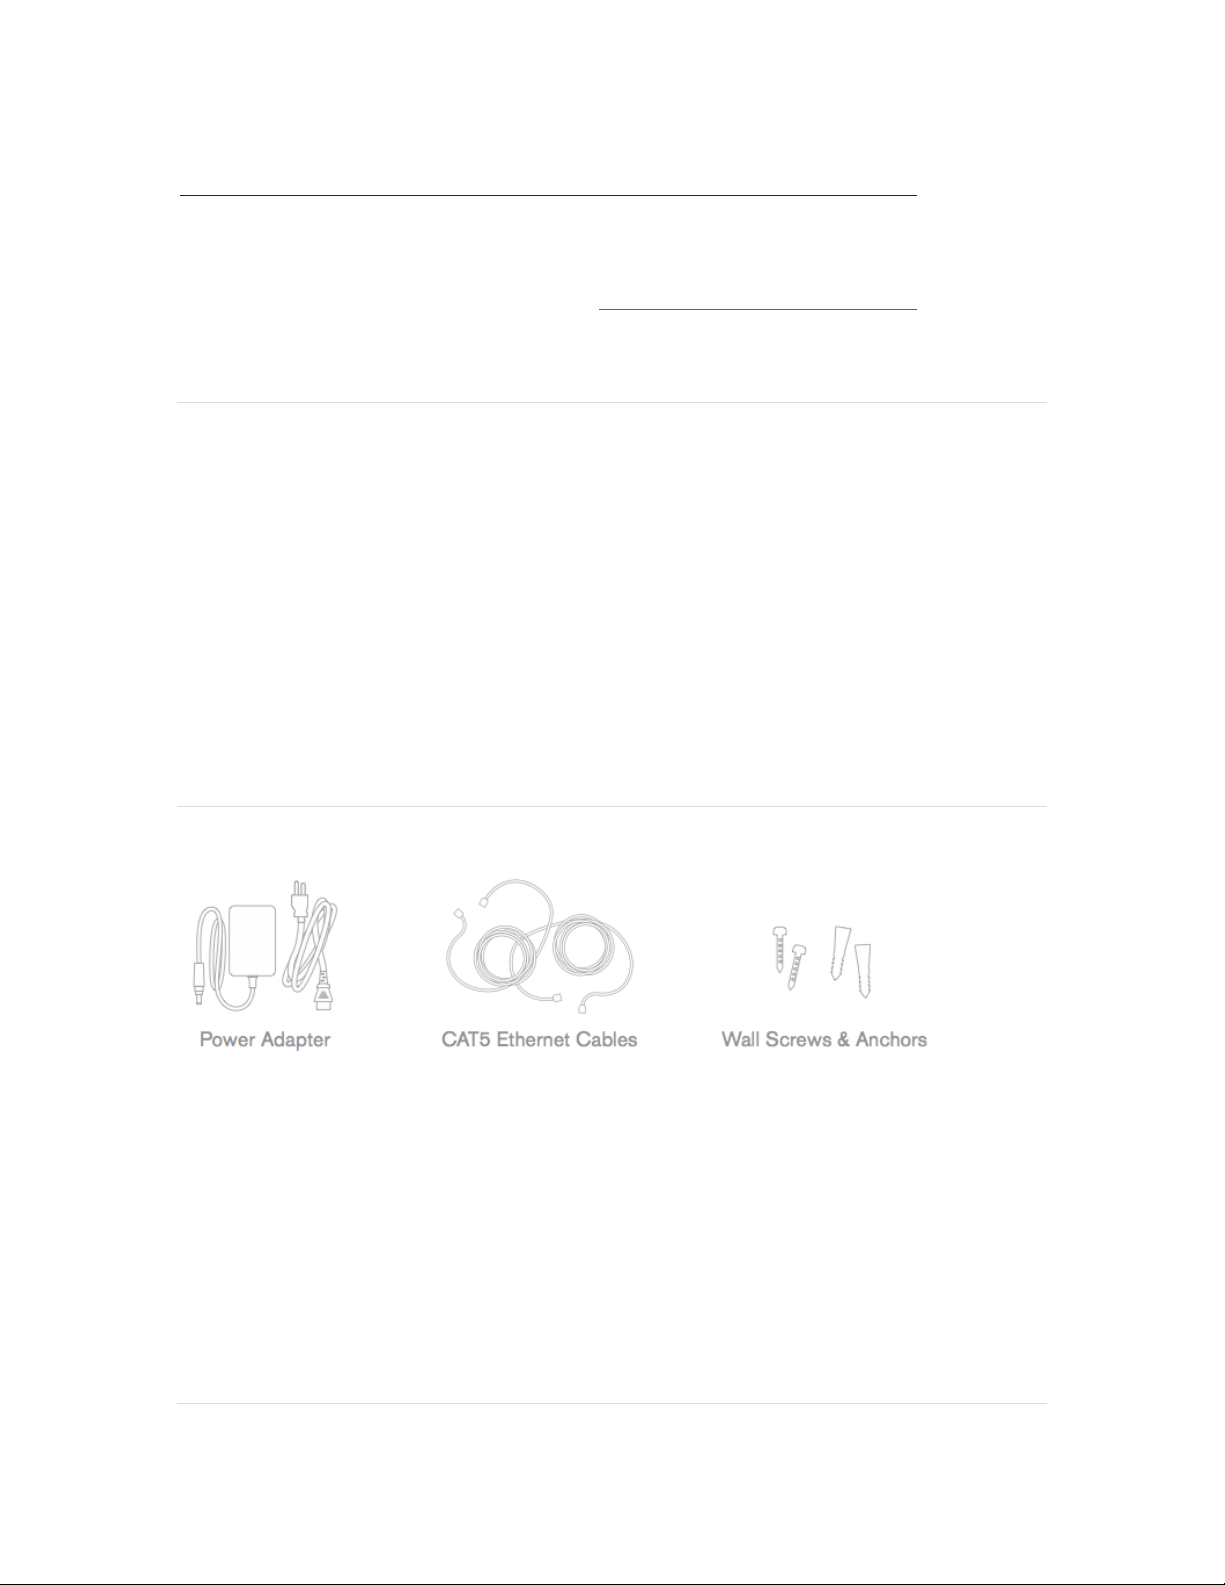
Package Contents
In addition to the MX64W, the following are provided.
Page 2
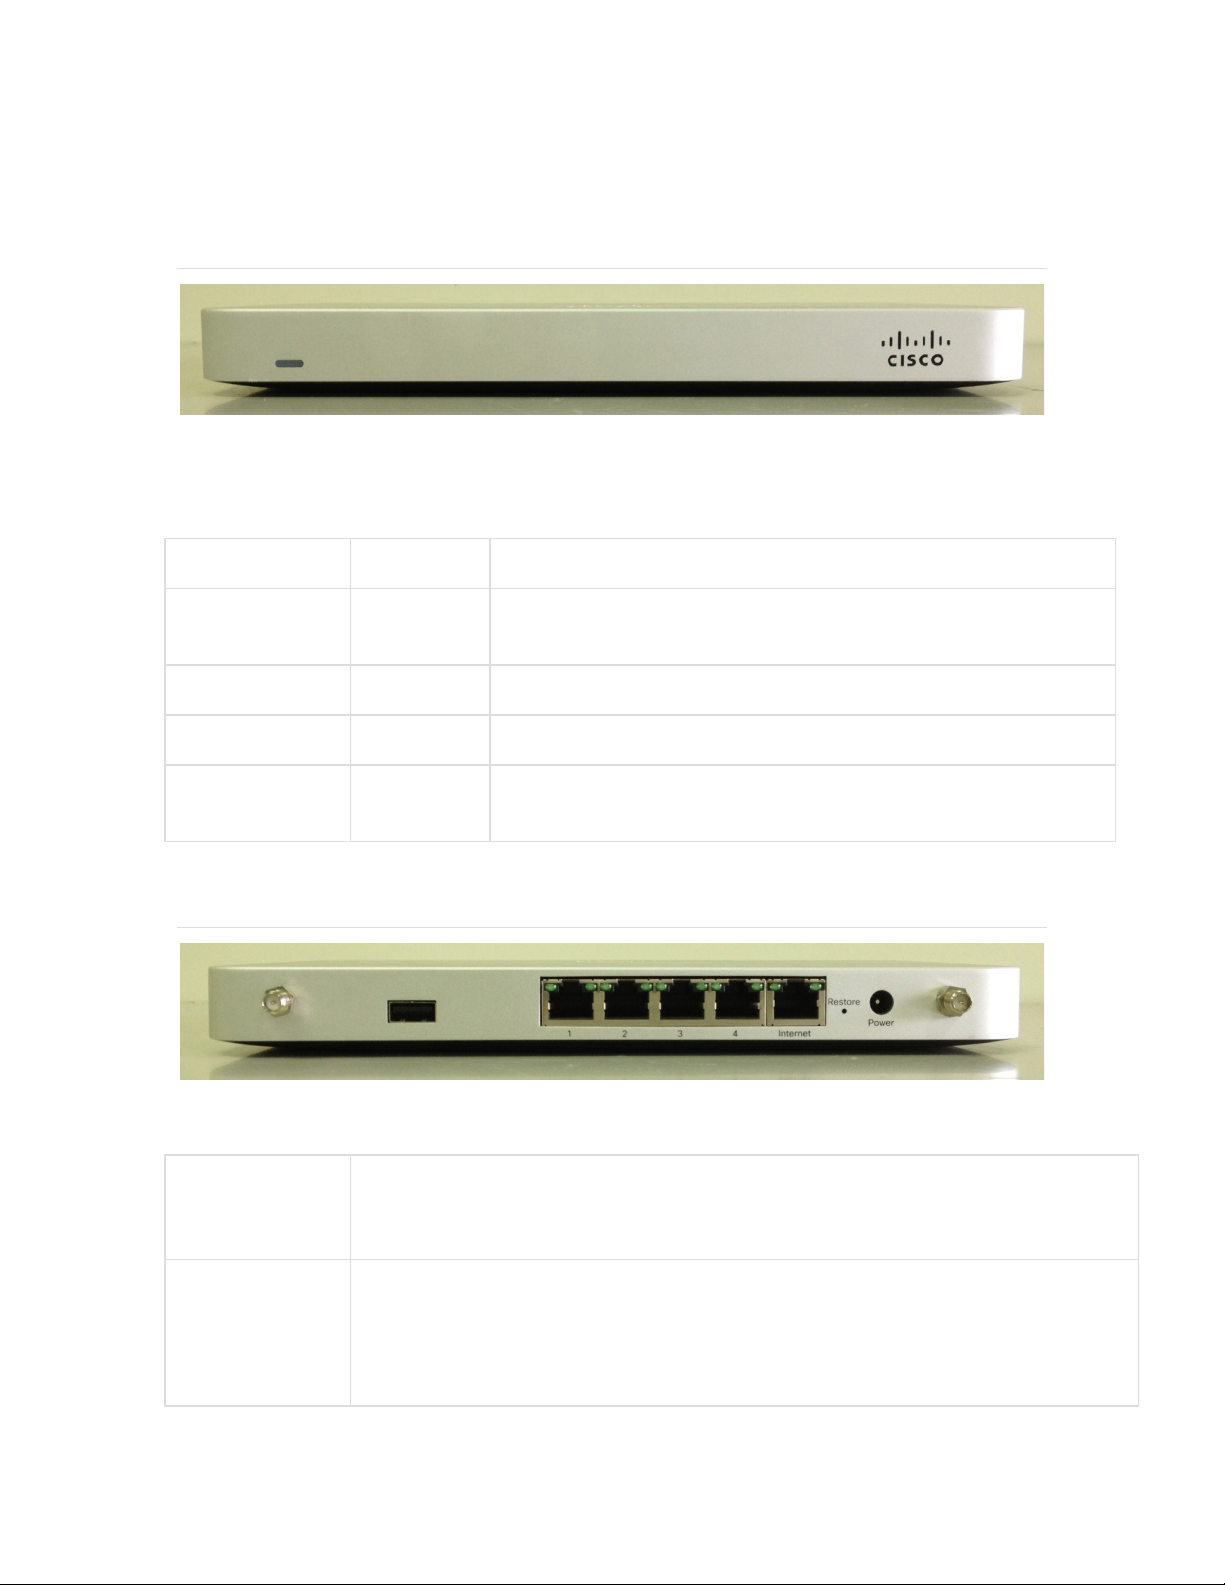
The MX64W front panel
Ports and Status Indicators
The MX64W uses a single LED to inform the user of the device's status.
Function
LED Status
Meaning
Power Up/Boot
Solid
Orange
Power is applied
Connecting
Rainbow
Device in process of connecting to the Meraki Dashboard
Connected
Solid White
Fully operational
Upgrading
Flashing
White
During boot or no WAN link
The MX64W back panel
Additional functions on the back panel are described below, from left to right.
Restore button
Insert a paper clip if a reset is required.
LAN ports
These 4 ports provide connectivity to computers, printers, access points, or
Ethernet switches.
A steady green LED indicates bidirectional connectivity, and flashing green
indicates traffic.
Page 3

LAN1 port can either be a LAN port or a second Internet port.
Internet port
Provides connectivity to the WAN.
USB port
USB 2.0 for 3G/4G wireless cards.
Power input
Designed for use only with the unit’s power supply.
The MX64W bottom panel
Please note that the serial number is located on the product label at the bottom panel of
MX64W
Mounting hardware
The supplied wall screws and anchors allow you to mount the appliance on a drywall
surface, either vertically or horizontally. The distance between the holes you drill should be
165 mm.
• For mounting on drywall, use a ¼-in drill bit, then insert the plastic and screw assemblies.
• For mounting on wood or a similar surface, use only the screws.
• Allow the heads of the screws to stick out far enough to be inserted securely into the back
of the appliance.
Page 4

Connecting to the WAN
All Meraki MX devices must have an IP address. This section describes how to configure
your local area network before you deploy it. A local management web service, running on
the appliance, is accessed through a browser running on a client PC. This web service is
used for configuring and monitoring basic ISP/WAN connectivity.
Setting up a static IP address
To ensure that the client PC is redirected to the local web service in the following step, you
must disable all other network services (ex: wi-fi) on your client machine.
Do the following to configure basic connectivity and other networking parameters:
1. Using a client machine such as a laptop, connect to one of the four LAN ports of the MX.
2. Using a browser on the client machine, access the appliance's built-in web service by
browsing to http://setup.meraki.com. (You do not have to be connected to the Internet to
reach this address)
3. Click Uplink configuration under the Local status tab.
4. Choose Static for the IP Assignment option.
5. Enter the IP address, subnet mask, default gateway IP and DNS server information.
Setting up a DHCP IP address
By default all MX devices are configured to DHCP from upstream WAN / ISP servers. Simply
plug the MX's WAN / Internet port to your upstream circuit and wait a few minutes for the
unit to negotiate a DHCP address.
Icon
When the WAN connection is fully enabled, Internet LED 1 will turn green.
Additional settings
Please note that all these settings below are accessible only via the local management
console.
Setting VLANs
If your WAN uplink is on a trunk port, choose VLAN tagging > Use VLAN tagging and enter
the appropriate value for VLAN ID for your network.
Setting up secondary WAN interface (dual WAN)
You can toggle the LAN1 port between LAN and Internet, through Uplink
configuration under the Local status tab.
Page 5

Setting PPPoE
PPPoE authentication may be required if you are connecting MX device to a DSL circuit. You
need to know your authentication option and credentials (supplied by your ISP) in order to
complete these steps.
• Choose Connection Type > PPPoE.
• Select your Authentication option.
• If you select Use authentication, enter appropriate values for Username and Password.
Web proxy settings
These settings take effect if the MX device has to fall back to using HTTP to contact the
Cloud Controller. By default, web proxy is disabled. To enable web proxy, do the following:
• Choose Web proxy > Yes.
• Enter values as appropriate for Hostname or IP and Port.
• If you require authentication, choose Authentication > Use authentication, and enter
appropriate values for Username and Password.
To apply all configuration settings to the appliance, be sure to click Save Settings at the
bottom of the page.
Configuring physical link settings
To configure physical link settings on the Ethernet ports, click Local status > Ethernet
configuration. You can enable half duplex, full duplex, and autonegotiation, as well as set
10- or 100-Mbps data rates.
Regulatory
Europe – EU Declaration of Conformity
This device complies with the essential requirements of the R&TTE Directive 1999/5/EC. The
following test methods have been applied in order to prove presumption of conformity with
the essential requirements of the R&TTE Directive 1999/5/EC:
Radio: EN 300 328, EN 301 893
EMC: EN 301 489-1, EN 301 489-17
Safety: EN 60950-1
Exposure: EN 505385
Emissions: EN 55022, EN 61000-3-2, EN 61000-3-3
Immunity: EN 61000-4-2, EN 61000-4-3, EN 61000-4-4, EN 61000-4-5, EN
61000-4-6, EN 61000-4-11
Page 6

AT BE BG CH CY CZ DE DK EE ES FI FR GB GR HU IE IS IT LI LT LU LV MT NL NO PL PT RO SE SI SK TR
This device is a 2.4 GHz and 5 GHz wideband transmission system (transceiver), intended
for use in all EU member states and EFTA countries with the following restrictions:
Frequency Band (MHz)
Max Power Level (EIRP) (mW)
Indoor ONLY
Indoor and Outdoor
2400 - 2483.5
100
X
5150 - 5350
200
X
5470 - 5725
1000
X
See meraki.cisco.com/compliance
Italy
This product meets the National Radio Interface and the requirements specified in the
National Frequency allocation Table for Italy. Unless this wireless LAN product is operating
within the boundaries of the owner’s property, it uses requires a “general authorization”.
Questo prodotto è conforme alla specifiche di Interfaccia Radio Nazionali e rispetta il Piano
Nazionale di ripartizione delle frequenze in Italia. Se non viene installato all ‘interno del
proprio fondo, l’utilizzo di prodotti Wireless LAN richiede una “Autorizzazione Generale”.
Denmark
The band 5150 - 5350 MHz is also allowed for outdoor usage.
I Danmark må frekvensbåndet 5150 -5350 også anvendes udendørs.
Latvia
The outdoor usage of the 2.4 GHz band requires an authorization from the Electronic
Communications Office.
2.4 GHz frekvenču joslas izmantošanai ārpus telpām nepieciešama at auja no Elektronisko
Page 7

sakaru direkcijas.
Български (Bulgarian): Настоящото Cisco Systems, Inc. декларира, че това безжичното
устройство е в съответствие със съществените изисквания и другите приложими
разпоредби на Директива 1999/5/EC.
Česky (Czech): Cisco Systems, Inc. tímto prohlašuje, že tento wireless device je ve shodě
se základními požadavky a dalšími příslušnými ustanoveními směrnice.
Dansk (Danish): Undertegnede Cisco Systems, Inc. erklærer herved, at følgende udstyr
wireless device overholder de væsentlige krav og øvrige relevante krav i direktiv 1999/5/EF.
Deutsch (German): Hiermit erklärt Cisco Systems, Inc. dass sich das Gerät wireless device
in Übereinstimmung mit den grundlegenden Anforderungen und den übrigen einschlägigen
Bestimmungen der Richtlinie 1999/5/EG befi ndet.
Eesti (Estonian): Käesolevaga kinnitab Cisco Systems, Inc. seadme wireless device
vastavust direktiivi 1999/5/EÜ põhinõuetele ja nimetatud direktiivist tulenevatele.
English: Hereby, Cisco Systems, Inc. declares that this wireless device is in compliance with
the essential requirements and other relevant provisions of Directive 1999/5/EC.
Español (Spanish): Por medio de la presente Cisco Systems, Inc. declara que el wireless
device cumple con los requisitos esenciales y cualesquiera otras disposiciones aplicables o
exigibles de la Directiva 1999/5/CE.
Ελληνική (Greek): ΜΕ ΤΗΝ ΠΑΡΟΥΣΑ Cisco Systems, Inc. ΔΗΛΩΝΕΙ ΟΤΙ wireless device
ΣΥΜΜΟΡΦΩΝΕΤΑΙ ΠΡΟΣ ΤΙΣ ΟΥΣΙΩΔΕΙΣ ΑΠΑΙΤΗΣΕΙΣ ΚΑΙ ΤΙΣ ΛΟΙΠΕΣ ΣΧΕΤΙΚΕΣ ΔΙΑΤΑΞΕΙΣ
ΤΗΣ ΟΔΗΓΙΑΣ 1999/5/ЕΚ.
Français (French): Par la présente Cisco Systems, Inc. déclare que l’appareil wireless
device est conforme aux exigencies essentielles et aux autres dispositions pertinentes de la
directive 1999/5/CE.
Ícelenska (Icelandic): Hér, Cisco Systems, Inc. yfir að þráðlaus tæki er í samræmi við
grunnkröfur og önnur viðeigandi ákvæði tilskipunar 1999/5/EB.
Italiano (Italian): Con la presente Cisco Systems, Inc. dichiara che questo wireless device è
conforme ai requisiti essenziali ed alle altre disposizioni pertinenti stabilite dalla direttiva
Page 8

1999/5/CE.
Latviski (Latvian): Ar šo Cisco Systems, Inc. deklarē, ka wireless device atbilst Direktīvas
1999/5/EK būtiskajām prasībām un citiem ar to saistītajiem noteikumiem.
Lietuvių (Lithuanian): Šiuo Cisco Systems, Inc. deklaruoja, kad šis wireless device atitinka
esminius reikalavimus ir kitas 1999/5/EB Direktyvos nuostatas.
Nederland (Dutch): Hierbij verklaart Cisco Systems, Inc. dat het toestel wireless device in
overeenstemming is met de essentiële eisen en de andere relevante bepalingen van
richtlijn 1999/5/EG.
Malti (Maltese): Hawnhekk, Cisco Systems, Inc. jiddikjara li dan wireless device jikkonforma
mal-ħtigijiet essenzjali u ma provvedimenti oħrajn relevanti li hemm fi d-Dirrettiva
1999/5/EC.
Magyar (Hungarian): Alulírott, Cisco Systems, Inc. nyilatkozom, hogy a wireless device
megfelel a vonatkozó alapvetõ követelményeknek és az 1999/5/EC irányelv egyéb
elõírásainak.
Norsk (Norwegian): Erklærer herved Cisco Systems, Inc. at denne trådløse enheten er i
samsvar med de grunnleggende krav og øvrige relevante krav i direktiv 1999/5/EF.
Polski (Polish): Niniejszym Cisco Systems, Inc. deklaruje że to urządzenie bezprzewodowe
jest zgodne z zasadniczymi wymaganiami oraz pozostalymi stosowynmi postanowieniami
Dyrektywy 199/5/WE.
Português (Portuguese): Cisco Systems, Inc. declara que este wireless device está
conforme com os requisitos essenciais e outras disposições da Directiva 1999/5/CE.
Română (Romanian): Prin prezenta, Cisco Systems, Inc. declară că acest dispozitiv fără fir
este în conformitate cu cerințele esențiale și alte prevederi relevante ale Directivei
1999/5/CE.
Slovensko (Slovenian): Cisco Systems, Inc. izjavlja, da je ta wireless device v skladu z
bistvenimi zahtevami in ostalimi relevantnimi dolocili direktive 1999/5/ES.
Slovensky (Slovak): Cisco Systems, Inc. týmto vyhlasuje, že wireless device splna základné
požiadavky a všetky príslušné ustanovenia Smernice 1999/5/ES.
Page 9

Suomi (Finnish): Cisco Systems, Inc. vakuuttaa täten että wireless device tyyppinen laite on
direktiivin 1999/5/EY oleellisten vaatimusten ja sitä koskevien direktiivin muiden ehtojen
mukainen.
Svenska (Swedish): Härmed intygar Cisco Systems, Inc. att denna wireless device står I
överensstämmelse med de väsentliga egenskapskrav och övriga relevanta bestämmelser
som framgår direktiv 1995/5/EG.
CE Marking
The following CE Mark is affixed to the equipment and its packaging:
EU Radiation Exposure Statement
This equipment complies with EU radiation exposure limits set forth for an uncontrolled
environment. This equipment should be installed and operated with minimum distance 20
cm between the radiator and your body.
FCC Compliance Statement
This device complies with part 15 of the FCC rules.
Operation is subject to the following two conditions: (1) This device may not cause harmful
interference, and (2) this device must accept any interference received, including
interference that may cause undesired operation.
FCC Interference Statement
This equipment has been tested and found to comply with the limits for a Class B digital
device, pursuant to part 15 of the FCC Rules. These limits are designed to provide
reasonable protection against harmful interference in a residential installation. This
equipment generates, uses and can radiate radio frequency energy and, if not installed and
used in accordance with the instructions, may cause harmful interference to radio
communications. However, there is no guarantee that interference will not occur in a
particular installation. If this equipment does cause harmful interference to radio or television
reception, which can be determined by turning the equipment off and on, the user is
encouraged to correct the interference by one of the following measures:
• Reorient or relocate the receiving antenna.
• Increase the separation between the equipment and receiver.
• Connect the equipment into an outlet on a circuit different from which the receiver is
Page 10

connected.
• Consult the dealer or an experienced radio/TV technician for help.
FCC Caution
Any changes or modifications not expressly approved by Cisco Systems, Inc. could void the
user’s authority to operate this equipment. This Transmitter must not be co-located or
operating in conjunction with any other antenna or transmitter.
FCC Radiation Exposure Statement
This equipment complies with FCC radiation exposure limits set forth for an uncontrolled
environment. This equipment should be installed and operated with minimum distance 20
cm between the radiator and your body. This transmitter must not be co-located or
operating in conjunction with any other antenna or transmitter.
IEEE 802.11b or 802.11g operation of this product in the USA is firmware-limited to
channels 1 through 11.
If the device is going to be operated in the 5.15 – 5.25 frequency range, then it is restricted
to indoor environment only.
The device meets all other requirements specified in part 15E, Section 15.407 of the FCC
rules.
Industry Canada Statement
This device complies with RSS-210 of the Industry Canada Rules. Operation is subject to the
following two conditions: (1) this device may not cause harmful interference, and (2) this
device must accept any interference received, including interference that may cause
undesired operation.
Ce dispositif est conforme à la norme CNR-210 d’Industrie Canada applicable aux appareils
radio exempts de licence. Son fonctionnement est sujet aux deux conditions suivantes: (1) le
dispositif ne doit pas produire de brouillage préjudiciable (2) ce dispositif doit accepter tout
brouillage reçu, y compris un brouillage susceptible de provoquer un fonctionnement
indésirable.
Industry Canada Caution
(i) the device for operation in the band 5150-5250 MHz is only for indoor use to reduce the
potential for harmful interference to co-channel mobile satellite systems;
Page 11

(ii) high-power radars are allocated as primary users (i.e. priority users) of the bands 52505350 MHz and 5650-5850 MHz and that these radars could cause interference and/or
damage to LE-LAN devices.
Avertissement:
(i) les dispositifs fonctionnant dans la bande 5 150-5 250 MHz sont réservés uniquement
pour une utilisation à l’intérieur afin de réduire les risques de brouillage préjudiciable aux
systèmes de satellites mobiles utilisant les mêmes canaux;
(ii) De plus, les utilisateurs devraient aussi être avisés que les utilisateurs de radars de haute
puissance sont désignés utilisateurs principaux (c.-à-d., qu’ils ont la priorité) pour les
bandes 5 250-5 350 MHz et 5 650-5 850 MHz et que ces radars pourraient causer du
brouillage et/ou des dommages aux dispositifs LAN-EL.
Industry Canada Radiation Exposure Statement
This equipment complies with IC radiation exposure limits set forth for an uncontrolled
environment. This equipment should be installed and operated with minimum distance 20
cm between the radiator and your body.
Déclaration d’exposition aux radiations
Cet équipement est conforme aux limites d’exposition aux rayonnements IC établies pour un
environnement non contrôlé. Cet équipement doit être installé et utilisé avec un minimum de
20 cm de distance entre la source de rayonnement et votre corps.
Australia Radiation Exposure Statement
This equipment complies with Australian radiation exposure limits set forth for an
uncontrolled environment. This equipment should be installed and operated with minimum
distance 20 cm between the radiator and your body.
VCCI Statement for Japan
警告 この装置は、クラスB情報技術装置です。この装置は家庭環境で使用することを
目的としていますが、この装置がラジオやテレビジョン受信機に近接して使用
されると、受信障害を引き起こすことがあります。取扱説明書に従って正しい取
り扱いをしてください。
VCCI-B
Warning This is a Class B product based on the standard of the Voluntary Control
Council for Interference from Information Technology Equipment (VCCI). If
this is used near a radio or television receiver in a domestic environment, it
may cause radio interference. Install and use the equipment according to
Page 12

the instruction manual.
Taiwan Wireless Statements
低功率射頻設備的管理辦法
第12條 經型式認證合格之低功率射頻電機,非經許可,公司、商號或使用者均不得
擅自變更頻率、加大功率或變更原設計之特性及功能。
第14條 低功率射頻電機之使用不得影響飛航安全及干擾合法通信;經發現有干擾現
象時,應立即停用,並改善至無干擾時方得繼續使用。
前項合法通信,指依電信法規定作業之無線電通信。
低功率射頻電機須忍受合法通信或工業、科學及醫療用電波輻射性電機設備
之干擾。
Administrative Rules for Low-Power Radio-Frequency Devices
Article 12: For those low-power radio-frequency devices that have already received a
type-approval, companies, business units or users should not change its
frequencies, increase its power or change its original features and functions.
Article 14: The operation of the low-power radio-frequency devices is subject to the
conditions that no harmful interference is caused to aviation safety and
authorized radio station; and if interference is caused, the user must stop
operating the device immediately and can’t re-operate it until the harmful
interference is clear.
The authorized radio station means a radio-communication service operating
in accordance with the Communication Act.
The operation of the low-power radio-frequency devices is subject to the
interference caused by the operation of an authorized radio station, by
another intentional or unintentional radiator, by industrial, scientific and
medical (ISM) equipment, or by an incidental radiator.
低功率射頻電機技術規範
4.7
無線資訊傳輸設備
Page 13

4.7.6
無線資訊傳輸設備須忍受合法通信之干擾且不得干擾合
法通信;如造成干擾,應立即停用,俟無干擾之虞,始得 繼續使用。
4.7.7
無線資訊傳輸設備的製造廠商應確保頻率穩定性,如依製造廠商使用手冊上
所述正常操作,發射的信號應維持於操作帶中。
Low-Power Radio-Frequency Devices Technical Specifications
4.7: Unlicensed National Information Infrastructure
4.7.6: The U-NII devices shall accept any interference from legal communications
and shall not interfere with the legal communications. If interference is
caused, the user must stop operating the device immediately and must not
re-operate it until the harmful interference is clear.
4.7.7: Manufacturers of U-NII devices are responsible for ensuring frequency
stability such that an emission is maintained within the band of operation
under all conditions of normal operation as specified in the user manual.
Brazil Wireless Statement
Este equipamento opera em caráter secundário, isto é, não tem direito a proteção contra
interferência prejudicial, mesmo de estações do mesmo tipo, e não pode causar
interferência a sistemas operando em caráter primário.
This equipment operates on a secondary basis and consequently must accept harmful
interference, including interference from stations of the same kind. This equipment may not
cause harmful interference to systems operating on a primary basis.
 Loading...