

Page 1
DiMeda 10G
Getting Started
Step 1. Unpack Appliance
Unpack DiMeda. Move it to the place of operation. Warnin g: DiMeda is
heavy; use care in lifting it. Save packaging materials. To transport
DiMeda, use the original packaging.
Step 2. Insert drives
The system was configured with the drives in a set order. Each drive is
labeled. It is important that you insert the 24 drives into the front of the
array in the following order:
Step 3. Cable DiMeda
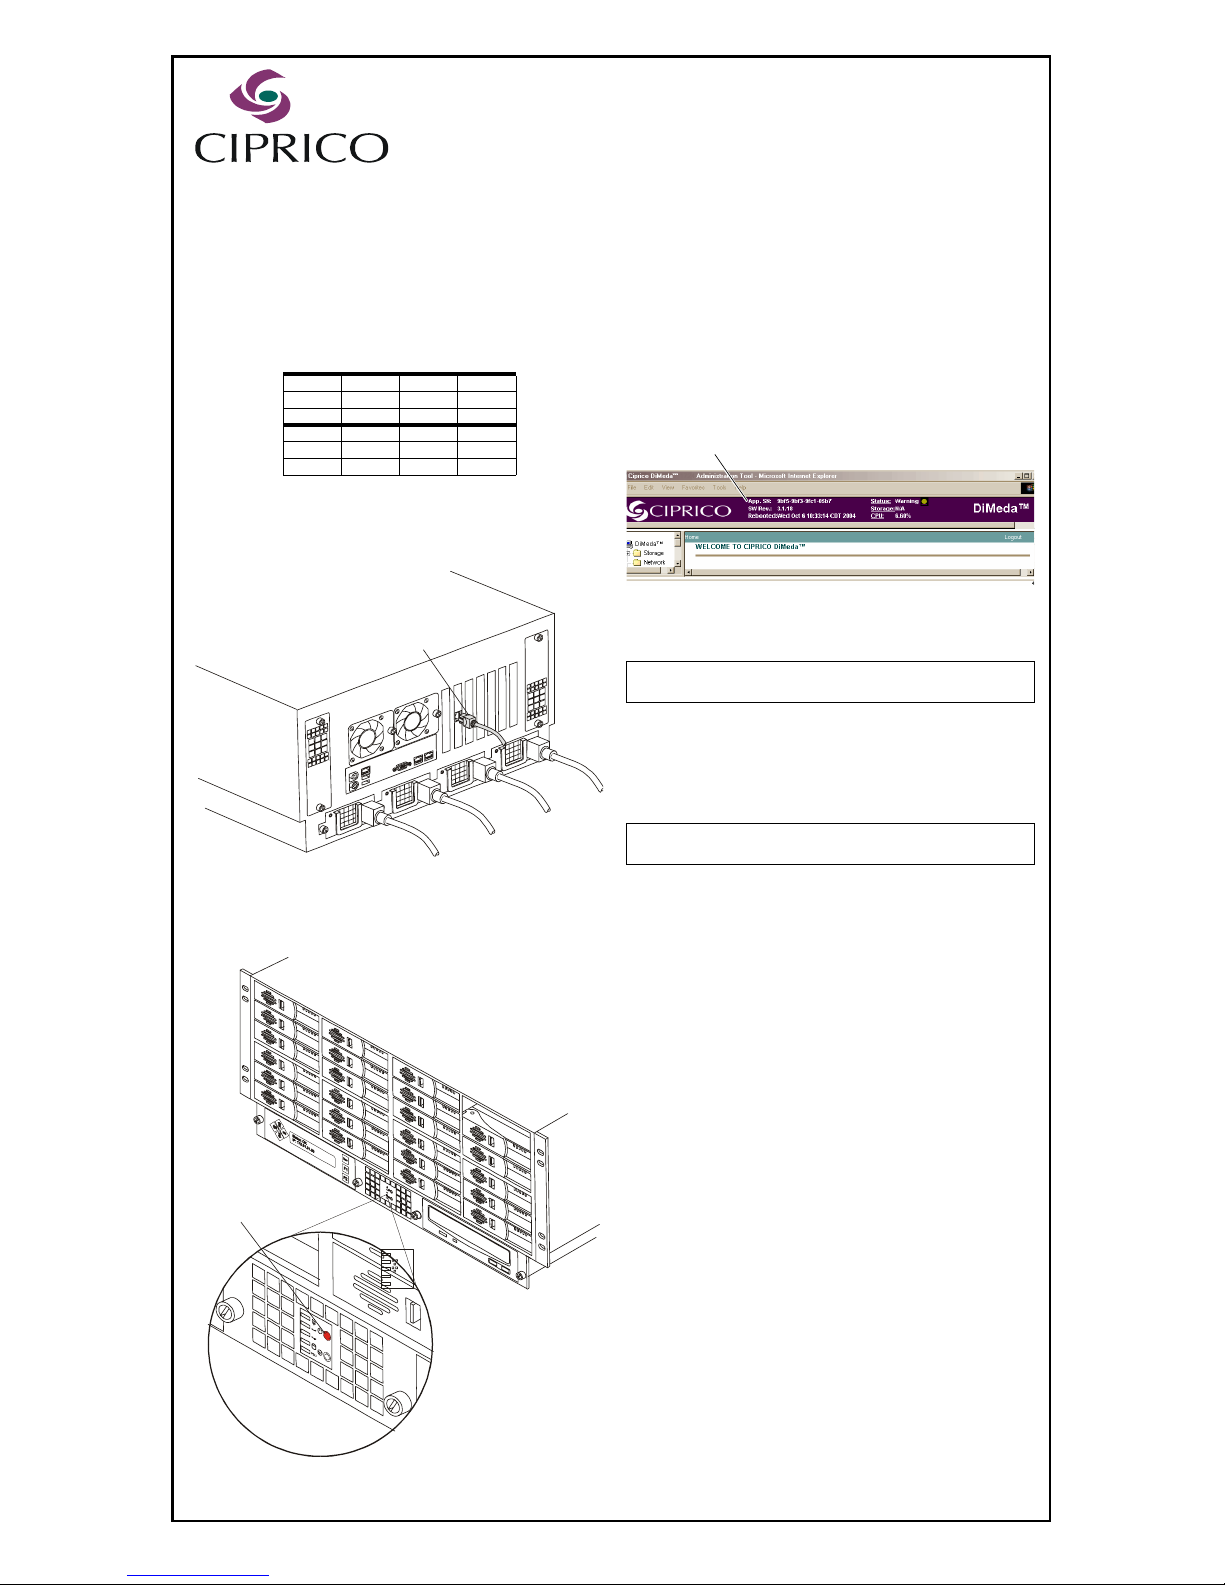
a. Attach electrical cables, as shown in Figure 1. For greater
redundancy, attach electrical cables to at least two separate power
sources.
b. Attach an Ethernet cable from Port 0 to a node on the net-work.
c. Power up DiMeda by pressing the small round On/Standby button on
the front left of the machine, as shown in Figure 2.
Step 3. Open DiMeda Software on Workstation
a. From any network machine, recognize DiMeda by adding an IP
address within the subnet range of 172.31.0.0.
b. Open DiMeda software in a Web browser (such as Netscape,
Internet Explorer, or Mozilla) by entering the following in the browser
address bar:
https://172.31.31.30:9890
Notice the s in the https: address. Make sure the advanced Internet
options include cookies and JavaScript (or JIT).
c. Read and agree to the license agreement.
d. Enter the password, which is the appliance serial number which
appears along the top of the frame, as shown in Figure 3.
The appliance software opens and defaults to the setup window. Click on
Setup. The Configure Network Ports window appears.
Step 4. Configure Network Ports
Configure network ports to work in your environment. Do not enable
jumbo frames unless you are certain your software supports them. The
public IP address for Port 0 (external) is the DiMeda address on the
network. After setting port values, click on Next.
Step 5. Set Up a Name and IP Address
a. Review the local domain name. The default is Default.Domain.
b. Review the gateway address and netmask. The default gateway
address is 0.0.0.0 (no gateway).
c. Enter the node name for DiMeda. Click on Next.
Step 6. Change the Password
Change the DiMeda password for security. (Remember to write it down.)
Click on Next.
Step 7. Set Date and Time
Select the correct time zone, date, and time. Click on Next.
Step 8. Configure SNMP
Simple Network Management Protocol (SNMP) notifies an SNMP
manager via traps when an event occurs in the DiMeda system. To
disable SNMP, leave the window blank. Click on Next. To enable SNMP,
do the following:
a. Enter a community name.
b. If you have an SNMP manager running on a host, enter the IP
address of the SNMP server for Host 1 or 2 for either SNMP Version
1 or 2. Both versions of SNMP report error conditions. SNMP2 is an
updated version that has better security, automatic continuous
feedback, and potentially provides more error information. DiMeda
will send event notices to that host.
c. Choose the severity level that will trigger an event notification. Click
on Next.
(Continue on the reverse side.)
0-0 0-1 0-2 0-3
0-4 0-5 0-6 0-7
0-8 0-9 0-10 0-11
1-0 1-1 1-2 1-3
1-4 1-5 1-6 1-7
1-8 1-9 1-10 1-11
4519
Ethernet cable
Electrical Cables
Figure 1. Cables
4509
On/Off switch
Figure 2. On/Standby Button
Note: At any time during Setup, click on the Back icon to review or
change prior windows. Configuration is not complete until Step 10.
Note: For detailed information about DiMeda configuration options,
click on the Help icon (?) in the upper right corner of each window.
Appliance Serial Number
Figure 3. Appliance Serial Number
21022079 A
For detailed instructions, refer to online help or the
Software User Guide (Part No. 21022081). Ciprico
manuals are available at: www.ciprico.com>
Customer Support> Tech Pub Library.
Page 2
Step 9. Configure SMTP
Simple Mail Transfer Protocol (SMTP) notifies an administrator via
e-mail when an event occurs in the DiMeda system. To disable SMTP,
leave the window blank and click on the Next icon. To enable SMTP, click
in the Enable box and do the following:
a. Enter the IP address of the mail server.
b. Remove a contact by clicking on its name and the Remove button.
c. Add, edit, or maintain the default contact by clicking on the
appropriate button. The SMTP Contact window appears.
d. Enter the name, e-mail address, event severity, and time during
which this contact will be notified. Click on OK to return to the SMTP
window. Click on Next.
Step 10. Save and Reboot
a. In the SMTP window, click on the Save icon. DiMeda asks if you are
sure you want to save this configuration.
b. Click on OK. A message appears, reporting that the setup was
successful and requesting that you reboot.
c. Click on Reboot Now. A message appears, telling you the system is
rebooting.
d. Close the browser. Do not power down the enclosure.
e. After two minutes, open a browser. In the address bar, enter the
public IP address you created in Step 4. Rebooting takes between 2
and 10 minutes. Refresh until the Welcome window appears.
f. Enter the password you created in Step 6.
Step 11. Create a File System
A welcome window appears, reminding you to create a file system. Click
on the Yes button. The File System Creation window appears.
a. Click on the device from the Available Devices List. The size of the
file system you are creating appears.
b. Choose one of these File System Types: Video application or
General Purpose application.
c. Enter the mount point.
d. Choose a method for communicating with client systems when
exchanging files between computers: NFS (Unix), CIFS (Windows),
or both. Click on Next.
Step 12. Create Shares
If you chose NFS, the NFS Share window appears. Specify NFS options.
If you chose CIFS, the CIFS Share window appears. Specify CIFS
options. If you chose AFP, the AFP Share window appears. Specify AFP
options. Click on the Save icon.
DiMeda is now attached to your network, ready to store, retrieve, and
share files between your networked clients - reliably and at high speed.
LCD Display
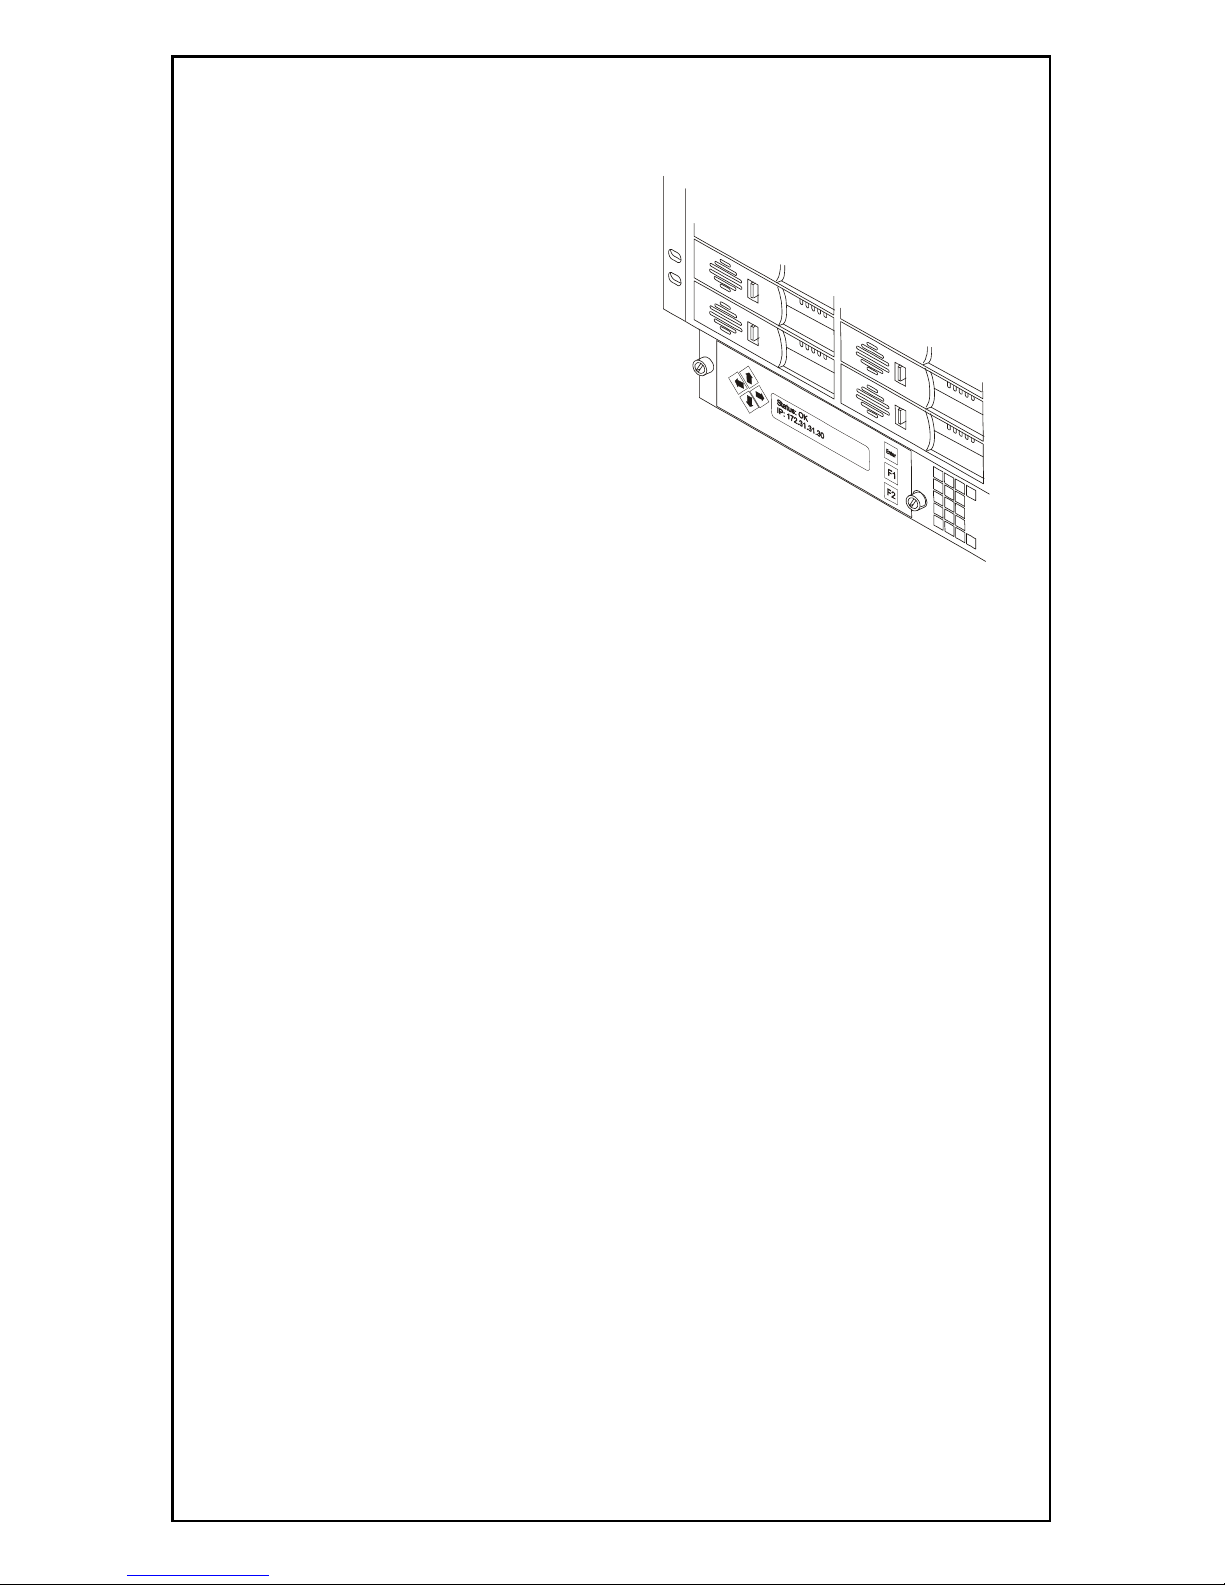
The liquid crystal display (LCD) panel enables you to enter commands.
Use the arrow, F1, F2, and Enter buttons to view status or enter
commands.
• To view Status, press F1.
• To view the menu, press F2.
• To select or confirm a menu option, press Enter.
Status
The LCD screen displays the following status:
• Booting
• Good
• Halted
• Monitor (when the appliance is in monitor mode)
• Warning
Actions
To shut down the array, do the following:
a. Press F2 to view the menu.
b. Use the up or down arrow to select Shutdown.
c. Press Enter. The system asks you to confirm.
d. Press Enter again.
To reboot, do the following:
a. Press F2 to view the menu.
b. Press the up or down arrow until Reboot appears.
c. Press Enter. The system asks you to confirm.
d. Press Enter again.
To change the IP address, do the following
a. Press F2 to view the menu.
b. Use the up or down arrow to select Set IP.
c. Press Enter. The system displays the current IP address.
d. Use the up and down arrows to change numbers. Use the left and
right arrows to move from digit to digit.
e. Press Enter when the new IP address is complete. If the update was
successful, the LCD displays the following:
IP address was set
F1=Status F2=Menu
f. If the update was unsuccessful, the LCD displays the following:
Error setting IP Addr.
F1=Status F2=Menu
4508
Copyright 2005 Ciprico, Inc., All rights reserved.
Ciprico Support in the U.S. 1-877-CIPRICO (247-7426).
For questions about this product, e-mail [email protected].
Log onto the Ciprico Web site at www.ciprico.com
 Loading...