

Chumby CHUNTLV Users Manual
chumby NeT
V
Quickstar
(Y
ll never read this and we’d rather not kill the trees, but it’s required by law)
ou’
chumby.com
t Guide
Educational Diagrams
HD digital video input
Connect to your video source
(DVD player, set top box, video
game console, etc.)
IR sensor and status
LED window
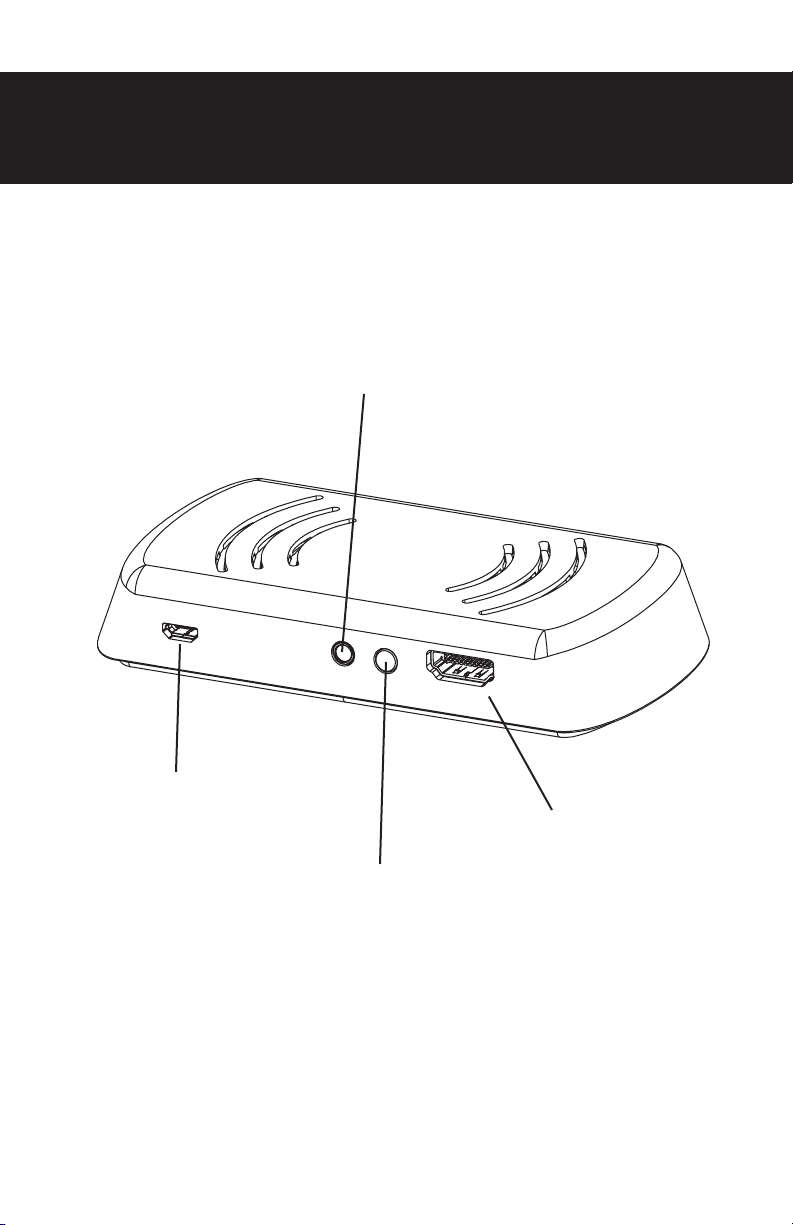
IR extender accessory port
(not for audio)
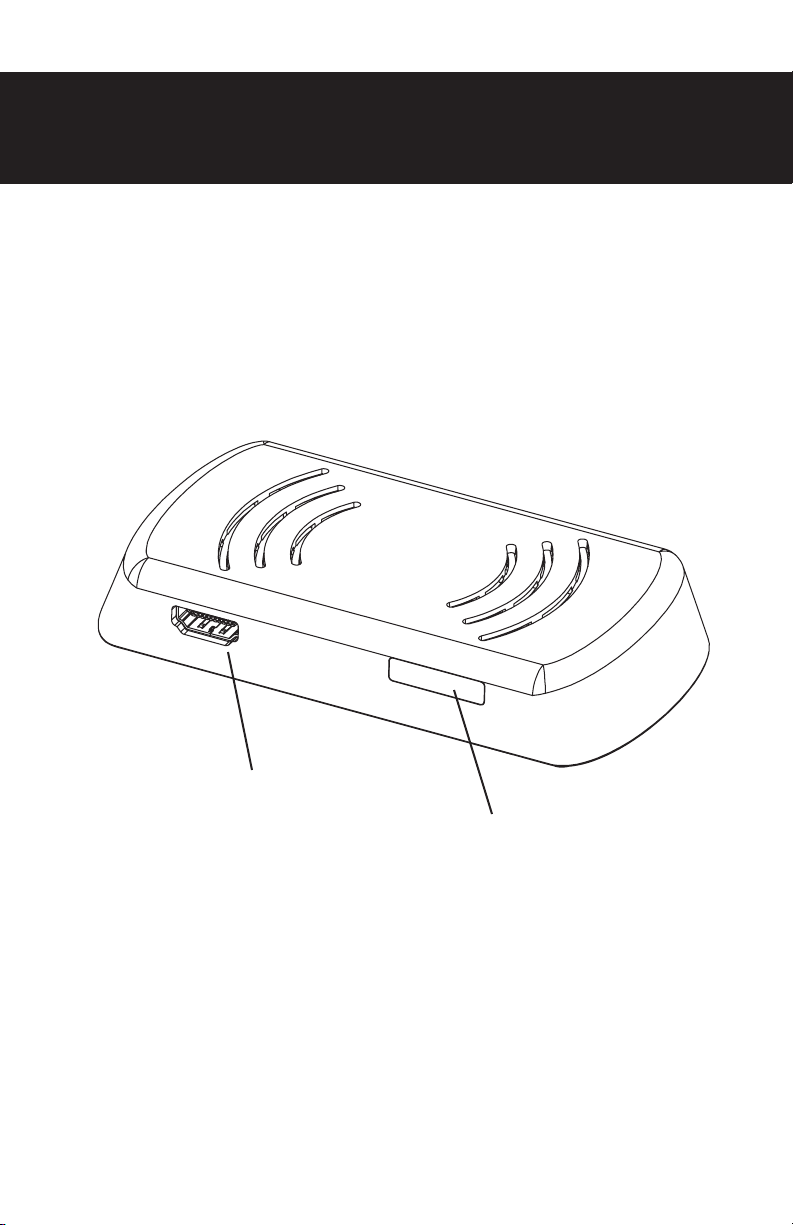
Power input
(micro-USB connector,
5.25V @ 1A; power only)
HD digital video output
Connect to your TV
Setup button

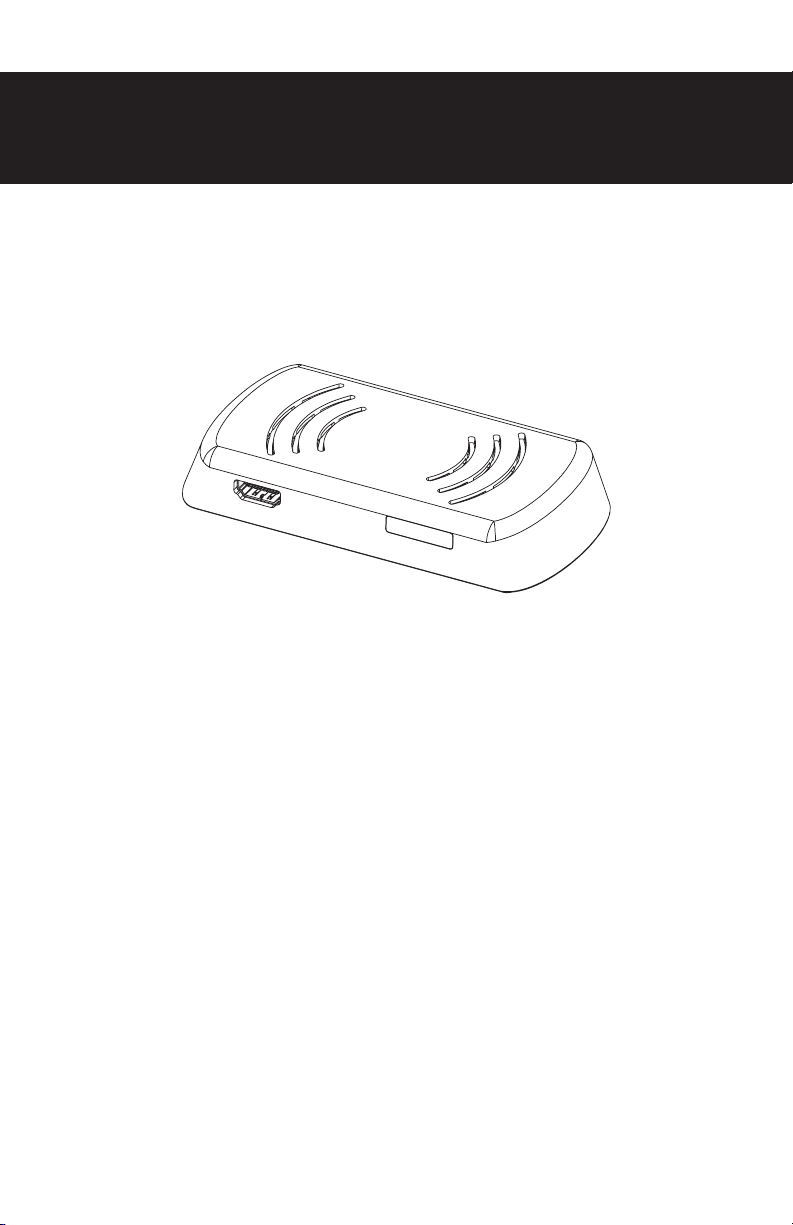
Getting Started
Congratulations on purchasing a chumby NeTV. In the box, you
should find the NeTV device, a power supply, a micro-USB cable, a
video cable, and this manual. The IR extender is an accessory which
is sold separately.
To get your device up and running, please follow these four simple
steps:
1. Plug it in between two video devices.
The NeTV can go between most any HD digital video source and
sink. Plug the video source into the front side of the NeTV device,
and the video sink into the back side of the NeTV device. The
NeTV can go between your DVD and A/V receiver, for example, or
between your A/V receiver and your TV. It’s up to you!
2. Plug in the power.
Power up the NeTV device by plugging in the provided micro-USB
cable, and then plugging the other end into the provided wall
adapter. Once the wall adapter is plugged into an AC socket, you
should see LEDs on the front panel light up.
3. Turn on your AV system.
Make sure your TV and other peripherals are active now, so you can
see the on-screen instructions provided by the NeTV.
4. Follow the on-screen instructions.
The NeTV will guide you through the remainder of the process
with its on-screen configuration wizard. Configuration is faster and
easier with a smartphone or laptop nearby, but you can also do it
with the included remote control.
 Loading...