

Page 1
IP116 Plus HD WiFi Camera
Instruction Manual
Page 2

Foreword
Thank you for choosing the IP116 Plus HD WiFi Camera. We understand that
whenever we purchase something new, we want to enjoy it as soon as possible.
While it seems that the methodical approach takes longer, it in fact will speed up
the process as you will only need to do it once! Please take the time to unpack
and familiarize yourself with the included parts and this owner ’s manual to learn
the easy steps required to be enjoying your IP116 Plus HD WiFi Camera in less
time than it takes to boil water. There are some parts of the installation must be
completed in the EXACT order shown to ensure successful installation.
Page 3

Contents
1. Package List ……………………………………………………………………………………………………………3
2. IP116 Plus HD WiFi Camera Overview …………………………………………………………………3
3. Getting Started ………………………………………………………………………………………………………5
3.1 Download the “IP116 Plus” App ………………………………………………………………………5
3.2 Sign Up/In …………………………………………………………………………………………………………5
4. App Control And Settings ……………………………………………………………………………………6
4.1 Menu Page ………………………………………………………………………………………………………6
4.2 App Settings ……………………………………………………………………………………………………14
5. Installation ……………………………………………………………………………………………………………21
6. Restoring to Factory Settings …………………………………………………………………………21
7. S pe ci f i c at i o n s ………………………………………………………………………………………………… 22
Page 4
1. Packaging List
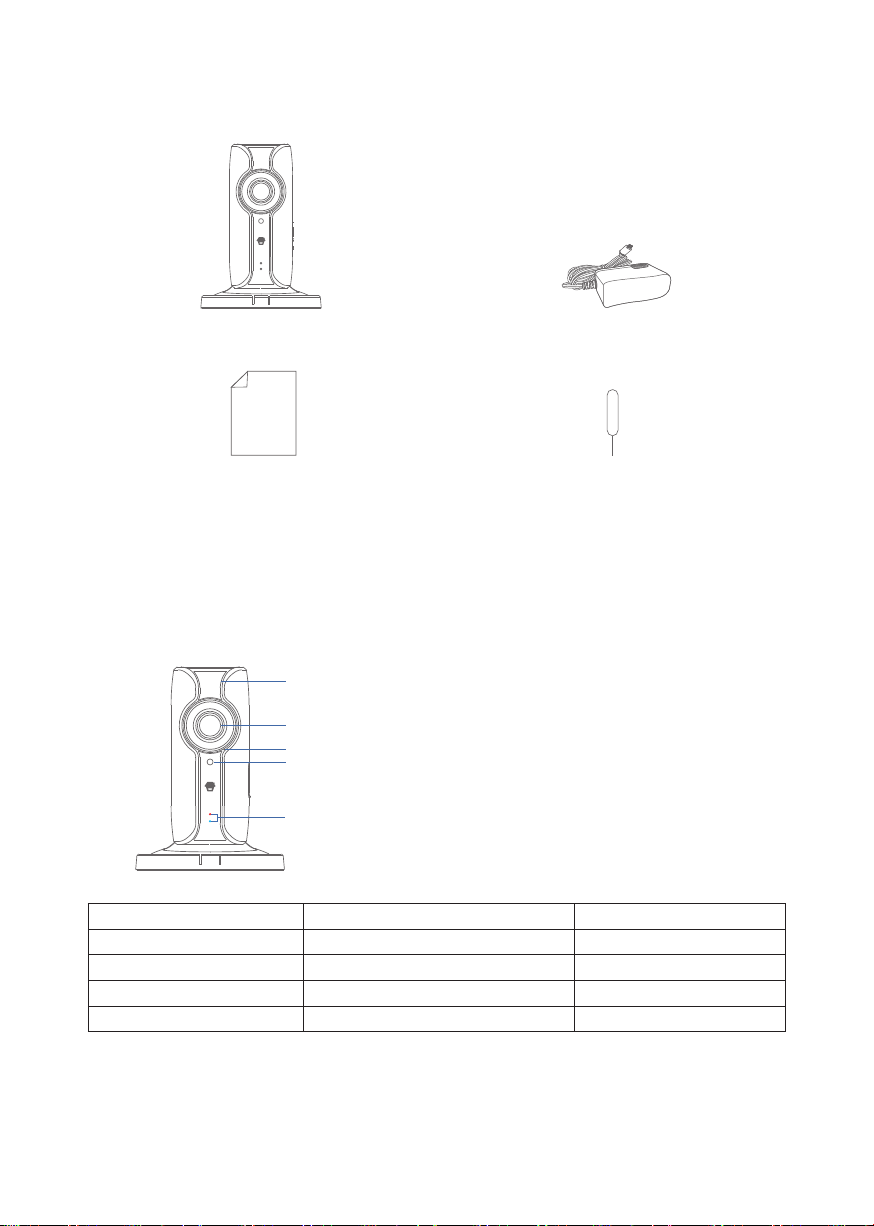
WiFi Camera×1 AC Adapter×1
Quick guide×1 Reset Pin×1
2. IP116 Plus HD WiFi Camera Overview
Front View
Night Vision IR LEDs
Camera
Microphone
Day/Night Sensor
LED Indicators
Enter WiFi Pairing State Red LED Indicator Blinks Once Per Second
Realtime View Red LED Indicator Blinks Every 2 Seconds
Searching Network Blue LED Indicator Blinking
Network Connected Blue LED Indicator Constant
Privacy Mode Red & Blue LED Indicator Constant
Page 5
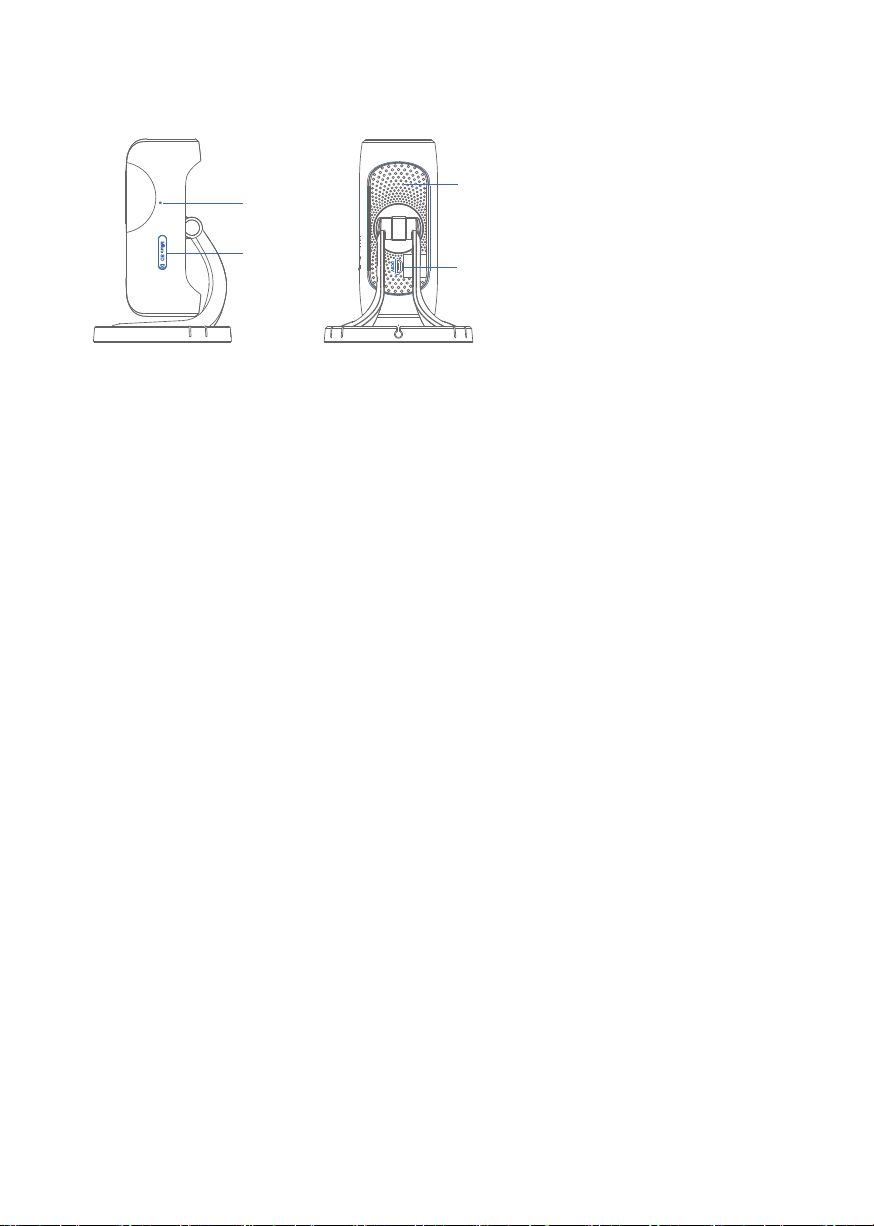
Side View Back View
Reset button
Heat Vent
Mi
c
ro
S
D
microSD Card
Slot
DC5V
Power Jack
microSD™ Card (Not included)
Support 32GB microSD™ card maximum; Do Not insert the card after the camera is
powered on, only insert microSD card when camera’s power is OFF.
This camera automatically records and saves video if a microSD™ card has been
inserted; the video recorded at the earliest will be replaced with the latest ones
when the microSD™ card's reaches full capacity.
Note: Please format your microSD™ card before inserting into this slot if any file
had previously been written to the card.
Page 6
3. Getting Started
IP116 Plus
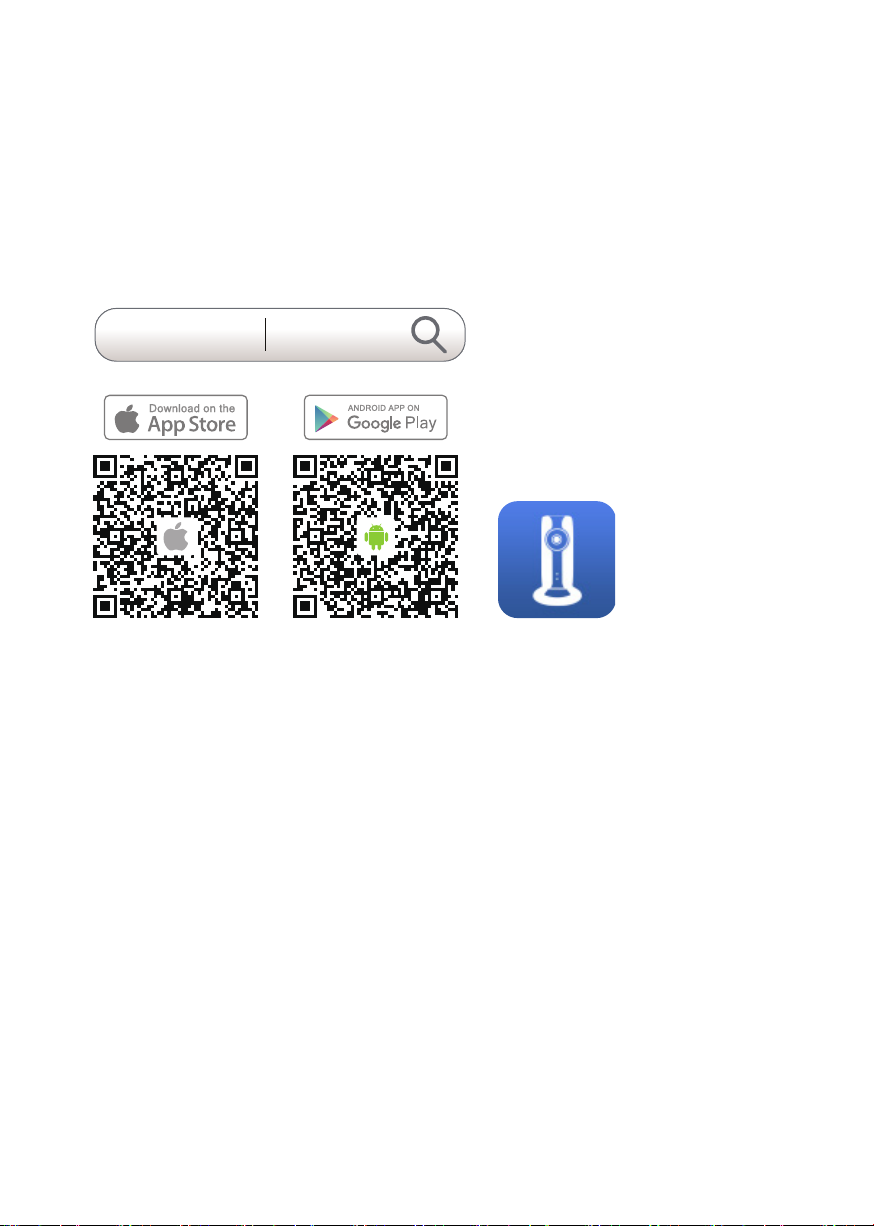
3.1 Download the “IP116 Plus” App
Download the App by searching “IP116 Plus Camera” from Apple Store or Google
Play.
If you have also purchased a Chuango alarm system which supports the IP116 Plus
in the APP, you can also setup through the alarm’s app.
3.2 Sign Up/In
If you have not registered an account with Chuango, please press “Sign Up” just
below the “Sign In” icon on the App, and follow the instructions to create your
account first.
If you do not receive an account verification code in your email inbox during the
registration process, please remember to check your spam/junk folder and make
sure the notice has not been blocked by your service provider.
Once you have an account with us, please select the “Sign In” icon and enter your
email address and password to log in.
Page 7
4. App Control and Settings
不是加号,是铅笔状编辑符号
4.1 Menu Page
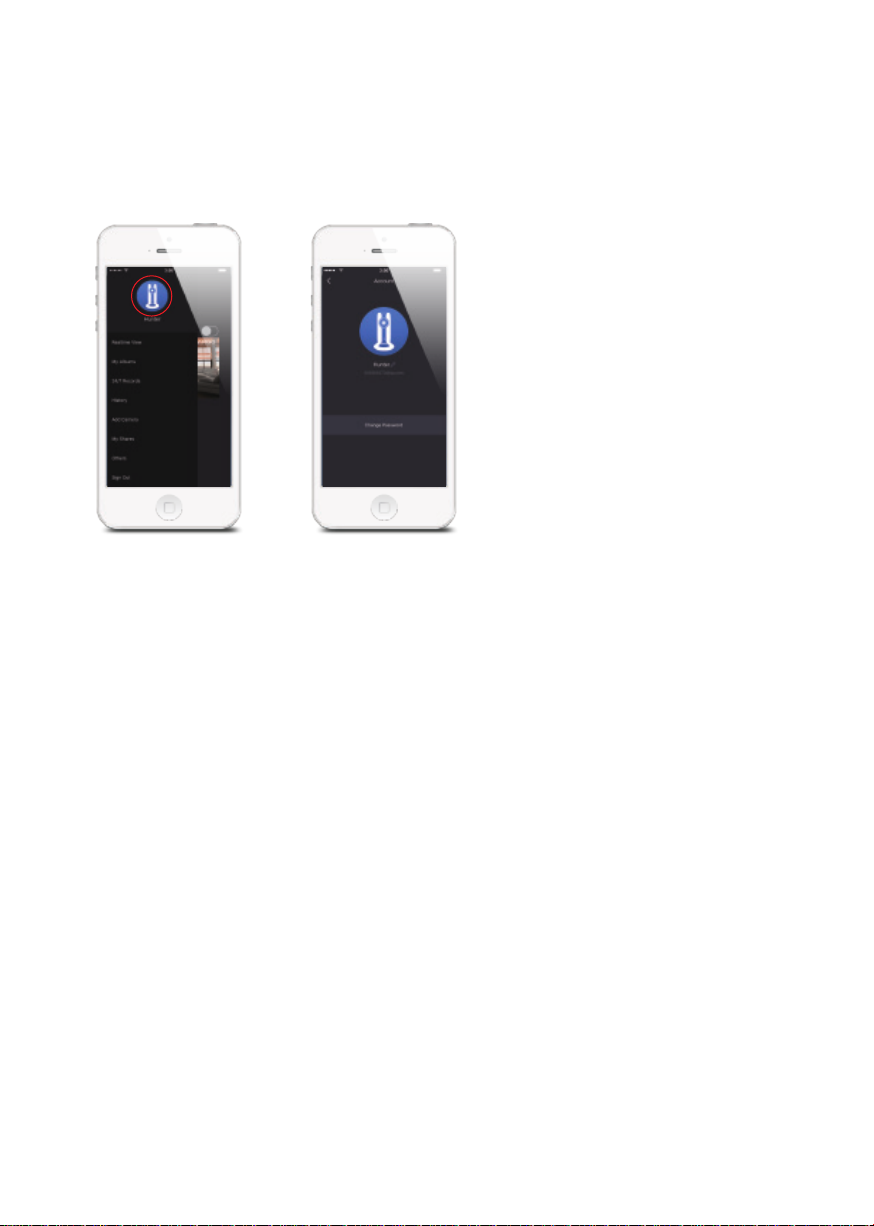
Edit Account
Tap on the picture, and you can add or replace your account image by taking a
picture or choosing a picture from your phone’s album.
If you want to change your account name, just tap on the [ + ] button and enter a
new name.
Changing your password can be done on this page.
Page 8
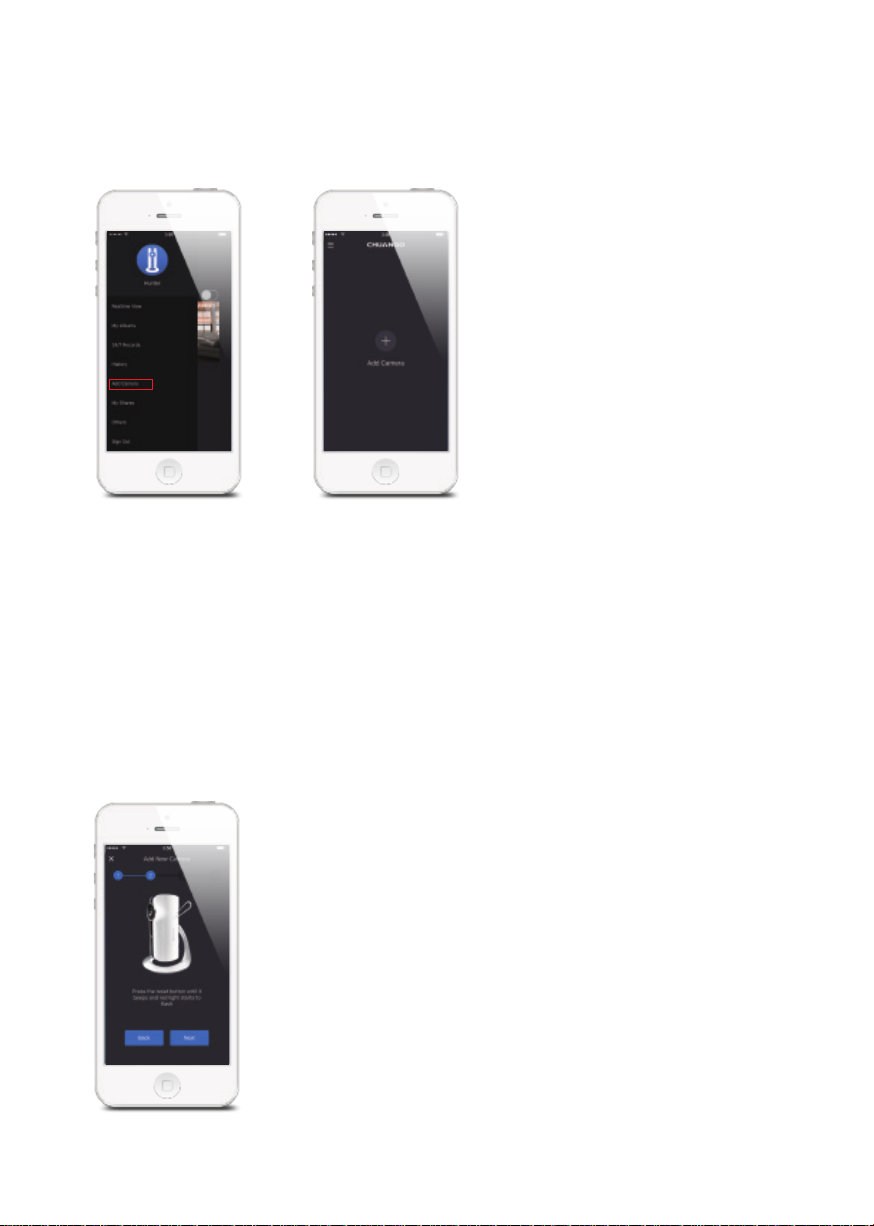
Add Camera
You can enter add device interface by tapping “+”or choosing [Add Camera] from
menu page.
1. Wait for the IP116 Plus HD WiFi Camera to Boot Up:
Plug the power adapter into a wall socket and the camera will boot up after a few
seconds.
2. Putting the IP116 Plus HD WiFi Camera into WiFi Configuration Mode:
Using the Reset Pin, press the Reset Button on the rear side for 3 seconds; you will
hear a beep and see the red light start to blink once per second which indicates
that the camera is in the WiFi configuration mode.
Page 9
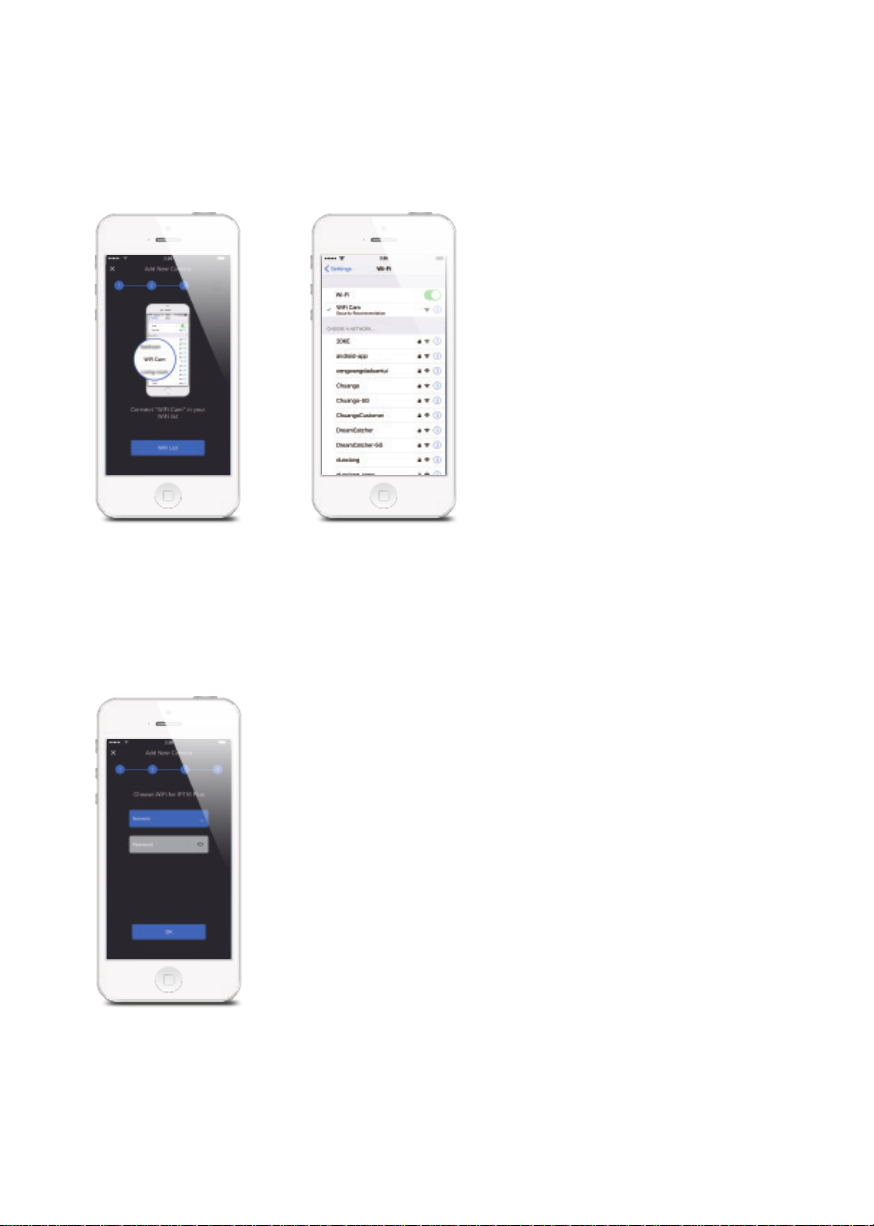
3. Connecting the IP116 Plus HD WiFi Camera to Your Smartphone:
Leave the IP116 Plus APP and go to your smartphone’s WiFi list, and then select
“WiFi Cam” to connect to the camera. Now, your smartphone is the control center
of your IP116 Plus HD WiFi Camera.
4. Entering WiFi Details for Your IP116 Plus HD WiFi Camera
Go back to your IP116 Plus APP and commence where you left off prior to going to
your WiFi Settings. Select the your 2.4GHz WiFi network from the choices listed and
enter the WiFi network’s password. The IP116 Plus HD WiFi Camera will connect to
the selected WiFi network. This binding process should take about one minute.
Note: ONLY 2.4GHz WiFi is supported.
Page 10
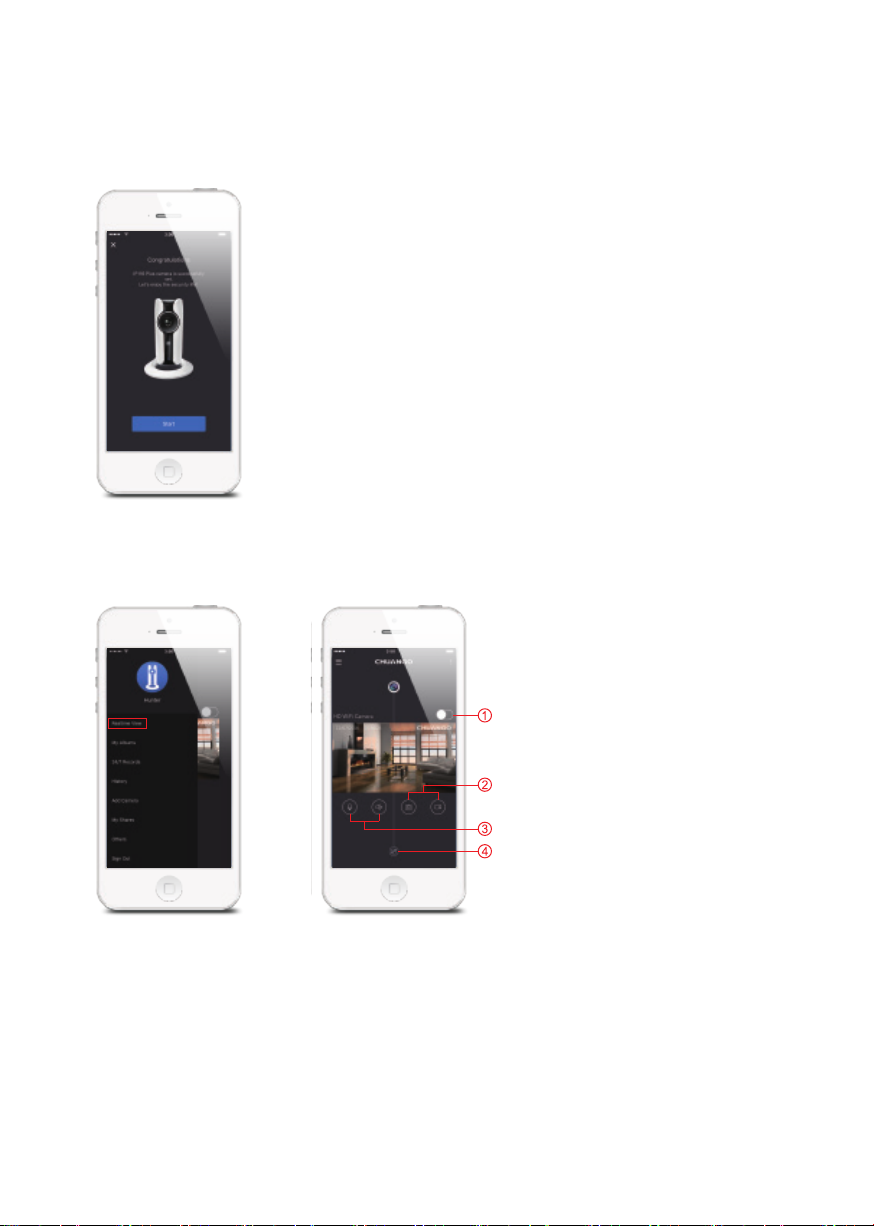
5. Enjoying the P116 Plus HD WiFi Camera
When a successful connection is established, the App will show “congratulations”
and the indicator will show in constant blue.
Realtime View
①
Privacy Mode
The IP116 Plus HD WiFi Camera respects your privacy. When the Privacy Mode is
turned on, all users’ real-time video will be a black background and not recorded
into the microSD card. Only the master account has the right to use the privacy
mode.
Page 11
②
Snapshot (left) / Video Recording (right)
Real-time screenshots and video clips can be recorded directly onto your phone.
Tap on “My Albums” to check.
③
Microphone (left) / Listen in (right)
Press and hold the Microphone Button to talk and release the button when you
finish. Anyone in the vicinity of your HD WiFi camera will hear you.
If you want to listen in on the surrounding area of your HD WiFi camera, all you
need to do is tap on the Listen in Button.
④
App Settings
Please refer to page 15 for details.
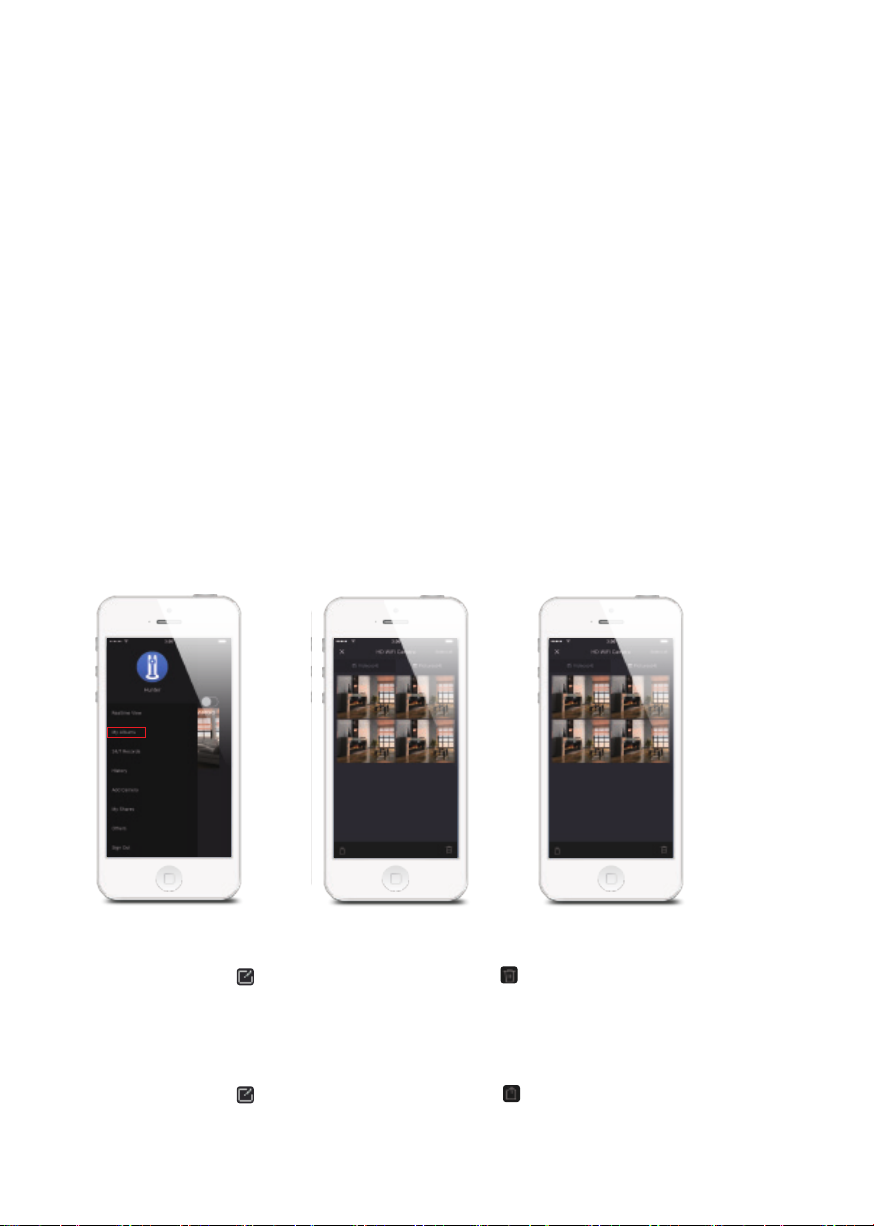
My Albums
On this page, all the manually saved video clips and snapshots that you have stored
on your phone can be found. You can also edit and share them as you wish.
Delete Video(s) or Snapshot(s)
Tap on edit icon [ ] and then press the shown [ ] to delete video clip(s) or
snapshot(s).
Share Video(s) or Snapshot(s)
Tap on edit icon [ ], and then press the shown [ ] to share the video clips or
snapshots of interest.
Page 12
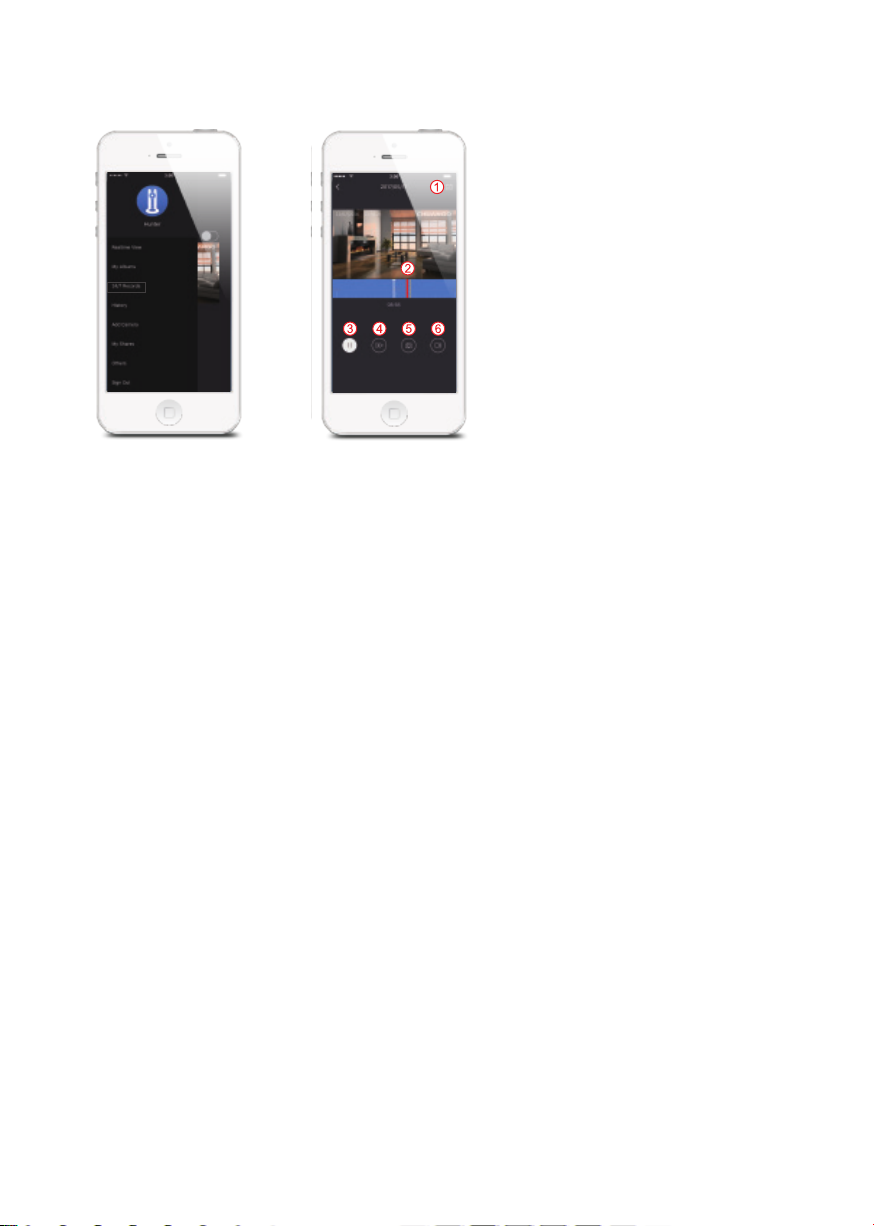
24/7 Records
框的颜色请标红
1. Select Date of Record
2. Motion Red line: motion was detected in this interval.
3. Pause Button
4. Fast Forward Button
5. Snapshot
6. Video Recording
* While you review the continuous recording saved to the memory card, you can
also manually save snapshots and/or video clips of interest directly to your phone.
All the saved snapshots and video clips are accessible under [My Albums].
* 24/7 Records Timeline Color Reference:
Grey: no record;
Blue: normal record;
Red: motion detection video
Page 13
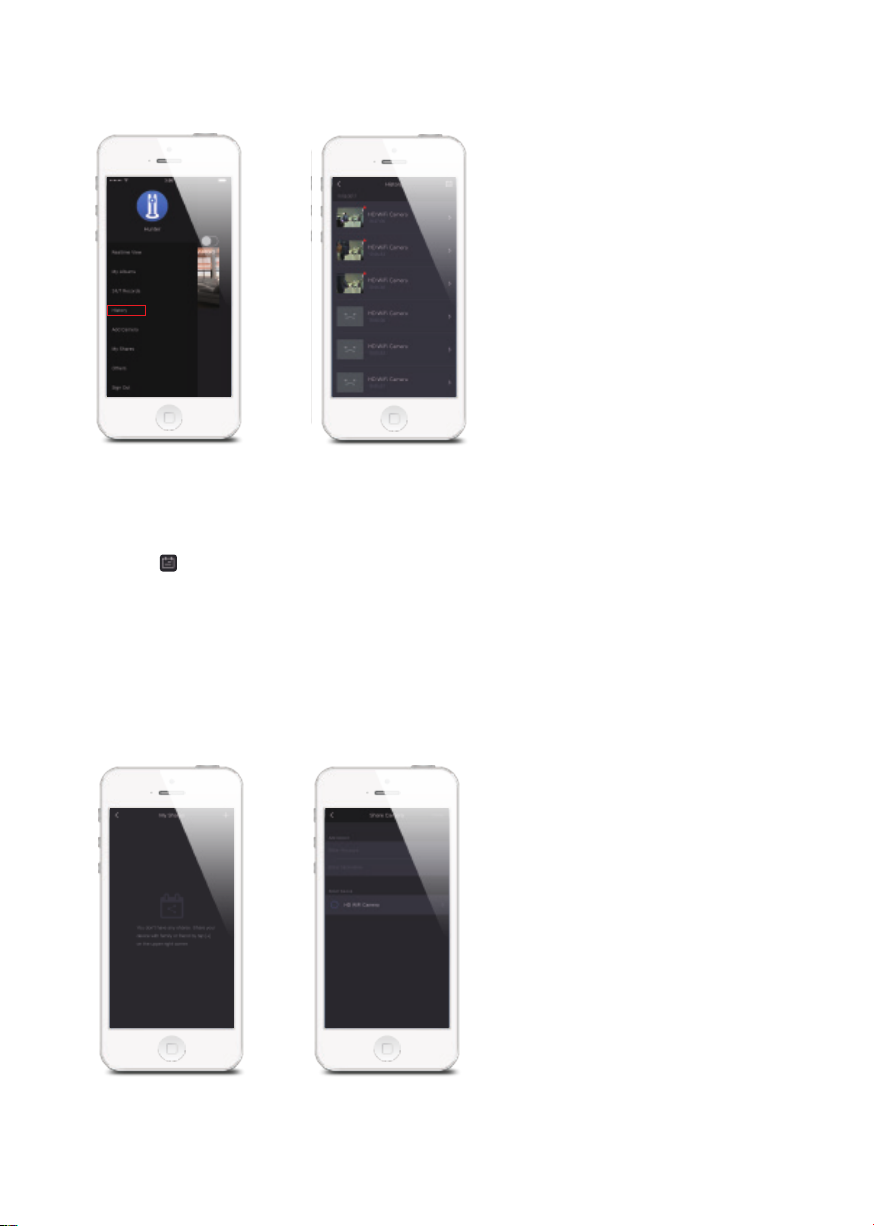
History
Motion-triggered alerts can be reviewed from this History page and the
corresponding 15-second videos can be played ONLY if a microSD™ card was
inserted.
Tap on [ ] to pick a specific date to facilitate your search of an alert.
Note: Only the most recent 300 alerts will be shown. New alerts will overwrite the
oldest ones.
My Shares
Sharing device with family or friends
By choosing “My shares” on the menu and pressing the [+] Add Button, you can
Page 14
share access to your device(s) with other registered Chuango accounts.
Enter the email address and label the account you want to share with, and then
select the device(s).
The user who receives the shared camera(s) can only edit the name of the
camera(s) and receive alerts for motion detection; re-sharing the camera(s) to other
users or changing the settings are not permitted.
It is highly recommended that you set access limits to those who you may share
your camera(s) with. Without doing so, you grant your family members or friends
have continual access to the camera(s) you have shared.
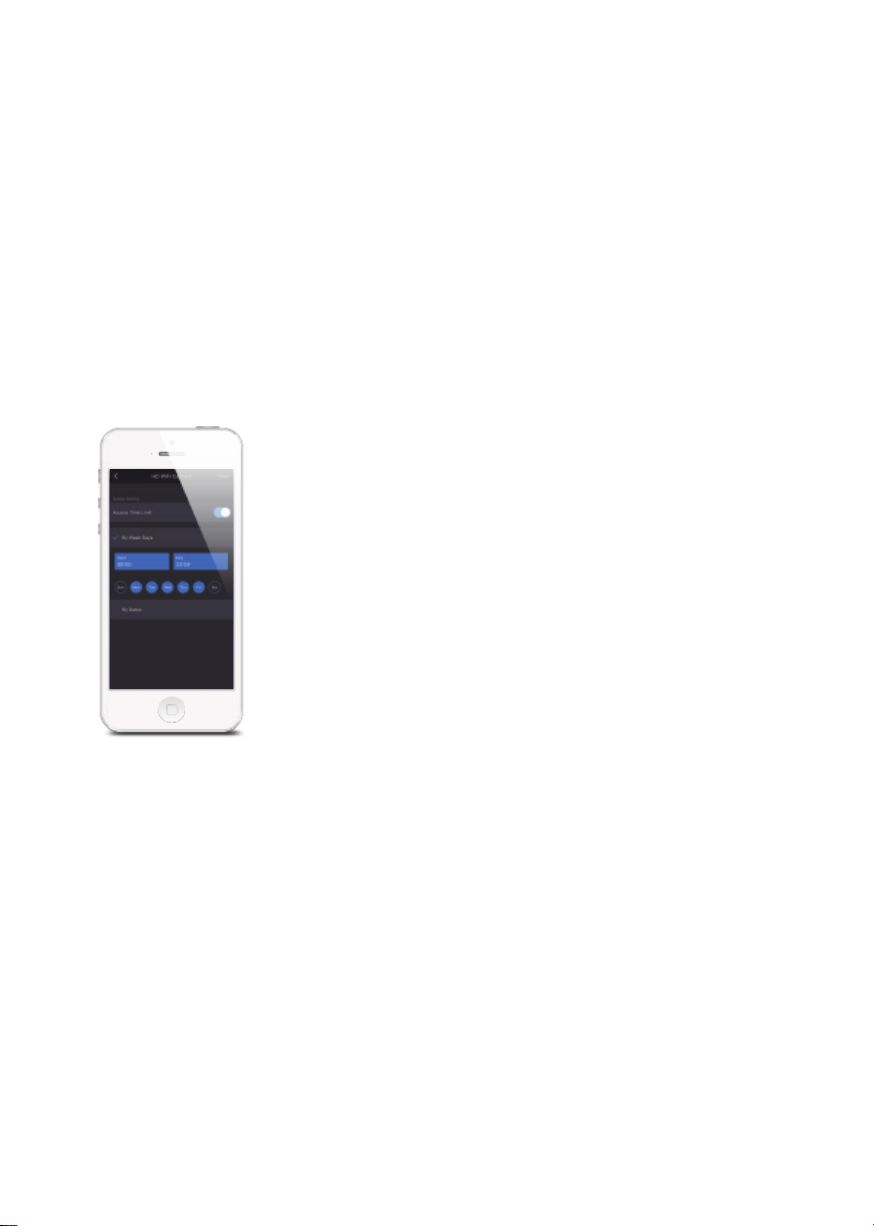
Access Settings
By Week Days
Select the day(s) and each day's routine you want the device(s) to be accessible to
the account you share with.
By Dates
The family and/or friend(s) you share with would have access to your device(s)
during the entire chosen time period.
Page 15
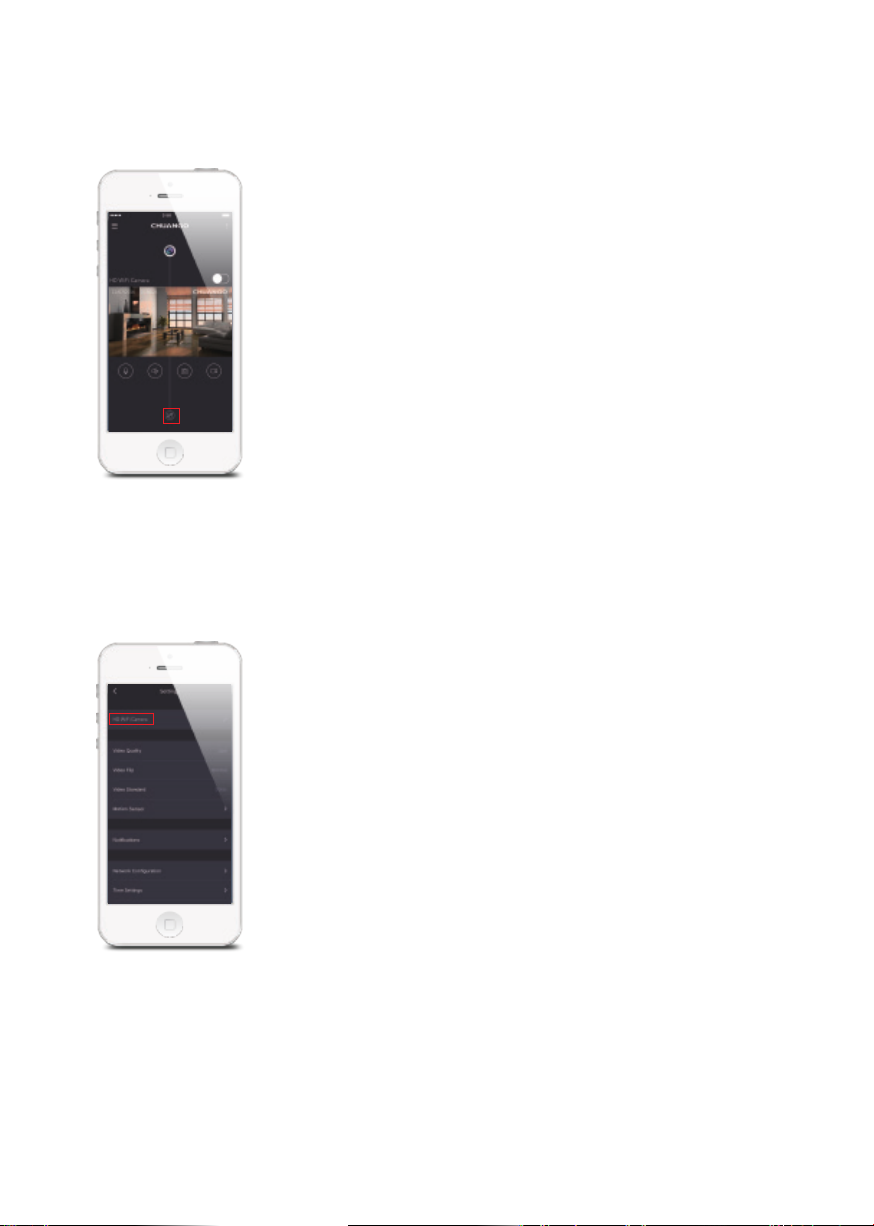
4.2 APP Settings
Click this button to enter Settings page.
Device Name
This setting enables you to rename your IP116 Plus HD WiFi Camera, and the new
name will be shown on the Device List on Realtime View Page.
Page 16
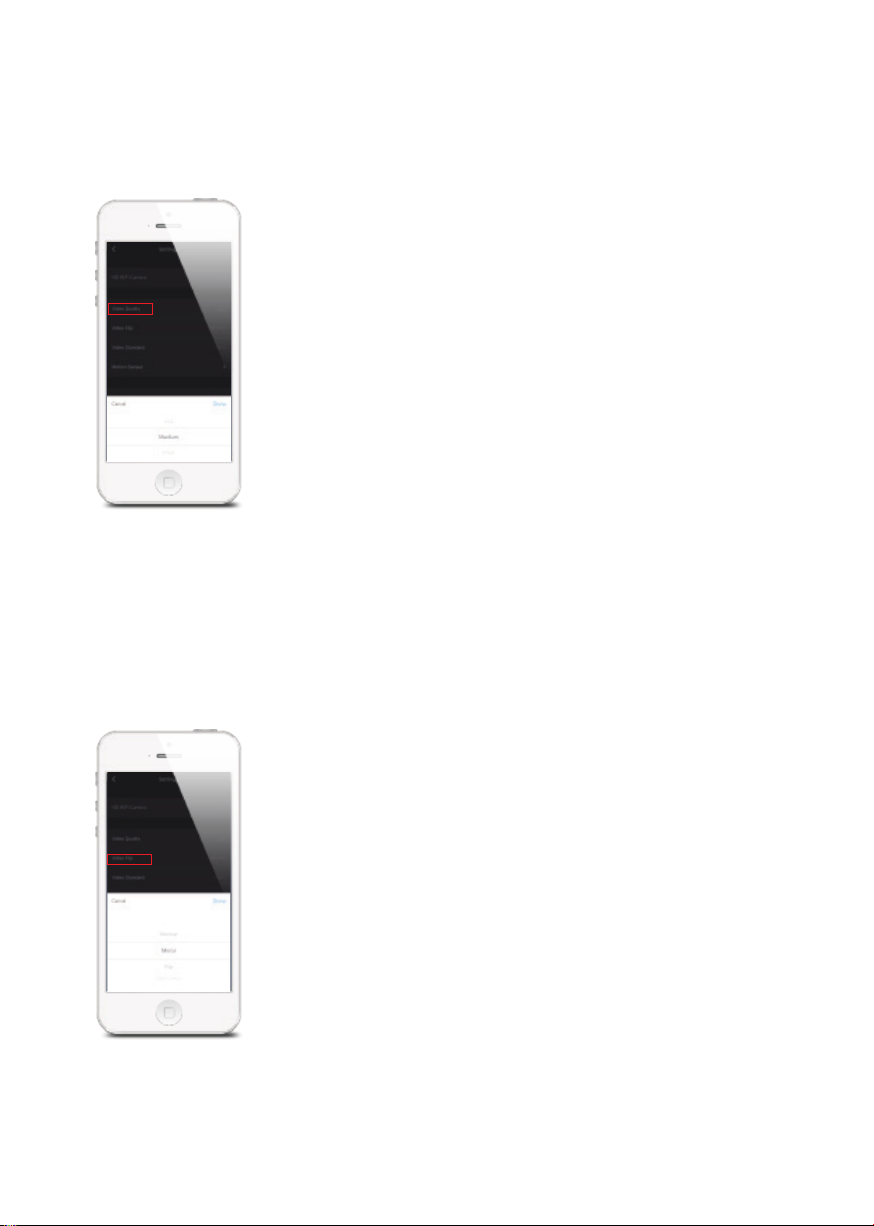
Video Quality
This selectable setting enables you to balance the network consumed against the
required video quality.
Video Flip
This selectable setting enables you to ip, mirror and mirror ip your view angle
of the real-time play when your IP116 Plus HD WiFi Camera is mounted on the
wall and ceiling or sitting on the desk bracket without remounting to adjust the
direction.
Page 17
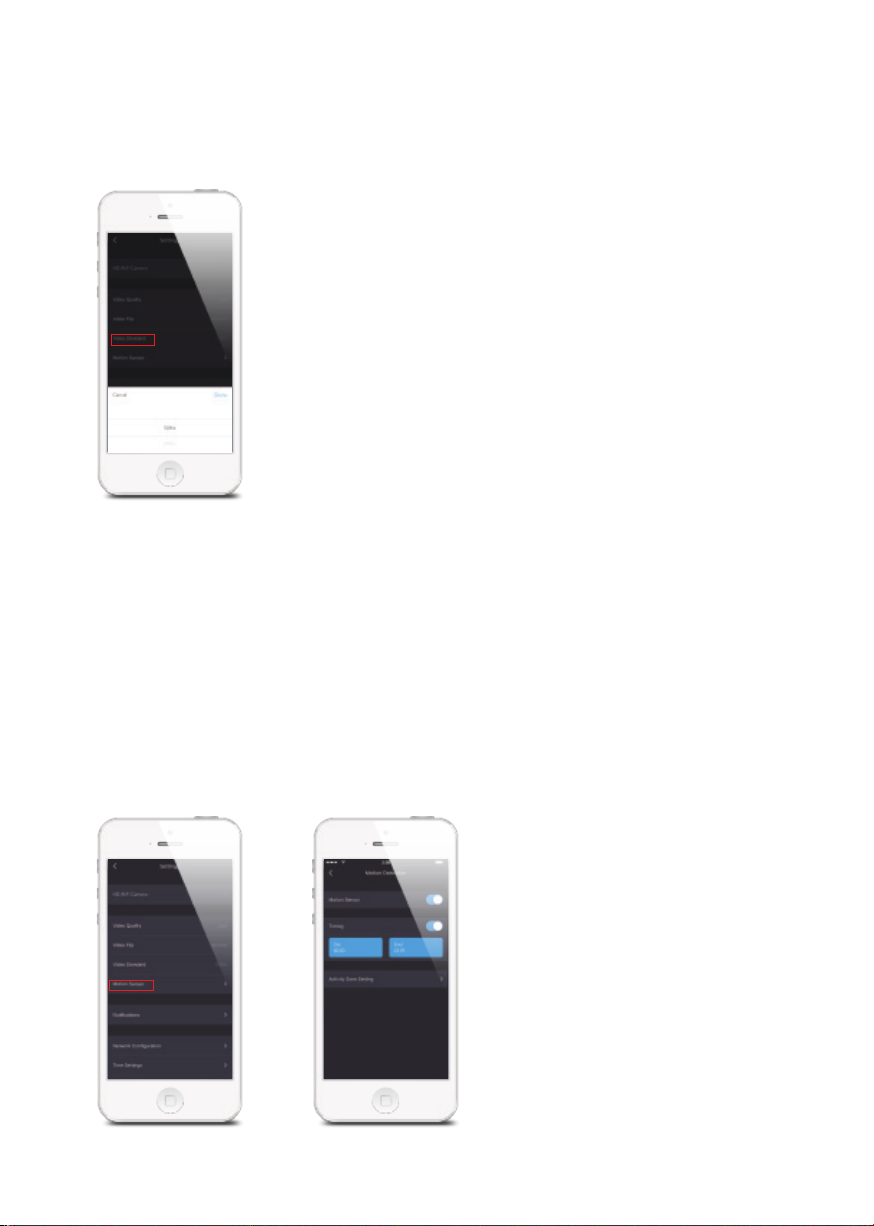
Video Standard
This selectable setting enables you to choose the most suitable frequency for your
video.
Motion Detection
When the Motion Detection function which can be timed as you want is turned
on, you will receive a Push Message whenever motion is detected. With your own
custom Activity Zones, you can define certain areas of interest in your camera's
view and get notification when there are motions; therefore the alerts become
more specific and meaningful and other activities detected by other areas can be
blocked without any bother. You can monitor up 2 zones per camera, tailor each
zone a custom size and delete.
Page 18
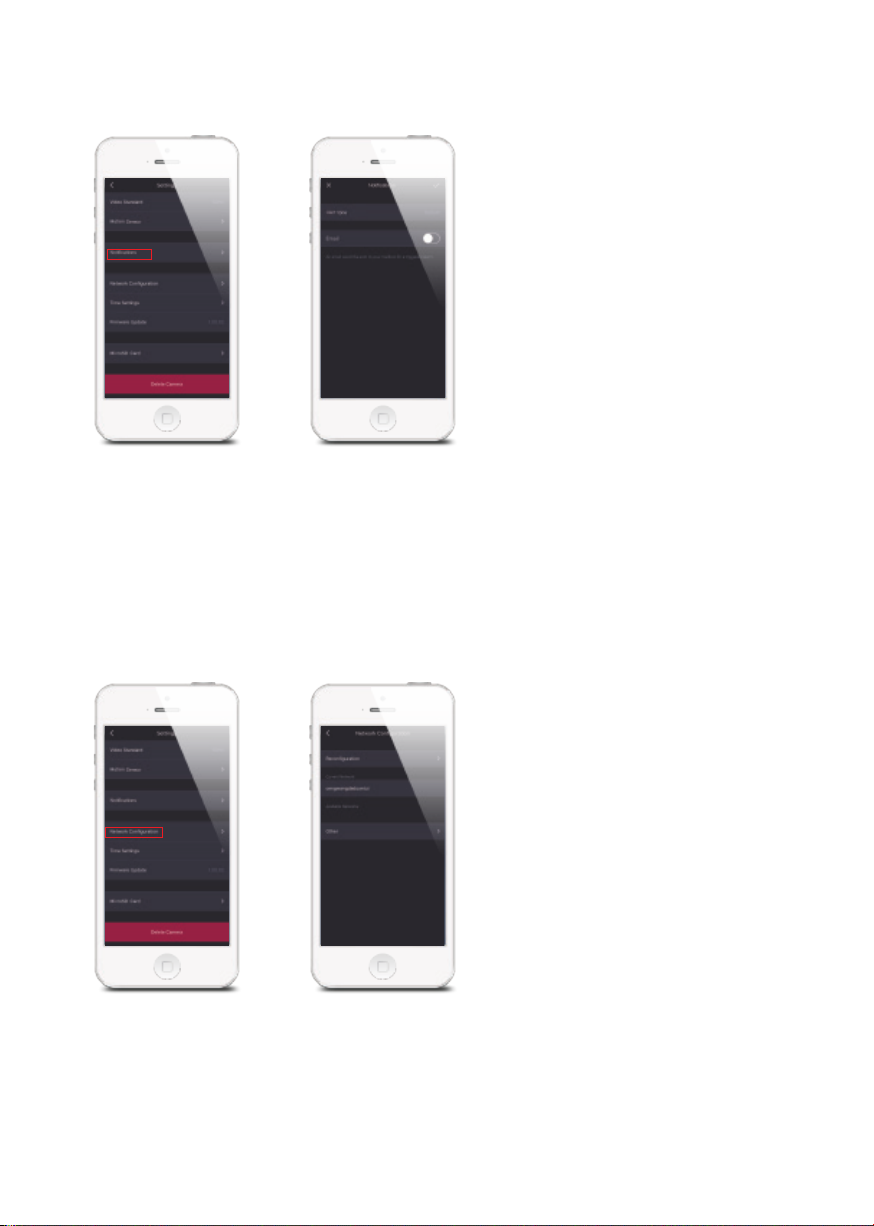
Notications
This setting enables you to:
1. Change the alert tone of the push message
2. If you want to get an email notification whenever the motion is detected, you can
turn on the “Email” function and input receiving email addresses.
Network Conguration
①
Reconfiguration
This setting enables you to reconfigure your IP116 Plus HD WiFi Camera when a
network issue has arisen. All settings and records will NOT be cleared.
Page 19
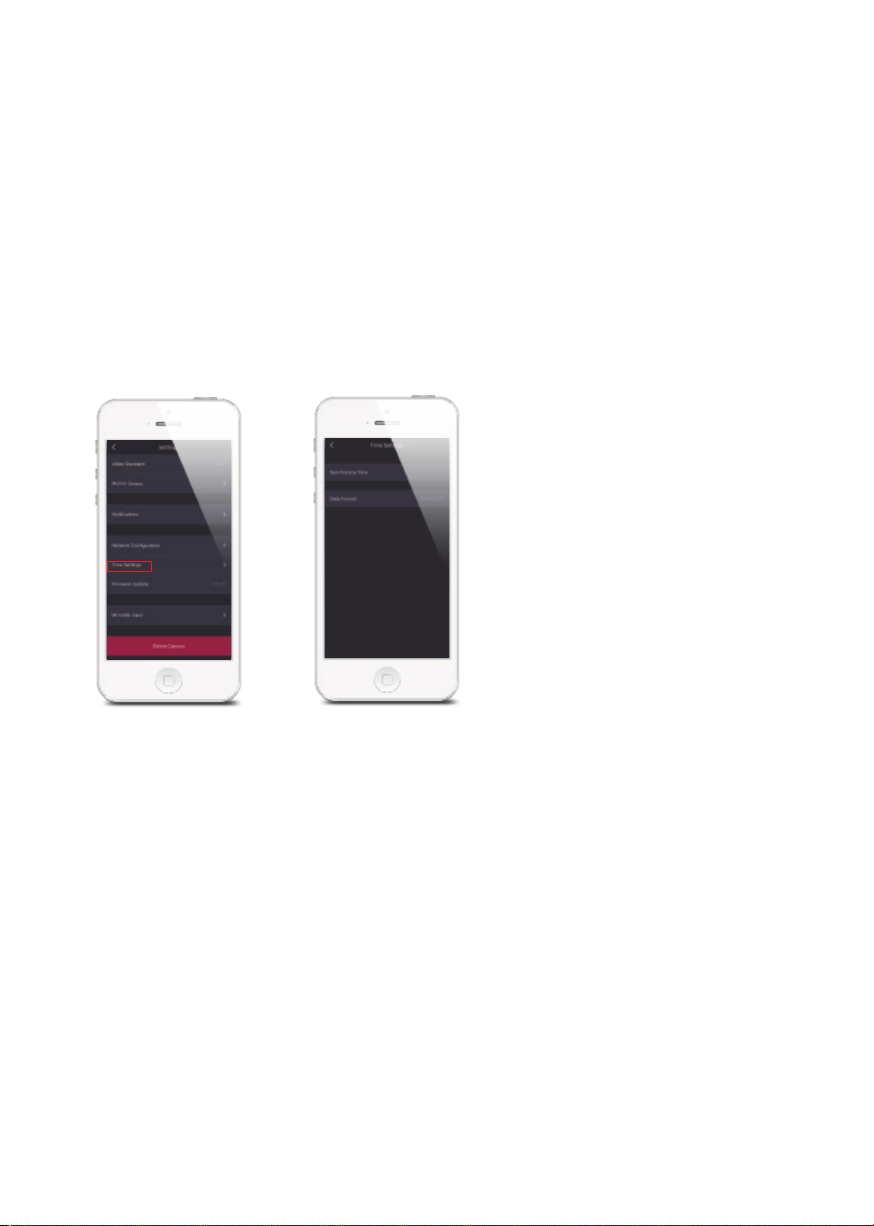
②
Current Network
This setting indicates your current network and the signal strength.
③
Switching between Available Networks
This setting enables you to connect your IP116 Plus HD WiFi Camera with another
nearby WiFi network, without repeating the camera-phone binding process.
Time Settings
①
Synchronize Time
This setting enables you to choose the time zone for your IP116 Plus HD WiFi
Camera, to make sure the time stamp on the recorded video is correct.
When motion is detected, you will receive a push notification: (for example) Activity
detected by [IP116 Plus HD WiFi Camera name] at 08:20:00 GMT+2 Or Activity
detected by [IP116 Plus HD WiFi Camera name] at 07:20:00 GMT+1 DST during
Daylight Saving Time.
②
Date Format
This setting enables you to change the format of the date shown on History Page.
Page 20
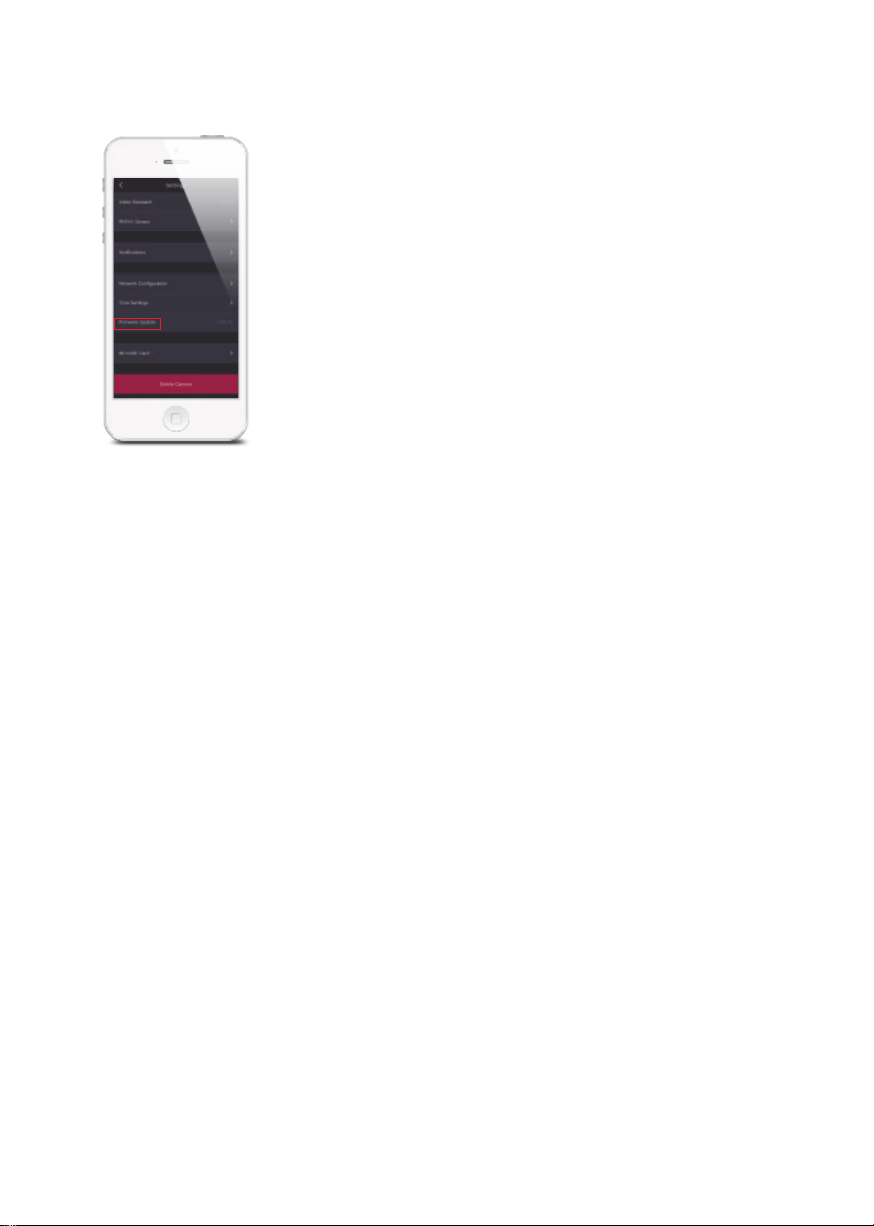
Firmware Update
This setting enables you to update your IP116 Plus HD WiFi Camera to the latest
firmware if necessary. WHEN AN UPDATE IS TAKING PLACE, FORCED TERMINATION
WILL CAUSE SERIOUS DAMAGE TO YOUR IP116 Plus HD WiFi Camera. It is highly
recommended that you keep your IP116 Plus HD WiFi Camera plugged in at all
times, and DO NOT SWITCH THE DEVICE OFF BEFORE AN UPDATE IS COMPLETED.
Update steps: tap on [Firmware Update], and you will see red and blue lights ash
alternately during the UPDATE process.
Page 21
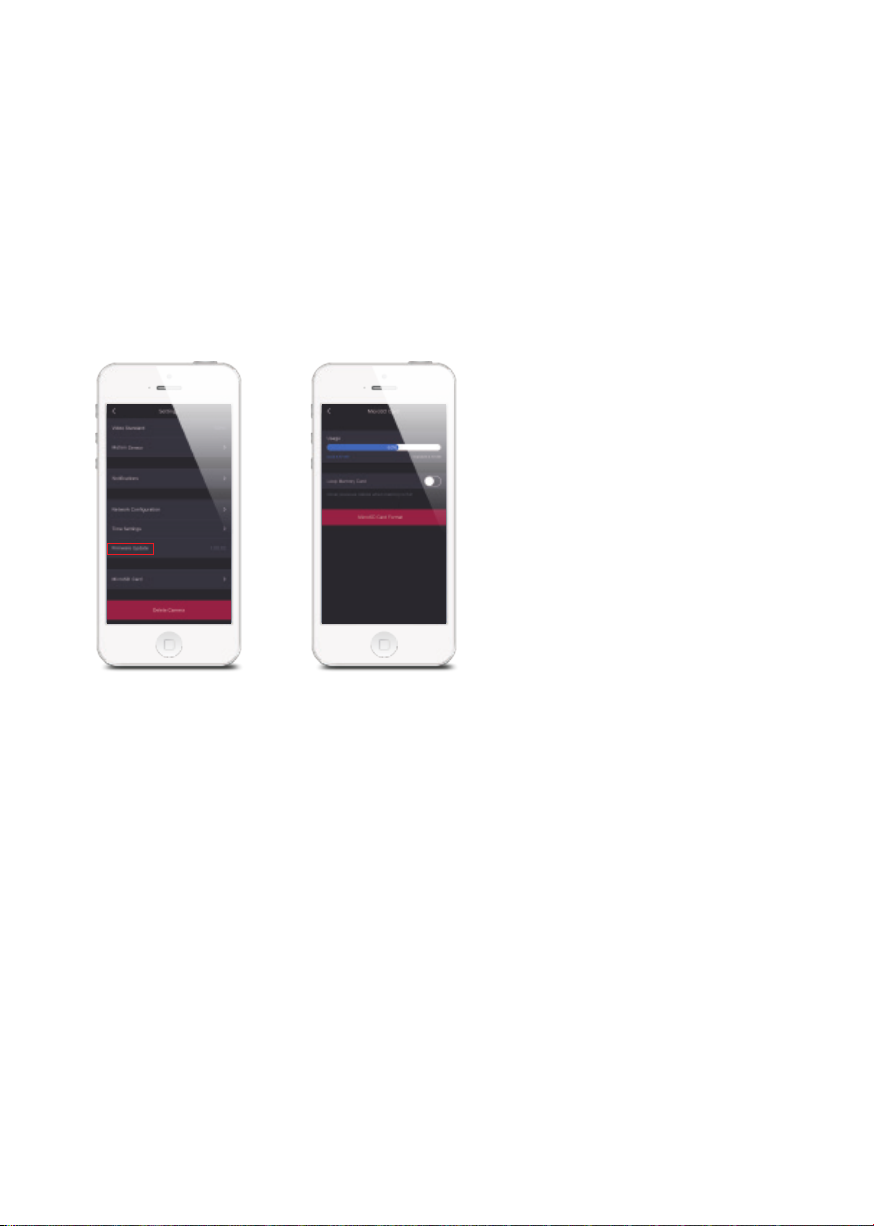
microSD™ Card
①
Auto Cover
New videos will overwrite older ones automatically when memory card is full.;
②
microSD™ Card Format
This setting will wipe and clean all the recordings in your memory card. When
video is not being recorded to your memory card, you may try reformatting it.
This process is irreversible, so please do perform with caution.
Page 22
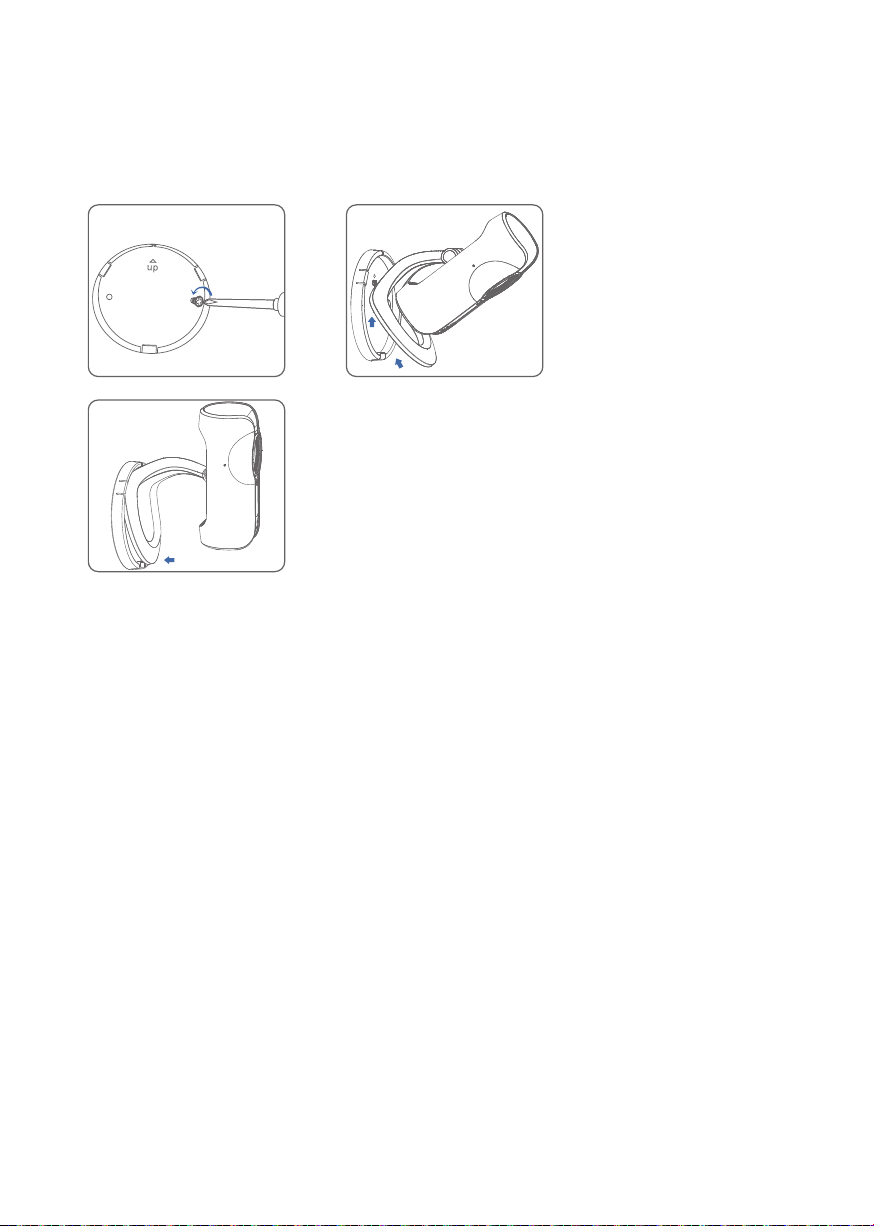
5. Installation
5
Important: This camera should be placed where the WiFi signal is strong for optimal
performance.
6. Restoring to Factory Settings
Please read the steps below carefully before restoring to factory setting.
Note: If you don’t want to clear the recordings in your memory card, you can take
out the memory card before restoring to factory setting.
Use a pin or other things to press the Reset Button (refer to page xx) for 7 seconds,
during the time, you will hear a beep in the first 3 seconds, don not loose it until
another beep is heard. After that, the camera is restored to factory setting.
Restoring to factory setting will clear the connection between your camera and the
device, therefore you should add the camera into your App again.
Page 23

7. Specications
Image sensor 1/4” Omnivision sensor
Min. illumination 0.02Lux @(F2.0,AGG ON),
0 Lux with lR
Shutter time 1/50s to 1/100,000s
Lens 2.4mm F2.0
Angle of view 95°
Video compression H.264
Bit rate Self-adaption
Max. image resolution 1280 x 720
Frame rate 30fps (1280 × 720)
Storage Built-in microSD™ card slot, up to 32GB
Wireless standards IEEE802.11b/g/n
Frequency range 2.4 GHz ~ 2.4835 GHz
Channel bandwidth 20/40MHz Support
Operating conditions Temperature: -5 °C - 60 °C (23 °F - 140 °F)
Humidity: < 95% (non-condensing)
Power supply DC 5V 1A
Power consumption 5W MAX
Dimensions (L x W x H) 91 x 78 x 115 mm
 Loading...