

Page 1
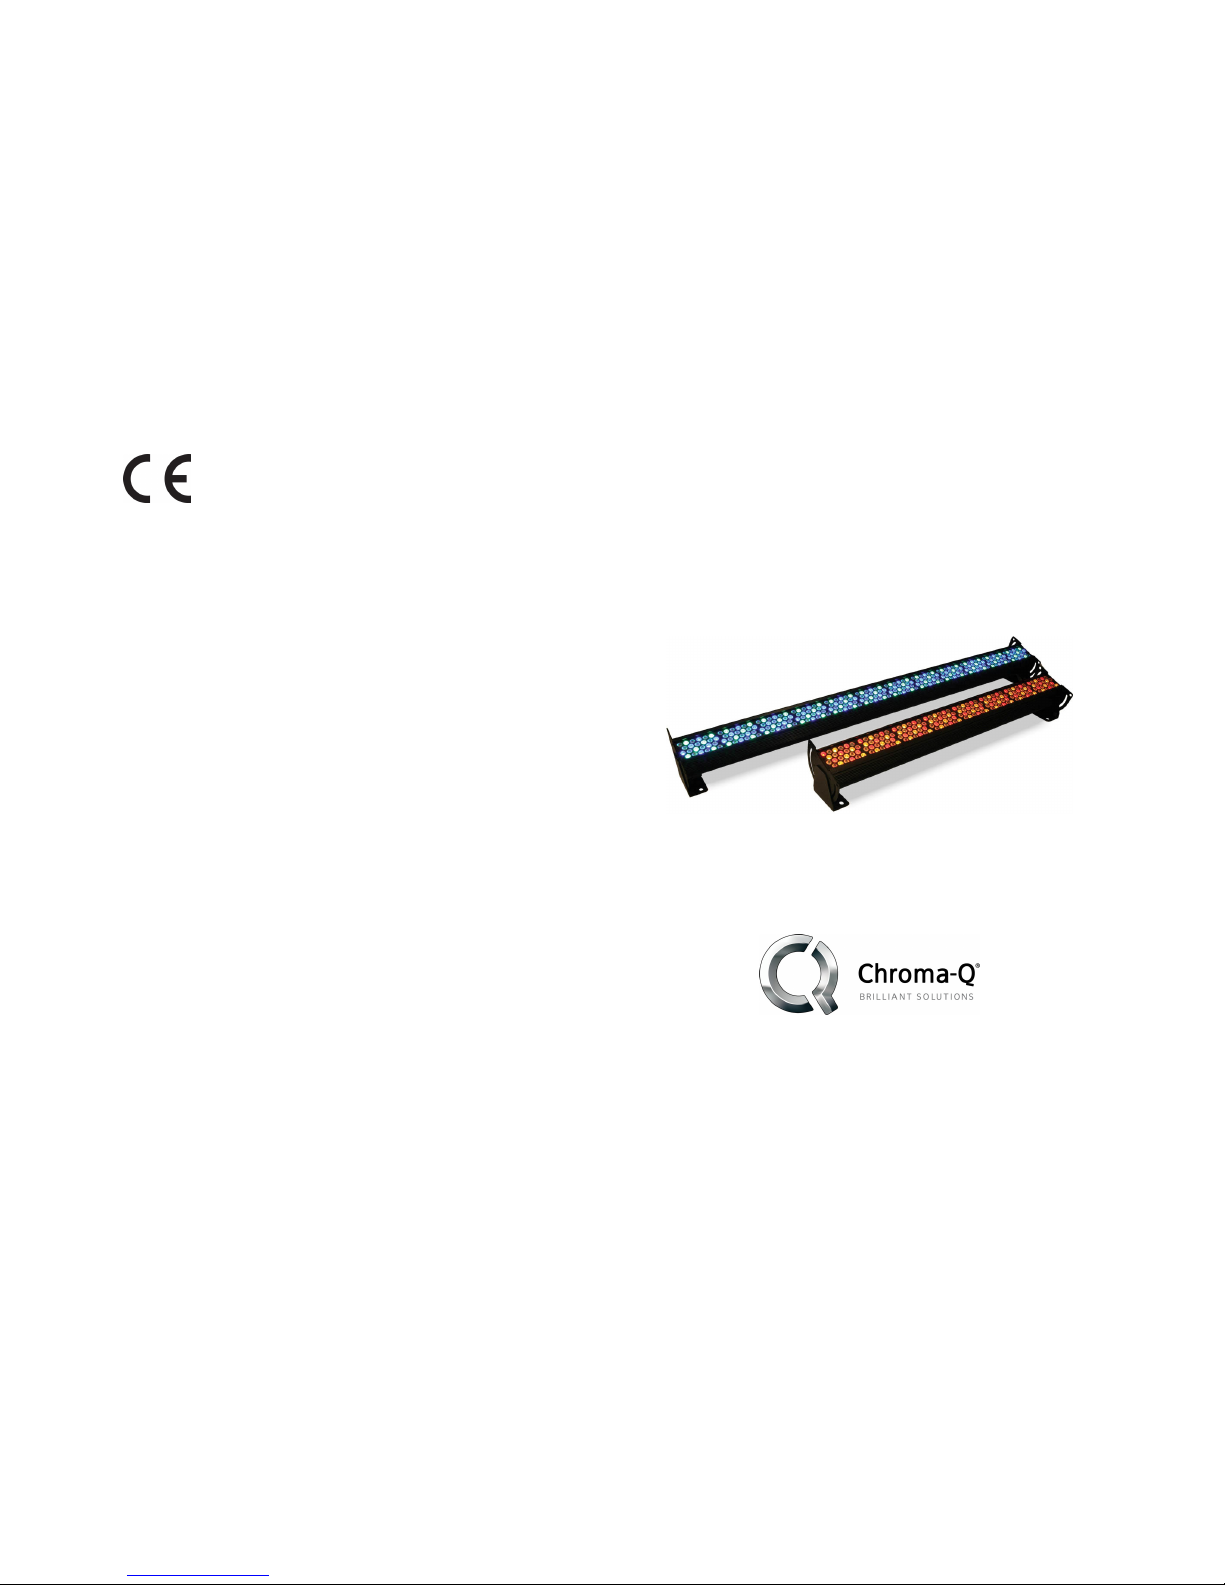
Color Force 72/48 Quick Start Guide V2.2
Color Force 72/48 Quick Start Guide V2.2 PN: 622-0501
Approvals & Disclaimer
The information contained herein is offered in good fa ith and is believed to be accurate. However,
because conditions and methods of use of our products are beyond our control, this information should
not be used in substitution for customer's tests to ensure that Chroma-Q products are safe, effective,
and fully satisfactory for the intended end use. Suggestions of use shall not be taken as inducements
to infringe any patent. Chroma-Q sole warranty is that the product will meet the Chroma-Q sales
specifications in effect at the time of shipment. Your exclusive remedy for breach of such warranty is
limited to refund of purchase price or replacement of any product shown to be other than as
warranted.
Chroma-Q reserves the right to change or make alteration to devices and their functionality without
notice due to on-going research and development.
The Chroma-Q Color Force has been designed specifically for the lighting industry. Regular
maintenance should be performed to ensure that the products perform well in the entertainment
environment.
If you experience any difficulties with any Chroma-Q products please contact your selling dealer. If your
selling dealer is unable to help please contact [email protected]. If the selling dealer is unable
to satisfy your servicing needs, please contact the following for full factory service:
Outside North America: North America:
Tel: +44 (0)1494 446000 Tel: +1 416-255-9494
Fax: +44 (0)1494 461024 Fax: +1 416-255-3514
For further information please visit the Chroma-Q website at www.chroma-com.
Chroma-Q is a trademark, for more information on this visit
www.chroma-q.com/trademarks.
The rights and ownership of all trademarks are recognised.
Quick Start Guide
Chroma-Q®
Color Force™ 72/48
For a full product manual please visit www.chroma-q.com
Software version 2.2
Page 2
Color Force 72/48 Quick Start Guide V2.2 Color Force 72/48 Quick Start Guide V2.2
1.
1.1.
1. Overview
OverviewOverview
Overview
The Chroma-Q Color Fo rce LED batten range is a brute of a light . At up to 12,000 lumens output (Color Force 72), the
super bright fixture easily washes up to 8m / 26 foot.
The Color Force is available in two lengths, the 72 model with a total of 288 high powered LED’s (12 x 1000 lumen
RGBA cells), and the 48 model with a total of 192 high powered LED’s (8 x 1000 lumen RGBA cells).
The control options incorporate a choice of HSI (Hue, Saturation and Intensity), RGBA (Red, Green, Blue, Amber), RGB
(Red, Green, Blue, with *Magic A mber), RGBI (Red, Green, Blue with *Magic Amber and Intensity) control modes. A
dynamic Variable Effects Engine is integrated in the control software.
The Color Force features built-in power supplies which can operate as a standalone unit or remotely controlled through
ANSI E1.11 USITT DMX 512-A protocol.
2.
2.2.
2. Safety
SafetySafety
Safety
Cautio n
Cautio nCautio n
Cautio n
1. This product is for professional use only. It is NOT intended for domestic or outdoor use.
2. The bright flash of light during power-up and continuous strobe effect may cause epileptic seizure.
3.
This product must be used with safety cable.
3.
3.3.
3. Cabling
CablingCabling
Cabling
The Color Force 72 & 48 utilize PowerCon connectors for power input and through. The DMX control data input and
through connections from an external control console are via two XLR 5-pin connectors. The chassis are ground bonded.
Note:
Note:Note:
Note: The maximum number of Color Force 72 fixtures running off a single power input cable is 2 at 120V A C or 4 at
240V AC. The maximum number of Color Force 48 fixtures running off a single po wer input cable is 3 a t 120V AC or 6
at 240V AC. Please refer to ANSI and AWG standards for the maximum data and power cable lengths.
4.
4.4.
4. Mounting
MountingMounting
Mounting
The C olor Force 72 & 48 are equipped with b uilt-in adjustable mounting brackets for floor, wall and truss mounting
applications. Use the pair of quick release levers for easy tilt adjustment. Secure the fixture with a safety bond through
the fixing hold that is built into the end plates of the fixture.
5.
5.5.
5. Orientation
OrientationOrientation
Orientation
The Color Force 72 & 48 are built with near/far lenses that optimize the beam spread when used on a wall or cyclorama.
The side with near-field lenses is indicated b y the narrow edge border, which should be adjacent t o the wall or cyc. The
side with far-field lenses is indicated by the wider edge border, which should be facing away from the wall or cyc.
6.
6.6.
6. Cyc & Border Lens
Cyc & Border LensCyc & Border Lens
Cyc & Border Lens
“Cyc Lens
Cyc LensCyc Lens
Cyc Lens” and “B order Le ns
Borde r Le nsBorde r Le ns
Borde r Le ns” are slide-in optical accessories available to adjust the light output. Two accessory slots
are available for locking. Spring Plunge rs
Spring Plunge rsSpring Plunge rs
Spring Plunge rs are pre-installed at the far ends of both accessory slots to lock in-place the
slide-in panels. The height of the spring plungers are preset and fixed with no need for further adjustment.
7.
7.7.
7. Control
ControlControl
Control
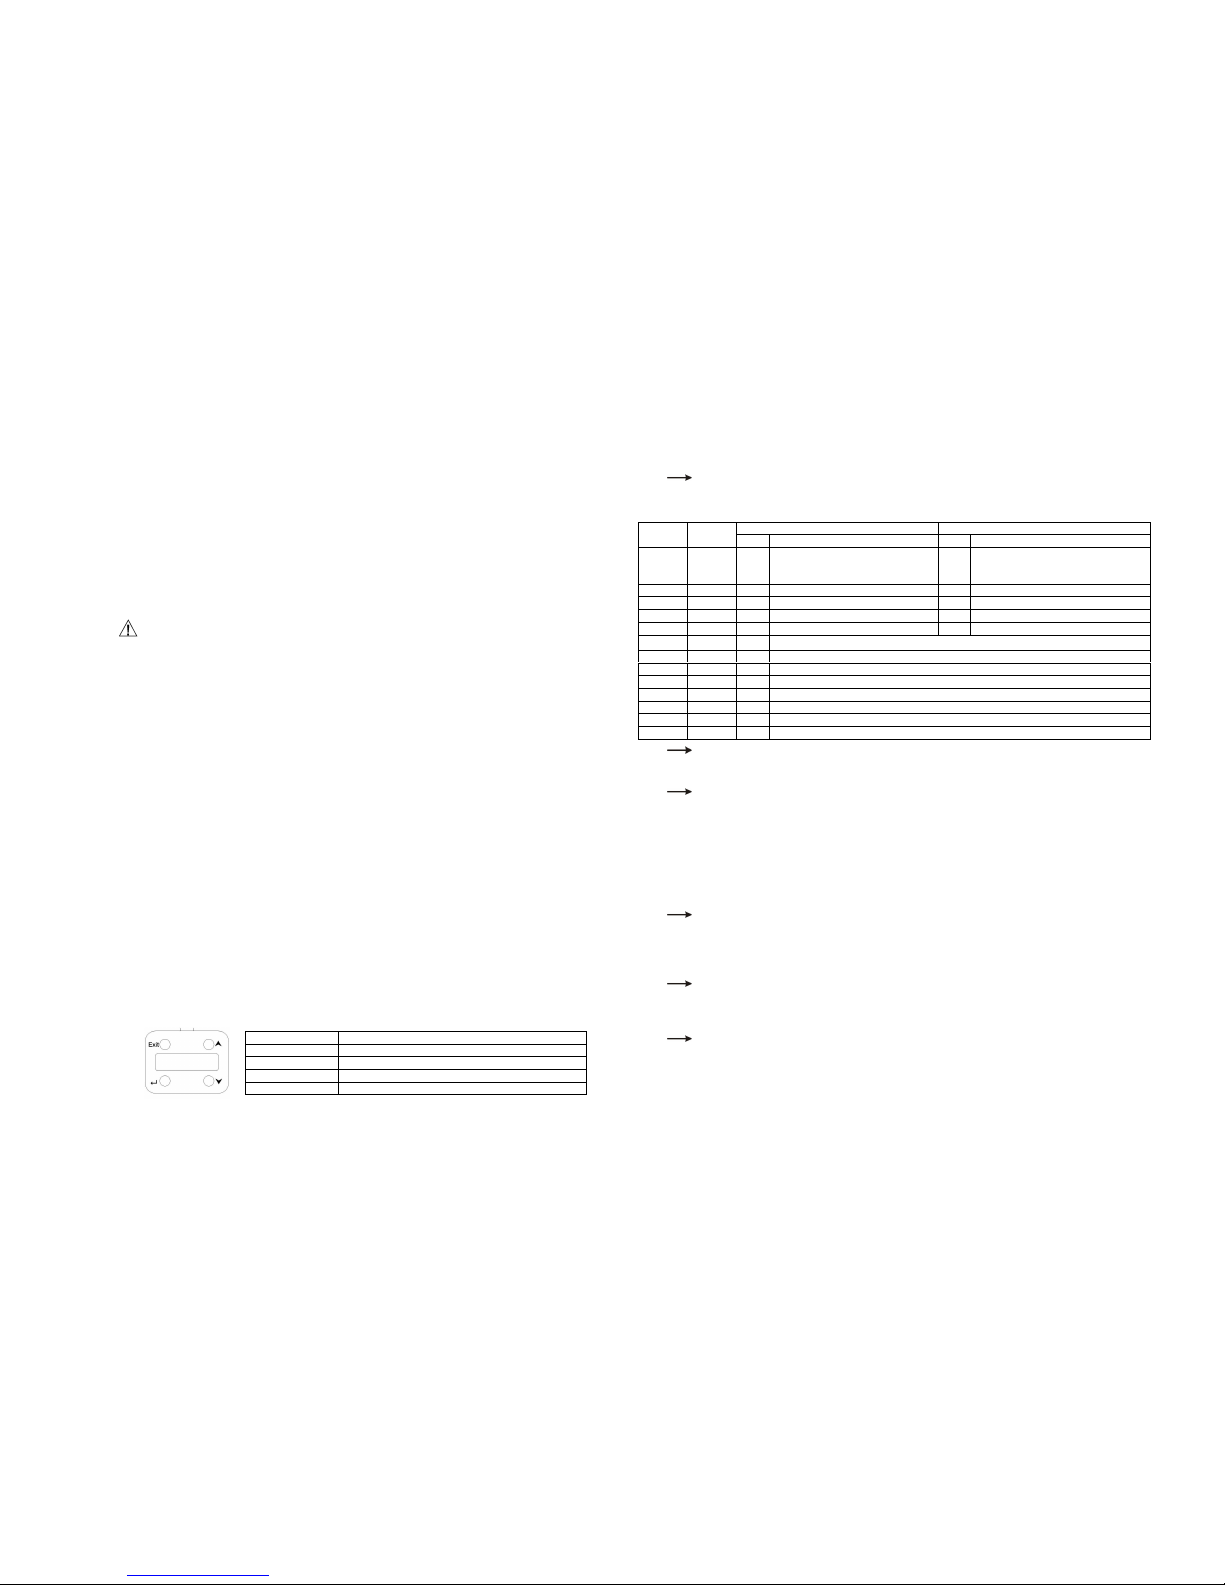
The control functions of the Color Force 72 & 48 are accessed through the LCD display at the rear with 4 push buttons.
Contr ol
Contr olContr ol
Contr ol Funct ion
Funct ionF unction
Funct ion
Exit Back to previous menu
Up Arrow Increases (+) the mode level or value
Down Arrow Dec reases (-) the mode level or value
Back Arrow (Enter) Stores the menu choice
Note:
Note:Note:
Note: All internal FX are referenced back to the group base HSI colour and intensity levels.
* Magic Amber is the term used for the unit's ability to bring in Amber when mixing colors that require it with the use of only 3 control channels.
Cont rol Men u
Cont rol Men uCont rol Men u
Cont rol Men u
1. From the Home/Main Menu, press the Up or Down buttons to access menu positions and control options.
2. Press Enter to select and save (2 sec) or press Exit to exit without saving.
Main Menu
Main MenuMain Menu
Main Menu / DMX Address
1. To set the DMX start address, press Enter from the Main Menu.
2. Press Up/Down buttons to adjust DMX start address.
3. Press Enter for 2 seconds to save.
Contr ol Mode
Contr ol Mode Contr ol Mode
Contr ol Mode
There are 11 DMX controlled modes featuring: 2 grouping options (cell-grouped, all-grouped) with 5 control
options: fxHSI, HSI, RGB (with *Magic Amber), RGBA, RGBI (with *Magic Amber), pre-programmed looks and
standalone effects. Refer to the list below for details.
Color Force 72
Color Force 72Co lor Force 72
Color Force 72 Color Force 48
Color Force 48Col or Force 48
Color Force 48
Mode
ModeMode
Mode Group
GroupGroup
Group
Ch
ChCh
Ch Descri ption
Descri ptionDescript ion
Descri ption Ch
ChCh
Ch Descript ion
Descr iptionDescrip tion
Descr iption
1 Variable 43 7fx + 12 x HSI -or–
7fx + 12 x RGB(A) w/ Ch5/Full &
Ch2/Intensity Master
31 7fx + 8 x HSI –or-
7fx + 8 x RGB(A) w/ Ch5 @ Full &
Ch2/Intensity Master
2 Cell 36 12 x HSI 24 8 x HSI
3 Cell 36 12 x RGB (w/ *Magic Amber) 24 8 x RGB (w/ *Magic Amber)
4 Cell 48 12 x RGBA 32 8 x RGBA
5 Cell 49 1s + 12 x RGBI (w/ *Magic Amber) 33 1s + 8 x RGBI (w/ *Magic Amber)
6 All 9 6fx + HSI -or- 6fx + RGB(A) with Ch4/Full & Ch1/Intensity Master
7 All 3 1 x HSI
8 All 3 1 x RGB (w/ *Magic Amber)
9 All 4 1 x RGBA
10 All 5 1s + RGBI (w/ *Magic Amber)
11 1 Look Select
12 Master Standalon e
13 Slave Standalone
When DMX is Los t
When DMX is Los t When DMX is Los t
When DMX is Los t
If DMX is not detected various output options can be selected:
Off - snaps to off; Hold - holds the last valid DMX state; Look 1-31 snaps to the Look of your choice.
Look S tore
Look S toreL ook Store
Look S tore
31 internal preset FX Looks are available for standalone operation, 1-23 are pre-programmed.
To replay a Look in standalone operation, go to Look Store, select the Look and save.
To replay a Look with a DMX console, set the fixture to Control Mode11. Use the DMX console with the
assigned channel to playback the various looks stored. (1-31 looks in 1 single channel)
Note:::: DMX has priority over internal Looks.
Looks can be recorded to the internal flash memory by users and will be preserved on power down. Looks will
be returned to default settings upon reset. Th ere are two ways to record a look: Simple, with DMX console and
Advanced, standalone. (DMX is unplugged): refer to user manual for control details.
Techn ical
Techn icalTechni cal
Techn ical
In this mode, ‘Frequency’ is set to the following options: 600, 1200, 2400, 4800; ‘Upload Engines’ is activated
for LED software update from the Chroma-Q Uploader (See Quick Start Guide of the Chroma-Q Uploader for
operation.); ‘ETC compatible’ is switched On or Off to set the colour output to match the Color Picker feature of
ETC Eos control consoles.
Fan S peed
Fan S peedF an Speed
Fan S peed
The internal fans can be set to 3 speed settings:
Quiet – internal fan is off and light output is reduced by 45%; Studio – fan speed is at low velocity and light
output is reduced by 15%; Live – fan speed is at high velocity and light output is 100%
Reset to Defaul t
Reset to Defaul tReset to Default
Reset to Defaul t
In this mode, press Enter to ‘reset?’; press Enter for 2 seconds to activate ‘resetting’;
'done’ is displayed when complete and menu settings have bee reset to factory defaults:
DMX address = 001, Control Mode = 9, When DMX is Lost = Hold, Looks = 01, Fan Speed = Live,
Frequency = 600, ETC compatible = Off, Display = On
3.
3.3.
3. Further Information
Further InformationFurther Information
Further Information
Please refer to the Chroma-Q Color Force manual for more detailed information. A copy of the manual can be found at
the Chroma-Q website – www.chroma-q.com – under Support.
 Loading...