

Page 1
SamplerTools™
Version 1.0, Build 28
Page 2

(This page is intentionally left blank.)
Page 3

SamplerTools™
Table Of Contents
Introduction.................................................................................................................................. 5
Basic Concepts. ........................................................................................................................... 7
How To Make As Hard Thing Easy ................................................................................................... 8
Lists And Areas
Main Screen ................................................................................................................................ 9
The File List. ................................................................................................................................10
The Database List .........................................................................................................................11
Contents List ................................................................................................................................13
Construction Zone ......................................................................................................................14
Concepts
Translations. ................................................................................................................................15
Construction. ...............................................................................................................................16
Management. ...............................................................................................................................18
Menus
File. ............................................................................................................................................19
View ...........................................................................................................................................19
Apps .............................................................................................................................................19
Help .............................................................................................................................................20
Other
What It Doesn’t Do .......................................................................................................................21
Preferences ......................................................................................................................................22
Import .......................................................................................................................................23
Export .......................................................................................................................................24
Data Processing ...............................................................................................................................24
Audio/MIDI. .................................................................................................................................25
Support
Troubleshooting. .............................................................................................................................26
FAQ ..........................................................................................................................................26
Bug Reports. ..............................................................................................................................27
Contacting Technical Support. .............................................................................................................28
Updating. ..................................................................................................................................29
Contact Us .................................................................................................................................30
Credits. .......................................................................................................................................31
Page 4

(This page is intentionally left blank.)
Page 5
SamplerTools
™
Introduction
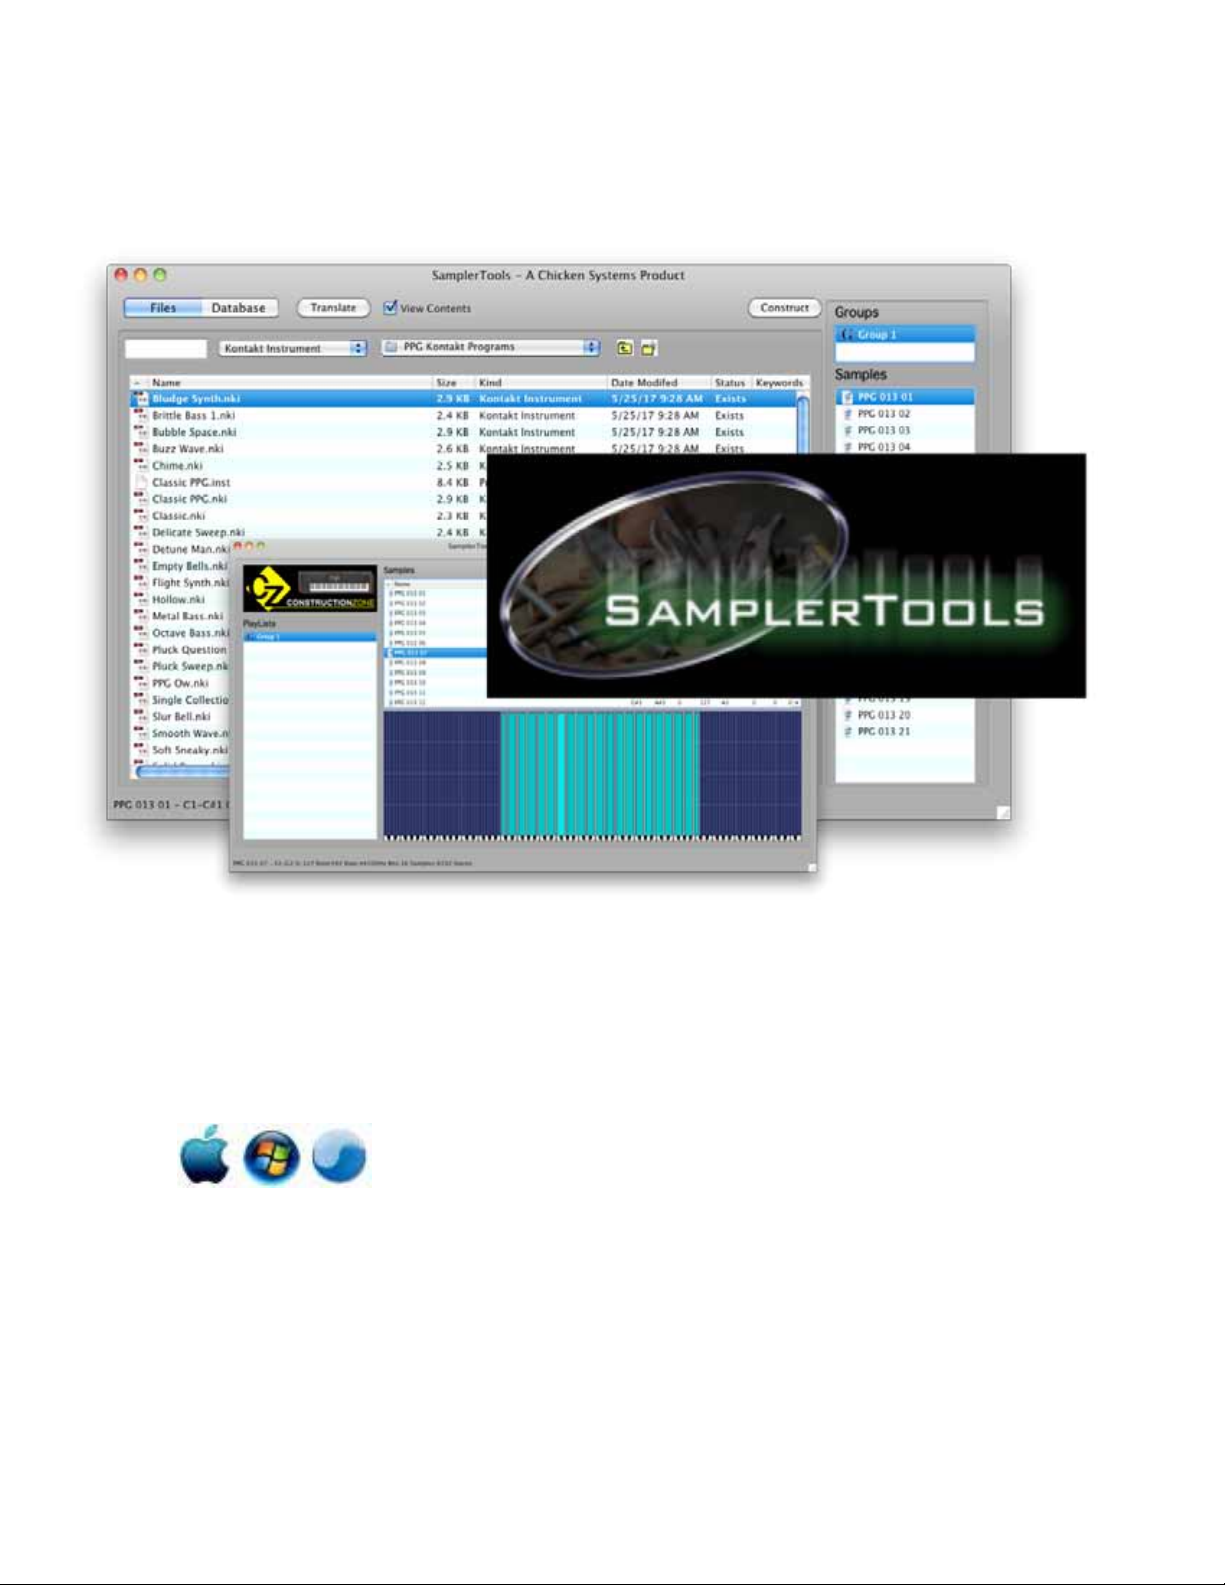
SamplerTools™
Introduction
SamplerTools™ is a bundle of three powerful applications - Translator, Constructor, and Instrument
Manager. But it’s not only that - it also includes an Integrated Interface, which contains the basics of all
three applications in one interface. This
document aims to describe the use of
the Integrated Interface.
The SamplerTools Integrated Interface,
Mac and Windows, can be described
in two ways: either Three Concepts
(Translation, Construction, and
Management), or two Main Areas (the
Files List or the Database List) with
two sub areas (the Contents Area and
Construction Zone, dealing mainly with
the Construction concept).
You can also launch into any of the
three bundled applications whenever
you want the extra power each of them
brings to the table. The SamplerTools
Integrated Interface is not designed
to replace any of the applications,
HOWEVER we wouldn’t be surprised that your rst choice in doing basic translations, simple Bank/
Instrument building, or rudimentary Bank/Instrument management would be the Integrated Interface,
due to it’s simple approach to each of the three concepts.
That is the goal and stated purpose of SamplerTools™ Integrated Interface.
SamplerTools™ attempts to be simple, and thus does not have any CTL/right-click contextual menus.
Those are usually used for extended options and that’s exactly what SamplerTools™ tries to avoid. Just
selecting an item in the list gives you the power you need. Adding and deleting to the lists is done by with
the INSERT or DELETE keys on your computer keyboard, or dragging in les from outside the application.
Some notes regarding the documentation:
Since SamplerTools serves MANY different types of les, but yet tries to treat them in a generic manner, in
this document we allude to them as these terms (and they do mean the same thing):
Instruments: Programs, Patches, Presets
Groups: Multisamples, Waveforms, KeyMaps; or any Layer/Element/Oscillator that refers to the items
listed beforehand
Samples: Well, they are always called Samples
Although the product SamplerTools™ refers to all 3 bundled applications plus the Integrated Interface, in
this document when we use the term SamplerTools™, unless specied otherwise, we are referring to the
Integrated Interface.
In this document, the term “right-click” also refers to “control-click” on a Mac. Only “right-click” will be
used. Similarly, “Preferences” is term for different optional parameters that can be set in the program;
on the Mac you will see the word “Preferences”, but on Windows you will see “Options”. In this document,
Page 5
Page 6

Introduction
Preferences will be used. Graphics are all Mac, but look very similar to the Windows version.
By default SamplerTools™ shows the textual representation of MIDI note 60 as C3. This is the non-US representation. However, if you are more used to seeing C4 as middle C (like GigaStudio or other US models
- or even some varied non-US samplers), you can change this in Preferences-General.
If you are a registered owner, you are qualied for free updates for the life of the program. You can download these from your program using the Check for Update feature, or from the Chicken Systems Update
Area.
SamplerTools™ is consistently supported by Chicken Systems, with updates appearing frequently.
SamplerTools
™
Page 6
Page 7
SamplerTools
™
Basic Concepts
Basic Concepts
SamplerTools aims to offer Translation, Construction, and Management in one single and easy to use
package.
The SamplerTools Integrated Interface offers the three strengths of the bundled applications of
SamplerTools - Translation, Construction, and Management. It is organized into two lists: the Files List and
the Database List. These are toggled by
the button control on the upper left.
Files List
This shows the contents of a particular
folder on your computer. You can
translate any or all les on the list,
edit (that is, construct) them, and/or
manage them.
Database List
This shows the contents of any
“PlayList” (a pre-made, pre-created
group of les) that you make. Just
like the Files List, you can translate,
construct, and/or manage them
All translation and construction
operations work off of selecting one
or more list items, called an Entry. To
translate, click the Translate button on the top of the interface. The other two areas, the Contents Area
and the Construction Zone, mainly deal with the Construction concept. To construct (edit an existing Bank
or Instrument), make sure the View Contents checkbox is checked, showing the Contents Area, and to
enter the full-edged editing area, click the Construct button to enter the Construction Zone.
Each Entry is in one of 3 states an within SamplerTools:
Exists: The Entry actually is dened and EXISTS within an actual le on your computer, whether this is
a single le (like a EXS24 .EXS or a Kontakt .NKI), or an Instrument within a Bank le (like a Preset
within a SoundFont). It is not touched or edited in any way.
Edited: The Entry has same basis within a computer le, but has been edited in some way - some
objects (Groups, Instruments, Samples) have been added, deleted, or parameters changed.
Virtual: The Entry was created within SamplerTools and has yet to be saved as an actual le on your
computer. Of course, the sample les exist somewhere - they have to - but the actual Instrument or
Bank denition le has not been written as a le. (An Edited object is different because it started with
an actual le and was edited in SamplerTools after your session started.)
To save an edited or created Bank or Instrument, select the Entry and click the Save As... button (same as
the Translate button but it is renamed).
For more information on the Translation concept, go the Translation area in this document. For more
information on the Construction concept, go the Construction area in this document. For more information
on the Management concept, go the Management area in this document.
For more information on the Files List, go the Files List area in this document. For more information on
the Database List, go the Database List area in this document. For more information on the Contents
Area, go the Contents Area area in this document. For more information on the Construction Zone, go the
Construction Zone area in this document.
Page 7
Page 8

How To Make A Hard Thing Easy
SamplerTools
™
How To Make A Hard Thing Easy
SamplerTools™ is a powerful program. However, this power can make a simple operation, such as translating
a sound, a difcult process. Shoot, you just want to take these Kontakt les and translate them into EXS24
format! But now you have to read about DeEmphasis Filters, and Naming Conventions, and all these things that
you don’t want to worry about. Yuuch.
Dealing with musical instrument les is a complicated process by nature. Many times an internal parameter
decision can go a number of ways. How do we enable total control for the user, while hiding as much of the
process as well?
Please also remember that SamplerTools is engineered to be simpler than any of the bundled applciations
Nevertheless, here’s a couple things that we feel you should remember, in order to make SamplerTools an Easy
Thing:
Read the Manual - Refer to the Help le
We spent an inordinate time making a full length manual for the reason that it helps make a
Hard Thing Easy. Use it! It’ll help.
We love hearing from our customers, and please do contact us ONCE YOU HAVE tried the
resources you already have. This manual is the BEST WAY we know how to communicate the
concepts of this program. If you call us, please ask a question based on something you don’t
understand within the manual. Otherwise, we’ll just read the manual to you.
The Defaults Are Good for 99% of cases
Check out the Preferences and Format Preferences dialogs. There are TONS of optional features
in SamplerTools™. If you are confused by them, do the simple thing - ignore them. There
generally isn’t any options in there that are completely mandatory necessary to switch or set to
enable things to go well. In 99% of the cases you should be able to stick in a CD, drag it over,
go and eat a sandwich, and come back with a bunch of translations. But if you need them, the
options are there.
Call, E-mail, or Chat if you have questions or problems
When something goes wrong - and with a Hard Thing that is inevitable - that can make that Hard
Thing Hard. So, we make ourselves completely available. You can call us with toll-free technical
support. Or e-mail us - we’ll respond within 24 hours guaranteed. Even Chat is available from
our web site. We think we have the best support in the business - in order to make a hard thing
easy.
Send Files if there is a problem
Nothing is better for diagnostics than the actual source le the user is operating on. In
Translator™, you can send us any source le you are looking at. Use our Bug Reports web page
at www.chickensys.com/samplertools/bugreports, or see the Sending Files section for more
information. We commonly address all issues within 24 hours.
See - it’s an Easy Thing!
Page 8
Page 9
SamplerTools
™
Main Screen
Main Screen
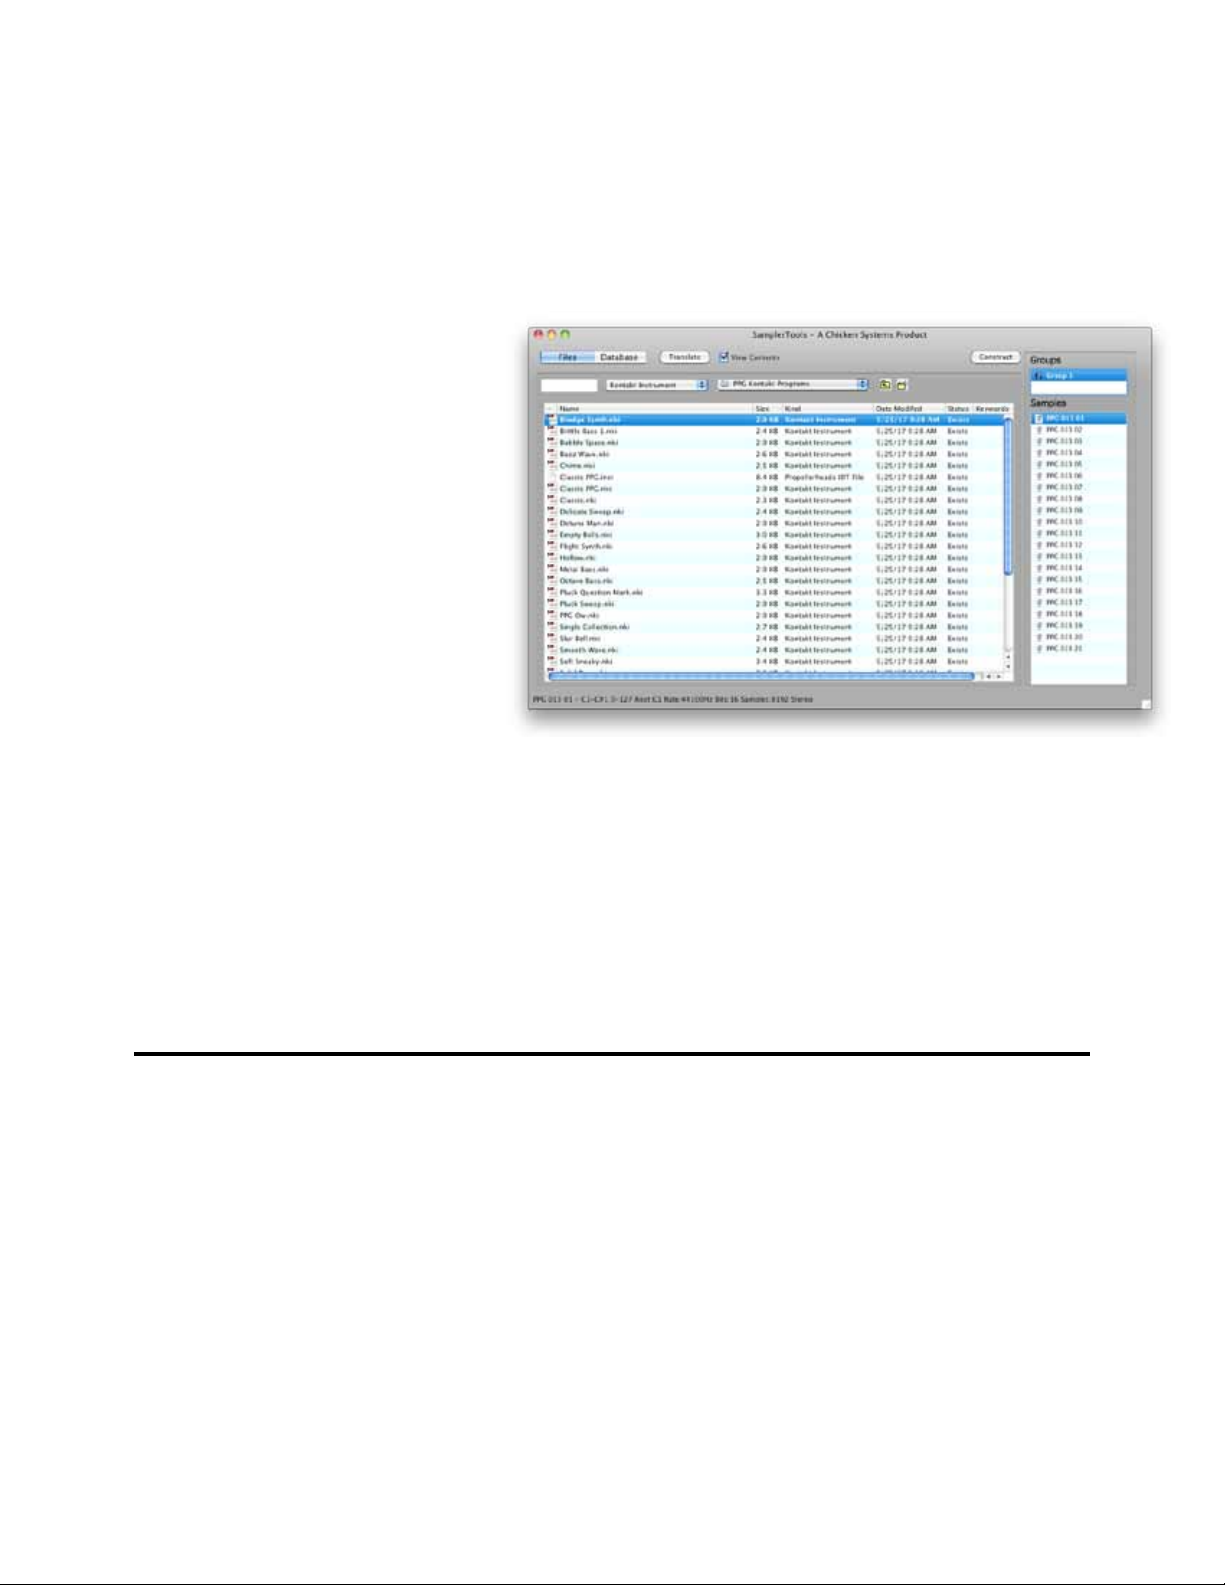
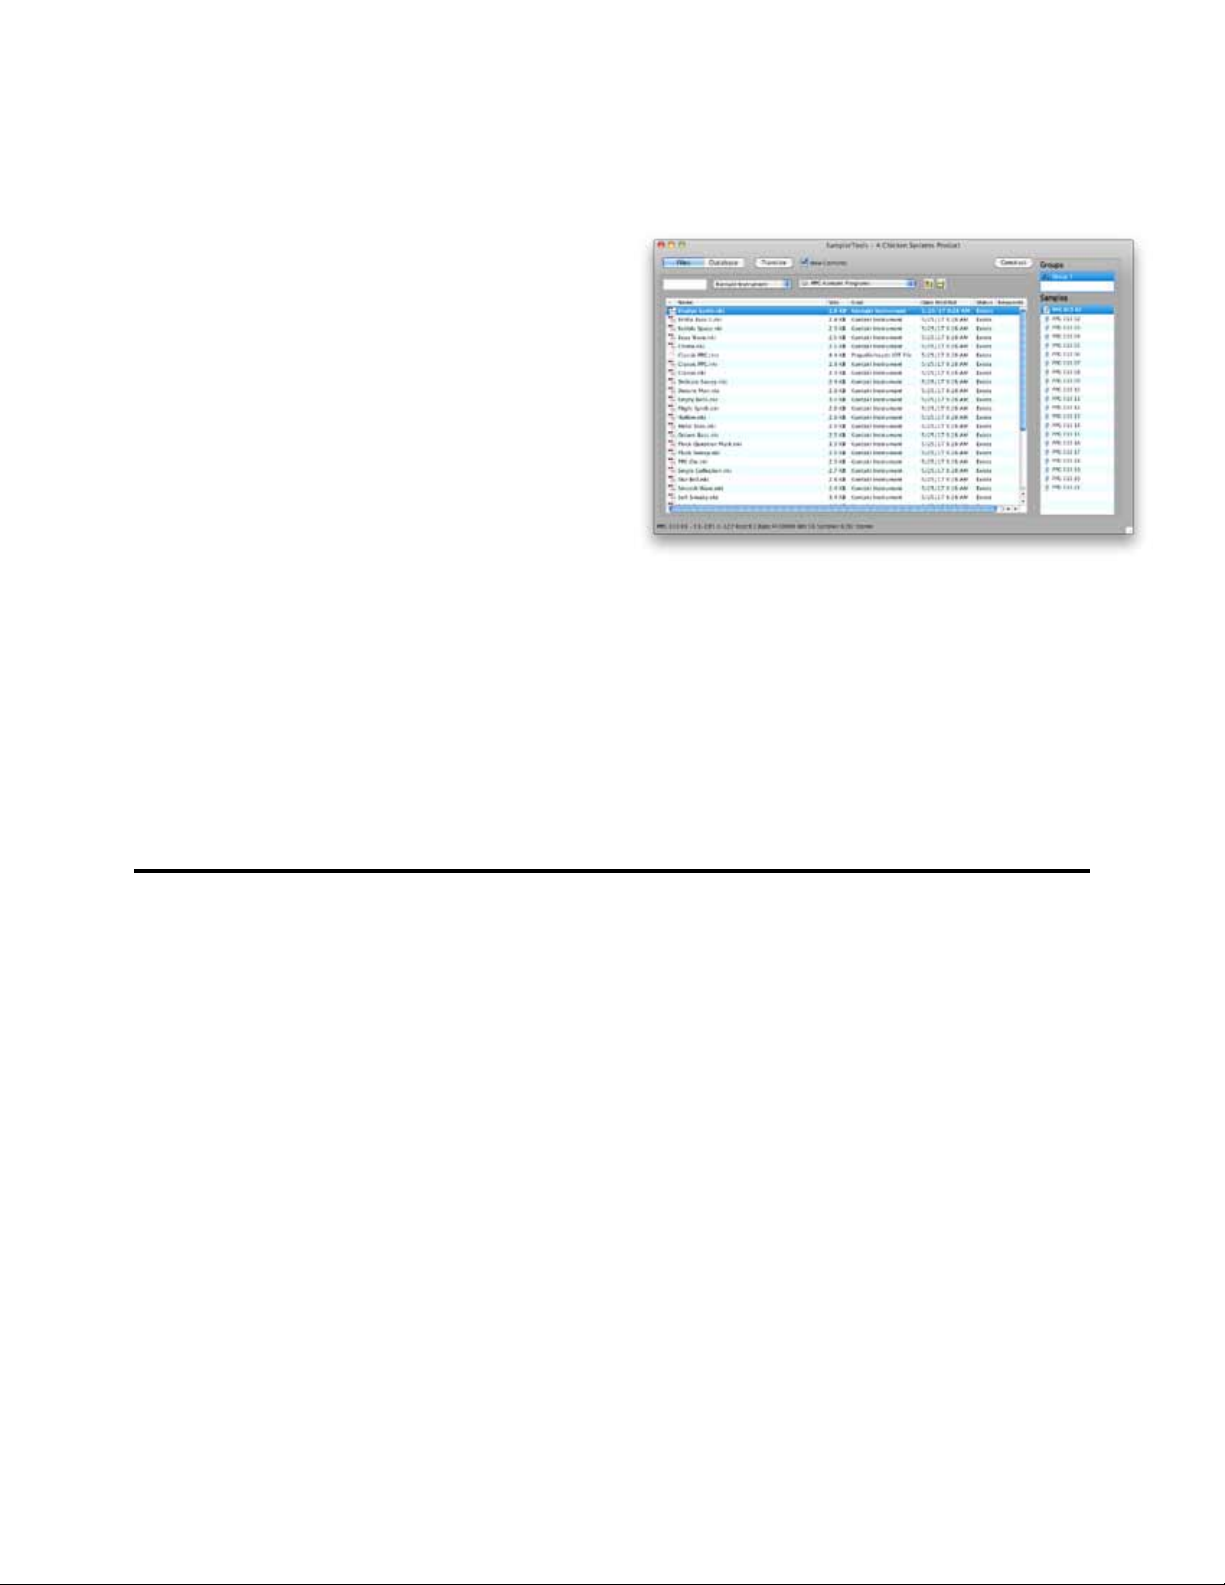
The SamplerTools™ interace contains primarily a main List right in the middle of the interface; it is by far
the largest item on the dialog. Above it are two rows:
Main Toolbar
You can switch between the Files
List and the Database List, start a
transaltion with the Translate button,
view the Contents with the View
Contents check box, or enter the
Construction Zone with the Contents
button.
List Toolbar
You can lter the main list contents
with the Search box, select the
translation format the Destination
Format popupmenu, naviagate your le
system with the current folder popup
and the Up and New buttons (when
Files List is selected).
Main List
The main list holds the contents of the
Files List or the Database List. Whichever entry you select, that is the jumping off point for translation or
construction.
Contents View
These appear on the right when the View Contents checkbox is checked and ONE entry is selected (the
do not show when you ahve multiple entries selected). If the Entry is a Bank-Type, three lists show
- Instruments, Groups, and Samples. If the Entry is a Instrument-Type, two lists show - Groups and
Samples.
Status Bar
Thsi shows the the properties of the Sample selected in the Samples list, or when a translation is
occurring, what is the status of that translation.
Page 9
Page 10
The File List
SamplerTools
The File List
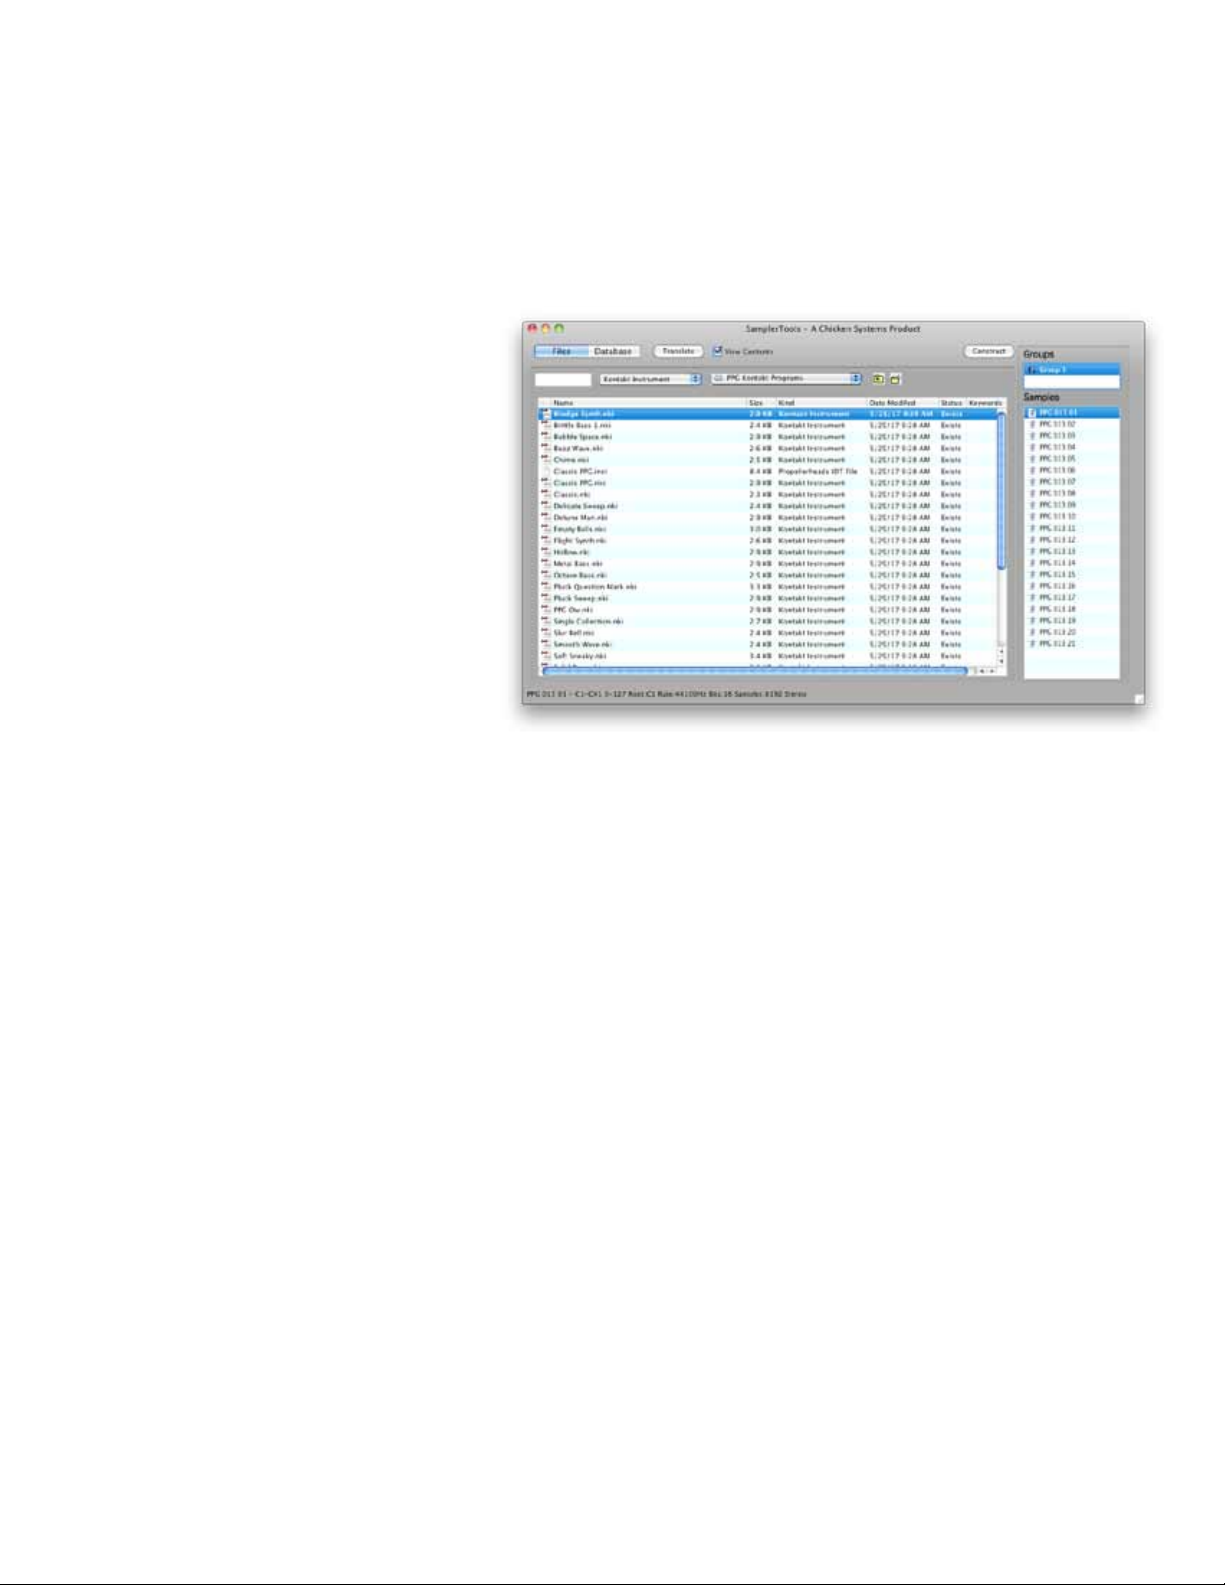
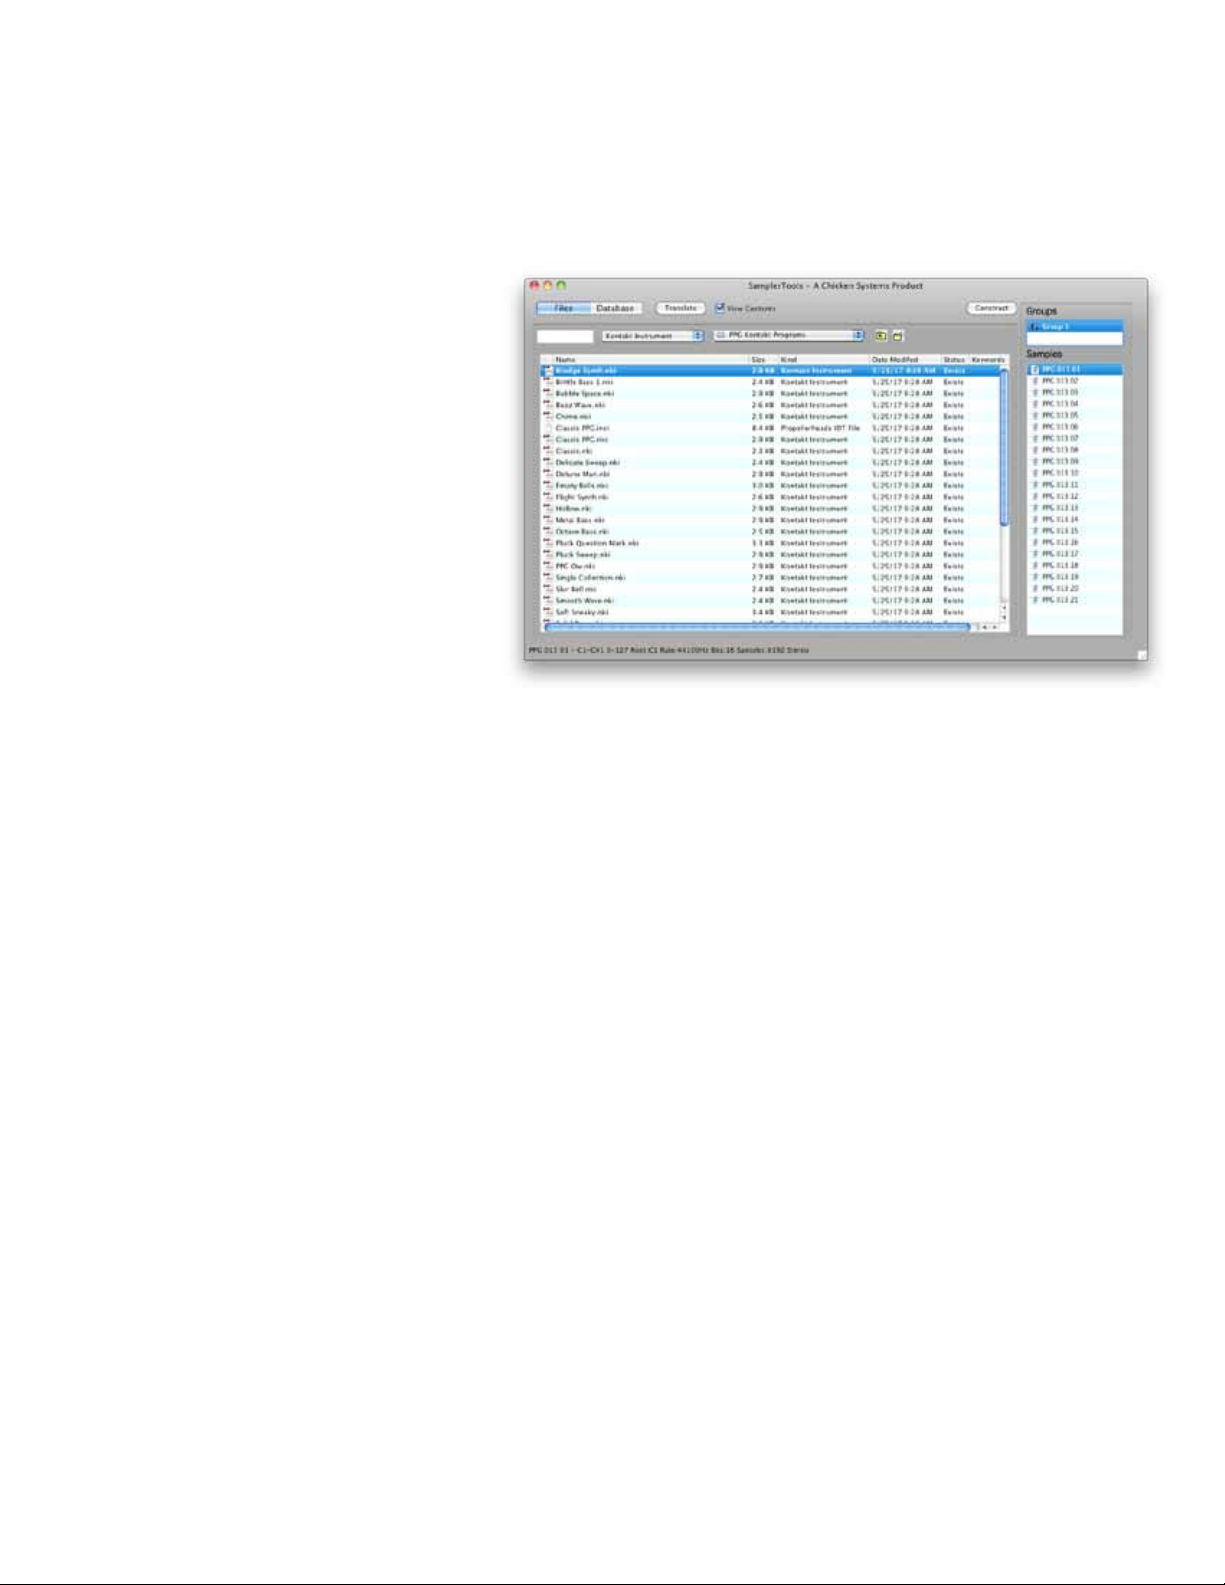
The File List shows the contents of the folder selected above it. You can change which folder you are
viewing by operating the PopupMenu on top, or dropping a folder on the PopupMenu.KeyMap Editor
The les listed are naturally ltered by the les
SamplerTools supports - meaning you don’t see (for
example) Word les or Excel spreadsheets. You can
further lter the contents by typing in text in the
Filter textbox. Leaving the Filter textbox blank shows
all acceptable les.
Folders are also listed, and you can drill into a folder
by double-clicking on it.
Status
Each Entry is in one of 3 states an within
SamplerTools, as indicated on the main Llst. These
are very important to understand if you are editing
your entries.
Exists: The Entry actually is dened and EXISTS within an actual le on your computer, whether this
is a single le (like a EXS24 .EXS or a Kontakt .NKI), or an Instrument within a Bank le (like a
Preset within a SoundFont). It is not touched or edited in any way.
Edited: The Entry has same basis within a computer le, but has been edited in some way - some
objects (Groups, Instruments, Samples) have been added, deleted, or parameters changed.
Virtual: The Entry was created within SamplerTools and has yet to be saved as an actual le on your
computer. Of course, the sample les exist somewhere - they have to - but the actual Instrument
or Bank denition le has not been written as a le. (An Edited object is different because it started
with an actual le and was edited in SamplerTools after your session started.)
™
Translating a File
There are several methods: selecting one or more les and click the Translate button above, or doubleclick on a single le. You can translate a folder by selecting it and clicking the Translate button. The
Destination File Type is the one listed in the PopupMenu to the left of the Current Folder PopupMenu. For
more information on translating, see the Translating concept page in this document.
Deleting Entries from a PlayList
Select the Entries in the main list and hit the Delete button on the computer keyboard.
Viewing the Contents of an Entry
Select the desired Entry while the View Contents checkbox is checked. If it is an Instrument-type, the
Groups and Samples lists will be lled on the right. If it is a Bank-type, the Instruments, Groups, and
Samples lists will be lled.
Adding or Deleting the Contents of an Entry (Righthand Lists)
Select the desired Entry and view your Contents on the right. By selecting each individual list, you can use
INSERT and DELETE on your computer keyboard to add and delete Instruments (Bank-only), Groups, or
Samples to your Entry.
Editing the Contents of an Entry (Construction Zone)
Select the desired Entry and click the Constructor button to open the Construction Zone area. You will see
all your Groups and Samples and will be able to do complete editing of the contents of the Entry.
Page 10
Page 11

SamplerTools
™
The Database List
The Database List
The Database List shows you the contents of the
“PlayLists” that you can create in SamplerTools.
The PlayList List to the right of the Database List
You select the Database List by selecting the
Database button on the top left.
Note: We chose the unfortunate name “PlayList”
because of the similar approach used by iTunes,
but more importantly we didn’t want to call
them”Groups” - as Instrument Manager terms
them - so not to confuse them with the Groups in
the Contents Area.
There is a default “All” PlayList that shows you all the les you have entered into the master Database.
Creating a PlayList
Select any PlayList on the left (to give the list focus) and hit the Insert button on the computer keyboard.
You will get a Untitled PlayList ready for you to rename it. Rename it and then start adding to it.
Deleting a PlayList
Select the PlayList on the left and hit the Delete button on the computer keyboard.
Adding to a PlayList
Drag any le(s) or folder from the Finder into the main list. This adds the le(s) into the database and
adds it to the selected PlayList. (If you drag them while All is selected, only the database is added to.
You can also drag any Entry(s) from the main list and drop them onto
another PlayList. Entries can be associated with multiple PlayLists.
Deleting Entries from a PlayList
Select the Entries in the main list and hit the Delete button on the
computer keyboard.
Translating a Database Entry
There are several methods: selecting one or more les and click
the Translate button above, or double-click on a single le. You can
translate a folder by selecting it and clicking the Translate button. The
Destination File Type is the one listed in the PopupMenu to the left of
the Current Folder PopupMenu. FOr more information on translating,
see the Translating concept page in this document.
Viewing the Contents of a Database Entry
Select the desired Entry while the View Contents checkbox is checked.
If it is an Instrument-type, the Groups and Samples lists will be
lled on the right. If it is a Bank-type, the Instruments, Groups, and
Samples lists will be lled.
Adding/Deleting Contents of a Database Entry (Righthand Lists)
Select the desired Entry and view your Contents on the right. By
selecting each individual list, you can use INSERT and DELETE on
your computer keyboard to add and delete Instruments (Bank-only),
Groups, or Samples to your Entry.
Page 11
Page 12

The Database List
Editing the Contents of a Database Entry (Construction Zone)
Select the desired Entry and click the Constructor button to open the Construction Zone area. You will see
all your Groups and Samples and will be able to do complete editing of the contents of the Entry.
SamplerTools
™
Page 12
Page 13

SamplerTools
™
Contents List
Contents List
The Contents Area shows on the right-hand side of the Main Screen. It only displays when you check the
View Contents checkbox on the top of the Main Screen.
There are either 3 or 2 Lists that show in the Contents Area, depending on what type of le you select. If
it’s a Bank-type le (such as a SoundFont, GigaStudio .gig le, a Motif
le, etc.), 3 lists show up - Instruments, Groups, and Samples. If it’s a
single Instrument-type le (Kontakt NKI, EXS24, SFZ, etc.), 2 lists show
- Groups and Samples.
The Lists are always hierarchical: Instruments always have Groups, and
the Groups contain the Samples. If an Instrument format does not have
the concept of a Group, one will be shown anyway, and upon resaving
such a structure will be ignored.
Renaming Items
You can rename a Group or an Instrument
Adding Instruments or Groups
You can rename a Group or an Instrument
Adding Samples
You can rename a Group or an Instrument
Deleting Instruments, Groups, or Samples
You can rename a Group or an Instrument
Editing Group and Sample Properties
The Contents Area is certainly limited, and this is by design. To fully edit
(construct) an Instrument (either as an Instrument in a Bank or just a
single le), click the Construct button to the upper left of the Contents
Area. This changes the interface into the Construction Zone, where you
can fully edit most of the properties of your Groups and Samples.
Page 13
Page 14

Construction Zone
SamplerTools
Construction Zone
The Construction Zone is the primary area to fully edit an Instrument. There are two Lists - the Group List and
the Sample List. There are two Areas you can switch off between - the KeyMap Area and the Editor.
When you enter the
Construction Zone, the
Groups are listed in
the Group List and the
Samples are listed in the
Sample List. By default,
the KeyMap Area shows,
where you can view
and move the different
samples in the selected
Group.
KeyMap Area
The KeyMap Area shows
the Samples in the
selected Group. You can
use your mouse to change
the Key Ranges and the
Velocity Ranges. You can
see the ranges change in
the selected Entry.
™
Editor
The Editor shows most of the primary parameters of each Sample. Note: In SamplerTools, each Sample has
it’s own complete parameter set. You can edit any Rn age, or Rule (Keyswitch, Round Robin, Controller Switch)
or the basics like RootKey, Volume, Pan, Tuning, or even the envelopes, LFO’s, and Modulation Matrix.
To toggle between the KeyMap Area and the Editor, click on the button above the Samples List, which will say
whichever Area you want to switch to.
Editing
You can add or delete any Group, and add or delete any Sample. To delete any Group or Sample, just select
the object in question and hit DELETE on your computer keyboard. To add a Group, hit INSERT on your
computer keyboard while the focus is on the Groups List. To add Sample(s), drag them from the Finder/
Explorer onto Samples List.
To close the Construction Zone, click Close on the that we put a keyboard display on a Kurzweil document. It
shows you what the contents of the current Key
Page 14
Page 15

SamplerTools
™
Concepts - Translation
Concepts - Translation
Chicken System’s Translator 6™, a stalwart since 1999, is the
predominant conversion software for Instruments. Now up to
Version 6, Translator 6 pretty much handle any format you can
throw at it.
And just to state the obvious, the purpose of translating le
formats is to enable your favorite sampler to load your favorite
sounds, as every sampler (basically) loads it’s own le format.
The technology and the science of loading and interpreting
literally hundreds of le formats is beyond the reach of
the sampler engine manufacturers. Thus applications like
Translator exist.
SamplerTools uses the same conversion engine as Translator,
keeping the same quality and accuracy, yet enables
translations on simpler and perhaps quicker way. Translate an
list Entry by simply selecting one or more Entries and clicking
the Translate button, or double-clicking on a single list Entry.
This can be in the Database List or the Files List.
You can convert in bulk by selecting one or more Folders in the
Files List and clicking the Translate button.
When you initiate a translation, a small dialog appears, asking you for a couple pieces of information:
Destination Instrument Folder: This is where any new Instrument les will be written.
Destination Sample Folder: This is where any new Sample les will be written, if needed to be
written. Some formats either write the sample data within the Instrument le, some require that
they be in the same folder (or a sub-folder with a special name) as the Instrument les. In those
cases, this area will not appear and simply will say N/A (not applicable) .
Destination File Type: This is the new Bank/Instrument format the new le will be written in.
Same Folder As Source: Many times you just want the new les to be in the same place as the
sources. Checking this insures this happens.
Always Use These Options: This POWERFUL selection skips this dialog for every future translation
that occurs, making this an extremely handy tool - you don’t have to waste your time with this
same dialog over-and-over.
Click OK to start the translation; SamplerTools will hum along, converting the le represented in the Entry.
When it is done, it will update the List, showing the new les.
The Format Preferences dialog gives you a great amount of options regarding how the source format is
handled, and how the destination format is formed and written. Please refer to this so you can get the
format you desire, and in the form you want it to be in.
Page 15
Page 16

Concepts - Construction
SamplerTools
Concepts - Construction
Chicken System’s Constructor™ application is a powerful
Instrument-building application. It offer a complete set of forming
Instruments and Bank les, with its specialty being the generic
processing of items with the ability to load any format and save to
any format.
In SamplerTools; you can create and edit - that is, Construct
- Instruments within the Contents Area (for minor additions/
deletions) or the Construction Zone (for precise and major edits).
For more information on the Contents Area, go the Contents Area
area in this document. For more information on the Construction
Zone, go the Construction Zone area in this document.
Before we go into the details of Construction, let us explain about
the 3 states an Bank/Instrument can be in within SamplerTools.
Exists: The Instrument actually is dened and EXISTS within an
actual le on your computer, whether this is a single le (like a
EXS24 .EXS or a Kontakt .NKI), or an Instrument within a Bank le
(like a Prest within a SoundFont). It is not touched or edited in any way.
Edited: The Bank/Instrument has same basis within a computer le, but has been edited in some way -
some objects (Groups, Instruments, Samples) have been added, deleted, or parameters changed.
Virtual: The Instrument was created within SamplerTools and has yet to be saved as an actual le
on your computer. Of course, the sample les exist somewhere - they have to - but the actual
Instrument or Bank denition le has not been written as a le. (An Edited object is different because
it started with an actual le and was edited in SamplerTools after your session started.)
™
The States of each Entry are listed within the Entry. If any Edited and Virtual entries still exist when you
try to quit SamplerTools, a warning dialog will come up and ask you if you want to save these entries.
A IMPORTANT yet Careful Warning on Saving Edited Instruments and Banks
SamplerTools uses Chicken Systems technology that has almost 20 years of development in interpreting
professional sampler Bank and Instrument formats. In SamplerTools, the way we read in a format
(like what you see in the Contents Area), every Sample object that you see is an attempt at the full
representation of Sample as it plays within that loaded Instrument. But it is listed in a generic non-format-
specic way; that is it is interpreted. That interpretation is often exact or very good, but there are many
times where certain pieces of format-specic information is left out.
So it should be said that if you choose to 1) start with a Instrument (of course within a Bank or as a sin-
gular le), 2) then edit it by (for example) adding or deleting samples etc., when you resave it, it may not
be EXACTLY what you started with. One area that we know will be problematic is effects - at best they will
be kept, at worst they will be completely omitted.
This shouldn’t keep you from editing and constructing, though, but you should know the limits and per-
haps drawbacks are. We recommend ALWAYS saving to a different le and not overwriting the original.
And, of course, starting from scratch (that is, Virtual), doesn’t include these issues.
Page 16
Page 17

SamplerTools
Basic Construction Features
To create your own Bank or Instrument, either from scratch or from a starting point, the most basic point
to start is the Contents Area. You can add, rename, and/or delete Groups and Samples (and Instruments
if from a Bank) from those lists. That will permit basic edits, but you do so rather blind since you aren’t
seeing the properties (like KeyRange/Velocity Range, or rules like Keyswitching or Round Robin, or just
the fact if the items are layered or not, etc.) which they entail. TO be more precise, and to see the properties of those objects (and see them visually in the KeyMap Editor), click the Construct button to enable
the Construction Zone. There, the current selected Instrument will show in it’s full glory, and you can edit
freely. When you close the Construction
Zone, the Contents Area lists will be updated, and you’ll have to save your Instru-
ment or Bank to posses the le you want.
Saving Edited Entries
When a list Entry is either Edited or Virtual, when you select it on it’s own (or with
other same-moded entries), the Translate
button will change from Translate to Save
As... Clicking on that button will allow you
to Save As... the Entry or Entries.
Creating New Banks or Instruments
Hit INSERT on your computer keyboard
when the focus is on the Files List or the
Database List, and a new Bank or Instrument will appear in the List marked as Virtual. (You can choose which type is created by the option within
the Preferences-General area.) You can then add Instruments (if a Bank) and Samples into Groups, forming entire Instrument(s).
™
Concepts - Construction
For complete information on editing Banks and Instrument within the Contents Area, go the Contents Area
area in this document. For complete information on though and precise editing of Instruments, go the
Construction Zone area in this document.
Page 17
Page 18

Concepts - Management
Concepts - Management
Chicken System’s Instrument Manager™ application manages and
organizes your Banks, Instruments, and Samples into a searchable
database, with powerful PlayLists to organize your assets for quick
retrieval.
In SamplerTools; you have this same ability at a more basic level.
Clicking on the Database button at the top of the interface reeals the
PlayList list on the left, with the elements in that list showing in the list in
the middle.
You can create, edit, or delete PlayLists at will in the PlayList list on
the left. You can add assests to your PlayList by dropping them into
the middle list. There is a special All playlist that shows all your entries
contained in your database.
As with the File List, with the Search box up at the top, you can lter
your list to identify the entries you want to view.
SamplerTools
™
For complete information on the Database List, which is the centerpiece
of the Management ability of SamplerTools, go the Database List area in this document.
Page 18
Page 19

SamplerTools
™
Menus - File
Menus - View
Menus - File, View, Apps
New
Creates a new Entry in the Files or Database lists. This is a empty
Instrument wher you can plug in new samples into it and program it.
Open Recent
A list of previously selected les.
Save
Saves the current edited or New Entry.
Quit/Exit
Quits the whole mess.
Files
Switches the mainscreen to the Files List view.
Database
Switches the mainscreen to the Database List view.
Menus - Apps
Launches the Instrument Manager application.
Construction Zone
Switches the mainscreen to the Construction Zone view.
This is the area where you can launch the larger more powerful applications in the SamplerTools™ bundle.
Translator 6
Launches the Translator 6 application.
Constructor
Launches the Constructor application.
Instrument Manaager
Page 19
Page 20

Menus - Help
Menus - Help
Contents
Displays the Help File; that is the manual. Hey,
READ IT!!! =)
Troubleshooting
Goes to the Troubleshooting page in the Manual.
Bug Reports
Goes online to the Chicken Systems SamplerTools
Bug Report page. You can ll out the form there
and submit any applicable les, to report any issues
SamplerTools has.
Sending Files
Displays the Help File section about sending les
within Bug Reports.
SamplerTools Home Page
Goes online to the Chicken System’s SamplerTools Home page.
SamplerTools
™
Check For Updates
Contacts the Chicken Systems Update Server online and checks if there is a update for your current
running version of SamplerTools.
Online Documentation
Goes online to a online version of the Help File. Usually the same thing as the Help File.
Support - Forum
Goes online and takes you to the SamplerZone SamplerTools forum. You can get questions answered here,
as well as meet up with the most amazing people you’ll ever want to meet.
Support - Online Chat
Opens a online Chat window, where you can chat with a Chicken Systems engineer during business hours
and sometimes outside of business hours.
Support - Email
Allows you to directly send an email to Chicken Systems. All emails are replied to within 24-48 hours.
Support - Movies
Goes to the SamplerTools Product Video site for a full range of product videos and instruction.
About SamplerTools™
Shows the SamplerTools™ Splash Screen, which shows you your registration information and the current
version number you are using.
Page 20
Page 21

SamplerTools
™
What It Doesn’t Do
What It Doesn’t Do
We never though we’d write a page describing what one of our applications DOESN’T DO, but since
SamplerTools™ aim is to present the basics of each bundled application into one Integrated Interface, it
becomes necessary to inform you what SamplerTools doesn’t do, so you aren’t expecting it to do certain
things.
SamplerTools tries to do the Ordinary. If you want to do something a little out of the Ordinary, launch one
of the Master Applications and do it there -that’s what they are there for.
We understand that drawing the line between Ordinary and Out-of-the-Ordinary is different for different
people. If there’s anything you deem as Ordinary, let us know and we are open to extending the capability
fo SamplerTools to include such things - however, we draw a line at circumventing the roles of the Master
Applications. And that shouldn’t be difcult, as all of the Master Apps are easy to use as well as powerful
in and of themselves.
One more thing: These lists are not complete, but they do include the major omissions.
Translation
SamplerTools does NOT support these features that appear within Translator:
Reading or writing Proprietary Disks (Akai, Roland, etc.)
Tranlsating into multiple destination FileTypes when converting in Bulk
Copying Samples (redundant) when converting in Bulk
Filter Lists by File Type
Construction
SamplerTools does NOT support these features that appear within Constructor:
User-dened Documents (Bank and Instrument)
Sample Database
Reading or writing Proprietary Disks (Akai, Roland, etc.)
Allow changing of properties within a list
Management
SamplerTools does NOT support these features that appear within Instrument Manager :
Bulk Renaming of Objects
Moving Instrumens between Bank les
Support for Proprietary Disks (Akai, Roland, etc.)
Support for management of Sample les and Objects
Sample Editing features
Page 21
Page 22

Preferences
SamplerTools
™
Preferences
The Preferences dialog is viewed by clicking on (Windows) Tools-Preferences top menu, or (Mac) App MenuPreferences.
General Tab
Prepare Audition Format
This is the format that is written when preparing a KeyMap for auditioning.
New Import Format
This is the format that is composed when importing anything or creating a new Kurzweil Document.
Parameter Tolerance
When importing into Kurzweil format, there may be structural limitations where if you wanted to ensure all
parameters were converted perfectly, you’d end up with multiple Programs/Presets being created, perhaps
in more of a mess than you prefer. Setting Parameter Tolerance to a higher percentage gives some grace to
these parameters so the conversion will be a little exact but you’ll wind up with a cleaner organization that
will be more usable to you.
Use Custom Editor for Sample Edits
This is the app that you’ll use for editing samples within the Kurzweil Document. Good sample editors are
SoundForge (Mac/Windows), Peak (Mac), DSP Quattro (Mac), Audacity (Mac/ Windows), Adobe Audition
(Mac/Windows) and more.
Color Keyboard with selected KeyMap Ranges
Usually this is set to be on. This colors the onscreen Keyboard with the ranges of the Samples within the
currently selected KeyMap.
Autoload KeyMaps when selected
Checking this has the Kurzweil Player load KeyMaps as they are selected, allowing you to audition them via
MIDI.
Middle C displays as...
On some samplers/keyboards, middle C is dened as C4 (usually U.S.) while others it is C3. All Kurzweils
show it as C3, and by default this is what is shown throughout the program through any Note Number (i.e.
A#5, E1, etc.) However, you may feel comfortable seeing it as C4. This control sets the display of Note
Numbers program-wide.
Check For Updates
Unchecking this turns off SamplerTools checking for updates automatically when starting up.
Page 22
Page 23

SamplerTools
™
Preferences
Colors Tab
Might as well make your Wave Display look great, right? These are the options you have on what
your Wave Display looks like.
Import Tab
Import Mapping Type
When adding samples to a KeyMap, this option allows you to select and operate many different
informational mechanisms to map the samples where you want them to go.
Chromatic: This simply puts each sample on single notes, from lowest to highest. You also have the option of
selecting all keys, only white keys, or only black keys.
Embedded Root/INST: Pays attention to RootKey or INST chunk information embedded in the incoming
les. An INST chunk contains LoKey, HiKey, LoVel, and HiVel information, but is relatively rare in sample
les.
Velocity: Instead of mapping on adjacent keys, it will map on a single key, into adjacent velocity ranges.
Name Pattern: Looks into the File Name and tried to detect the pattern listed in the text box below.
Use Key Range
This is the keyrange limits placed on imported samples. This means all samples placed will not exist
outside these limits. If this is not checked, they are assumed as 0-127.
Use Velocity Range
This is the velocity range limits placed on imported samples. This means all samples placed will not exist
outside these limits. If this is not checked, they are assumed as 0-127.
Spread
This determines the default spread between LoKey and HiKey the sample will receive.
Export Tab
Destination Sample Type
SamplerTools allows you to export the samples in the Kurzweil Document out into single samples; this
option selects the type. They can be WAVE, AIFF, CAF, or Akai SND les.
Create Folder for KeyMaps
If this is checked, SamplerTools will organize the samples per KeyMap and put them into folders named
after the KeyMaps. Otherwise, the samples in the Kurzweil Document will just be written at.
Write “Inst” chunk into sample les Although this is not used often in musical circles, a WAVE or AIFF
le can hold keyrange/velocity range info for a sample. When checked, SamplerTools will write this chunk
into the sample. There is no effect the sound of the sample, but preserves it if it will be used again in the
same context.
Write SFZ le for every KeyMap
This can be handy if you want to observe the layout of each KeyMap, or perhaps if you want to import it
into another sampler.
Export Text
This controls the listing option in SamplerTools. You can export a formatted list of the contents
of a Kurzweil Document for organizational purposes.
Delimiter
Page 23
Page 24

Preferences
This controls the way the linefeeds are written for separated textual lines.
Include Bank - Slot Numbers
A Bank - Slot number is formatted like this: USER1:D14; checking this puts it into the document.
Exclude Blank Programs
Sometimes the User banks have a lot of Programs or Setups with INIT has it’s name and they don’t include
anything in them. This option eliminates them from the list.
SamplerTools
Data Processing Tab
SamplerTools can import WAVE/AIFF les that have not been beat detected (that is, the transients have
not been calculated) and SamplerTools will detect those transients and import them just like Recycle/ACID/
AppleLoops.
But, let’s talk about what a “slice le” (a Recycle le, ACID le, or AppleLoop) is.
What Is A Slice File
A WAVE or AIFF le is simply a piece of audio data. And any “slice le”, such as a Recycle le, ACID le,
AppleLoop, or Stylus RMX le, are just pieces of audio data as well.
™
The only difference between a regular sample le and a slice le is that a slice le has markers written in
a information chunk in the le. These markers are placed strategically where transients (sharp sounds) in
the le start, so a player that reads slice les knows where the slices are. This is how a Slice File can be
played back at various tempos: the player plays back a slice at the position the tempo dictates. At faster
tempos, the slices fade out to make way for the next slice; at slower tempos, there is a gap between the
slices. (However, some players articially add sample data to “plug the holes”. Also, good Slice Files are
originally recorded at the slowest tempo reasonably allowed, so they never have to be played back at a
slower tempo than their “unity tempo”.)
To create a Slice File, one has to “slice” the audio into slices of energy (“beats”) so the playback engine
plays it back in a way that makes rhythmic sense. This requires a beat detector.
Slice editors, most notably Recycle, but also ACID itself and the AppleLoop Utility that Apple provides, have
beat detection. They do 2 things: They beat-detect a sound le, plus they can play the slice les back
at different tempos. They do this with the assistance of the detected markers. Once you have what you
want, then you save into a slice le, where the audio stays constant but the markers are written in the le.
So when a slice player reads the le, the slices are the secret to it’s capability to play them back at any
tempo.
SamplerTools’s Beat Detection
SamplerTools has a Beat Detector, giving you the ability to import WAVE/AIFF les just like Slice Files.
It is vitally important to pay attention to these Beat Detector preferences. The defaults work for most clear
and simple beats, but they denitely will not work with everything. You will need to experiment with these
on a case-by-case basis, but keep trying, there usually is a solution to any rhythmic piece of data.
Here is the explanation of the Beat Detector’s parameters:
Type: The Beat Detector uses two passes through the audio to detect beats. The rst pass does the
best detection it can, then the second pass “checks” the results.
Threshold: This is like the Sensitivity control on Recycle and other slice editors. Higher values produce
less detection, lower values produce more detection.
Silence: This is terms of samples. This is the MINIMUM amount of samples that need to exist between
markers. If you are getting lots of “double beats”, raise this value.
Tempo: You can bypass the whole detection thing and just put slice points at beat values, regardless of
whether a burst of energy exists at that point.
Page 24
Page 25

SamplerTools
™
Preferences
Audio/MIDI Tab
Audio Driver Types
These are the Sound Driver types on your system. Selecting one shows the Audio Outputs and Audio Inputs
in the lists to the right.
Audio Outputs
These are the outputs on your system for the selected Audio Driver Type. Selecting one selects the audio
output for your app.
Audio Inputs
These are the inputs on your system for the selected Audio Driver Type. Selecting one selects the audio
input for your app.
Audio Properties
Shows the Properties of the Output or Input that is selected on the left.
MIDI In/Out Drivers
Allows you to select the current MIDI In or Out drivers that will drive the MC Player.
Enable MIDI
Enables MIDI communication.
Enable MIDI Velocity
When unchecked, all MIDI notes coming in will be Velocity=127 in value.
Page 25
Page 26

Troubleshooting
SamplerTools
Troubleshooting
Your SamplerTools™ program should be rock-solid and give you no problems. However, there is always
stuff that can go wrong.
You can start from scratch as far as Preferences go by trashing your preferences. You can do that by:
Mac
Go to:
/Users/[you]/Library/Preferences, delete com.chickensys.kurzweilcreator.plist
Windows
Go into the Registry and delete the
HKEY_CURRENTUSER/Software/Chicken Systems, Inc/SamplerTools k e y.
Mac and Windows
Press SHIFT when starting the program.
These techniques only trash your working preferences; they do not trash your auth codes etc. For all other
queries, please contact Chicken Systems Technical Support at the contact
points listed under Contacting Technical Support in this document.
™
FAQ
There is a SamplerTools™ FAQ up on the Chicken Systems Web site:
www.chickensys.com/support/software/samplertools/faq
We revise this as needed, based on common questions previously asked about SamplerTools™.
It is extremely LIKELY that your question is answered here! Please do not contact us until you have read
completely through this resource. It probably will answer your question.
Page 26
Page 27

SamplerTools
™
Bug Reports
Bug Reports
SamplerTools™ should not crash or show errors,
but reality insists that all programs do at some
point, since it deals with many undocumented
formats and les created from many sources,
SamplerTools™ can be especially vulnerable.
If you have a problem with a translation, or receive
an error within SamplerTools™ concerning a le,
the BEST way to communicate that is to le a Bug
Report and send us any applicable les, with a brief
description of what the problem is.
To use the Bug Reports system, go to Help-Bug
Reports in the program. It connects you to our Bug
Reports website, has a form you ll out that gets
the information we need from you, and permits you
to send us the source le directly from that page.
We recommend you to use Bug Reports the
page rst. We do invite you to email us or call us
with a problem, but most of the time we just direct
people to the Bug Reports web site to document the
information in writing and for them to send us the
le. Constructor has many users across the globe, and it is not possible to track all our users particular
questions and issues through personal correspondence.
Once you establish an issue with the Bug Reports web site, you will get an email back with a link to your
issue that you can consistently check on. We try to address and close issues within 24-48 hours.
BUT, THE IMPORTANT THING IS TO ENABLE US TO EXACTLY REPLICATE YOUR ISSUE ON OUR
END! THIS IS WHY WE NEED THE SOURCE FILE IN ALL CASES. PLEASE REMEMBER THIS!
Bug Reports Page: www.chickensys.com/samplertools/bugreports
Email: support@chickensys.com
FTP: ftp.chickensys.com
(please make sure le names DO NOT have spaces in them!)
User: incoming@samplerzone.com
Pass: lesend123
Bug Reports or FTP should handle any les you’d want to send us. In case you have problems with either
or both, try these free le-sending services. Please include the link to the le as part of the Bug Report.
DropBox: www.dropbox.com
WeTransfer: www.wetransfer.com
TransferBigFiles: www.transferbigles.com
Additional Notes
Again, we make a special effort to analyze les and comment or x the problem with 24 business hours
through our Bug Reports page listed above.
Regarding larger les: they are easier to FTP than to e-mail, although our systems can handle either
method of any size without problem. The Bug Reports web site can handle any size. Any email limitation
is usually on your end. If you FTP a le, make sure that the lename DOES NOT have spaces in it. This is
a natural limitation of the Internet and FTP servers in general. Please give us a brief complete explanation.
We try to answer all emails within 24 hours. Please be patient if the answer does not arrive immediately.
Page 27
Page 28

Technical Support
SamplerTools
Contacting Technical Support
Chicken Systems Technical Support can be reached in many ways: Phone, Email, Chat, or via our
SamplerZone.com Forum. Please give us a brief complete explanation of the problem. With Email and
Forum questions, we try to respond within 24 hours, Please be patient if the answer does not arrive
immediately.
You may Phone or Chat with us also if, after reading and looking at the documentation, you are stumped.
Our usual ofce hours are 8am-6pm Monday-Friday. We are often in the ofce on weekends and holidays
on an infrequent basis.
Phone: 800-877-6377 United States, 320-235-9798 elsewhere.
Please do not mind the crabby technical support engineers.
Email: support@chickensys.com
Chat: www.chickensys.com, use the Chat link on the bottom
Forum: www.samplerzone.com/forums/samplertools
™
Page 28
Page 29

SamplerTools
™
Updating
Updating
We update SamplerTools™ as needed, for bug xes, improvements, and additions to the library.
SamplerTools™ automatically checks if there is a update available when you start it up. (If desired, you can
turn this checking off in Preferences.) You can also check for updates by selecting Check for Updates under
the Help menu. (This only works, of course, if you are connected to the Internet on that computer.)
If your SamplerTools™ computer is not connected to the Internet, or for some reason you can’t run
SamplerTools™, you can check for updates at:
www.chickensys.com/samplertools/userupdates
You can check what is your SamplerTools™ version number by checking the About Box (under Help in
Windows and under the App Menu on Mac), or by checking Get Info [Mac] or Properties [Windows].
If there is an update available for you, you can download it and then move it to your program’s computer
(if from a different computer). Run the updater and your program should be updated.
Page 29
Page 30

Contact Us
Contact Us
Chicken Systems, Inc.
4024 Williford Way
Spring Hill, TN 37174-6221
United States
Phone: 800-877-6377 United States, 320-235-9798 elsewhere.
Email: support@chickensys.com
Chat: www.chickensys.com, use the Chat link on the bottom of the page
Forum: www.samplerzone.com/forums/samplertools
SamplerTools
™
Page 30
Page 31

SamplerTools
™
Credits
Credits
Developing software is at the core a one-man process, but making it good requires a team.
SamplerTools™ really benetted from good teamwork and solid commitment to quality software.
Garth Hjelte: Project Lead
Jeff Godbloch: Programming and Technical Writer
Roger Weingarten: Programming
And thanks to:
Native Instruments, Digidesign, Eastwest, Akai/Alesis, Kurzweil, and Emu product managers
and technical support crews for their thoroughness and assistance.
Markus Krieg, Dinos Vallianatos, Julian Ringel, Florian Schirmer, and Wolfgang Schneider at
Native Instruments
David Viens at Plogue for SFZ assistance
Sandi Tepper with Provare Technology
And...
Cheryl Ann Mays at SamplerZone for the best sales team ever
Mike Acosta at RolandUS for the encouragement
Christian Schmitz, Glenn Austin, and Joe Strout for prompt, clear, and concise technical
assistance
Dan Dean and Ernest Cholakis for timely feedback and friendship
David Viens at Plogue for SFZ assistance
Kyle Zambora at In Session Audio for great ideas and partnership
Mashi Hasu, Fran Rodriquez, John Richmond, John Tettle at Kurzweil US for the opportunity,
technical advice, and much much help.
Larry Hopkins for immense technical assistance, and also more great ideas and hospitality
Page 31
 Loading...