

Chevrolet Fleetmaster Series 1947 Owner's Manual

www.carburetor-manual.com
Would you like some Free Manuals?
http://carburetor-manual.com/free-shop-manual-club-t-13.html
Also visit http://freeshopmanual.com for more Free Manuals
Also Visit my website for 7 FREE Download Manuals starting
with this one.
"The ABC's of Carburetion"
Click Here Now
file:///C|/Documents%20and%20Settings/Tim/Desktop/carburetor-manual-welcome/index.htm[4/25/2009 11:42:20 AM]
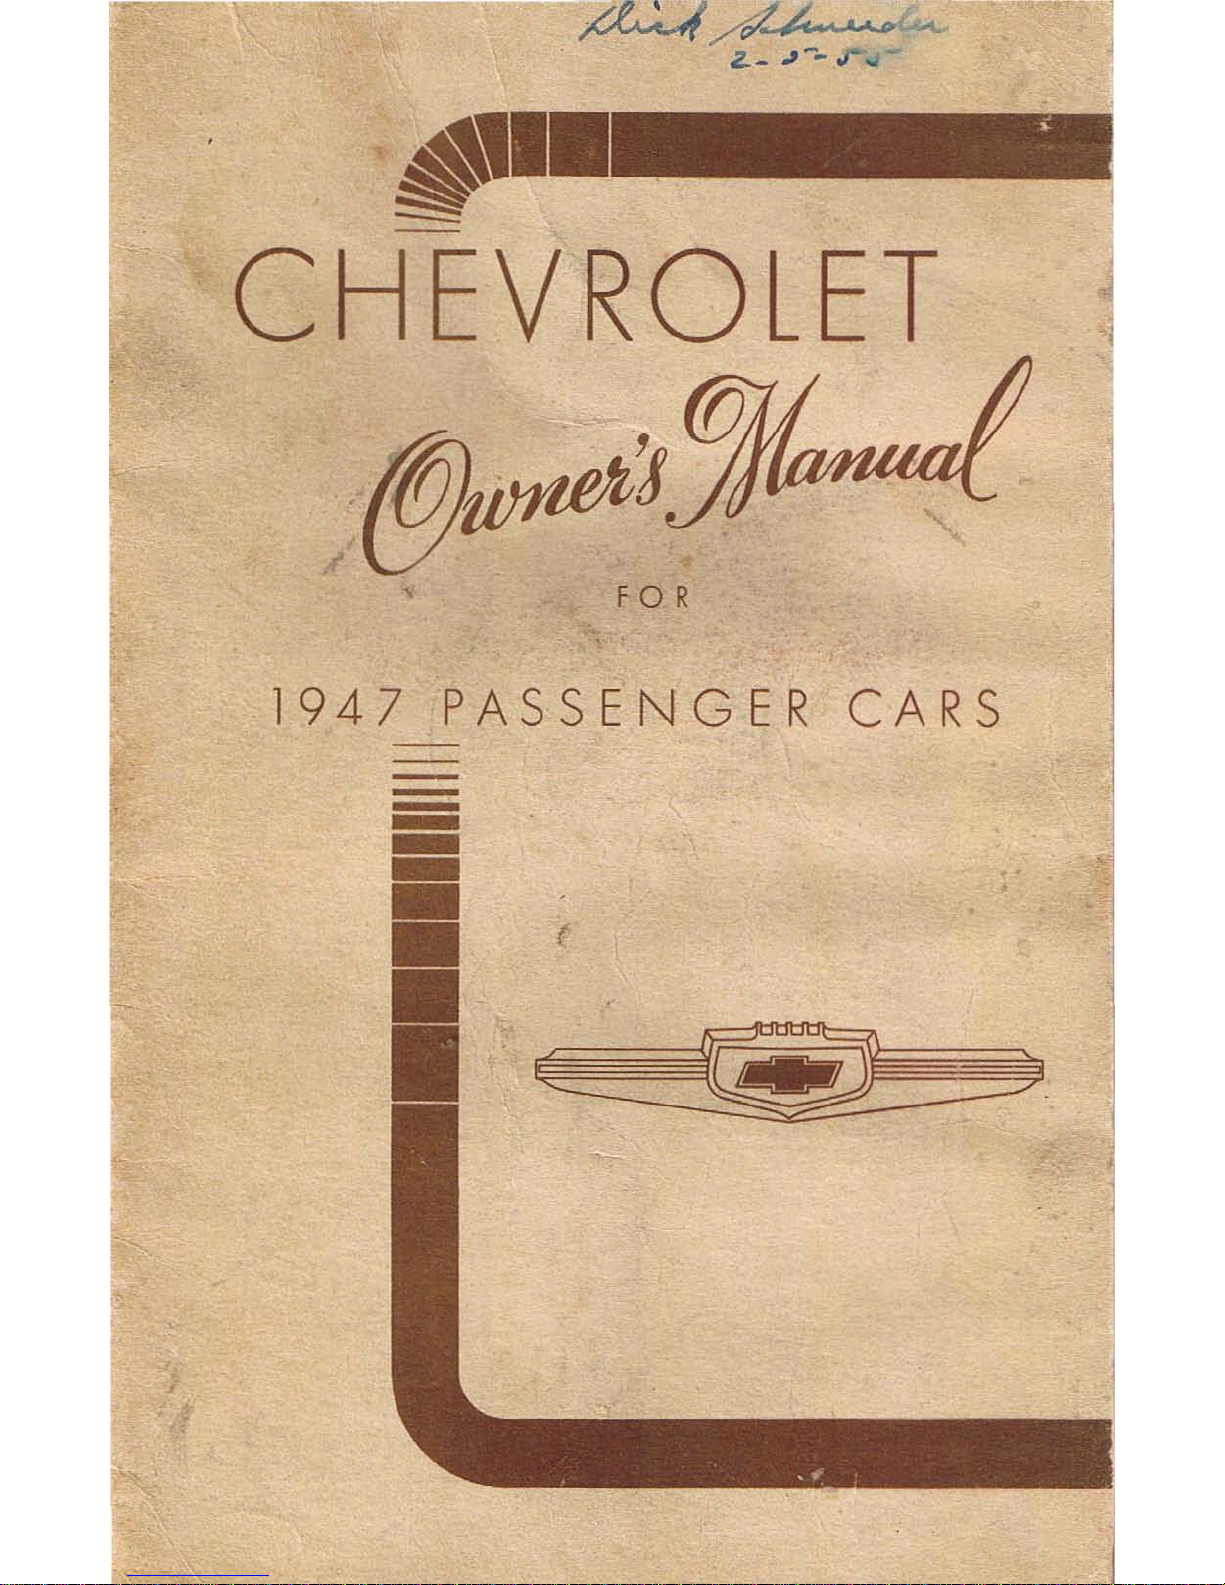
CHEVROLET
~'J
FOR
1947
PASSENGER
CARS
OWNER'S
·
MANUAL
1947
PASSENGER
·
CARS
FIRST EDITION
Anyone
desirous
of
having
additional
mechanical
information
covering
the
design
and
construction
of
the
1947
Chevrolet
passenger
car
should
ad-
dress
the
!{
request
to
the
Service
and
Mechanical
Department
at
the
address
shown
below.
CHEVROLET
MOTOR
DIVISION
GENERAL
MOTORS
CORPORATION
DETROIT
2.
MICHIGAN
'I,fI
IL
·
/"'0
-
THE
DOOR
TO
FRIENDSHIP
Y
OU
have
purchased a new
Chevrolet
car,
and
that
purchase
means a great
deal
to
you,
to
your
Chev-
rolet
dealer,
and
to
Chevrolet.
To
you,
it
means
possession
of
a fine
motor
car.
To
your
Chevrolet
dealer,
it
means
an
opportunity-and
an
obligation-to
help
you
realize
true
satisfaction
with
your
investment.
And
to
Chevrolet,
it
means
a
large
and
willing
interest
in
maintaining
your
con-
tinued
satisfaction,
for
the
entire
Chevrolet
organiza-
tion
desires
not
merely
to
make
sales,
but
also
to
make
friends.
Our
interest
in
you,
as a Chevrolet
owner,
and
in
your
car,
as a Chevrolet
product,
will
continue
during
all
the
months
and
years
that
you
drive
your
Chevrolet.
We
want
to
make
Chevrolet
ownership
the
most
pleasant
motor
car
experience
you
have
ever
enjoyed.
We
ask
you
to
read
these
pages
carefully.
They
are
the
key
to a better
,and
mutual
understanding,
and
will
open
the
door
of
friendship
between
you,
your
Chev-
rolet
dealer,
and
Chevrolet.
GENERAL
INFORMATION
MANUFACTURER'S
WARRANTY
It
is
expressly
agreed
that
there
are
no
warrahties,
expressed
or
implied,
made
by.
either
the
Dealer
or
the
Manufacturer
on
Chevrolet
motor
vehicles,
chassis
or
parts
furnished
hereunder.
except
the
Manufacturer's
warranty
against
defective
materials
or
workmanship
as
follows:
"The
Manufacturer
warrants
each
new
motor
vehicle.
includ-
ing
all
equipment
or
accessories
(except
tires)
supplied
by
the
Manufacturer,
chassis
or
part
manufactured
by
it
to
be
free
from
defects
in
material
and
workmanship
under
normal
use
and
service,
its
obligation
under
this
warranty
being
limited
to
making
good
at
its
factory
any
part
or
parts
thereof
which
shall,
within
ninety
(90)
days
after
delivery
of
such
vehicle
to
the
original
purchaser
or
before
such
vehicle
has
been
driven
4,000 miles,
whichever
event
shall
first occur,
be
returned
to
it
with
transportation
charge~
prepaid
and
which
its
exami-
nation
shall
disclose
to
its
satisfaction
to
have
been
thus
defective;
this
warranty
being
expressly
in
lieu
of
all
other
warranties,
expressed
or
implied,
and
all
other
obligations
or
liabilities
on
its
part,
and
it
neither
assumes
nor
authorizes
any
other
person
to
assume
for
it
any
other
liability
in
con-
nection
with
the,sale
of
its
vehicles.
"This
warranty
shall
not
apply
to
any
vehicle
which
shall
have
been
repaired
or
altered
outside
of
an
authorized
Chev-
rolet
Service
Station
in
any
way
so
as
in
the
judgment
of
the
Manufacturer
to
affect
its
stability
and
reliability,
nor
which
has
been
subject
to
misuse, negligence
or
accident."
* * *
The
Manufacturer
has
reserved
the
right
to
make
changes
in
design
or
add any
improvements
on
motor
vehicles
and
chassis
at
any
time
without
incurring
any
obligation
to
install
same
on
motor
vehicles
and
chassis
previously
purchased.
three

TIRE WARRANTY
The
tires
that
came
with
your
car
are
guaranteed
by
the
tire
manufacturer,
or
his
agent,
according
to
the
standard
Tire
Manu-
facturer's
Warranty.
OWNER SERVICE POLICY
The
Chevrolet
dealer agrees
to
promptly
perform
and
fulfill
all
of
the
terms
and
conditions
of
the
"Owner
Service
Policy"
which
was given
to
you
at
the
time
you
took
delivery
of
your
new
Chevrolet
car.
REPAIR PARTS
Genuine
Chevrolet
parts
manufactured
to
the
same
, rigid
specifications
as
the
parts
used
in
the
original
assembly
of
the
car,
are
carried
in
stock
by
Authorized
Chevrolet
Service
Stations.
Use
only
Genuine
Chevrolet
parts
for
replacement
purposes,
because
they
are
better.
They
are
sold
at
uniform prices
through-
out
the
Ullited
States.
Printed
price
lists
published
by
the
Chev-
rolet
Motor
Division
are
open
to
the
inspection
of
owners
at
any
Authorized
Chevrolet
Dealer's
establishment.
SERVICE CHARGES
Charges
prevailing
at
Authorized
Chevrolet
Service
Stations
are
based
on
Flat
Rate
sched'ules
furnished
by
the
Chevrolet
Motor
Division.
These
Flat
Rates
are
based
on
the
use
of
methods
and
tools
approved
by
the
Chevrolet
Motor
Division,
assuring
the
highest
quality
of
work
at
the
lowest possible
price
consistent
with
this
quality.
Protect
your • .investment
by
having
your
replacement
repair
and
maintenance
work
done
by
an
Authorized
Chevrolet
Service
Station,
which
has
all
the
necessary
tools
and
the
factory-trained
men.
GENUINE CHEVROLET ACCESSORIES
The
materials
used
in
the
manufacture
of
these
accessories
are
of
the
highest
and
finest
quality.
These
accessories will
appeal
to
every
discriminating
Chev-
rolet
buyer.
They
offer
him
the
opportunity
to
show his indi-
viduality
in
the
selection
of
added
touches
of
refinement
and
luxury
for his
car.
They
are
carried
in
stock
by
all
Chevrolet
Dealers.
Jour

BREAKING-IN
PERIOD
Your
Chevrolet
car
has
been
designed
to
furnish
you
many
thousands
of
miles
of
motoring
pleasure.
In
order
to
maintain
its
high
standard
of
performance
and
efficiency,
special
care
should
be
given
for
the
first
two
thousand
miles
as
to
the
speed
at
which
the
car
is
driven
and
also
to
lubri-
cation.
To
properly
break
in
the
moving
parts
of
the
car,
do
not
drive
faster
than:
40
Miles per hour for the first
100
Miles
50
Miles per hour for the
next
200
Miles
60
Miles per hour for the
next
200
Miles
Continuous
high
speed
driving
should
not
be
attempted
until
the
car
has
been
driven
2000
miles
..
See
that
your
car
is
lubricated
at
regular
intervals
in
accord-
ance
with
the
recommendations
under
"General
Lubrication."
WAYS
TO
SAVE
GAS
AND
OIL
How
many
miles
doyou
get
to
the
gallon?
Unless
you
are
the
exception,
you
can
get
still
greater
mileage.
And
without
cost
1
Just
eliminate
a few
of
the
faults
which
most
of
us
have
and
which
tend
to
waste
gasoline
and
oil.
Some
of
the
most
common
ones
are
listed
here.
Stu'dy
them 1 Correct
them
and
you'll
save
on
fuel
bills.
Quick
Get-A
ways
are
thrills
that
cost
money.
Tramping
suddenly
on
the
accelerator,
or
pumping
it,
feeds
your
motor
more
gasoline
than
it
can
use.
Quick
get-aways,
too,
waste
gasoline
by
carrying
you
too
far
in
second
gear.
Get
away
easily
and
smoothly
to
save
gasoline.
Slip
into
high
gear
at
20
to
25
miles
per
hour.
Sudden
Stops
are
sometimes
neces-
sary,
but
always
use
extra
gasoline.
Stopping
gradually,
with
the
engine
braking
saves
gas
money-and
brake
lining,
too.
jifle
High
Speeds
are
more
than
danger-
ous.
At
70
miles
per
hour
your
motor
uses
almost
twice
as
much
gasoline,
to
go
one
mile,
as
it
does
at
20
miles
per
hour.
Econom-
ical
cruising
speeds
are
30
to
45
M.P.H.
Soft
Tires
are
hard
on
your
gasoline
bill.
They
mean
more
road
friction.
This
gives
your
motor
un-
necessary
work
to
do
and
makes
it
use
extra
gas.
Keep
the
extra
money
in
your
pocket
by
keeping
your
tires
inflated
to
the
recommended
pressures.
Parking
in
the
Sun
wastes
gasoline.
Park
your
car
in
the
shade,
if
you
can,
so
that
the
hot
sun
will
not
evaporate
gas
from
your
tank.
An
Idling
Motor
is a useless
expense.
Turn
it
off
while
you
are
waiting
at
the
curb
for a friend,
or
at
a
train
crossing.
An
Inefficient
Carburetor
is
an
efficient
gasoline
waster.
Have
yours
checked
at
least
twice a year
(for
summer
and
winter
driving)
to
be
sure
it
is
properly
adjusted,
that
the
octane
selector
is
properly
set,
and
that
the
sediment
bulb
is
clean.
Cheap
Lubrication
is a
waste
of
money.
Use
oil
of
good
quality
and
of
the
grade
specified
by
the
manufacturer.
Have
your
car
well
greased
every
thousand
miles
.
. '
One
Faulty
or
Dirty
Spark
Plug
may
waste
much
of
your
gasoline.
An
Over-Full
Crankcase
wastes
oil
and
does
not
give
you
better
lubrication,
despite
theories
you
may
have
heard.
Keep
your
oil
level
within
the
limits
marked
on
the
oil level
rod
in
the
crankcase.
To
Obtain
Maximum
Efficiency
and
greatest
gas
mileage,
have a complete
motor
tune-up
per-
formed
every
5,000
miles
or
at
least
twice a year
.
•
ftX

The
table
below
indicates
some
of
the
things
which
should
be
done
at
regular
mileage
intervals
to
assure
your
receiving
the
maximum,
not
only
in
performance,
but
in
economy_
lubri-
Change
Clean Clean
Cross
Check
Complele
Pack
Mileage
cale
Oil
Air
Spark
Change
Shock
Tune
Inspec-
Front
Chassis
t
Cleaner
Plugs
Tires
Ab-
Engine
- lion
by
Wheel
•
sorbers
Dealer
Bearings
---
---
---
---
------
---
---
500
*
---
---
------
------
---
---
1000
*
---
---
------
--
-
---
---
2000
*
* *
------
---
--
-
--
-
------
---
3000
* *
*
---
-
--
-t
---
---
---
--
-
4000
*
*
5000
/
*
j
* * *
~'Qt
---
~ctn
rI-
---
6000
*
---1-
£1t&
7000
~
V
b1'f5
/
hl~
8000
i \ t)
* *
-
--
---
---
---
---
------
---
---
---
9000
*
*
*
---
--
-
--
-
--
-
---------
---
10000
* * * *
* * *
-
--
--
-
-
--
-
--
-, - -
- - -
-
--
---
11000
* - - -
--
-
---
---
---
- - - -
--
--
-
12000
* * *
*
*
---
---
-
--
---
---
---
---
-
--
13000
*
-
---
------
-
--
-
--
-
--
-
--
-
--
---
14000
* *
-f-I-*
--
-
--
-
--
-,
--
-
---
15000
*
* * * *
•
For
complete
instructions.
see
ChClrt
on
pages
54
and
SS_
t
For
complete
recommendations
on
changing
oil
and
the
proper
grade
of
oil
to
use
see
pages
45
to
52_
The
following
operations
should
be
done
as
indicated:
Check
Check
Air
Change
Rear
Period
Battery
In
Tires
Axle
Lub
.
Weekly
*
*
Spring
I
*
Fall
I
I
*
(~.!il_.
)
".i
DI!
,{.~
f
i(»
,
Cd(~i
l~;:h~
~
\f(Q
1
11$
!2f/
<)
Ile
W
~
.;,
;i
'1,,.,,
1/'
1
b4
{O
Chanre
Add
Anli-
Flush
CooI-
Trans. ub.
Freeze
ing
System
* *
* * *
.re"en
SAFETY
BUILT
IN
YOUR
CAR
The
body
is
of
all-steel
construction,
well
insulated
against
heat
and
sound.
The
interior
appointments
have
been
made
to
assure
comfort
and
safety.
The
adjustable
front
seat,
safety
glass,
and
controlled
ventilation
are
examples
of
this
safety
and
comfort
in
design.
The
headlights
are
controlled
by
the
left
foot
when
changing
from
the
upper
to
the
lower
beam,
which
leaves
the
right
foot
and
both
hands
free
to
control
the
car.
Always
use
the
low
beam
when
approaching
and
passing
another
car.
The
hydraulic
brakes
are
the
safest
and
most
dependable
system
of
brakes
ever
used,
exerting
correctly
proportioned
brake
pressure
on
all
four
wheels.
The
hand
brake
lever,
under
the
instrument
panel
to
the
left
of
the
steering
wheel,
is
easily
reached.
HIGHWAY SAFETY
One
of
the
most
important
aspects
of
motoring
these
days
is
motoring
safety.
Safety
campaigns
are
constantly
being
held
in
the
major
cities.
Many
states
now
have
compulsory
inspection
laws. Various commissions
have
been
appointed
to
study
the
problem
and
make
further
recommendations
to
legislative bodies.
The
primary
responsibility
for traffic
safety
lies
with
the
motor
car
driver.
,-
The
most
competent
driver
always
keeps
in
mind
the
other
fellow.
Always
signal
the
other
driver
to
let
him
know
when
you
are
going
to
stop,
make a turn,
or
pull
away
from
the
curb.
Proper
signaling will
do
away
with
one
of
the
most
dangerous
traffic
hazards-
the
sudden,
unexpected
move.
The
State
Highway
Departments,
Automobile
Clubs, and
car
manufacturers
work
together
in
designating
highways
through
various
types
of
road
markers
to
make
driving
safer
.
You,
the
driver,
should
always
obey
these
markers.
Extra
care
should
be
used
at
night-particularly
when
driving
over
strange
roads. Be
constantly
alert
and
drive
courteously.
eight

Downhill
-
When
driving
down
a
steep
grade,
it
is
advisable
to
shift
into
second
gear
and
some-
times
into
first gear.
This
will allow
the
motor
to
act
as a brake
on
the
car
and
will
not
only
assist
materially
in
keeping
the
car
under
control,
but
also
reduce
the
wear
on
brake
shoe
facings
and
brake
drums
.
Uphill
-
When
driving
up a steep
grade,
it
is
advisable
to
shift
i~to
second
gear.
This
will
avoid
placing
undue
strain
on
the
motor
and
clutch
and
is also
more
economical
on
the
gasoline.
Overtaking
and. passing a car
on
a hill
or
curve
is
dangerous
as
you
cannot
see
another
car
approaching.
Starting
on
a
Hill-When
it
is neces-
sary
to
start
your
car
on
a hill,
you
will find
it
much
easier if,
before
starting,
you
set
the
hand
brake
lever
to
keep
the
car
from
rolling
backward.
Put
the
shifting
lever
in
first speed,
gradually
release
the
clutch,
press
down
the
accelerator,
and
when
the
car
starts
to
move
forward,
or
the
engine
starts
to
labor,
slowly release
the
hand
brake
lever.
Curves-
When
approaching a curve,
do
not
cross
over
the
center
of
the
road
to
pass a car
ahead
of
you.
Before
entering a curve,
slow
down
to
a safe
speed
and
make
the
turn
into
the
curve
at
the
extreme
right
side.
Slippery
Roads-When
starting
on
ice
or
slippery
paveIRent,
it
is
safer
to
have
the
shifting
lever
in
either
second
or
high
gear
to
reduce
the
tendency
of
the
rear
wheels
to
spin.
In
starting
in
deep
SnOW,
always
use first
speed
and
accelerate
the
engine
slowly.
Tire
Blow-Out-Do
not
jam
the
on
brakes.
Hold
the
car
as
steady
as
possible
until
it
slows
down
to
a
moderate
speed
and
then
gradually
apply
the
brakes.
Skidding-If
your
car
starts
to
skid,
do
not
jam
on
the
brakes.
Turn
the
front
wheels in
the
direction
of
the
skid
and
at
the
same
time
take
your
foot off
the
accelera-
tor
gradually.
ntne

Sand
and
Gravel-When
approach-
ing a sandy
or
gravel road,
always
use
extra
caution
until
you
know
the
condition
of
the
road.
Driving
into
loose
sand
or
gravel
at a fast
speed
is
dangerous,
as a sudden
shifting
of
the
gravel
may
cause
you
to
lose
control
of
the
steering.
We
suggest
that
whenever
and
wherever
you
drive,
you
do
so
with
the
car
completely
under
control,
at
all
times,
and
prac-
tice
the
three "C's"
of
safety-
CARE
COURTESY
COMMON
SENSE
.,
fe
ll

CONTROLS
AND
INSTRUMENTS
Fig.
I-Controls
and
Instruments-Fleetmaster
and
Fleetline
The
driver
of a car
should
familiarize
himself
with
the
various
controls
provided
for
its
proper
handling.
This
does
not
apply
to
the
beginner
alone,
as
although
there
are
many
points
of
simi-
larity
among
all
cars,
there
are
also
important
differences.
It
is
not
wise, regardles'S
of
previous
experience,
to
drive a new
or
different
make
of
car
before
fully
understanding
what
each
con-
trol
is for
and
how
to
use
it.
Fig.2-Keys
KEYS
AND
LOCKS
The
locks
for
both
right
and
left-
hand
front
doors
and
the
ignition
lock
have
the
same
key.
The
rear
compart-
ment
and
glove
compartment
locks
have
the
same
key.
The
lock
number
is
stamped
on
the
knock-out
plug
in
the
center
of
the
key.
To
protect
you
in
case
your
ele"e11

keys are lost,
you
should record
the
lock
number
and
then
push
out
the
plug
and
destroy it.
If
a new key is needed,
and
you
do
not
know
the
lock
number
-you
may
obtain
it
by
ordering
through
the
Theft
Bureau
of
the
Chevrolet
Motor
Division, General
Motors
Corporation,
Detroit
2,
Michigan, advising
them
of
the
car
serial
and
engine numbers.
To
lock
the
doors from
the
inside,
push
down
the
locking
knob
located on
the
bottom
of
the
window opening
of
each door.
To
lock
the
car
from
the
outside,
either
of
two ways
may
be
used:
1.
With
the
door
open,
push
down
the
inside locking
knob
and
hold
the
outside
handle
down (vertical) while
closing
the
door.
2.
With
the
door closed, insert
key in
the
lock
of
the
front door
and
give
the
key a
quarter
turn.
To
unlock
the
car, insert door key
and
give key a
quarter
turn.
Fig.
3-0utside
Lock
(Left
Door)
Ignition
Lock-
The
· ignition lock is
illuminated
and
theft
resisting.
The
key supplied for
the
door lock
is also used for unlocking
and
locking
the
ignition switch.
"
Fig.
4-Ignition
Lock
Glove
Compartment
Lock
-
The
glove
compartment
door, is equipped
with a lock having a different key
number
than
the
ignition
and
door
locks.
To
open
the
door, when
the
lock
is
in
the
unlocked position, press in-
ward
on
the
face
of
the
lock cylinder
to release
the
lock
catch
from
the
striker
plate.
All
Fleetmaster
and
Fleetline
Models
have
. a
light
in
the
glove
compartment
which
is
lighted
auto-
matically
when
the
compartment
door is opened.
Fig.
S-Glove
Compart-
mentLock
Fig.
6-Throttle
Knob
THROTTLE
CONTROL
The
opening
and
closing
of
the
throttle
valve
in
the
carburetor
is
controlled
from
the
driving
compart-
ment
by
the
accelerator
pedal,
but
it
is
sometimes
advisable
to
use
the
throttle
knob
on
the
instrument
panel.
Pulling
out
the
throttle
knob
will
open
the
throttle.
CHOKE CONTROL
When
starting
a cold engine,
it
is
necessary
to
provide
a fuel·
mixture
richer
in
gasoline
than
is
ordinarily
required.
The
correct
use
of
the
choke
is
extremely
important;
if
improperly
handled
it
may
seriously affect
the
life
of
the
engine
by
the
thinning
effect
on
the
lubricating
oil
of
unburned
gasoline leaking
by
the
pistons.
The
choke
should
not
be
used
if
the
engine
retains
any
heat
from
pre-
vious
running,
without
first
attempt-
ing
to
start
the
engine
with
its
normal
fuel
mixture.
If
the
choke
has
been
used exces-
Fig.
7-Choke
Knob
sively,
causing
failure
to
start,
open
the
throttle
to
admit
sufficient
air
to
overcome
the
overloaded
condition
of
the
engine.
SPARK CONTROL
The
spark
timirlg
of
the
Chevrolet
engine
is controlled
by
two
engineering
features:
1
.,
.
.'
11
Th
0 t .
Sit
. "r"anuq
y'-
. e
cane
e
eC
or
-For
maximum
economy
and
per-
formance
the
octane
selector
must
be
advanced
as
far
as
possible
without
causing
the
engine
to
knock
at
wide
open
throttle.
When
the
lower
octane
(lower
grade)
fuels
are
used,
the
selec-
tor
should
be
retarded.
Higher
octane
fuels
permit
more
advance,
resulting
in
a still
greater
economy
and
better
Fig.
8-0ctane
Selector
performance.
thirteen
..
2.
Automatic-By
the
speed
of
the
engine,
through
the
gov-
ernor
weights
in
the
distributor
and
by
vacuum
control.
STARTING PEDAL
Pressing
down
on
the
starting
pedal
first engages
the
starter
pinion
with
the
teeth
of
the
flywheel
and,
at
the
end
of
the
stroke,
closes
the
switch
of
the
electric
start-
ing
motor,
which
cranks
the
engine.
As
the
starting
pedal
is depressed,
the
carburetor
throttle
valve
is
auto-
matically
opened
approximately
one-
third,
so
that
when
the
engine
starts,
it
will be
operating
at
an
engine
speed
of
approximately
30 miles
per
hour,
Fig.
9-Starting
Pedal
but
will
slow
down
to
idle
speed
when
the
pedal
is released
unl
ess
the
accelerator
is depressed.
CAUTION: Release starting
pedal
as soon as the engine storts.
CLUTCH PEDAL
By
means
of
this
control
the
power
required
in
putting
the
car
in
motion
may
be
gradually
and
smoothly
applied
to
the
drive
system
.
When
the
clutch
pedal
is in
its
normal
position,
the
clutch
is
engaged
and
the
engine is
directly
connected
to
the
transmission.
,
By
depressing
the
pedal,
the
clutch
is released
and
the
engine
disconnected from
the
transmission,
permitting
the
shifting
of
the transmission gears.
To
assure
m<}~imum
clutch
efficiency
and
long life
of
the
clutch
parts,
there
should
be
%
to
1
inch
of
free
pedal
travel
before
the
clutch
starts
to
disengage.
BRAKE PEDAL
Depressing
this
pedal
applies
Fig.
lO-Clutch
and
Brake
Pedals
the
four-wheel service brakes.
VACUUM POWER SHIFT
The
Vacuum
power
shift
utilizes
both
manual
control
and
vacuum
power
to
accomplish
the
change
in
gears.
}ourleen

Movement
of
the
gear
shift
lever,
mounted
on
the
steering
column
below
the
steering
. wheel, requires
only a very
small per-
centage
of
the
force
necessary
to
shift
gears
with
th~
conven-
tional
gear
shift
lever.
This
makes
it
possible for
the
driver
to
shift
the
transmission
gears
safely
and
conveniently
without
remov-
ing
the
hand
from
the
steering
wheel.
Fig.
ll-Gear
Shifting
The
gear
shift
lever
may
be placed
in
anyone
of
five
positions-neutral,
reverse, first, second
and
third.
The
travel
of
the
lever is
the
same
as
that
of
the
conventional
floorboard lever,
except
that
it
moves
in
a
vertical
plane
instead
of a horizontal
plane.
The
operation
of
the
lever
in
engaging
the
gears
consecutively
is
as
follows:
1.
See
that
gear
shift
lever
is
in
neutral
position
(lever
may
be
moved
up
and
down).
2.
First
speed-With
clutch
p~dal
depressed, raise lever
toward
steering
wheel
and
pull
toward
the
rear
of
the
car
until
it
is fully
engaged
in
first speed
location;
then
gradually
release
clutch
pedal.
3.
Second
speed-With
clutch
pedal
depressed,
push
lever
toward
the
front
of
car.
Lever
will cross
through
neutral
position
moving
away
from
steering
wheel
and
engage
second speed posi-
tion.
Release
clutch
pedal.
4.
Third
speed-With
clutch
pedal
depressed,
pull
lever
toward
the
rear
of-the
car
until
lever
has
reached
the
end
of
its
travel
into
third
speed position.
S.
Reverse-With
car
at a stand-
still,
depress
clutch
pedal
raise lever,
and
push
forward.
HAND BRAKE LEVER
The
hand
brake
lever is
intercon-
nected
with
the
rear
service
brakes
and
is used for -
holding
the
car
when
parked
or
when
about
to
get
under
way
up a steep
grade.
Fig.
12-Hand
Brake
Lever
fifteen
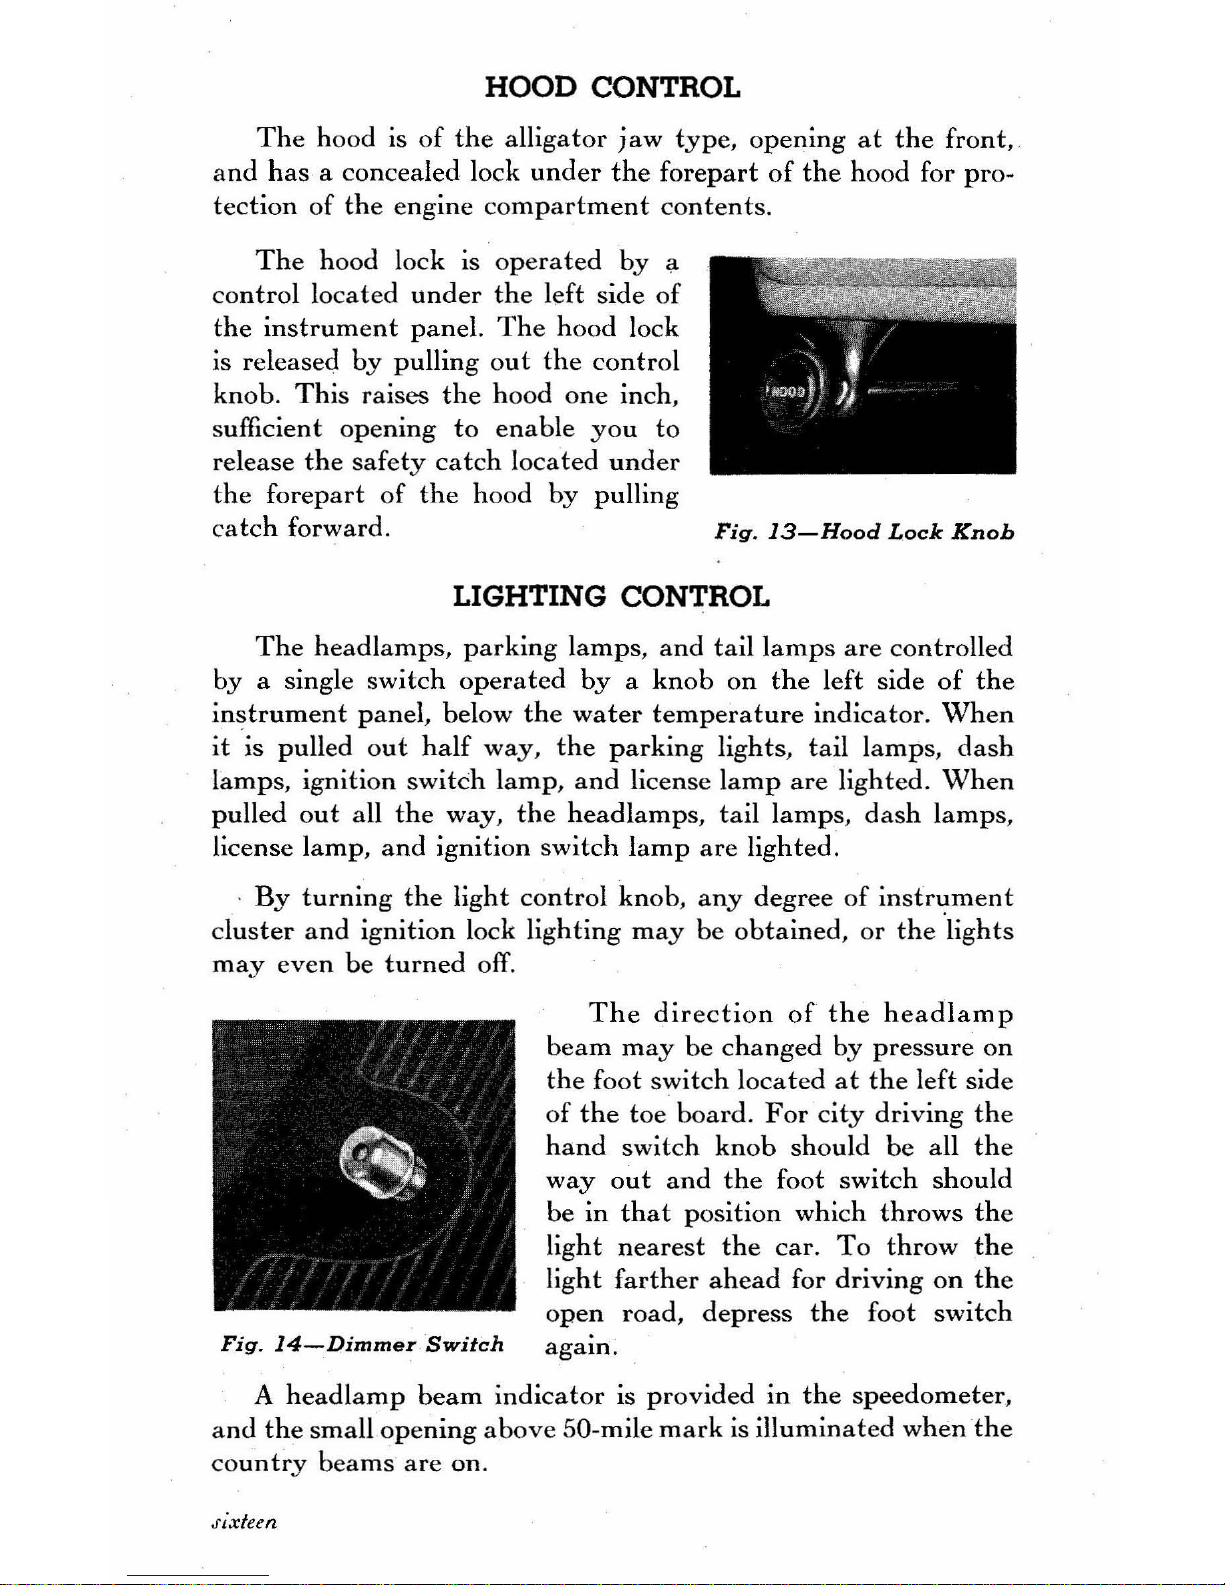
HOOD CONTROL
The
hood is
of
the
alligator
jaw
type,
opening
at
the
front,
and
has
a concealed lock
under
the
forepart
of
the
hood for pro-
tection
of
the
engine
compartment
contents.
The
hood lock is
operated
by
a
control
located
under
the
left side
of
the
instrument
panel.
The
hood lock
is released
by
pulling
out
the
control
knob.
This
raises
the
hood one inch,
sufficient opening
to
enable
you
to
release
the
safety
catch
located
under
the
forepart
of
the
hood
by
pulling
catch
forward.
Fig.
13-Hood
Lock
Knob
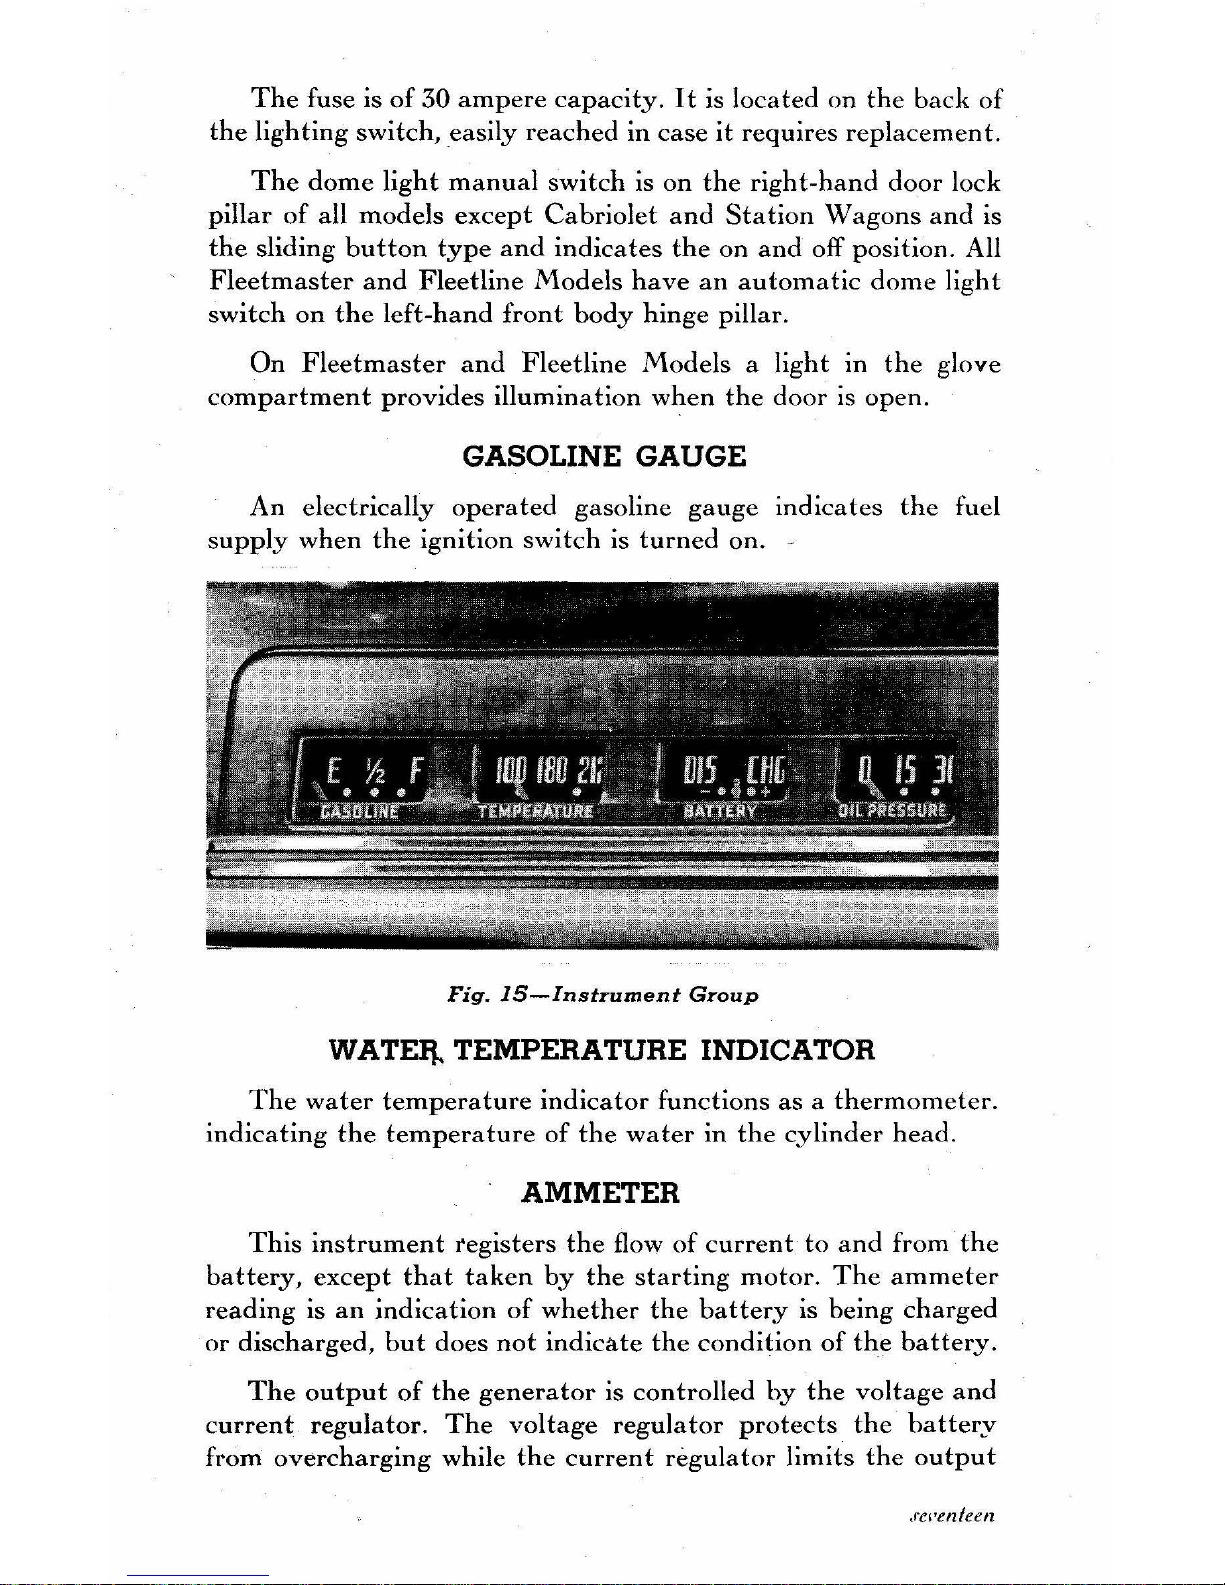
LIGHTING CONTROL
The
headlamps,
parking
lamps,
and
tail
lamps
are
controlled
by a single switch
operated
by a knob
on
the
left side
of
the
instrument
panel, below
the
water
temperature
indicator.
When
it
is pulled
out
half
way,
the
parking
lights, tail lamps,
dash
lamps, ignition switch lamp,
and
license
lamp
are
lighted.
When
pulled
out
all
the
way,
the
head
lamps,
tail
lamps,
dash
lamps,
license lamp,
and
ignition switch
lamp
are
lighted.
By
turning
the
light
control
knob,
any
degree
of
instrument
cluster
and
ignition lock lighting
may
be obtained, or
the
'lights
may
even be
turned
off.
The
direction
of
the
headlamp
beam
may
be
changed by pressure
on
the
foot switch located
at
the
left side
of
the
toe
board. For
city
driving
the
hand
switch
knob
should be all
the
way
out
and
the
foot switch should
be
in
that
position which
throws
the
light
nearest
the
car.
To
throw
the
light
farther
ahead
for driving
on
the
open road, depress
the
foot switch
Fig.
14-Dimmer
Switch
again.
A
headlamp
beam
indicator
is provided
in
the
speedometer,
and
the
small opening above 50-mile
mark
is
illuminated when
the
country
beams
are
on.
,fixieen
The
fuse
is
of
30
ampere
capacity.
It
is
located
on
the
back
of
the
lighting
switch,
easily
reached
in
case
it
requires
replacement.
The
dome
light
manual
switch
is
on
the
right-hand
door
lock
pillar
of
all
models
except
Cabriolet
and
Station
Wagons
and
is
the
sliding
button
type
and
indicates
the
on
and
off
position.
All
Fleetmaster
and
Fleetline
Models
have
an
automatic
dome
light
switch
on
the
left-hand
front
body
hinge
pillar.
On
Fleetmaster
and
Fleetline
Models
a
light
in
the
glove
compartment
provides
illumination
when
the
door
is
open.
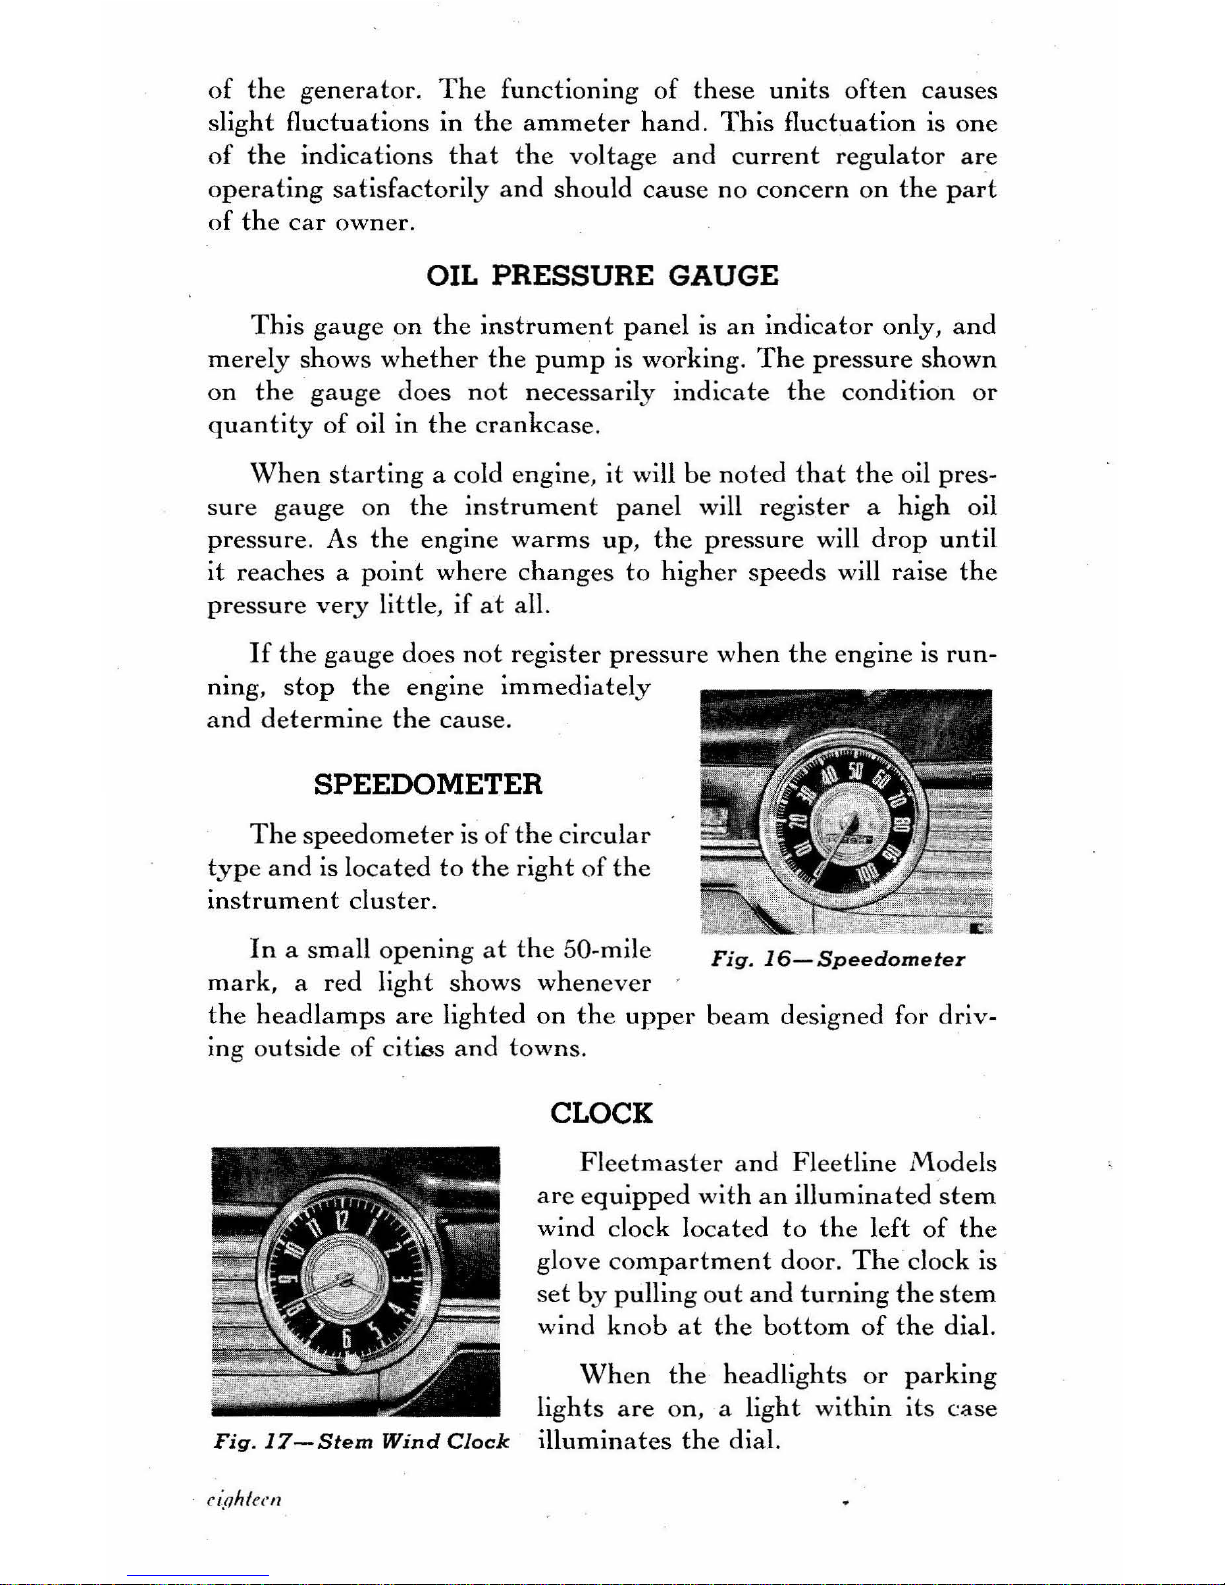
GASOLINE GAUGE
An
electrically
operated
gasoline
gauge
indicates
the
fuel
supply
when
the
ignition
switch
is
turned
on. -
Fig.
IS-Instrument
Group
WATEij. TEMPERATURE INDICATOR
The
water
temperature
indicator
functions
as a thermometer.
indicating
the
temperature
of
the
water
in
the
cylinder
head.
AMMETER
This
instrument
tegisters
the
flow
of
current
to
and
from
the
battery,
except
that
taken
by
the
starting
motor.
The
ammeter
reading
is
an
indication
of
whether
the
battery
is
being
charged
or
discharged,
but
does
not
indicate
the
condition
of
the
battery.
The
output
of
the
generator
is
controlled
by
the
voltage
and
current
regulator.
The
voltage
regulator
protects
the
battery
from
overcharging
while
the
current
regulator
limits
the
output
,rCI'enteell
of
the
generator.
The
functioning
of
these
units
often
causes
slight
fluctuations
in
the
ammeter
hand.
This
fluctuation
is
one
of
the
indications
that
the
voltage
and
current
regulator
are
operating
satisfactorily
and
should
cause
no
concern
on
the
part
of
the
car
owner.
OIL
PRESSURE
GAUGE
This
gauge
on
the
instrument
panel
is
an
indicator
only,
and
merely
shows
whether
the
pump
is
working.
The
pressure
shown
on
the
gauge
does
not
necessarily
indicate
the
condition
or
quantity
of
oil
in
the
crankcase.
When
starting a cold
engine,
it
will
be
noted
that
the
oil
pres-
sure
gauge
on
the
instrument
panel
will
register
a
high
oil
pressure.
As
the
engine
warms
up,
the
pressure
will
drop
until
it
reaches a point
where
changes
to
higher
speeds
will
raise
the
pressure
very
little,
if
at
all.
If
the
gauge
does
not
register
pressure
when
the
engine
is
run-
ning,
stop
the
engine
immediately
and
determine
the
cause.
SPEEDOMETER
The
speedometer
is
of
the
circular
type
and
is
located
to
the
right
of
the
instrument
cluster.
In a small
opening
at
the
50-mile
mark,
a
red
light
shows
whenever
Fig.
16-Speedometer
the
head
lamps
are
lighted
on
the
upper
beam
designed
for
driv-
ing
outside
of
cities
and
towns.
CLOCK
Fleetmaster
and
Fleetline
Models
are
equipped
with
an
illuminated 'stem
wind
clock
located
to
the
left
of
the
glove
compartment
door.
The
clock
is
set
by
pulling
out
and
turning
the
stem
wind
knob
at
the
bottom
of
the
dial.
When
the
headlights
or
parking
lights
are
on, a light
within
its
case
Fig.
17-Stem
Wind
Clock
illuminates
the
dial.
 Loading...