

1
1 Vorteile
• SmartTerminal nach PC/SC-Spezifikation zum
Verarbeiten von Chipkarten nach ISO 7816
(TC 1100, TC 1300) und kontaktlosen Chipkarten
nach ISO 14443/15693 (TC 1200, TC 1300)
• EMVCo-Zulassung, EMV 2000 Level 1 contact
approved interface (TC 1100, TC 1300)
Mit der entsprechenden Applikationssoftware können
Sie das SmartTerminal für folgende Aufgaben
einsetzen:
• Bezahlen im Internet (Internet Payment)
• Digitale Signatur
• Public Key Infrastructure (digitale Signatur auf
Firmenebene oder firmenübergreifend)
• E-Commerce
• Home Banking
• Regelung der Zugriffsberechtigung (Access
Control)
• Datenverschlüsselung
2 Anschließen an den PC und
Installieren der Software
1 Laden Sie den aktuellen Treiber von unserer
Webseite www.cherry-world.com unter
Service & Support/Downloads.
2 Folgen Sie den Installationsanweisungen.
3 Verbinden Sie den USB-Stecker des
SmartTerminals mit dem USB-Anschluss des PCs.
3 Gebrauch des Chipkarten-
Lesers
3.1 Lesen von kontaktbehafteten
Chipkarten (TC 1100, TC 1300)
• Stecken Sie die Chipkarte mit dem Chip nach oben
und zum Lesekopf zeigend in den ChipkartenSchacht.
Nachdem ein deutlicher Druckpunkt überwunden
ist, erfolgt die Kontaktierung.
3.2 Lesen von kontaktlosen
Chipkarten/Transpondern
(TC 1200, TC 1300)
• Legen Sie die Chipkarte oder den Transponder
möglichst parallel auf den Chipkarten-Leser.
Bereits ab einer Entfernung von unter 5 cm werden
die Daten übertragen.
3.3 Montage des Chipkarten-Halters
(TC 1200, TC 1300)
• Drücken Sie den Chipkarten-Halter von oben auf
die Kabelverstärkung am Gehäuse, bis er spürbar
einrastet.
Die Halterung ist nicht dafür ausgelegt, wiederholt
auf- und abgesteckt zu werden.
DE
Bedienungsanleitung
4 LED-Status
4.1 TC 1100
4.2 TC 1200
4.3 TC 1300
5 Technische Daten
6 Entsorgung
Entsorgen Sie das Altgerät über eine Sammelstelle für elektronischen Abfall oder Ihren
Händler.
7Kontakt
Bitte halten Sie bei Anfragen an den Technischen
Support folgende Informationen bereit:
• Artikel- und Serien-Nr. des Produkts
• Bezeichnung und Hersteller Ihres Systems
• Betriebssystem und ggf. installierte Version eines
Service Packs
ZF Friedrichshafen AG
Electronic Systems
Cherrystraße
91275 Auerbach
Internet: www.cherry-world.com
E-Mail: info@cherry.de
LED Status
Blau leuchtend Terminal bereit
1 x blau blinkend,
danach blau leuchtend
Karte gesteckt
Blau blinkend Datenübertragung
Aus Terminal im Energiespar-
modus (falls aktiviert)
LED Status
Weiß leuchtend Terminal bereit
1 x blau blinkend,
danach weiß leuchtend
Karte/Transponder liegt
auf
Blau blinkend Datenübertragung
LED Status
Grün leuchtend Terminal bereit
1 x rot blinkend, danach
grün leuchtend
Karte gesteckt oder Karte/
Transponder liegt auf
Rot blinkend Datenübertragung
Bezeichnung Wert
Spannungsversorgung +5 V/DC ±5 % SELV
Stromaufnahme TC 1100: max. 30 mA
TC 1200: max. 230 mA
TC 1300: max. 160 mA
Lagertemperatur –20 °C ... +65 °C
Betriebstemperatur 0 °C ... +50 °C
Abmessungen TC 1100: 100 x 65 x 12 mm
TC 1200: 76 x 62 x 11 mm
TC 1300: 115 x 75 x 16,5 mm
Kartenleseeinheit 100 000 Steckzyklen
Protokolle TC 1100: T=0, T=1, S=8, S=9,
S=10
TC 1200: T=CL
TC 1300: T=CL,T=0, T=1
Telefon – Vertrieb:
+49 (0) 7541 77499-01*
Telefon – Technischer Support:
+49 (0) 7541 77499-02*
*zum Ortstarif aus dem deutschen Festnetz,
abweichende Preise für Anrufe aus Mobilfunknetzen
möglich
8 Allgemeiner Anwenderhinweis
Technische Änderungen, die dem Fortschritt dienen,
behalten wir uns vor. Unsachgemäße Behandlung und
Lagerung können zu Störungen und Schäden am
Produkt führen.
Die Gewährleistung erlischt komplett, sofern
unautorisierte Änderungen am Produkt durchgeführt
worden sind. Führen Sie eigenmächtig keine
Reparaturen durch und öffnen Sie das Produkt nicht.
Die vorliegende Anleitung ist nur gültig für das
mitgelieferte Produkt.
9 Gewährleistung
Es gilt die gesetzliche Gewährleistung. Bitte wenden
Sie sich an Ihren Händler oder Vertragspartner.
Nähere Informationen zur Gewährleistung finden Sie
unter www.cherry-world.com.
10 Warnhinweis
1 Advantages
• SmartTerminal for processing chip cards
conforming to ISO 7816 (TC 1100, TC 1300) and
non-contact chip cards confirming to ISO 14443/
15693 (TC 1200, TC 1300)
• EMVCo approval, EMV 2000 Level 1 contact
approved interface (TC 1100, TC 1300)
Together with the corresponding application software
you can use the SmartTerminal for the following
tasks:
• Internet payment
• Digital signature
• Public Key Infrastructure (digital signature at
company or inter-company level)
• E-Commerce
• Home banking
• Access control
• Data encryption
2 Connection to the PC and
installation of the software
1 Obtain the current driver from our website
www.cherry-world.com under
Service & Support/Downloads.
2 Follow the installation instructions on the screen.
3 Connect the USB plug of the SmartTerminal with
the USB port of your PC.
VORSICHT: Erstickungsgefahr durch
Verschlucken von Kleinteilen
• Bewahren Sie das Gerät außerhalb der
Reichweite von Kindern unter 6 Jahren auf.
GB
Operating Manual
6440615-00, DE, GB, FR, ES, IT, Feb 2014 (JT-0100 = Mod. JT-01, JT-0200 = Mod. JT-02, JT-0300 = Mod. JT-03)
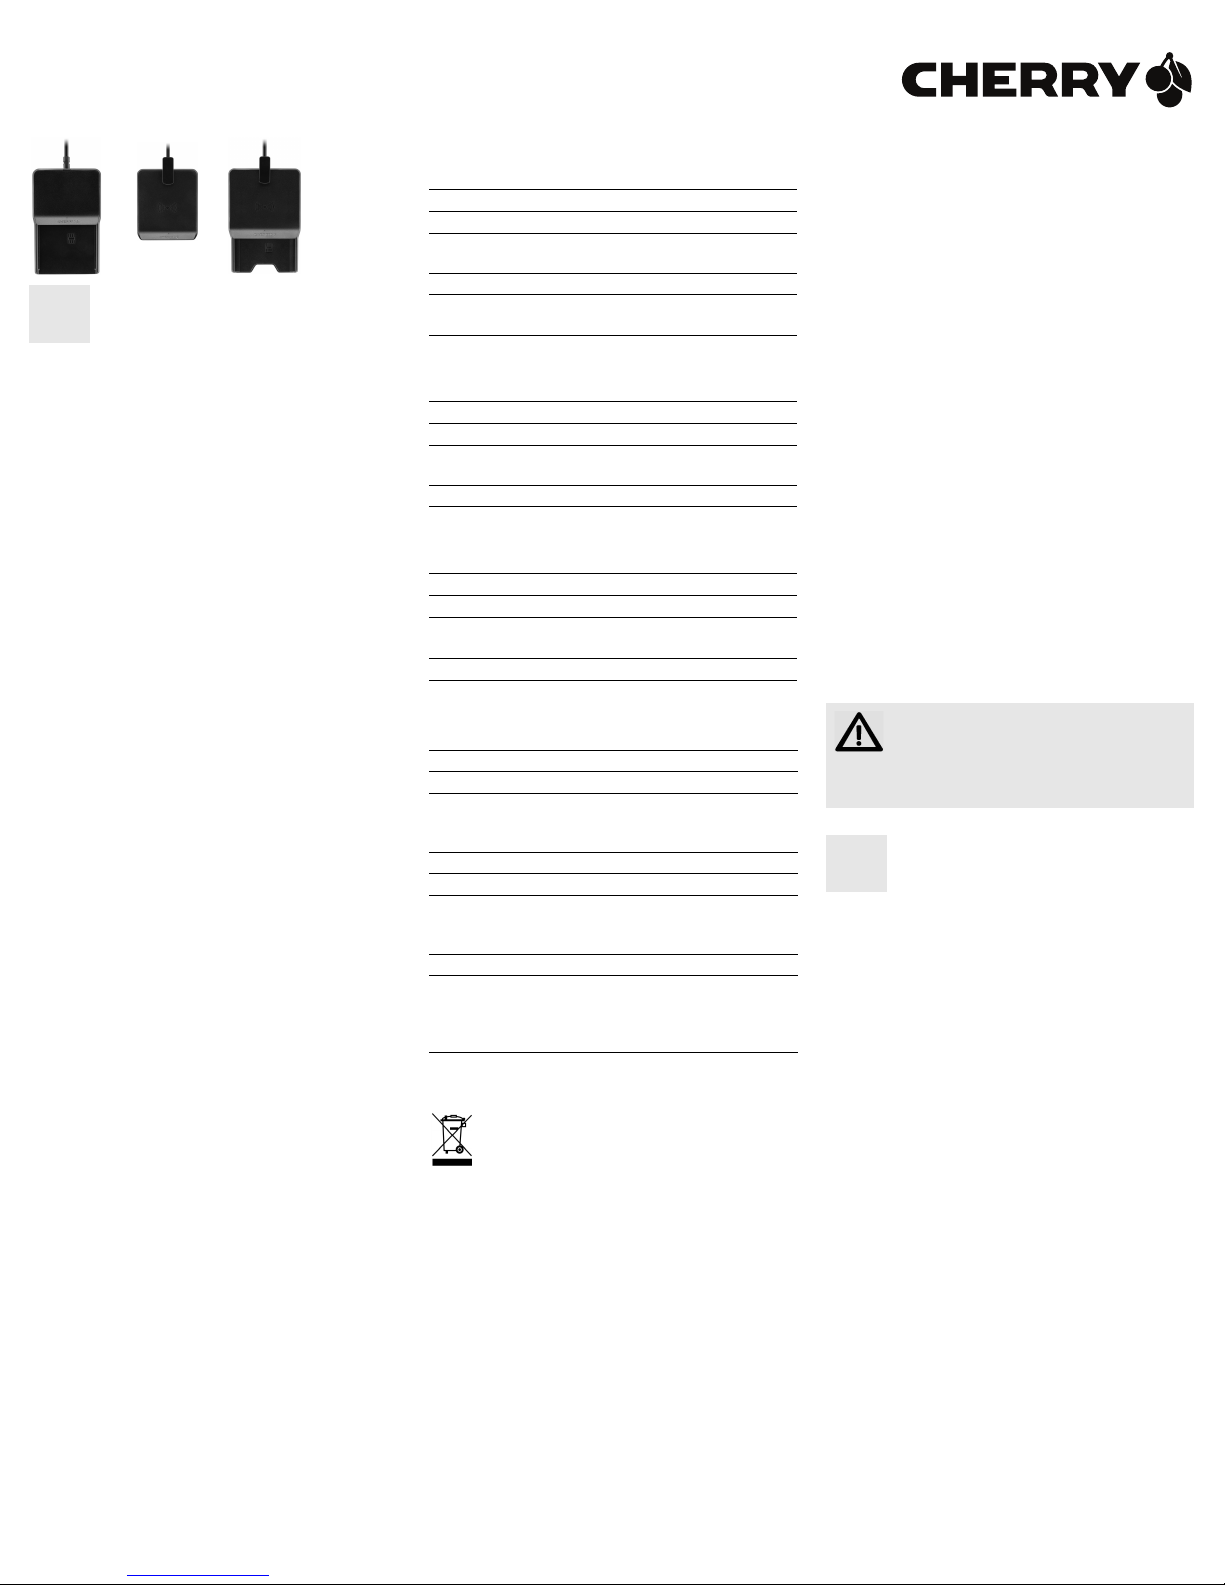
CHERRY TC 1100/1200/1300 – Corded Terminals
BEDIENUNGSANLEITUNG / OPERATING MANUAL / MODE D’EMPLOI / MANUAL DE INSTRUCCIONES / ISTRUZIONE D’USO

2
3 Using the chip card reader
3.1 Reading of chip cards with contact
(TC 1100, TC 1300)
• Insert the chip card into the chip card slot with the
chip facing upwards and towards the read head in
the chip card shaft.
After a discernable pressure point has been passed,
contact takes place.
3.2 Reading of non-contact chip cards/
transponders (TC 1200, TC 1300)
• Position the chip card or transponder as parallel to
the chip card reader as possible. (You can also
insert the card into the chip card reader.)
Data is transmitted beginning at a distance of less
than 5 cm.
3.3 Fitting chip card holder (TC 1200,
TC 1300)
• Press the chip card holder from above onto the
cable reinforcement on the casing, until you feel it
click into place.
The holder is not designed to be repeatedly attached
and detached.
4 LED-Status
4.1 TC 1100
4.2 TC 1200
4.3 TC 1300
5 Technical data
LED Status
Steady blue Terminal ready
Blue light flashes once,
then steady blue
Card inserted
Flashing blue Data transmission
Off Terminal in energy-saving
mode (if activated)
LED Status
Steady white Terminal ready
Blue light flashes once,
then steady white
Card/transponder is seated
Flashing blue Data transmission
LED Status
Steady green Terminal ready
Red light flashes once,
then steady green
The card is inserted or the
card/transponder is seated
Flashing red Data transmission
Designation Value
Supply voltage +5 V/DC ±5 % SELV
Current consumption TC 1100: max. 30 mA
TC 1200: max. 230 mA
TC 1300: max. 160 mA
Storage temperature –20 °C ... +65 °C
Operating temperature 0 °C ... +50 °C
Dimensions TC 1100: 100 x 65 x 12 mm
TC 1200: 76 x 62 x 11 mm
TC 1300: 115 x 75 x 16.5 mm
Card reading unit 100 000 insertions
Protocols TC 1100: T=0, T=1, S=8, S=9,
S=10
TC 1200: T=CL
TC 1300: T=CL,T=0, T=1
6 Disposing
Dispose of the old unit via a collecting point
for electronic scrap or via your dealer.
7Contact
Please provide the following information about the
device when you make an inquiry:
• Item and serial no. of the product
• Name and manufacturer of your system
• Operating system and, if applicable, installed
service pack version
ZF Friedrichshafen AG, Electronic Systems
Cherrystraße
91275 Auerbach, Germany
Internet: www.cherry-world.com
E-mail: info@cherry.de
8 General advice
We reserve the right to make technical modifications
which serve the development of our products.
Improper use and storage can lead to faults and
damage to the product.
The warranty expires completely once unauthorized
modifications to the product have been carried out. Do
not carry out any unauthorized repairs and do not
open up the product. These instructions are only valid
for the supplied product.
9 Warranty
The statutory warranty applies. You can find more
information on the warranty under
www.cherry-world.com.
10 Warning note
11 Certifications
11.1 For UL
For use with Listed Personal Computers only!
11.2 Federal Communications
Commission (FCC) Radio
Frequency Interference
Statement
Information to the user: This equipment has been
tested and found to comply with the limits for Class B
digital device, pursuant to Part 15 of the FCC Rules.
These limits are designed to provide reasonable
protection against harmful interference in a
residential installation. This equipment generates,
uses and can radiate radio frequency energy and, if
not installed and used in accordance with the
instructions, may cause harmful interference to radio
communications. However, there is no guarantee that
interference will not occur in a particular installation.
If this equipment does cause harmful interference to
radio or television reception, which can be determined
by turning the equipment off and on, the user is
encouraged to try to correct the interference by one
or more of the following measures:
• Reorientate or relocate the receiving antenna.
• Increase the separation between the equipment
and receiver.
• Connect the equipment into an outlet on a circuit
different from that to which the receiver is
connected.
• Consult the dealer or an experienced radio/TV
technician for help.
CAUTION: Danger of suffocation due to
swallowing of small parts
• Ensure that this unit does not end up in the hands
of children under the age of six.
Caution: Any changes or modifications not expressly
approved by the party responsible for compliance
could void the user's authority to operate the
equipment.
11.3 CE Declaration of Conformity
(TC 1200, TC 1300)
Hereby,
ZF Friedrichshafen AG, Electronic
Systems
business area, Auerbach/Opf.,
Germany, declares that this RadioFrequency peripheral is in compliance with the
essential requirements and other relevant provisions
of Directive 1999/5/EC. The CE Declaration of
Conformity can be retrieved by accessing the
following internet address: www.cherry.de/
compliance.
Once accessed, click on the relevant product name to
retrieve the CE Declaration of Conformity.
1 Avantages
• SmartTerminal pour le traitement de cartes à puce
selon ISO 7816 (TC 1100, TC 1300) et de cartes à
puce sans contact selon ISO 14443/15693 (TC 1200,
TC 1300)
• Homologation EMVCo, EMV 2000 Level 1 contact
approved interface (TC 1100, TC 1300)
Avec le logiciel d'application correspondant, vous
pouvez utiliser le SmartTerminal pour les tâches suivantes:
• Paiement via l'internet (Internet Payment)
• Signature numérique
• Public Key Infrastructure (signature numérique au
niveau de l'entreprise ou entre firmes)
• E-commerce
•Home Banking
• Contrôle d'accès (Access Control)
• Cryptage de données
2 Raccordement au PC et
installation du logiciel
1 Téléchargez le pilote actuel sur notre site
www.cherry-world.com à la rubrique
Service & Support/Downloads.
2 Suivez les instructions d'installation à l'écran.
3 Connectez la fiche USB du SmartTerminal au
connecteur USB de votre PC.
3 Utilisation du lecteur de cartes
à puce
3.1 Cartes à puce à contact (TC 1100,
TC 1300)
• Insérez la carte à puce dans la fente du lecteur
prévue à cet effet, la puce dirigée vers le haut du
côté tête de lecture.
Le contact ne peut avoir lieu que si la carte a été
entièrement insérée. Si une résistance apparaît, il
peut être nécessaire de forcer légèrement.
3.2 Cartes à puce sans contact/
transpondeurs (TC 1200, TC 1300)
• Placez la carte à puce ou le transpondeur si pos-
sible de façon parallèle sur le lecteur de cartes à
puce. (Vous pouvez aussi introduire la carte dans le
lecteur.)
Les données seront transmises à partir d'une distance inférieure à 5 cm.
FR
Mode d’emploi

3
3.3 Montage du support de cartes à
puce (TC 1200, TC 1300)
• Pressez le support de cartes à puce par le haut au
niveau du renforcement du câble sur le boîtier
jusqu'à ce qu'il s'encliquète.
Le support n'est pas prévu pour être enclenché et
désenclenché à plusieurs reprises.
4 DEL d’état
4.1 TC 1100
4.2 TC 1200
4.3 TC 1300
5 Caractéristiques techniques
6 Elimination
Confiez votre appareil usagé à une structure
spécialisée dans le recyclage des déchets
électroniques ou à votre revendeur.
7Contact
En cas de questions, veuillez indiquer les informations suivantes concernant l'appareil :
• N° d'article et n° de série du produit
• Désignation et fabricant de votre système
• Système d'exploitation et le cas échéant version
installée d'un Service Pack
ZF Friedrichshafen AG
Electronic Systems
Cherrystraße
91275 Auerbach, Allemagne
Internet : www.cherry-world.com
E-mail : info@cherry.de
DEL État
Allumée en bleu Terminal prêt
1 clignotement en bleu,
puis allumé en bleu
Carte enfoncée
Clignement en bleu Transfert de données
Éteinte Terminal en mode de veille
prolongée (si activé)
DEL État
Allumée en blanc Terminal prêt
1 clignotement en bleu,
puis allumé en blanc
Carte/transpondeur est
posé
Clignement en bleu Transfert de données
DEL État
Allumée en vert Terminal prêt
1 clignotement en
rouge, puis allumé en
vert
Carte est insérée ou carte/
transpondeur est posé
Clignement en rouge Transfert de données
Désignation Valeur
Alimentation +5 V/DC ±5 % SELV
Consommation de
courant
TC 1100: max. 30 mA
TC 1200: max. 230 mA
TC 1300: max. 160 mA
Température de
stockage
–20 °C ... +65 °C
Température de
fonctionnement
0 °C ... +50 °C
Dimensions TC 1100: 100 x 65 x 12 mm
TC 1200: 76 x 62 x 11 mm
TC 1300: 115 x 75 x 16,5 mm
Unité de lecture
de carte
100 000 insertions de carte
Protocoles TC 1100: T=0, T=1, S=8, S=9, S=10
TC 1200: T=CL
TC 1300: T=CL,T=0, T=1
8 Généralités
Sous réserve de modifications techniques.
Un traitement et un stockage non conformes peuvent
entraîner des dysfonctionnements et des dommages
du produit.
La garantie devient complètement caduque si des
modifications non-autorisées sont effectuées sur le
produit. N'effectuez aucune réparation de votre
propre chef et n'ouvrez pas le produit. La présente
notice est valable uniquement pour le produit avec
lequel elle est fournie.
9 Garantie
La garantie légale s'applique. Veuillez contacter votre
revendeur ou votre partenaire contractuel. Pour tout
complément d'information concernant la garantie,
veuillez consulter notre site www.cherry-world.com.
10 Avertissement
1 Ventajas
• SmartTerminal conforme a la especificación PC/SC
para procesamiento de tarjetas chip según
ISO 7816 (TC 1100, TC 1300) y tarjetas chip sin
contacto según ISO 14443/15693 (TC 1200, TC 1300)
• Homologación EMVCo, EMV 2000 Level 1 contact
approved interface (TC 1100, TC 1300)
Mediante el software de aplicación correspondiente,
usted puede utilizar el SmartTerminal para las
siguientes tareas:
• Pago en Internet (Internet Payment)
• Firma digital
• Public Key Infrastructure (firma digital a nivel
empresarial o interempresarial)
• E-Commerce
• Home Banking
• Control de autorización de acceso (Access Control)
• Codificación de datos
2 Conexión al PC e instalación
del software
1 Descarge el controlador actual desde nuestra
página www.cherry-world.com,
Service & Support/Downloads.
2 Siga las instrucciones para la instalación.
3 Conecte la clavija USB del SmartTerminal a la
toma USB del PC.
3 Uso del lector de tarjetas chip
3.1 Lectura de tarjetas chip con
contacto (TC 1100, TC 1300)
• Inserte la tarjeta chip en la ranura correspondiente
con el chip hacia arriba y en dirección del cabezal
de lectura.
El contacto se produce una vez que se supera un
punto de presión evidente.
ATTENTION: Danger d’étouffement par
ingestion de petites pièces
• Veillez à ce que l’appareil ne parvient pas dans
les mains d’enfants de moins de 6 ans.
ES
Manual de
instrucciones
3.2 Lectura de tarjetas chip sin
contacto/transponders (TC 1200,
TC 1300)
• Coloque la tarjeta chip o el transponder lo más
paralelo posible al lector de tarjetas chip.
Los datos se transmiten a partir de una distancia
menor a 5 cm.
3.3 Montaje de soporte de tarjetas chip
(TC 1200, TC 1300)
• Presione desde arriba el soporte de tarjetas chip
contra el refuerzo del cable situado en la carcasa
hasta que encaje.
El soporte no está diseñado para insertarse y
retirarse a menudo.
4Estado LED
4.1 TC 1100
4.2 TC 1200
4.3 TC 1300
5 Datos técnicos
LED Estado
Iluminado azul Terminal preparada
1 x azul intermitente,
después azul iluminado
Tarjeta insertada
Azul intermitente Transmisión de datos
Apagado Terminal en modo de
ahorro de energía
(si está activado)
LED Estado
Iluminado blanco Terminal preparada
1 x azul intermitente,
después blanco
iluminado
Tarjeta/transponder
presente
Azul intermitente Transmisión de datos
LED Estado
Iluminado verde Terminal preparada
1 x rojo intermitente,
después verde iluminado
Tarjeta insertada o
tarjeta/transponder
presente
Rojo intermitente Transmisión de datos
Denominación Valor
Suministro de tensión +5 V/DC ±5 % SELV
Consumo de corriente TC 1100: max. 30 mA
TC 1200: max. 230 mA
TC 1300: max. 160 mA
Temperatura de
almacenamiento
–20 °C ... +65 °C
Temperatura de
funcionamiento
0 °C ... +50 °C
Dimensiones TC 1100: 100 x 65 x 12 mm
TC 1200: 76 x 62 x 11 mm
TC 1300: 115 x 75 x 16,5 mm
Unidad lectora de
tarjeta
100.000 ciclos de conexión
Protocolos TC 1100: T=0, T=1, S=8, S=9,
S=10
TC 1200: T=CL
TC 1300: T=CL,T=0, T=1

4
6 Gestión del aparato usado
Cuando se quiera desahacer del aparato
usado, entréguelo en su establecimiento
comercial o en un punto de recogida para
residuos electrónicos.
7 Contacto
Si realiza alguna consulta, indique la siguiente
información sobre el dispositivo:
• Nº de artículo y de serie del producto
• Denominación y fabricante del PC, Notebook o
placa base
• Sistema operativo y, en su caso, versión instalada
de un paquete de servicios
ZF Friedrichshafen AG
Electronic Systems
Cherrystraße
91275 Auerbach
Alemania
Internet: www.cherry-world.com
Correo electrónico: info@cherry.de
8 Instrucciones generales para el
usuario
Nos reservamos el derecho de realizar
modificaciones técnicas destinadas a la mejora del
producto. Un manejo o almacenamiento inadecuados
pueden provocar averías o desperfectos en el
producto.
La garantía pierde su validez tan pronto como se
introduzcan modificaciones no autorizadas. No lleve a
cabo ninguna reparación por su cuenta ni abra el
producto. Las presentes instrucciones solo rigen para
el producto suministrado.
9 Garantía
Rige la garantía legal. Póngase en contacto con su
distribuidor o parte contratante. Encontrará más
información acerca de la garantía en
www.cherry-world.com.
10 Advertencia
1 Vantaggi
• SmartTerminal secondo le specifiche PC/SC per
elaborazioni di smart card conformemente a
ISO 7816 (TC 1100, TC 1300) e smart card senza
contatto conformemente a ISO 14443/15693
(TC 1200, TC 1300)
• Autenticazione EMVCo, EMV 2000 Level 1 contact
approved interface (TC 1100, TC 1300)
Col corrispondente software applicativo si può
impiegare lo SmartTerminal per le seguenti
operazioni:
• Pagamenti in Internet (Internet Payment)
• Firma elettronica
• Public Key Infrastructure (firma elettronica a livello
aziendale interno oppure a livello di rapporti tra
aziende)
• E-Commerce
ATENCIÓN: Peligro de asfixio por
ingestión de piezas pequeñas
• Asegúrese de que este aparato no está al alcance
de niños menores de 6 años.
IT
Istruzione d'uso
• Home Banking
• Regolazione dell'autorizzazione accessi (Access
Control)
• Criptaggio dati
2 Collegamento al PC e
installazione del software
1 Caricare il driver attuale dalla nostra pagina Web
www.cherry-world.com alla voce
Service & Support/Downloads.
2 Seguire le indicazioni per l’installazione.
3 Connettere la spina USB dello SmartTerminal col
collegamento USB del PC.
3 Uso del lettore smart card
3.1 Lettura di smart cart a contatto
(TC 1100, TC 1300)
• Inserire la smart card nell'incavo per smart card
col chip verso l'alto e indicante la testa di lettura.
Dopo aver oltrepassato un significativo punto di
pressione, avviene il contatto.
3.2 Lettura di smart card/transponder
senza contatto (TC 1200, TC 1300)
• Collocare la smart card o il trasponder il più
possibile in posizione parallela al lettore per smart
card.
I dati vengono trasmessi già ad una distanza
inferiore a 5 cm.
3.3 Montaggio del supporto della
smart card (TC 1200, TC 1300)
• Premere il supporto per smart card dall’alto in
corrispondenza del rinforzo del cavo
sull’alloggiamento finché non si sente il rumore di
uno scatto.
Il supporto non è concepito per essere estratto e
reinserito più volte.
4 Stato del LED
4.1 TC 1100
4.2 TC 1200
4.3 TC 1300
LED Stato
Blu fisso Terminale pronto
1 lampeggio blu, poi blu
fisso
Scheda inserita
Blu lampeggiante Trasmissione dei dati
Off Terminale nella modalità
risparmio energetico (se
attivata)
LED Stato
Bianco fisso Terminale pronto
1 lampeggio blu, poi
bianco fisso
La scheda/transponder è
applicata
Blu lampeggiante Trasmissione dei dati
LED Stato
Verde fisso Terminale pronto
1 lampeggio rosso, poi
blu verde fisso
Scheda inserita o scheda/
trasponder applicata
Rosso lampeggiante Trasmissione dei dati
5 Dati tecnici
6 Smaltimento del dispositivo
Smaltire il vecchio apparecchio presso un
apposito centro di raccolta per rifiuti elettronici o presso il proprio rivenditore.
7 Contatti
In caso di richieste, indicare le seguenti informazioni
sull'apparecchio:
• N° di articolo e di serie del prodotto
• Denominazione e produttore del PC, notebook o
scheda madre
• Sistema operativo ed eventualmente versione
installata di un service pack
ZF Friedrichshafen AG
Electronic Systems
Cherrystraße
91275 Auerbach
Germania
Internet: www.cherry-world.com
E-Mail: info@cherry.de
8 Avvertenza generale per
l'utente
Ci riserviamo il diritto di effettuare modifiche tecniche
che consentano un miglioramento del prodotto. Un
uso e uno stoccaggio del prodotto non appropriati
possono causare guasti e danni al prodotto.
La garanzia decade completamente qualora sul
prodotto siano state apportate modifiche non
autorizzate. Non effettuare riparazioni in modo
arbitrario e non aprire il prodotto. Il presente
manuale vale solo per il prodotto in dotazione.
9 Garanzia
L'apparecchio è coperto dalla garanzia legale. Per
qualsiasi informazione, contattare il proprio
rivenditore o parte contraente. Ulteriori informazioni
sulla garanzia sono riportate all'indirizzo
www.cherry-world.com.
10 Avvertimento
Denominazione Valore
Tensione di
alimentazione
+5 V/DC ±5 % SELV
Corrente assorbita TC 1100: max. 30 mA
TC 1200: max. 230 mA
TC 1300: max. 160 mA
Temperatura di
magazzinaggio
–20 °C ... +65 °C
Temperatura
d'esercizio
0 °C ... +50 °C
Misure TC 1100: 100 x 65 x 12 mm
TC 1200: 76 x 62 x 11 mm
TC 1300: 115 x 75 x 16,5 mm
Unità lettura schede 100 000 cicli di innesto
Protocolli TC 1100: T=0, T=1, S=8, S=9, S=10
TC 1200: T=CL
TC 1300: T=CL,T=0, T=1
ATTENZIONE: Pericolo di soffocamento
per ingerimento di piccolo oggetti
• Assicurare che questo dispositivo non possano
essere presi da bambini minori di 6 anni.
 Loading...