

Page 1
D
D
D
i
i
i
g
g
g
i
i
i
t
t
t
a
a
a
l
l
l
O
O
O
v
v
v
e
e
e
r
r
r
h
h
h
e
e
e
a
a
a
d
d
d
S
S
S
t
t
t
i
i
i
r
r
r
r
r
r
e
e
e
r
r
r
C
C
C
G
G
G
-
-
-
2
2
2
0
0
0
3
3
3
7
7
7
-
-
-
E
E
E
-
-
-
5
5
5
0
0
0
O
O
O
P
P
P
E
E
E
R
R
R
A
A
A
T
T
T
I
I
I
O
O
O
N
N
N
S
S
S
M
M
M
A
A
A
N
N
N
U
U
U
A
A
A
L
L
L
3800 North Mill Road Vineland, NJ 08360 USA
Tel: 1-800-843-1794 Fax: 1-800-922-4361
Web: www.cglifesciences.com
Rev. A
Page 2

Contents:
Packing List……………………………………………………..… page 3
General Description ………………………………………………page 3
Technical Data……….…………………………….……………….page 3
Precautions………………………………………………………….page 4
Figure 1 – Overview Drawing…………………………………… page 4
Installation Instructions…………………………………………..page 5
Operating Instructions……………………………….……….…..page 5
Figure 2 – Mechanical Speed Range.………………………… page 6
Maintenance and Service………………………………….……. page 6
CGLS Warranty and Limitations of Liability……………………page 7
[2]
Page 3

PLEASE KEEP THIS OPERATION MANUAL HANDY FOR FUTURE REFERENCE
Item Description
Qty.
Item Description
Qty.
Overhead Stirrer
1
Stirrer Propeller
1
Base
1
Chuck Key
1
Vertical Support Rods
2
Wrench
1
Horizontal Holding Rod
1
Operation Manual
1
Support Clamp
1
Please check the components in the Packing list before installation
Packing list:
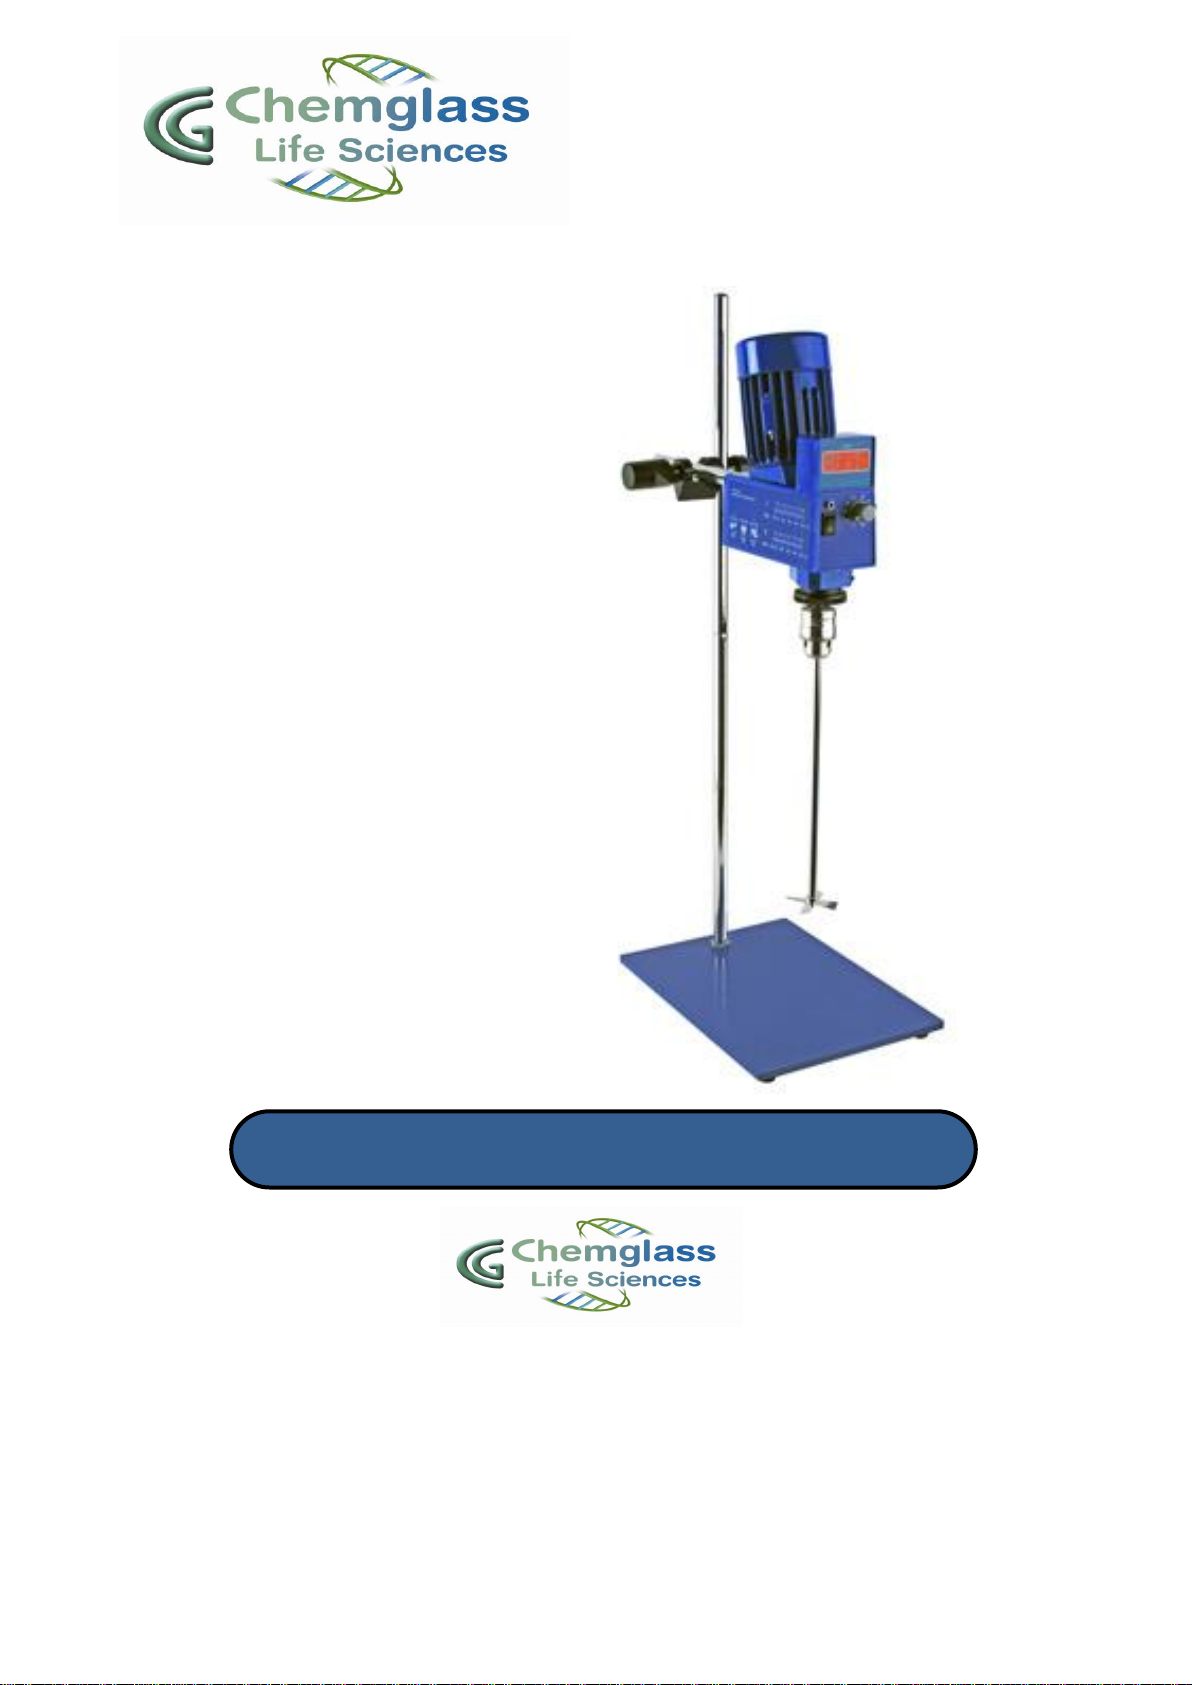
General Description:
Overhead stirrer with a digital display, two speed ranges (from 60-2000rpm), and mechanical
speed adjustment. Aluminum alloy body. Output stirring speeds and torque remain virtually
constant through IC controller speed detection technology. Complete unit comes with stirrer,
stand, clamp to attach stirrer, and a 4-blade propeller with a diameter of 50mm. 1 year
warranty.
Technical Data:
Rated Voltage (VAC): 120±10%
Rated Frequency (Hz): 50/60
Rated Torque (N-m): 0.52
Dimensions – Including stand (WxDxH) (mm): 260 x 360 x 760
Total Shipping Weight (kg): 9.9
Permissible Ambient Temp. (C): 40
Permissible Relative Humidity (%): 90
Stirring Capacity (liters of water): 20
Maximum Viscosity (mPas): 10,000
Motor Rating Input (watts): 180
Motor Rating Output (watts): 120
Speed Range (low setting rpm): 60-500
Speed Range (high setting rpm): 240-2000
Chuck Range (mm): 5-10
[3]
Page 4

1. Overhead Stirrer
2. Speed controller
3. Speed range shift plate
4. Chuck
5. Stirrer propeller
6. Base
7. Vertical Support rods
8. Support clamp
9. Horizontal Holding rod
10. Power indicator lamp
11. Power switch
12. Speed display
13. Speed control knob
Figure 1
Precautions:
The Stirrer should be placed in a clean and dry environment. The ambient
temperature should not exceed 40˚C.
Large fluctuations of voltage may cause an unstable speed, so if needed; use of a
regulated power supply is suggested.
Avoid using the Stirrer in a severely corrosive environment.
If the agitating medium is volatile and/or flammable, be cautious that electric sparks
may cause explosions or fires.
[4]
Page 5

Installation: (Refer to Figure 1)
1. Place the Base (item #6) on a stable surface. Connect the two Vertical Support Rods
(items #7) by screwing them together.
2. Assemble the Vertical Support Rods into the Mounting hole in the Base. Secure to
base by using wrench provided to tighten nut.
3. Tighten the Support Clamp (item #8) to the upper end of the Vertical Support Rods.
4. Connect the Horizontal Holding Rod (item #9) to the Stirrer (item #1) by screwing into
threaded mounting hole located at the rear of the Stirrer. Then install the opposite end
of the Horizontal Holding Rod into the Support Clamp and tighten. The Stirrer can be
easily adjusted up / down, and in / out by carefully loosening and tightening the Support
Clamp.
5. When ready to use Stirrer - Install the Stirrer Propeller (item #5) by using the Chuck
Key provided to loosen and tighten the opening for the Chuck (item #4).
Operation: (Refer to Figure 1)
Before testing or operating this Stirrer, please read all instructions carefully.
To ensure the running safety of the stirrer and personnel, be sure to inspect support
connections regularly.
The Stirrer should only be operated when installed on the Base. Hand held operation
is prohibited.
The Overhead Stirrer cannot be used in a flammable and/or explosive environment.
Before plugging the power cord into the appropriate grounded electrical outlet, make
sure that the power switch (item #11) on the Stirrer is in the off position and the speed
control knob (item #13) is in the starting/slowest position.
1. A test run is recommended before use and the stirring propeller should not be installed
when testing.
2. After plugging the stirrer into the electrical outlet, turn on the power switch (item #11).
The power indicator lamp (item #10) will illuminate.
3. Slowly turn the speed control knob (item #13) clockwise to increase speed. The rpm
value in the digital display (item #12) will increase accordingly. Turning the speed
control knob counter-clockwise will decrease the speed.
[5]
Page 6

4. To change the speed range from high speed to low speed or low speed to high speed,
Figure 2
the motor must be brought to complete stop. “I” is for low speed range; “II” is for high
speed range (See Figure 2). To change the speed range from high to low, turn shift
plate (item #3, in Figure 1) counterclockwise (looking down from the top) until in place,
then pull down, and finally turn clockwise to reset it. To change the speed from low to
high, turn shift plate (item #3, in Figure 1) counterclockwise until in place, then push up,
and finally turn clockwise to reset it. When it’s in place you can hear the “click” of the
Press Fit Ball Plunger.
NOTE: If the unit has not been used for some time, a knocking noise may be heard when
switching on. This is due to the preload on the friction lining of the friction wheel drive. This
has no detrimental effect on the function of the unit, and the knocking noise will disappear
after a short running-in period.
Maintenance and Service:
Ensure Stirrer is unplugged before cleaning
Do not allow moisture to get into the appliance when cleaning
Wear protective gloves during cleaning the devices
Use to remove:
Dyes isopropyl alcohol
Construction materials water containing tenside/ isopropyl alcohol
Cosmetics water containing tenside/ isopropyl alcohol
Foodstuffs water containing tenside
Fuels water containing tenside
If a motor failure happens, check whether the power switch is on and the unit is plugged in.
Verify that the power outlet is providing the correct voltage. If these faults are eliminated and
the motor failure remains, contact CG Life Sciences for service. The unit should not be
opened for any reason without proper authorization.
[6]
Page 7

Chemglass, Chemglass Life Sciences, Warranty and
Limitation of Liability
Warranty:
Chemglass, Inc. guarantees this unit against defects in material and workmanship for a period of one year
from the date of purchase. If the unit should malfunction, it must be returned for evaluation. If the unit
is determined to have a defect in materials or workmanship, then it will be repaired or replaced at no
charge. Tampering with the unit or damage resulting from excessive current, heat, moisture, vibration,
corrosive materials, or misuse will void this warranty. Programming changes or reconfigurations are not
covered under warranty. CGLS shall not be responsible to the original purchaser or any other party or
parties for bodily or property loss, damages, or injuries of any kind or nature through either direct or
indirect use of the product.
Return Authorization:
CGLS must authorize any return of product. Please contact a customer service representative via the
correspondence listed below to obtain a Return Merchandise Authorization (RMA) number. The
purchaser is responsible for all packing and shipping to CGLS. If the equipment or material came in
contact or was proximate to any biological organism, toxic or corrosive material, or any agent reasonably
deemed to be potentially harmful, it must be cleaned and decontaminated prior to receipt by CGLS. The
purchaser is obligated to disclose fully in writing, the cleaning and decontamination method. We reserve
the right not to accept any unauthorized or potentially harmful shipment.
Correspondence:
Chemglass Life Sciences
3800 North Mill Rd.
Vineland, NJ 08360
Phone: 800-843-1794
Email: customer-service@cglifesciences.com
Web: www.cglifesciences.com
[7]
 Loading...