

Page 1
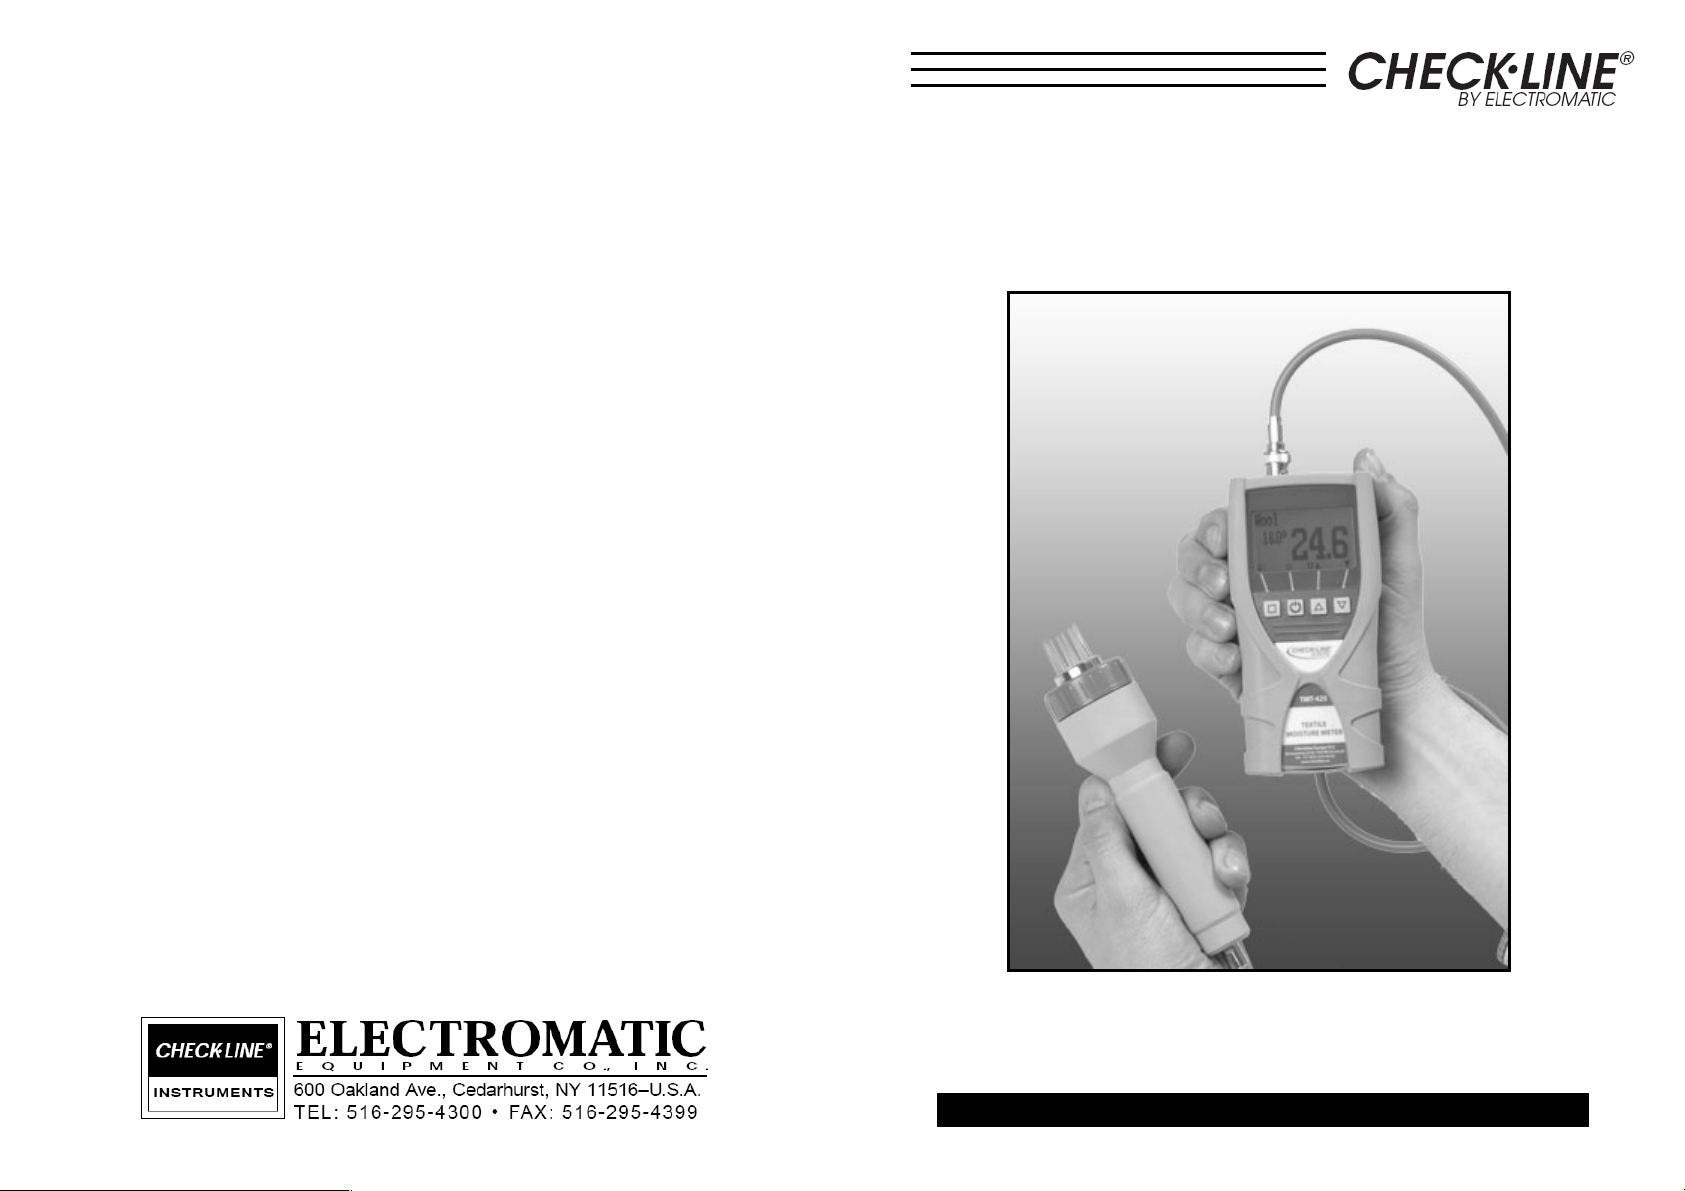
TMT-425 / TMT-425-USB
TEXTILE MOISTURE METER
OPERATING INSTRUCTIONS
Page 2

13.0 WARRANTY
Electromatic Equipment Co., Inc. (Electromatic) warrants to the original purchaser
that this product is of merchantable quality and confirms in kind and quality with the
descriptions and specifications thereof. Product failure or malfunction arising out of
any defect in workmanship or material in the product existing at the time of delivery
thereof which manifests itself within one year from the sale of such product, shall be
remedied by repair or replacement of such product, at Electromatic’s option, except
where unauthorized repair, disassembly, tampering, abuse or misapplication has
taken place, as determined by Electromatic. All returns for warranty or non-warranty
repairs and/or replacement must be authorized by Electromatic, in advance, with all
repacking and shipping expenses to the address below to be borne by the
purchaser.
THE FOREGOING WARRANTY’S IN LIEU OF ALL OTHER WARRANTIES,
EXPRESSED OR IMPLIED, INCLUDING BUT NOT LIMITED TO, THE
WARRANTY OF MERCHANTABILITY AND FITNESS FOR ANY PARTICULAR
PURPOSE OR APPLICATION. ELECTROMATIC SHALL NOT BE RESPONSIBLE
NOR LIABLE FOR ANY CONSEQUENTIAL DAMAGE, OF ANY KIND OR
NATURE, RESULTING FROM THE USE OF SUPPLIED EQUIPMENT, WHETHER
SUCH DAMAGE OCCURS OR IS DISCOVERED BEFORE, UPON OR AFTER
REPLACEMENT OR REPAIR, AND WHETHER OR NOT SUCH DAMAGE IS
CAUSED BY MANUFACTURER’S OR SUPPLIER’S NEGLIGENCE WITHIN ONE
YEAR FROM INVOICE DATE.
Some State jurisdictions or States do not allow the exclusion or limitation of
incidental or consequential damages, so the above limitation may not apply to you.
The duration of any implied warranty, including, without limitation, fitness for any
particular purpose and merchantability with respect to this product, is limited to the
duration of the foregoing warranty. Some states do not allow limitations on how long
an implied warranty lasts but, not withstanding, this warranty, in the absence of such
limitations, shall extend for one year from the date of invoice.
Electromatic Equipment Co., Inc.
600 Oakland Ave. Cedarhurst, NY 11516 - USA
Tel: 1-800-645-7330 / Tel: 516-295-4300 / Fax: 516-295-4399
Every precaution has been taken in the preparation of this manual. Electromatic assumes no
responsibility for errors or omissions. Neither is any liability assumed for damages resulting
from the use of information contained herein. Any brand or product names mentioned herein
are used for identification purposes only, and are trademarks or registered trademarks of their
respective holders.
TABLE OF CONTENTS
1.0 Powering on …………………………………………………………… 2
2.0 Calibration curves …………………………………………………..… 2
3.0 Operation of the instrument ………………………………………..… 3
4.0 View of the instrument ………………………………………………… 4
5.0 Menu level overview ………………………………………………..… 5
6.0 Measuring procedure ……………………………………..………….… 6
7.0 PC connection and data print ………………………………...… 7
8.0 Device maintenance instructions ……………………………….… 9
9.0 Changing the batteries …………………………………………..… 9
10.0 Important information ………………………………………………… 10
11.0 Exemption of liability ………………………………………………… 10
12.0 Technical information …………………………………………………... 11
13.0 Warranty ……………………………………………………………… 12
Electromatic Equipment Co., Inc.
-12-
Electromatic Equipment Co., Inc.
-1-
Page 3
1.0 POWERING ON
Textil
e Measuring range
Turn the gauge on: keep the key pressed for three seconds. If a menu item will
be shown, press exit or the rolling menu until the measuring window is
displayed.
2.0 CALIBRATION CURVES
Wool 13% - 26%
Cotton 1,5% - 13%
Rayon 4% - 26%
Flax yarn 5,5% - 15%
Jute yarn 8% - 24%
Hemp Garn 5% - 17%
Acetate 3,5% - 13%
Nylon 1,5% - 6,5%
Polyacrylic 0,2% - 3%
Polyester 0,5% - 4%
Digit 0 - 100
The list of calibration curves is displayed if one of the two arrow buttons is pressed
for about three seconds in the measuring mode. Select the desired calibration curve
and confirm with
.
Note: The humimeter TMT-425 shows the water content directly on the display. A
conversion to the moisture value is not necessary anymore. A factory-set
conversion to the moisture content is possible. Please contact the manufacturer
about this.
Definition water content: The water content is declared as the amount of water in
a material, which stands in relationship to the whole weight of the material. For
example: You have 1kg material with 40% water content; the material consists of
0,4kg water and 0,6kg material.
Definition material moisture: The material moisture is declared as the amount of
water in a material, which stands in relationship to the weight of the dried material.
The same example: You have 0,6kg material with 0,4kg water; the 0,6kg material
represents 100%, so the 0,4kg water will be 66,7% material moisture.
12.0 TECHNICAL DATA
Resolution 0,1% material moisture
0,5°C temperature
Measuring range 0,3 to 26% water content
Operating temperature range 0°C to 40°C
Temperature measuring range -20°C to 60°C
Storage temperature range -20°C to 60°C
Temperature compensation Automatic
Power supply 4 pieces 1,5Volt AA Alkaline Batteries
(ca. 1000 measuring cycles)
Power off time after approx. 6 minutes
Power consumption 55 mA (with light)
Display 128 x 64 Matrixdisp., with LED Backlight
Dimensions 740 x 65 x 40 mm
Weight approx. 450g (with batteries)
Protection class IP 40
Scope of delivery Gauge TMT-425
4x1,5Volt AA Alkaline Batteries
Plastic case, electrodes
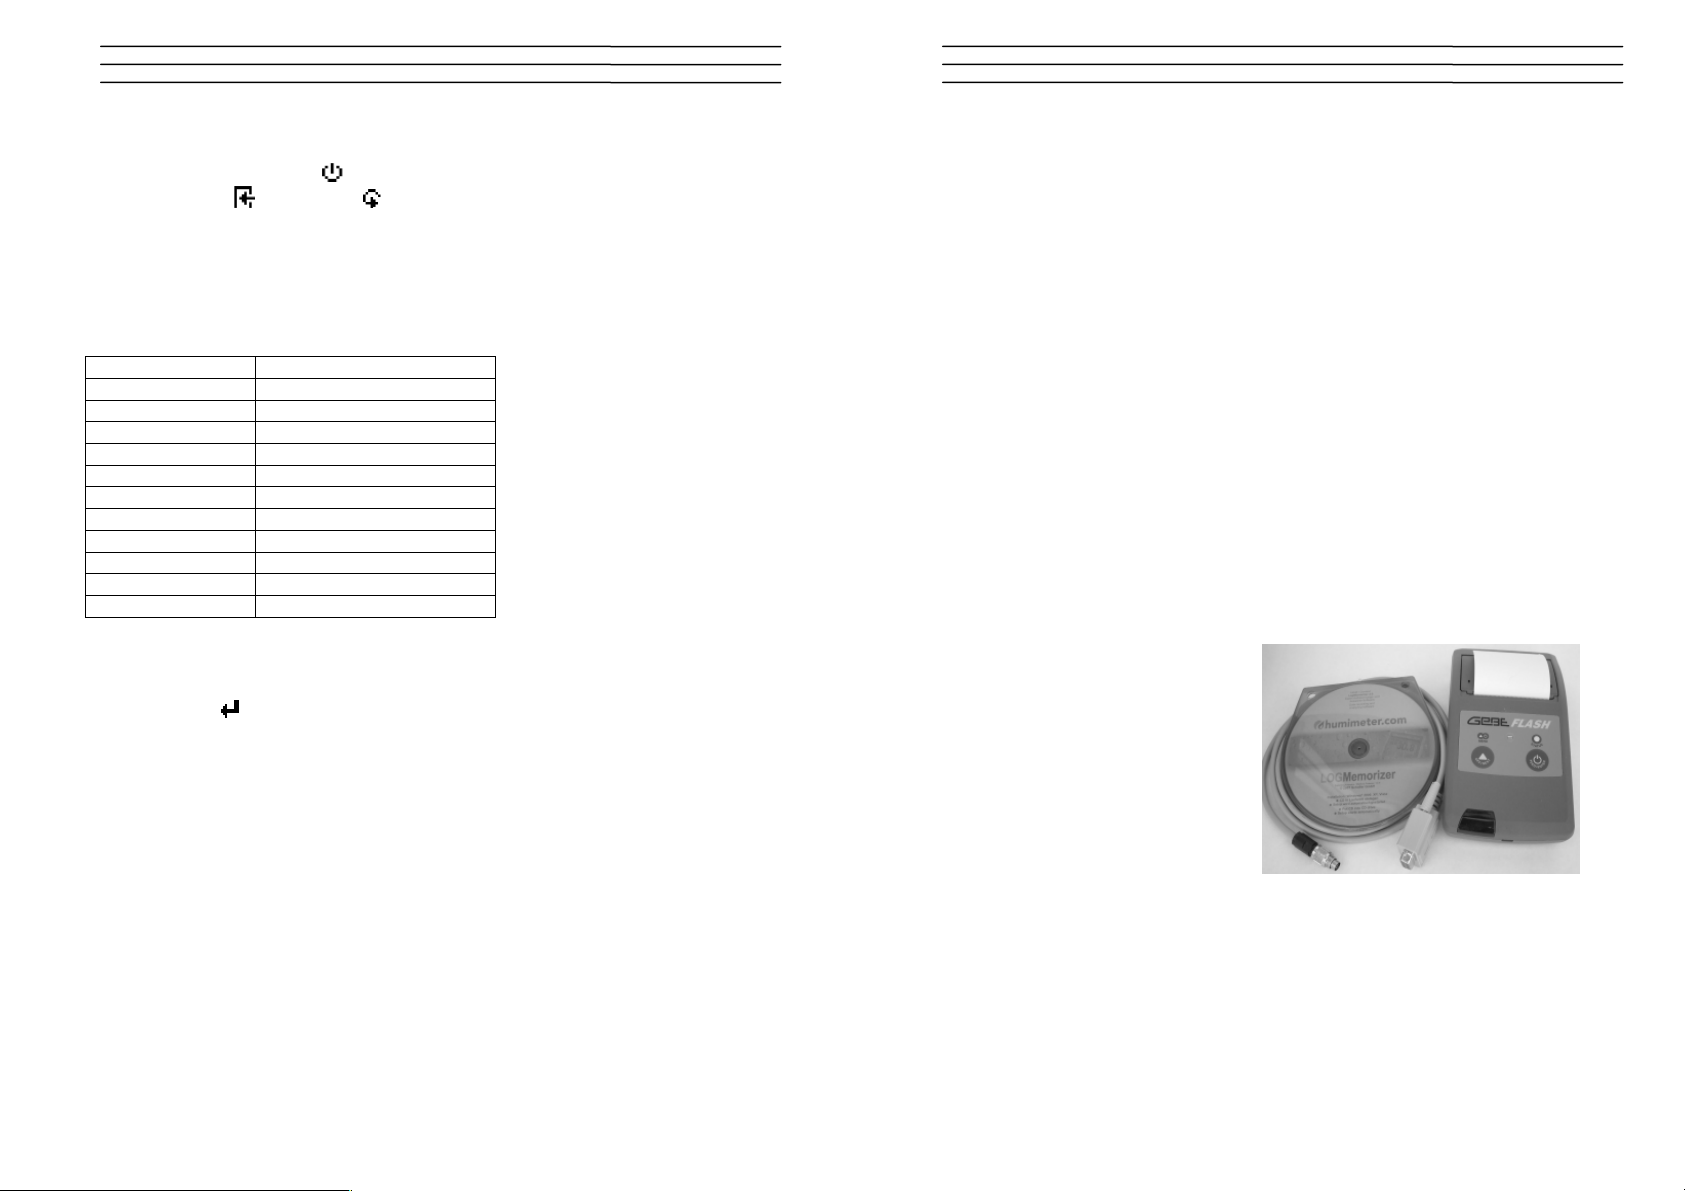
Optional Humimeter USB data plug for PC
connection
Option 2 (only with opt.1) Thermal printer
Electromatic Equipment Co., Inc.
-2-
Electromatic Equipment Co., Inc.
-11-
Page 4

10.0 IMPORTANT INFORMATION
Common reasons for incorrect measurements:
• Product temperature out of application range
Material below 0°C resp. above +40°C (32 to 104 °F ) may cause faulty
measurements. The storage of cold material in a warm storage area usually
creates condensed water which may lead to major measuring errors.
• Not adjusted temperature of the device
Make sure that your measuring gauge and the test material are stored under the
same temperature conditions. Protect your gauge from direct sunlight. A too
high temperature difference can affect the accuracy of your gauge negatively
• Wrong calibration curve
Before you measure the sample, check the correct selection of the calibration
curve.
• Wet or moldy test material
• Moisture/Water on the measuring head
After a measurement of wet material, a water film can be left on the measuring
head. This can result in higher moisture values at the next measurement.
Therefore, clean all plastic parts of the measurement head with a dry towel.
Warning: Tip of electrodes can lead to injury!
Keep away from children under 16 years.
11.0 EXEMPTION OF LIABILITY
The manufacturer is not liable for any incorrect measurements and resulting
damages. As this rapid measurement procedure is influenced by product specific
conditions, we recommend to carry out a plausibility check on the measurement
results. Each instrument has a serial number and warranty seal. If this is broken, we
cannot provide warranty. If the instrument is defective, contact us via
www.checkline.com.
3.0 OPERATION OF THE INSTRUMENT
Switch on the device: Press the
Power off: Press the
key 5 Seconds in the measuring window; the device will be
switched of when you leave the key. The device also switched off automatically,
when no key is pressed for 4 minutes.
Set the clock: press 3 times the
date and the time by pressing (YY.MM.DD). When you entered the Year push
the
key to get to the month and to the day. Press the key again to get to the
time. If you entered date and time confirm it by pressing
Hold the measure value: Press the
activated in the Datalog Time menu)
Display background lighting: Press the
after 20 seconds. Backlight will be activated by pressing any key. Furthermore the
Power off time is reset to 4 minutes.
Activation of superuser function:
2 times
- Options – Unlock
Enter the 4-digit code using the
number). Confirm by pressing
Changing the user level::
From advanced user to simple user:
2 times – Options – O userlevel.
From simple user to advanced user:
Keep both the buttons and pressed immediately after switching on the device as
long as the logo is shown on the display. The device automatically starts the main
menu. Navigate to options – o userlevel and confirm by pressing
key for 3 seconds
key - Options – Date / Time Here you set the
.
key in the save mode (Function must be
key; Backlight will turn off automatically
button (standard are the last 4 digits of the serial
.
.
Electromatic Equipment Co., Inc.
-10-
Electromatic Equipment Co., Inc.
-3-
Page 5

4.0 VIEW OF THE INSTRUMENT
Electrodes
Measuring head
Power button
Temperature value
Water content
Changing
calibration curves
Batteries (rearside)
8.0 DEVICE MAINTENANCE INSTRUCTION
Do not drop the instrument or expose it to excessive temperatures. Clean it only
with fuzz-free, dry cloth. The device is not waterproof.
For more information concerning the treatment of the device, see
www.checkline.com
The frequency for technical check of the instrument depends on the use and
required level of accuracy.
For a fee, we can also carry out a calibration at the factory. In this case you will
receive a calibration certificate.
9.0 CHANGING THE BATTERIES
Please follow following steps to change the batteries:
1. Use a finger to press the arrow on the battery
cover and pull it back.
2. Remove the empty batteries and replace them
with four new 1,5 Volt AA Alkaline Batteries.
Take care of the correct polarization when you
put in the batteries.
3. Press down the batteries so you can close the
cover.
If the battery symbol appears in the measuring window
resp. if a critical charge of battery is shown in the status, the
batteries have to be changed IMMEDIATELY. If you do not
use your humimeter device for a longer period, remove the
batteries. For eventual resulting damages we cannot
provide any warranty.
Electromatic Equipment Co., Inc.
-4-
Electromatic Equipment Co., Inc.
-9-
Page 6

Print data (logs):
Switch off
Switch off
Keypad symbols
OK
To print the stored logs, connect the supplied printer cable with the printer. Open the
protective cover at the TMT-425 carefully. First insert
the plug, which is closer to the plastic housing, into
the gauge. Then turn the gauge on.
Only then insert the other plug of the cable into the
printer and turn him on by the
button. The green
light should blink. If this is not the case, change the
batteries and try again.
Press the button until the main menu is opened.
Select the item “Print logs” and confirm with
. Now
you can choose whether all stored values or only the
last values (logs) should be printed.
5.0 MENU LEVEL OVERVIEW
Overview main menu
Data Memory
Manual logs
Delete logs
Print logs
Last row
All logs
Delete logs
Send logs
Manual logs
Delete logs
Type selection menu
Next calibration curve
Previous calibration curve
Store menu
Previous log
New log
Main menu
Switch lower
Switch upper
Open this menu / Enter
Options
Date/Time
Datealog Time
Language
Unlock
° C / °F
Userlevel
Lighting time
Auto off time
Setting
Materialcalib.
Password
Reset
Status
Measuring window:
Rolling Menu
Power ON / OFF
Switch upper
Switch lower
Save
Hold
Watch saved
data
Add supplier’s
data
Menu:
Enter
Switch upper
Switch lower
Back
Enter numbers
Enter letters
Next or right
Left
Yes
No
Shift
Electromatic Equipment Co., Inc.
-8-
Electromatic Equipment Co., Inc.
-5-
Page 7

6.0 MEASURING PROCEDURE
Important: For a correct measurement please ensure that the device has the same
temperature (+/-3°) as the material under test. For that reason, let your humimeter
adjust to the surrounding temperature of the material for at least half an hour before
measuring (protect from direct sunlight!).
1. Switch on the device by pressing the power
button (
2. If desired, the calibration curves can be
changed by using the arrow keys.
3. Insert the electrodes of the TMT-425 in the
material. The measuring values will be
displayed directly.
4. Save the displayed value in the store menu
(1x
value succeeded if the number in front of the
5. To get into the store menu, press the left
button ( ) until the symbol appears.
6. Name the saved value by selecting
) for 3 sec..
) by pressing ( button). Saving the
symbol increased.
.
7.0 PC CONNECTION AND DATA PRINT
The TMT-425 provides the possibility to transfer your
saved data to a computer. Use the supplied connection
cable to connect your gauge. Open the protective cover
of the TMT-425 carefully and insert the USB mini port B.
The bigger port has to be inserted in the USB output of
your PC.
Start the LogMemorizer Software and turn on the TMT-
425. The data transfer can be started either by the
software or by measuring gauge.
Data transfer by the humimeter TMT-425:
Press the button until the main menu is opened (see
right picture). Select the menu item “Send logs” and
confirm with
again with
be transferred to your pc then.
Data transfer by your computer:
Open the LogMemorizer Software. Click on the button
“remote access” and a drop down menu will open. For
the data transfer, select the option “Import last manual
log” (last stored log will be transferred) or “Import all
manual logs” (all stored values will be transferred). Click
on one option and the data will be imported on the pc. It
is recommended to read the manual on the
LogMemorizer CD about further settings.
. Then select “Manual logs” and confirm
. All stored values on your humimeter will
Electromatic Equipment Co., Inc.
-6-
Electromatic Equipment Co., Inc.
-7-
 Loading...