

Page 1
2 YEAR WARRANTY (RESTRICTIONS APPLY)
Hoto Instruments warrants its products to the original purchaser to be free from defects
in workmanship and material under normal use and proper maintenance for two years
(one year for attachments, adapters, batteries and cables) from original purchase. This
warranty does not cover calibration and shall not be effective if the product has been subject to overload, shock load, battery overcharge, misuse, negligence, accident or repairs
attempted by others than Hoto Instruments.
During the warranty period, we will, at our option, either repair or replace defective
products. Please call our customer service department for a return authorization number
and return the defective product to us with freight prepaid.
The foregoing warranty constitutes the SOLE AND EXCLUSIVE WARRANTY, and we
hereby disclaim all other warranties, express, statutory or implied, applicable to the products,
including but not limited to all implied warranties of merchantability and fitness. In no
event shall Hoto Instruments be liable for any incidental or consequential damages.
02/12
An ISO9001 Certified Company
3100 Dundee Road, Suite 707, Northbrook, IL 60062
1-866-527-4666
●
Fax: 847-564-2095
www.hoto-instruments.com●E-mail: info@hoto-instruments.com
HOTO
INSTRUMENTS
®
Model NS-600
LED Stroboscope
®
CHECK•LINE
BY ELECTROMATIC
®
CHECK•LINE
INSTRUMENTS
ELECTROMATIC
E Q U I P M E N T C O., I N C.
600 Oakland Ave., Cedarhurst, NY 11516 – USA
TEL: 516-295-4300 • FAX: 516-295-4399
Operating Manual
Page 2
page 7page 2
LED Stroboscope Model NS-600
Introduction
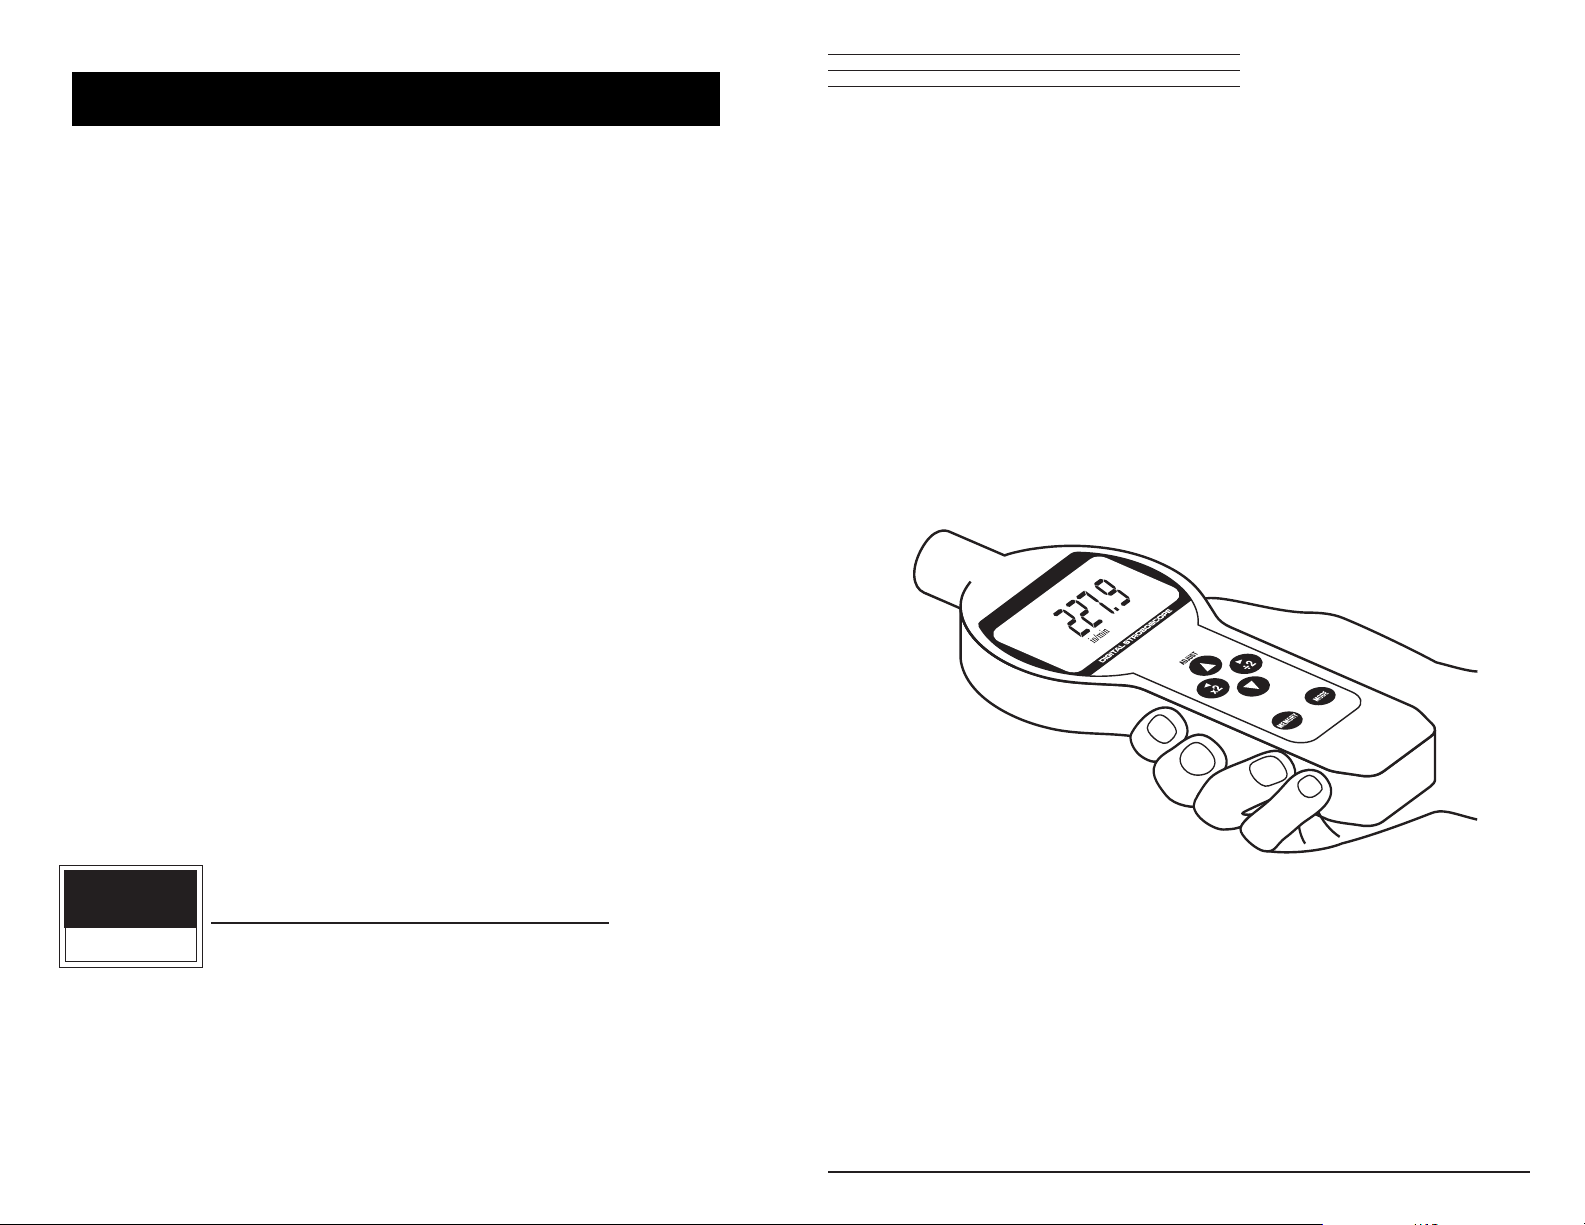
Model NS-600 is an enhanced LED, battery operated, stroboscope
designed to measure and observe rotating, reciprocating and linear
motion in a large variety of production, quality control and academic
applications.
●
High efficiency LED solid-state light source – never needs
replacement
●
Extended battery life of 8 hours continuous use at 6,000 fpm/rpm
●
Highly stable drift free operation
●
Auto wide measuring range – up to 120,000 fpm/rpm
●
Push button operation with x2 and ÷2 buttons for quick adjustment
●
Store up to 9 flash rates in memory for records or quick retests
●
Rugged aluminum housing – compact size
●
Easy-to-read 5 digit 0.47" (12 mm) high LCD
Important
Do not look directly at the emitted light.
Instrument is fragile – handle with care.
Do not operate instrument in a humid or dusty environment.
To clean, wipe surface with a damp, soapy cloth. Avoid harsh chemicals.
List of Equipment
NS-600 LED Stroboscope
Carrying case
2- AA batteries
1
2
1
2
3
3
Range
(Auto)
Resolution
12.0 ~ 9999.9 fpm/rpm 0.1 fpm/rpm
10000 ~ 120000 fpm/rpm 1 fpm/rpm (over 100,000 display flashes)
.20 ~ 999.00 Hz 0.01 Hz
1000.0 ~ 2000.0 Hz 0.1 Hz
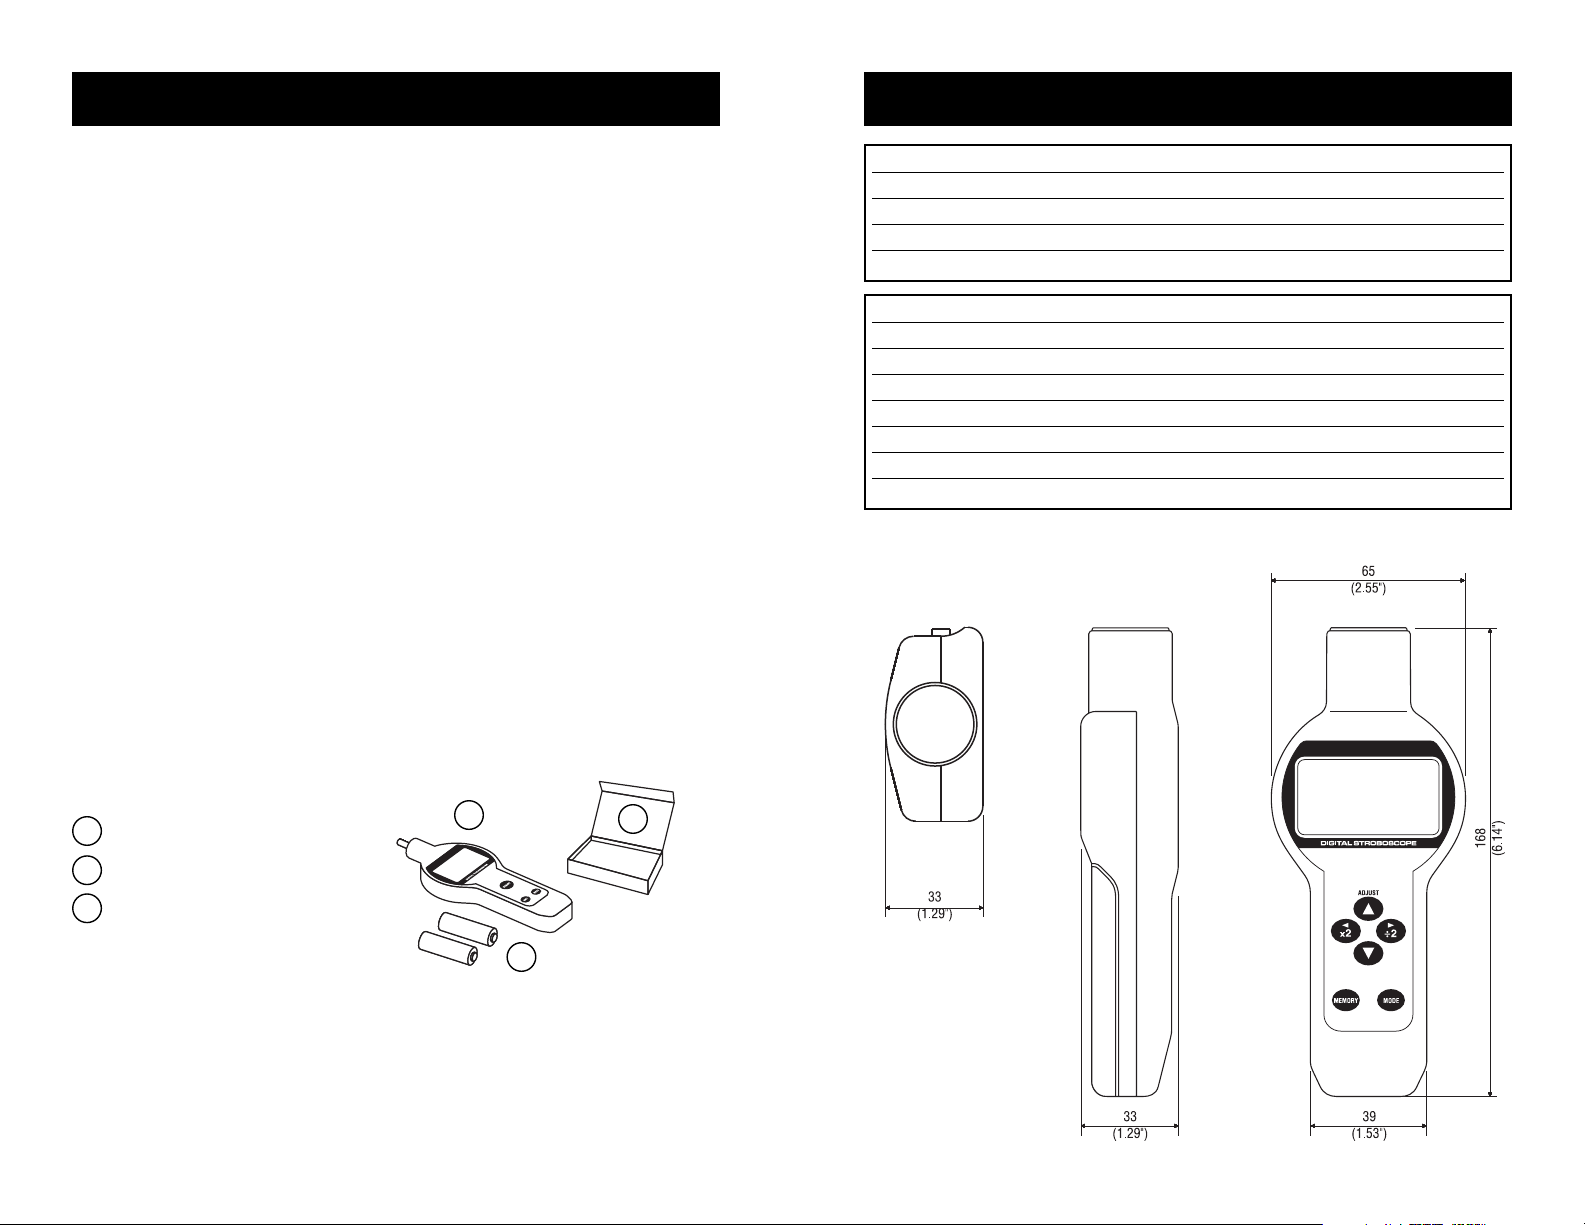
Specifications
Selectable Units: FPM or Hz
Accuracy: ±0.01%, ±1 LSD
Display: 12mm high, 5digit LCD
Power: 2- AA batteries
Battery Life: 8 hours (@6,000 rpm when fully charged)
Operating Temp: 0 to 45° C
Weight: .5 lb/225 g
Dimensions
Page 3

page 3page 6
UNITS
FPM or HZ
MEMORY ICON
INDICATES IF
CURRENT FLASH
RATE IS ALREADY
STORED IN
MEMORY
LOW BATTERY
ICON
BATTERY COMPARTMENT
COIN SLOT
FLASH DURATION LEVEL
F0~F6 (F0 DEFAULT)
MEMORY LOCATIONS
1~9 FOR BOTH FPM AND HZ
PROGRAM MODE
Changing Units
Turn off the strobe. Press and hold the
MODE key, then press the POWER switch.
SEL is displayed. Press the or arrows
to select FPM or Hz. The selected unit
becomes the default when the strobe is
powered on. FPM is the default. Press the
POWER switch to exit.
Changing Flash Duration Default
F0 is the default, good for most applications.
To change, turn off the strobe. Press and
hold the
MODE key, then press the POWER
switch. SEL is displayed, then press the
▲ or ▼ arrows to select F0, F1, F2, ... F6.
The selected flash duration level becomes
the default when the strobe is powered on.
Press the
POWER switch to exit.
Clearing All Memory
Turn off the strobe. Press and hold the
MODE key, and then press the POWER
switch. SEL is displayed. Press and hold
MODE, then press MEMORY to display CLr.
Press
MEMORY again and stored memory is
cleared (CLr disappears after three
seconds). After memory is cleared the
strobe returns to measuring mode.
LOW BATTERY
When LOW BATT appears on the display,
turn off the strobe. Loosen the coin screw
in the back cover and replace all batteries
with the same brand and type. For best
performance always replace both batteries
together and use AA alkaline, NiMH or
NiCAD cells. Please note polarity. Memory
is retained even if the batteries are removed.
▲
▲
–SEL–
FPM
F0
–SEL–
FPM
F0
F0 F6
SELECT WITH UP AND DOWN ARROWS
SELECT WITH LEFT AND RIGHT ARROWS
–CL6–
FPM
F0
PRESS MEMORY TO CLEAR
3000.0
FPM
LOW BATT
F0
DISPLAY
LED INDICATOR
POWER SWITCH
●
CLICK AND RELEASE TO TURN ON,
CLICK TO TURN OFF. AUTO SHUT OFF
AFTER 10 MINUTES
●
CLICK AND HOLD, IF RELEASED AFTER
2 SECONDS, STROBE SHUTS OFF.
MEMORY KEY
MODE KEY
●
PHASE SHIFT
●
PROGRAMMING
1
2
3
7
UP/DOWN ARROW KEYS ▲ OR ▼
●
CHANGE FLASH RATE
●
CHANGE FLASH DURATION LEVEL
●
SELECT PROGRAM OPTIONS
X2/÷2 KEYS
●
DOUBLE OR HALVE THE FLASH RATE
LEFT/RIGHT ARROW KEYS OR
●
CHANGE PHASE SHIFT
●
SELECT PROGRAM OPTIONS
▲
▲
4
6
5
Page 4

Changing Flash Duration
(increasing sharpness)
Flash duration is set at F0, which is suitable
for most applications. However, images can
be sharpened by decreasing flash duration.
After synchronizing the flash rate with the
moving object, press and hold the
MODE
key, then press the ▲ or ▼ arrows to select
levels F0, F1, F2, ... F6. As flash duration
shortens the image gets sharper and less
bright. Longer flash durations are brighter and less sharp.
The display is retained for two minutes after the strobe is powered off. If
turned back on while the display is on, the strobe returns to the flash rate
shown on the display. The strobe powers off after five minutes of non-use.
MEMORY (FPM and Hz units each have nine separate memory locations)
Saving Flash Rates in Memory
Turn on the strobe and synchronize the
flash rate with the moving object. Press
and hold
MODE, then press MEMORY,a
memory location number appears briefly
and the flash rate is saved to that memory
location. When nine locations have been
saved FUL appears on the display.
Memory Recall
Press MEMORY to enter memory mode and
memory location ‘1’ appears at the top of
the display. Press
MEMORY again to select
another location. If no flash rates are
stored, numbers do not appear.
Changing Memory Values
Select a memory location (see Memory Recall above). The memory icon
indicates the stored flash rate matches the current flash rate. Use the
arrow keys to change the flash rate (the memory icon disappears). To
save the new flash rate, press and hold MODE, then press MEMORY. The
memory icon reappears and shows that the current flash rate is stored.
Clearing All Memory (see page 6)
page 5page 4
MEASURING
1. Visually note a unique feature or physically mark the object to be
measured with reflective tape or a chalk mark.
2. Click the
POWER switch and release. The LED indicator blinks and the
strobe flashes at 3,000 FPM (factory default) or previous power down
value. Click to turn off. The strobe automatically shuts off after 10
minutes. Turn on the strobe by clicking and holding the
POWER switch.
If released after two seconds the strobe shuts off.
3. Set flash rate to maximum and aim the NS-600 at the
object. To find true rpm, lower the flash rate until the
first time a single mark appears. Use ▲ or ▼ arrows to
adjust the flash rate until the feature or mark appears
frozen. The flash rate changes more rapidly the longer
the ▲ or ▼ arrow key is held, then resets 1.5 seconds
after it is released.
Advanced users: After releasing the ▲ or ▼ arrow, the
numeric place of the flashing digit indicates the rate of
change. Press the ▲ or ▼ arrows to change the value of
the flashing digit. While a digit is flashing, press the
or arrows to move the numeric place of the flashing
digit higher or lower. Then press the ▲ or ▼ arrow to
change the flash rate using that increment.
Note: If the flash rate is 1/2 of true rpm, 1/3, 1/4, etc., a single mark also
appears. If the flash rate is 2x true rpm, two marks appear, 3x true rpm,
three marks, 4x, four marks, etc. If the flash rate is 2/3 of true rpm, 2/5, 2/7
etc., two marks appear. And 4/3, 4/5 and 4/7 four marks appear, etc.
Digital Phase Shift
(image rotation)
After synchronizing the flash rate with the rotating object, press and
hold the
MODE key while pressing the or arrows to adjust the angle.
When the strobe is turned off, the phase shift setting resets to zero.
▲
▲
▲
▲
PREPARATION
Remove the battery compartment coin screw and
install 2 AA batteries, note the polarity.
3000.0
FPM
1
PRESS MEMORY TO CHANGE LOCATION
MEMORY
ICON
–FUL–
FPM
F0
3000.0
FPM
F0
SELECT WITH UP AND DOWN ARROWS
F0 ...F6
1 ...9
 Loading...