

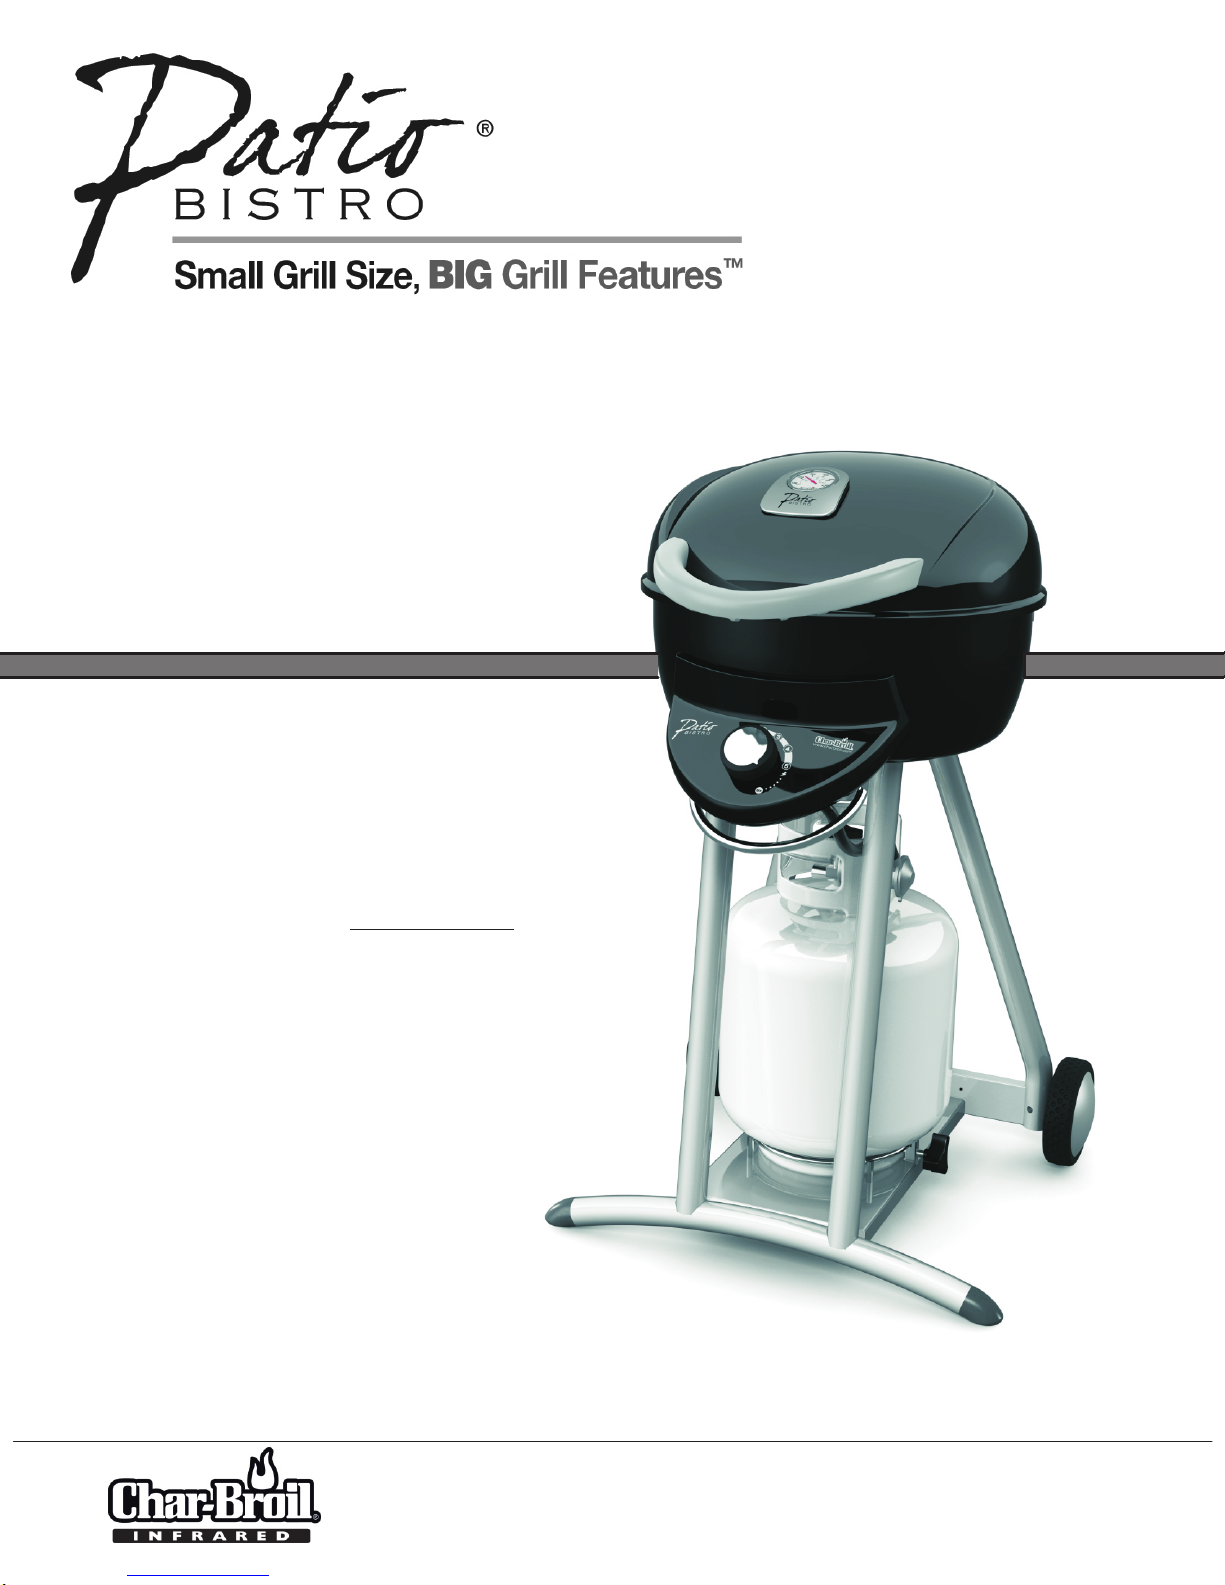
Char-Broil Patio Bistro 08601558 Assembly Manual
assembly
guide
Model Number:
08601558
Propane cylinder
sold separately.
Estimated time required for assembly: 1 Hour
PROPANE
(English)
42804486 • 10/20/2009
2
ASSEMBLY GUIDE
A, B, C, Assembly:
CAUTION: For your safety, before operating, Read Product Guide & Outdoor Cooking Guide
provided with this grill.
*SAFETY First…..Grill components may have sharp edges. Be careful when handling grill parts
during assembly. We suggest that you wear a sturdy pair of leather gloves while handling the grill parts.
BEFORE You begin assembly of your grill….
1. Carefully remove all components from the carton.
2. Familiarize yourself with the components and hardware used for assembly.
3. Please note that hardware used for assembly may not be shown actual size..
4. After removing components from the carton, split the carton open and use it as
a soft, scratch-free work pad to assemble your grill.
BEFORE You Grill….
1. Read Product Guide & Outdoor Cooking Guide
2. Position Grill Safely away from walls & structures (Ref. Product Guide)
3. Pre– Heat Grill—15 minutes on 5 , High to season grill.
TIPS & Tricks…...
First Take a moment to record the serial number here: _______________________________
When grilling, preheat your grill for 10 to 15 minutes with the lid down.
Go to charbroil.com to register your grill.-
After grilling—the Bistro can be turned on 5 , High for cleaning and burning off
the grates. - Use a wire brush to brush off the grates.
A light coat of oil on the grate will help prevent foods like fish and vegetable from
sticking to the grate.
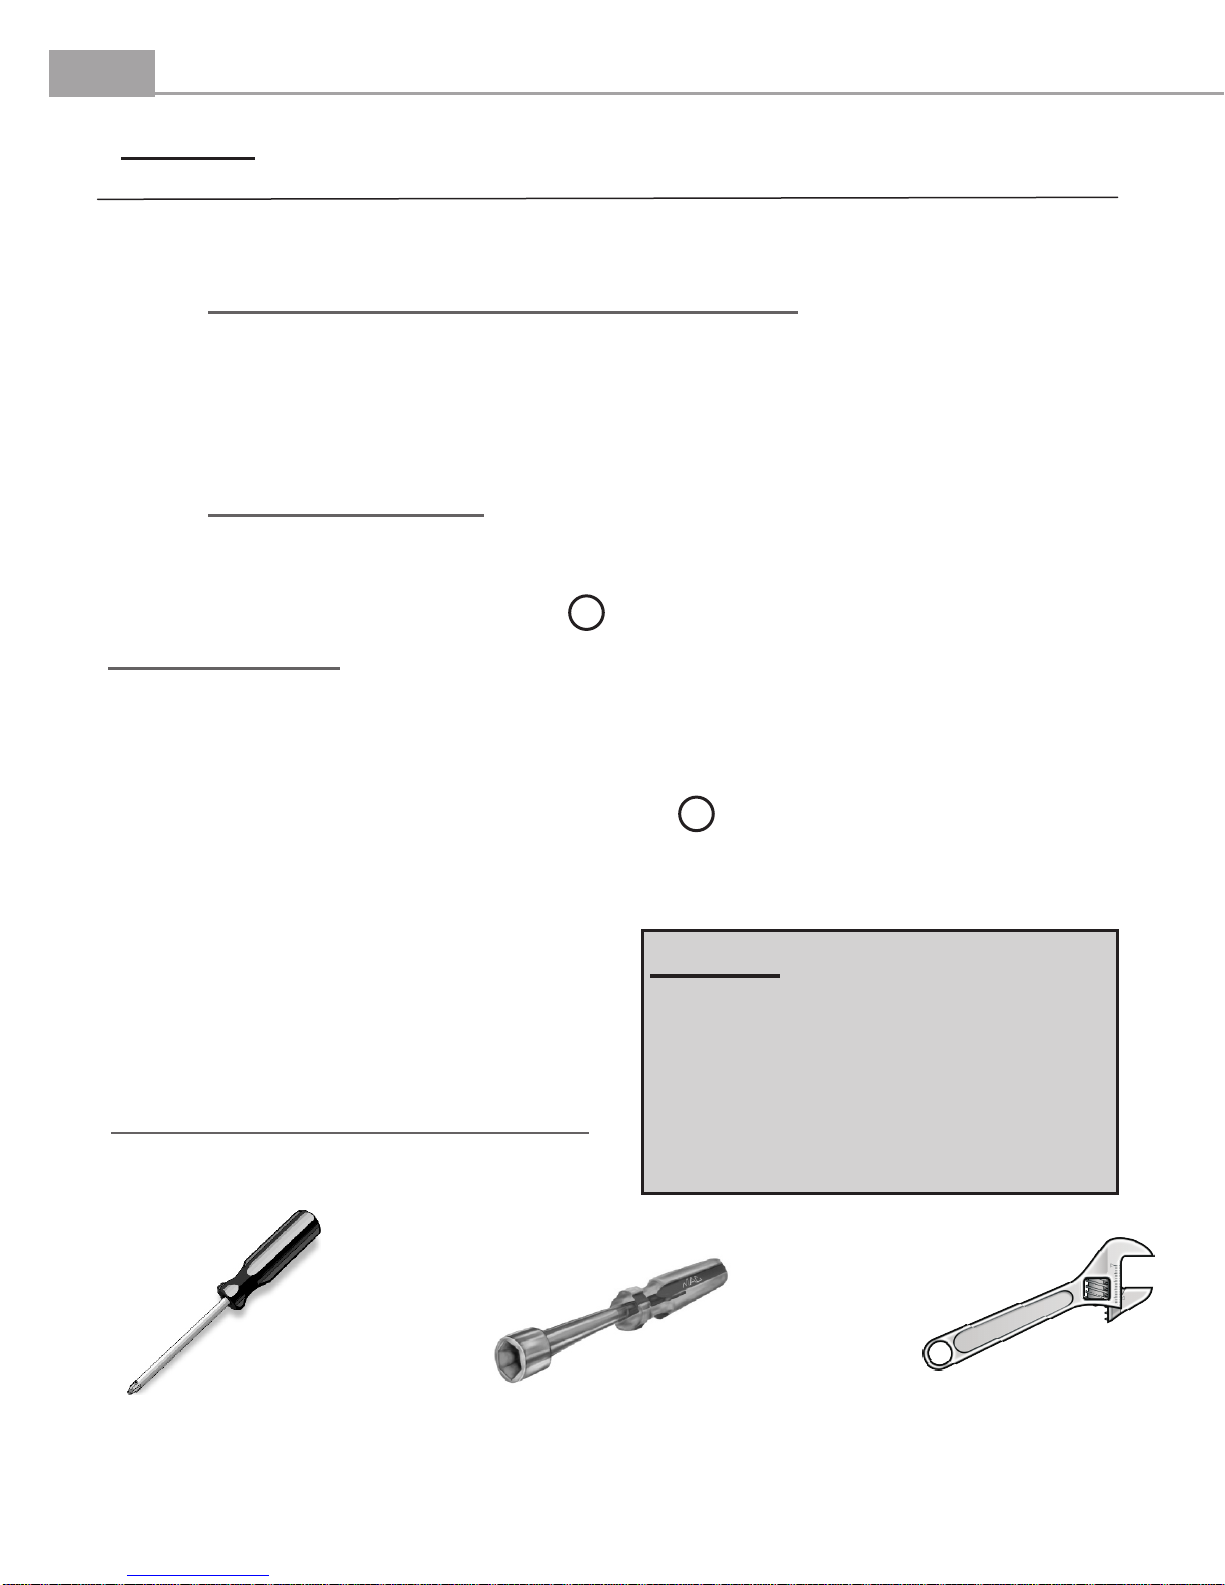
TOOLS REQUIRED FOR ASSEMBLY
(Not Supplied)
NOTE….
Installer: Leave instructions with the grill.
Consumer: Retain instructions for reference.
Grill must be installed in accordance with local
codes…..
Designed for outdoor use only…
Read all instructions before operating…
Phillips Head
Screwdriver
Visit www.sizzleonthegrill.com/user-forums to chat with Patio Bistro® owners just like you!
3/8" Nut Driver
Small Adjustable
Wrench
DD
3
ASSEMBLY GUIDE
A
T
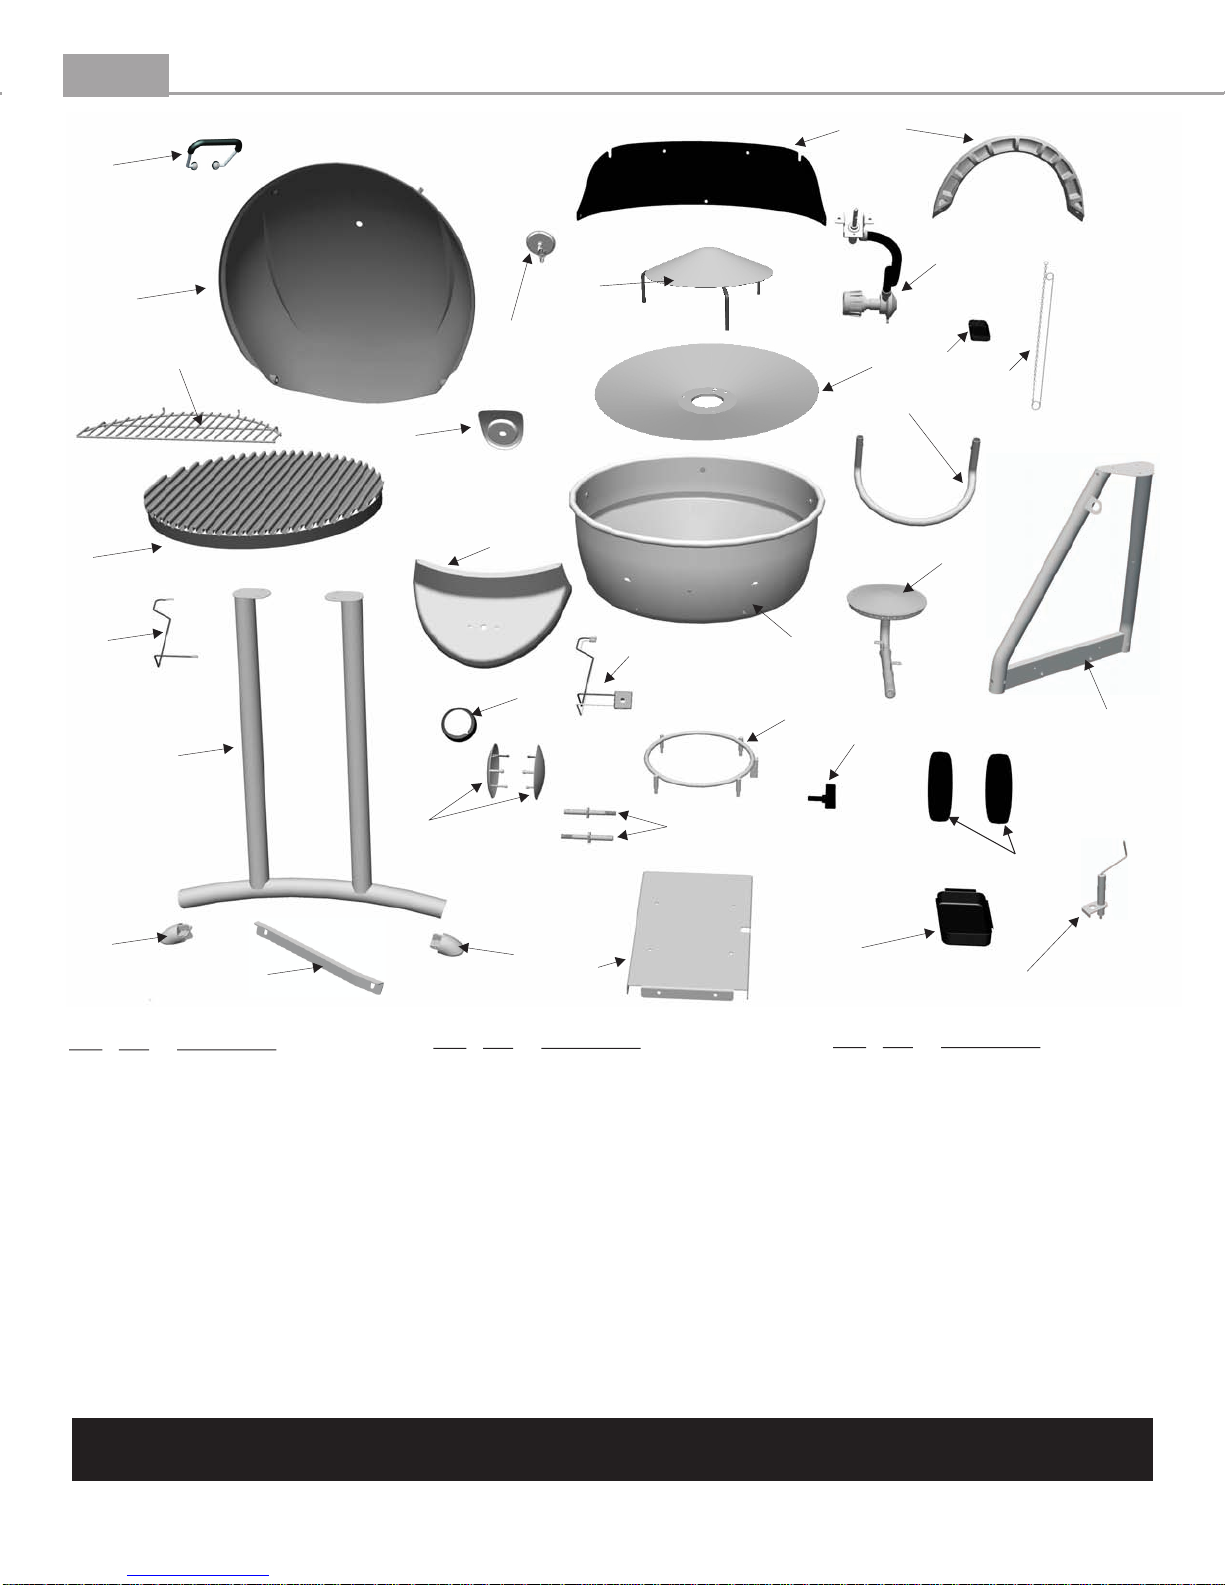
Grill Parts Diagram
K
H
S
C
V
I
CC
J
G
X
W
EE
P
BB
AA
Key Qty Description
A 1 Grill Lid
B 1 Lower Body
C 1 Heat Tent
D 1 Burner
E 1
F 1 Ignition Harness
G 1 Logo Plate
H 1 Wind Shield
I 1 Inner Reflector
J 1 Towel Bar
K 1 Handle
L 1 Control Panel
Tank Retainer Bolt
L
F
N
R
BB
Key Qty Description
M 1 Wheel
N 1 Control Knob
O 1 Rear Leg Set
P 1 Front Leg Set
Q 1 Grease Tray
R 1 Hubcap
S 1 Hose, Valve, Regulator Assembly
T 1 Warming Rack
U 2 Axle
V 1 Heat Indicator
W 1 Cooking Grate
X. 1 Match Holder
Z
U
D
B
Y
E
M
Q
FF
Key Qty Description
Y 1 Tank Retainer Ring
Z 1 Cart Base
AA 1 Cart Bracket
BB 2 Leg Caps
CC 1 Ignition Module
DD 1 Pull Handle
EE 1 Electrode Wire
FF 1 Ignitor Electrode
... 1 Hardware Pack
... 1 Assembly Manual, English
... 1 Assembly Manual, Spanish
O
NOTE: Some grill parts shown in the assembly steps may differ slightly in appearance from
those on your particular model. However, the method of assembly remains the same.
Visit www.sizzleonthegrill.com/user-forums to chat with Patio Bistro® owners just like you!
 Loading...