

Page 1
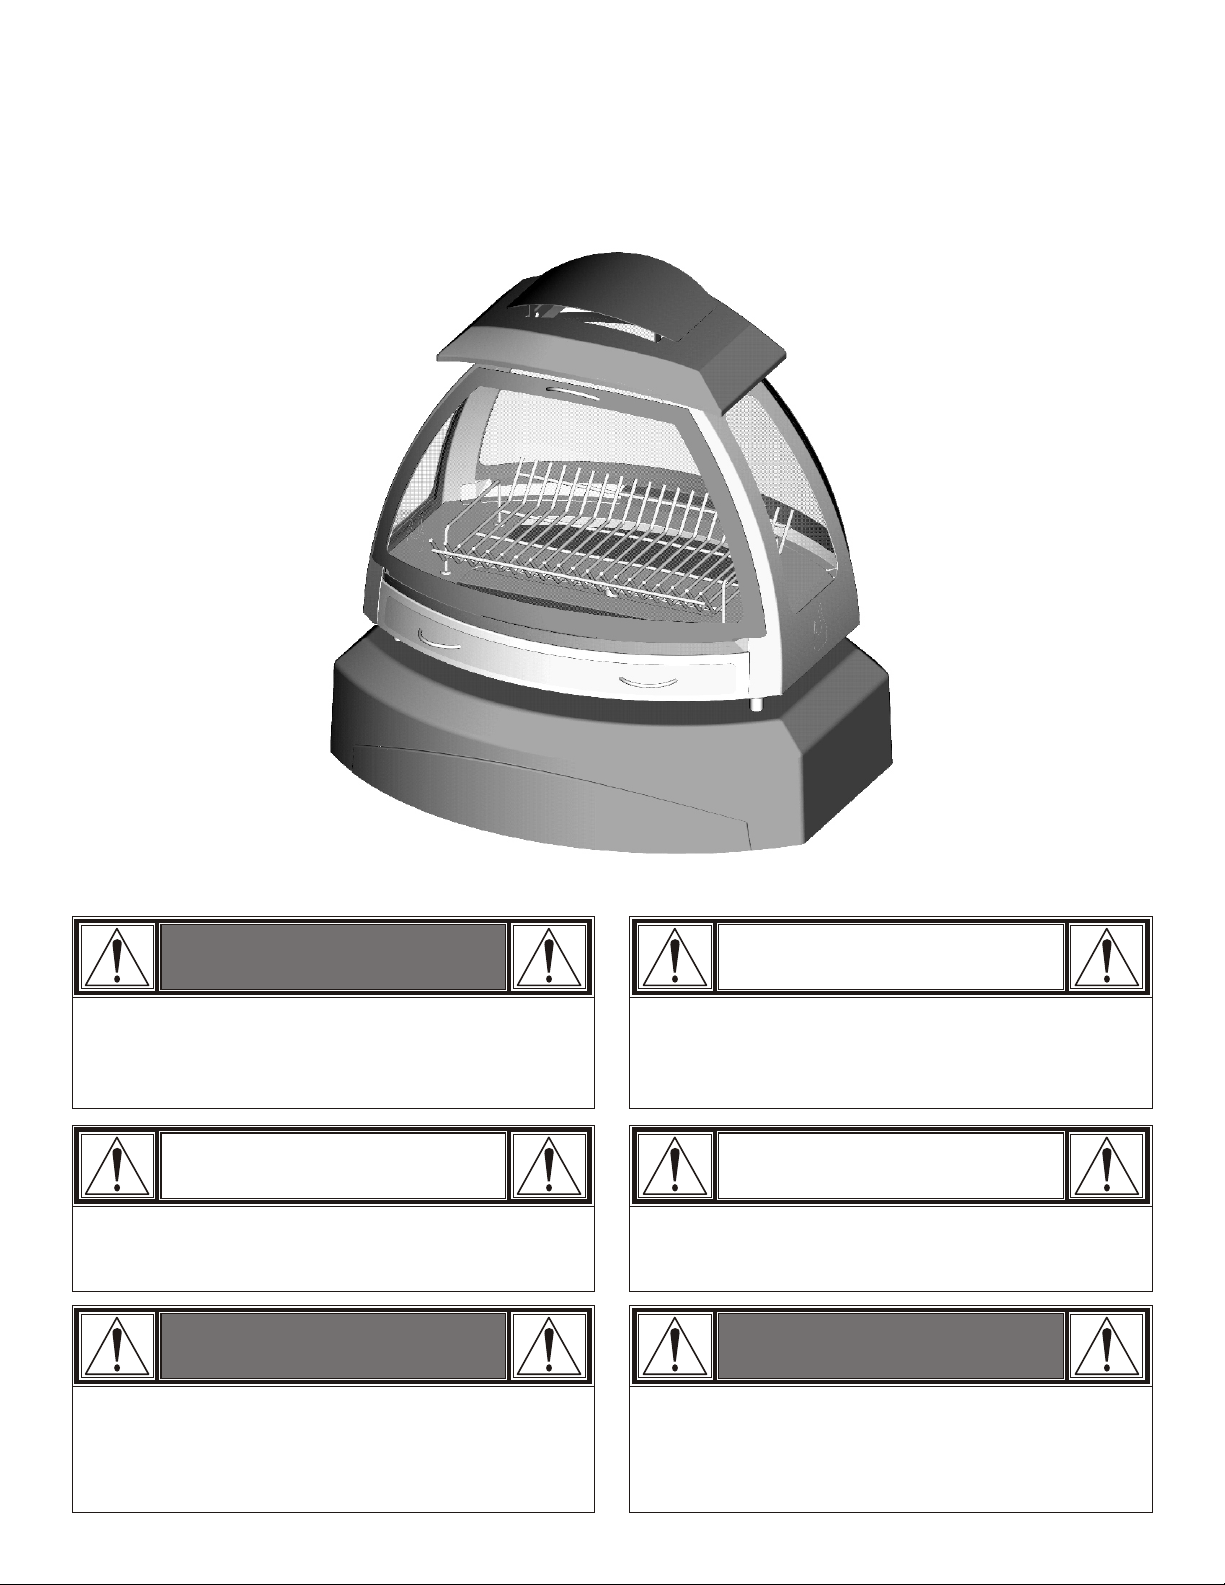
Arch Fireplace
MODEL 03505788 • Assembly Instructions
FOR OUTDOOR USE ONLY!
Tools needed for assembly: Phillips screwdriver • Adjustable wrench
WARNING
Do not use this unit on a wood deck or on combustible
surfaces such as dry grass, leaves, mulch, etc. Do not
use this unit near heat sensitive or combustible structures
such as vinyl or wood siding.
Some parts may contain sharp edges – especially as
noted in manual. Wear protective gloves if necessary.
WARNING
NEVER LEAVE FIRE UNATTENDED!
Do not allow small children near flame. Hot embers can
fly out of ring in breezy conditions. Adequate fire
extinguishing material should be readily available.
CAUTION
THIS UNIT IS HEAVY!
DO NOT assembly without a helper.
CAUTIONCAUTION
Read and follow all safety statements, warnings,
assembly instructions and use & care directions before
attempting to assemble.
WARNING
CARBON MONOXIDE HAZARD
Burning charcoal inside can kill you. It gives off carbon
monoxide, which has no odor. NEVER burn charcoal
inside homes, vehicles or tents.
Arch Fireplace 03505788 / 42803959 (07-23-03)
Page 2
STOP!
Missing a part?
No need to go back to the store!
The store where you made your purchase
does not stock parts for this item. If you
need parts, whether they are missing or
damaged, call the Customer Service toll
free Help Line.
Call us and we will gladly ship
the part you need
FREE OF CHARGE.
Parts List
Call Our Help Line
Item
Description
55700429 Base Kit
55700430 Firebox Kit
55700431 Side Panel Kit
55700432 Top Kit
40011188 Carton
29100105 Hood Cap
29100101 Screen
29000384 Ash Drawer
29100106 Log Rack
42000003 Hardware Bag
42803959 Assembly Instructions
Page 3
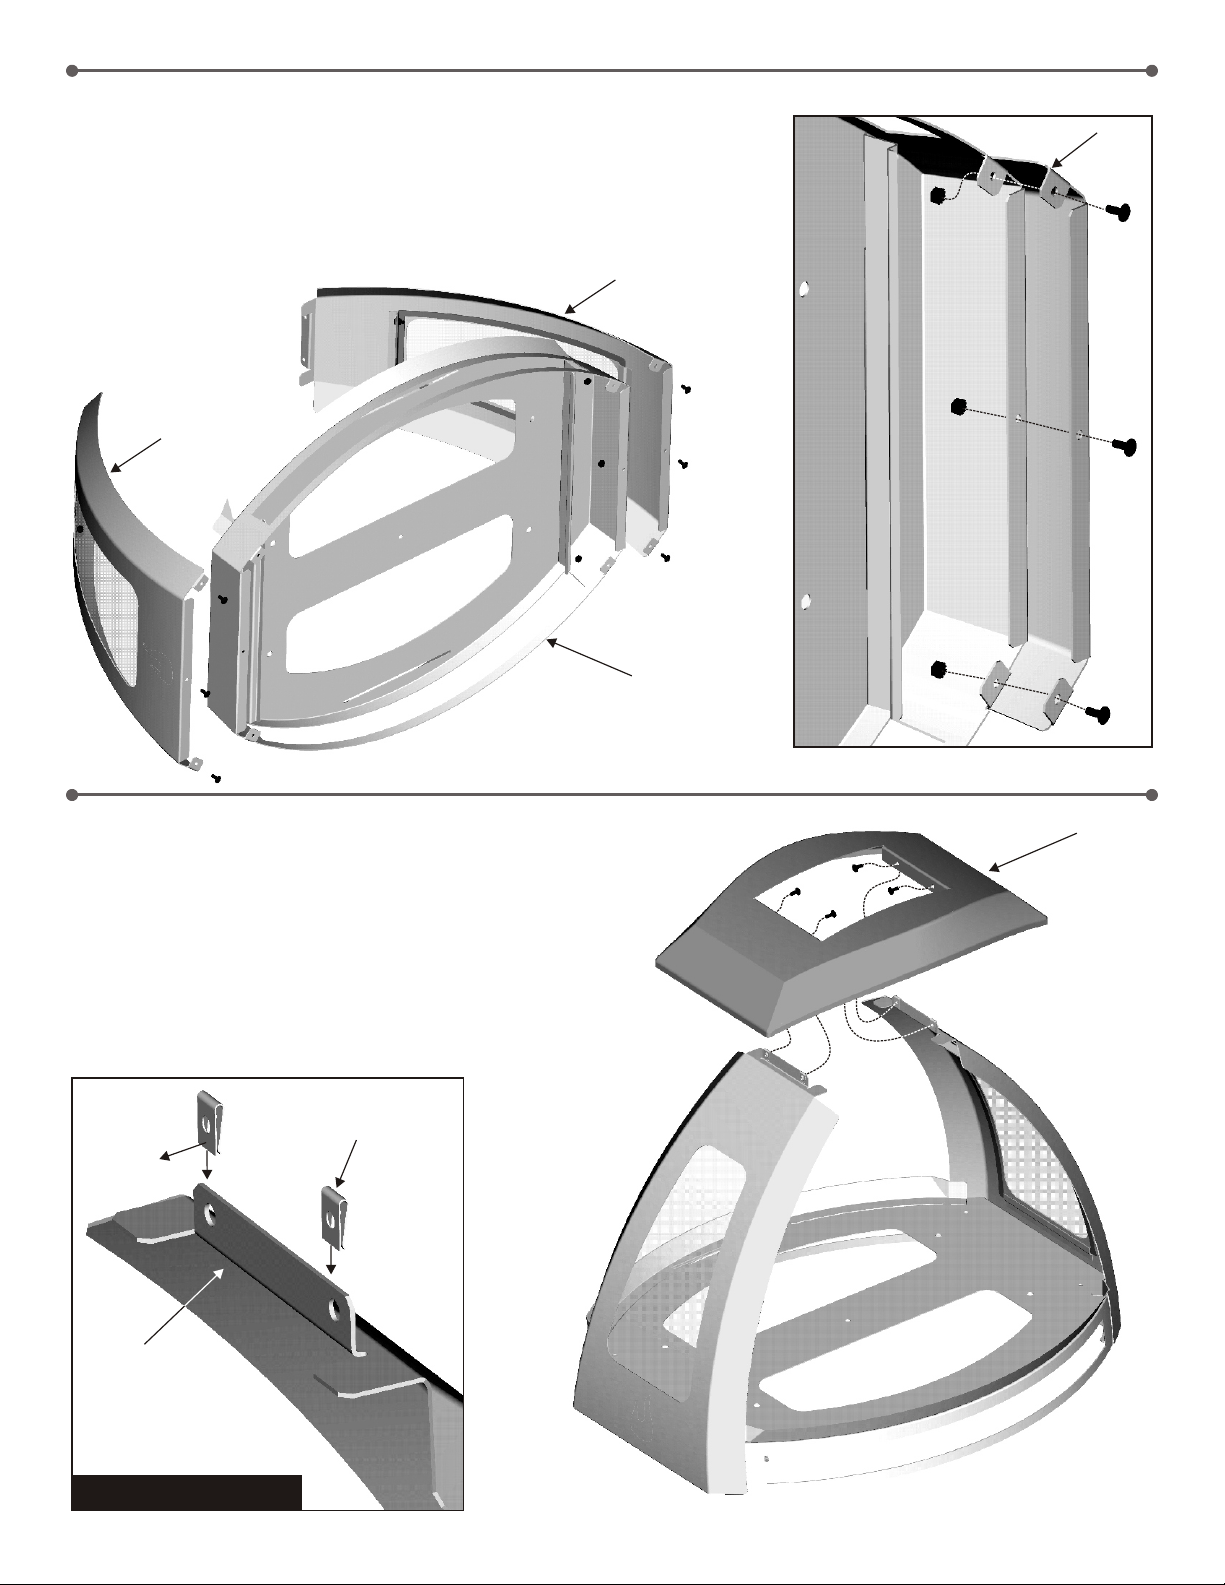
Attach the two side panels to the
firebox using three #10-24x1/2”
1
machine screws and three #10-24 keps
nuts on each side. It may be helpful to
have someone hold components in
place as you attach screws and nuts.
Side
panel
Side
panel
Side
panel
Firebox
Firebox
FIRST, push the U-clips over the holes at the top of
the side panels, making sure that the FLAT sides of
2
the U-clips face inward.
NEXT, place the top between the side panels and
secure with two #10-24x1/2” machine screws on
each side. Screws should pass through the top
first, then into the U-clips on the side panels.
Flat side
inward
Top of
side panel
U-clip
Top
Do This First
Page 4

Attach the base to the firebox using five 1/4-20x6” machine screws, 1/4-20 keps nuts, and spacers. Insert the five
screws into holes in the top of the firebox. Slide the spacers onto the screws. Fit the base onto the ends of the screws
3
and secure with keps nuts. It may be helpful to have someone hold components in place as you attach screws,
spacers, and nuts.
1/4-20x6”
Screw
Spacer
Slide an ash drawer into each side
of the fireplace.
4
Base
Ash drawer
Ash drawer
Page 5

Place the log rack onto the firebox. Log rack legs
fit into holes in floor of firebox.
5
Log rack
To attach front and rear screens (screens are identical), place bottom lip of screens over outer edges of firebox, and
lean screens against side panels.
6
Page 6

Place the top cap into the opening in the
fireplace top.
7
Your fireplace is now ready to use.
Top cap
Page 7

HARDWARE LIST
Hardware is shown actual size. You may have spare hardware after assembly is complete.
#10-24x1/2”
Machine Screw
Qty. 10
U-Clip
Qty. 4
1/4-20x6” Machine Screw • Qty. 5
#10-24 Keps Nut
Qty. 6
1/4-20 Keps Nut
Qty. 5
Limited Warranty
The manufacturer warrants the product for replacement or repair of parts and/or workmanship for a period of 90 days. Paint is not
warranted and will require touchup.
These limited warranties are made exclusively to the original customer presenting proof of purchase. These warranties are limited to
non-commercial residential use only. Any returned goods must be shipped prepaid. These warranties do not cover normal wear and
tear or damages resulting from abuse or misuse. This warranty excludes incidental or consequential cost due to damages or losses or
property of any nature.
NOTICE: Some states do not allow the exclusion or limitation of incidental or consequential damages or limitations on how long an
implied warranty lasts, so the above limitations or exclusions may not apply to you. This warranty gives you specific legal rights and
you may also have other legal rights which may vary from state to state.
For further information, contact the manufacturer, toll free at 1-800-232-3398.
Page 8

W.C. Bradley Co.
Columbus, GA 31902
 Loading...