

Channel Master Advantage 3016, Advantage 3018, Advantage 3020 Installation Instructions Manual
ADVANTAGE
MEDIUM AND LONG RANGE TV ANTENNAS
HD DIGITAL / VHF / UHF / FM
60
INSTALLATION INSTRUCTIONS
100
45
INSTALLATION INSTRUCTIONS
ADVANTAGE
MEDIUM AND LONG RANGE TV ANTENNAS
HD DIGITAL / VHF / UHF / FM
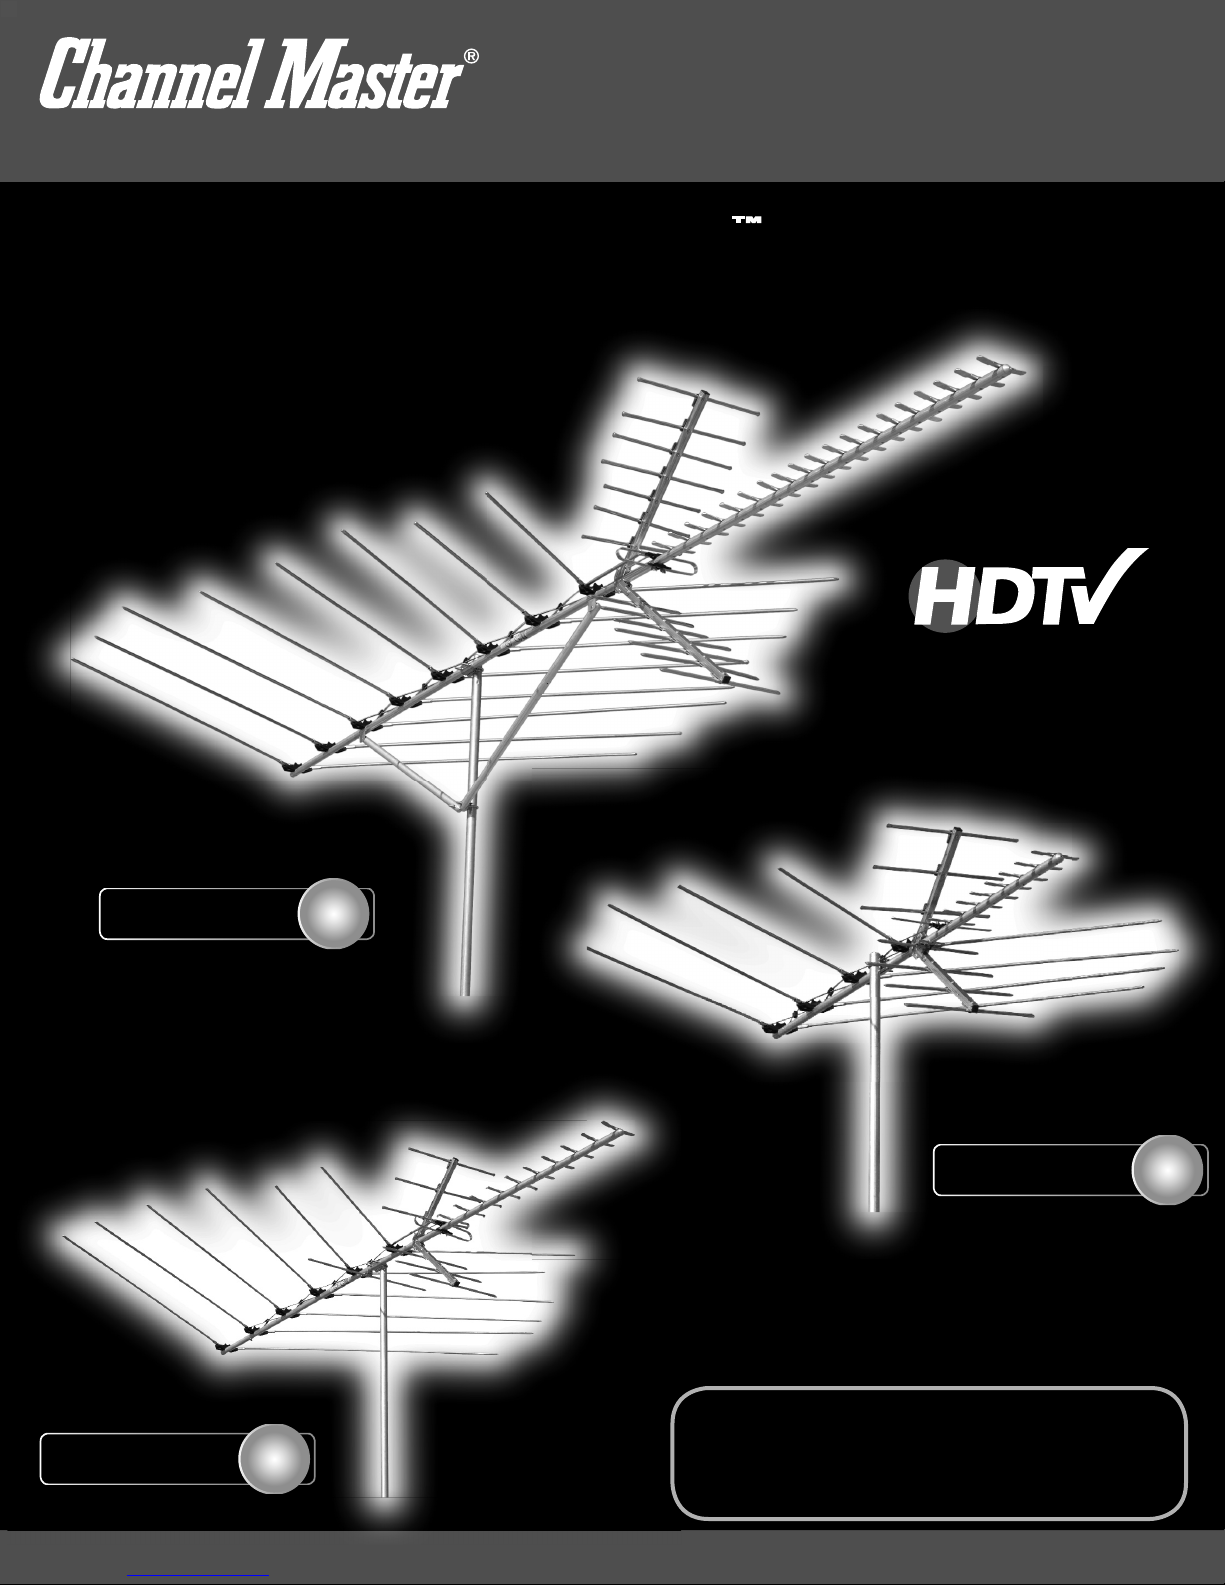
Models
3016, 3018
and 3020
HIGH-DEFINITION TELEVISION
3020
Best for
LONG RANGE
3018
Best for
LONG RANGE
Up to
60
Miles
Up to
100
Miles
3016
Best for
MEDIUM RANGE
WARNING: Installation of this product near
power lines is DANGEROUS! For your safety, read
the enclosed “DANGER” booklet before beginning
your installation.
Up to
45
Miles
www.channelmaster.com
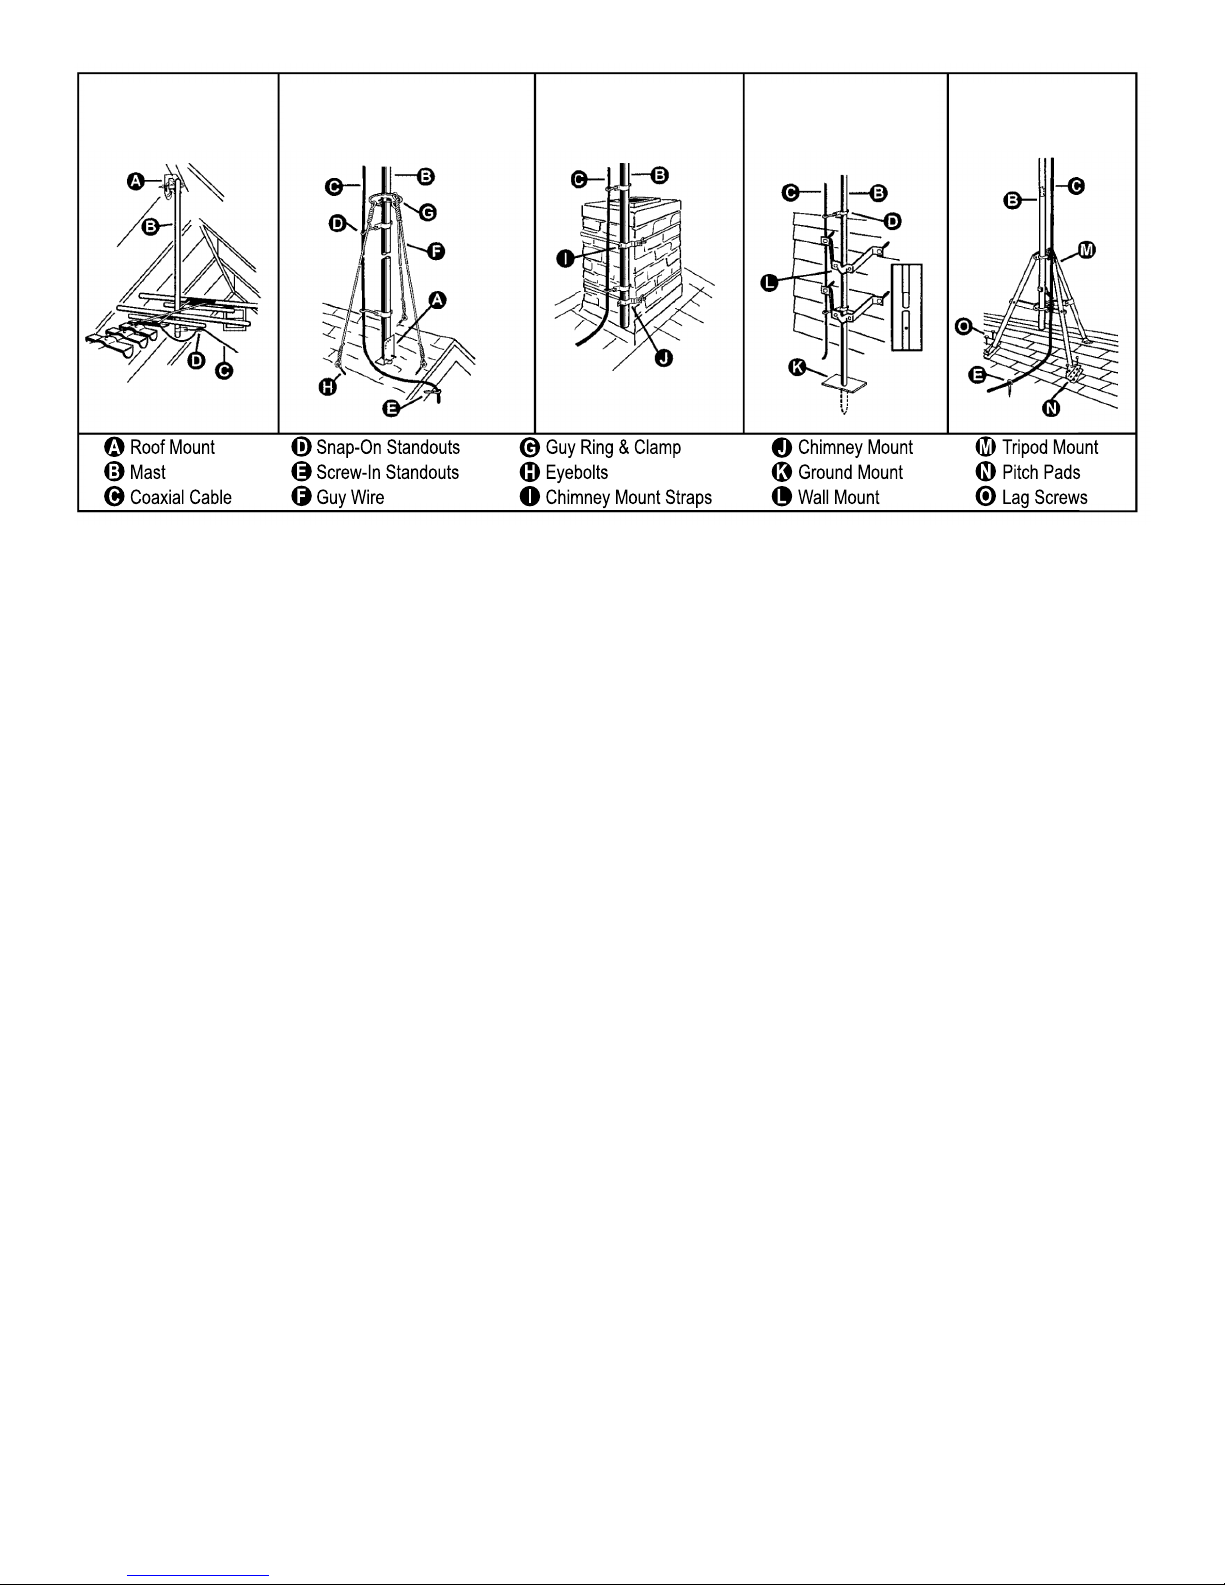
INSTALLATION LOCATIONS
ATTIC MOUNT
ROOF MOUNT
(Using Guy Wire)
CHIMNEY MOUNT WALL MOUNT TRIPOD
IMPORTANT SAFEGUARDS
• Remember, when working on a roof, use two adults.
• Never walk on a composition roof in cold weather.
• Wear sneakers or crepe soles, and use a safety rope.
• Always watch for power lines.
A. ATTIC MOUNT
Using a roof mount, attach a short piece of mast to a
convenient roof rafter. Attach and aim the antenna in
the same manner as outlined for outdoor installations.
NOTE: Antennas should not be installed in an attic if the
roof or walls are metal or are lined with foil backed insulation.
B. ROOF MOUNT
Used on peaked or fl at roofs.
Suggested Height Limit: 10 feet above roof top.
Using a roof mount, connect the mast with guy ring and
guy wires attached, to the mount. Use three or four guy
wires, equally spaced around the mast, and anchor
the guy wires to the roof or eaves with eyebolts. The
guy ring should be clamped approximately one (1) foot
below the antenna, Use roofi ng compound around the
base of the mount, screws and eyebolts to seal against
moisture. After the installation has been completed,
mount the extra WARNING LABEL supplied with the
antenna hardware to the mast at EYE LEVEL!
C. CHIMNEY MOUNTING
Suggested Height Limit: 10 feet above rooftop.
First, check your chimney thoroughly for stability
to make sure that it is strong enough to support the
antenna during severe winds. Do not use a chimney
that has loose bricks or mortar. Install the upper bracket
just below the top course of bricks and the lower bracket
at least 2 1/2 feet below the top bracket. (For maximum
strength, space the brackets as far apart as possible.)
After the installation has been completed, mount the
extra WARNING LABEL supplied with the antenna
hardware to the mast at EYE LEVEL!
D. WALL MOUNT
Suggested Height Limit: 10 feet above rooftop.
If the roof overhang is not excessive, the side of the
house can be used for mounting. If a wall mounted
installation is done from the ground up, use a ground
mount with a “spike” at the ground. Position the wall
brackets over a stud if possible; one above the other
and space a minimum of three feet (3) apart. For metal
siding, mark mounting holes, then drill pilot holes through
the siding for mounting screws. If you use a 2-piece
mast, assemble the pieces as shown, making sure that
they are properly locked together. Split between masts
should be between the two (2) wall brackets, After
the installation has been completed, mount the extra
WARNING LABEL supplied with the antenna hardware
to the mast at EYE LEVEL!
E. TRIPOD MOUNT
Use on peaked or fl at roofs.
Suggested Height Limit: 10 feet above roof top.
The tripod mount can be mounted to any style roof by
adjusting the bracket on the center leg. Insert the mast
into the tripod mount and place the mount with legs over
the roof rafters. Make sure the mast is vertical. Remove
the protective covering from one side of the three (3)
pitch pads and place under the base of each tripod leg
with the tacky side towards the roof. Secure the tripod
mount to the roof using lag screws. After the installation
has been completed, mount the extra WARNING LABEL
supplied with the antenna hardware to the mast at
EYE LEVEL!
F. ANTENNA REMOVAL
Removal of your antenna should be exactly in reverse
of the installation instructions. For your own safety,
please follow the instructions for installing the antenna
starting with the last step fi rst. This is the only way to
safely remove your antenna.
2
 Loading...