


SG-3000 User Manual
SG-3000
User Manual
http://www.csinfotel.com/ Page 1
SG-3000 User Manual
Table of Contents
1. Screen
Description……………………...…………..……….3
1.1. Stand-by Screen.…………………………………………………….…..………3
1.2. Administrator Login Screen…………………………………………….………4
1.3. Setting Screen…………………..…………………….……………………………5
1.4. Authentication Success Screen………………...……………………….……….6
1.5. Authentication Failure Screen.…….……………………………………………7
2. Administrator Functions…………………………..……..8
2.1. User Registration.…………………………………………………………………8
2.2. User Management………………..………………………………….………….10
2.3. Mixed uthentication………………………………………….……………………12
2.4. Log Management.……………………………………………………….………14
2.5. Administrator Management.……………………………………………………15
2.6. IR/Brightness/Language……………………….………………………………..16
2.7. Sound.………………………………………………………………….……….…17
2.8. Image……………………………………………………………….……………….18
2.9. Device Setting………………………………………………………….…………..19
3. User Authentication
Process.……………..……………..20
3.1. ID/PW authentication process.……………………………….………….……..20
3.2. W-KEY authentication process…………………………….………….……….20
3.3. Fingerprint authentication process.……………………….………….…………20
3.4. RFID authentication process …………………………….………….……….20
http://www.csinfotel.com/ Page 2
SG-3000 User Manual
1. Screen Description
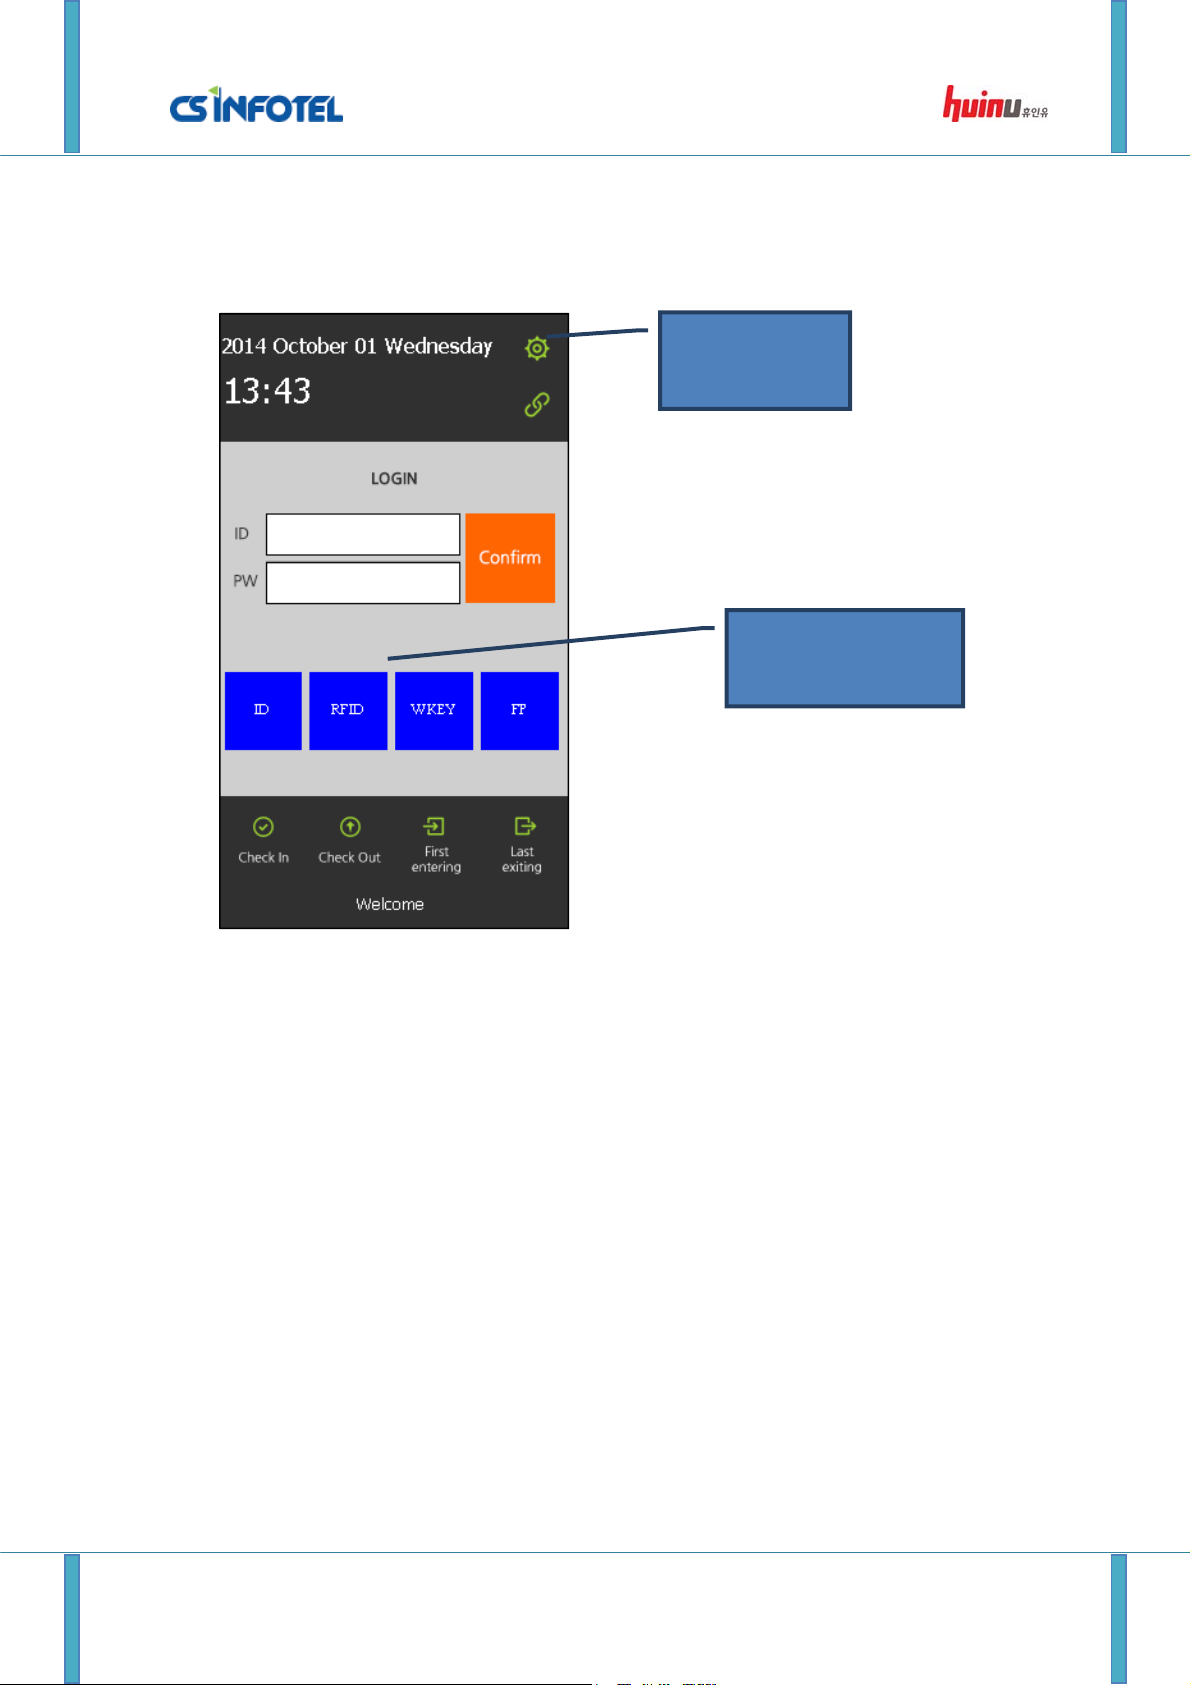
1.1. Stand-by Screen
Setting page
icon
Various types of
authentication
‘Stand-by Screen’ is the default screen. This page displays information such as time and date,
and the types of authentication turned-on. Click-on the setting page icon to proceed to the
administrator login page.
A slide-show will be displayed if this page remain idle for 30 seconds. If there is no activity
during the slide-show display for 30 seconds, the screen will turn-off. The IR sensor
(proximity sensor) will turn-on the screen if someone approaches, and that person will need
to touch the screen to access the ‘Stand-by Screen’.
http://www.csinfotel.com/ Page 3
SG-3000 User Manual
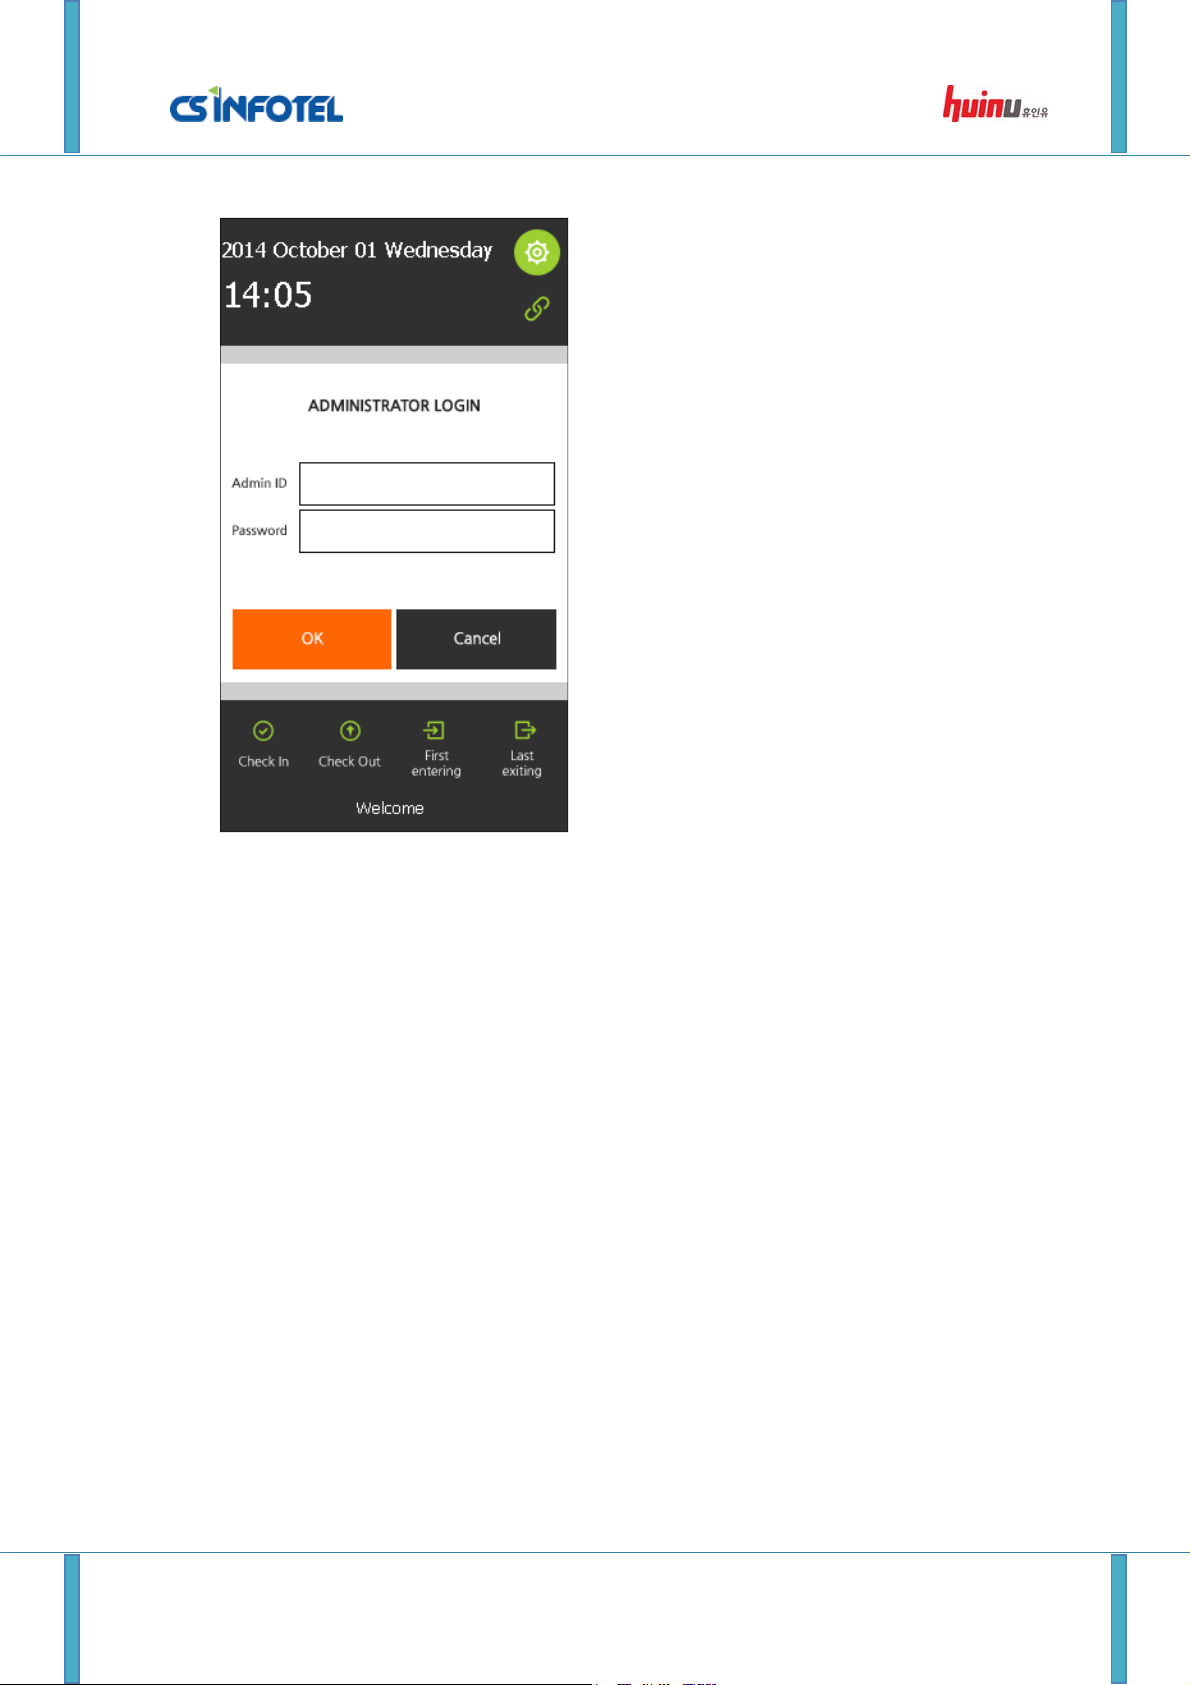
1.2. Administrator Login Screen
‘Administrator Login Screen’ allows you to insert the administrator’s ID and password to
access the setting page. The default administrator ID and password are ‘1234’ and ‘4321’,
respectively.
http://www.csinfotel.com/ Page 4
SG-3000 User Manual
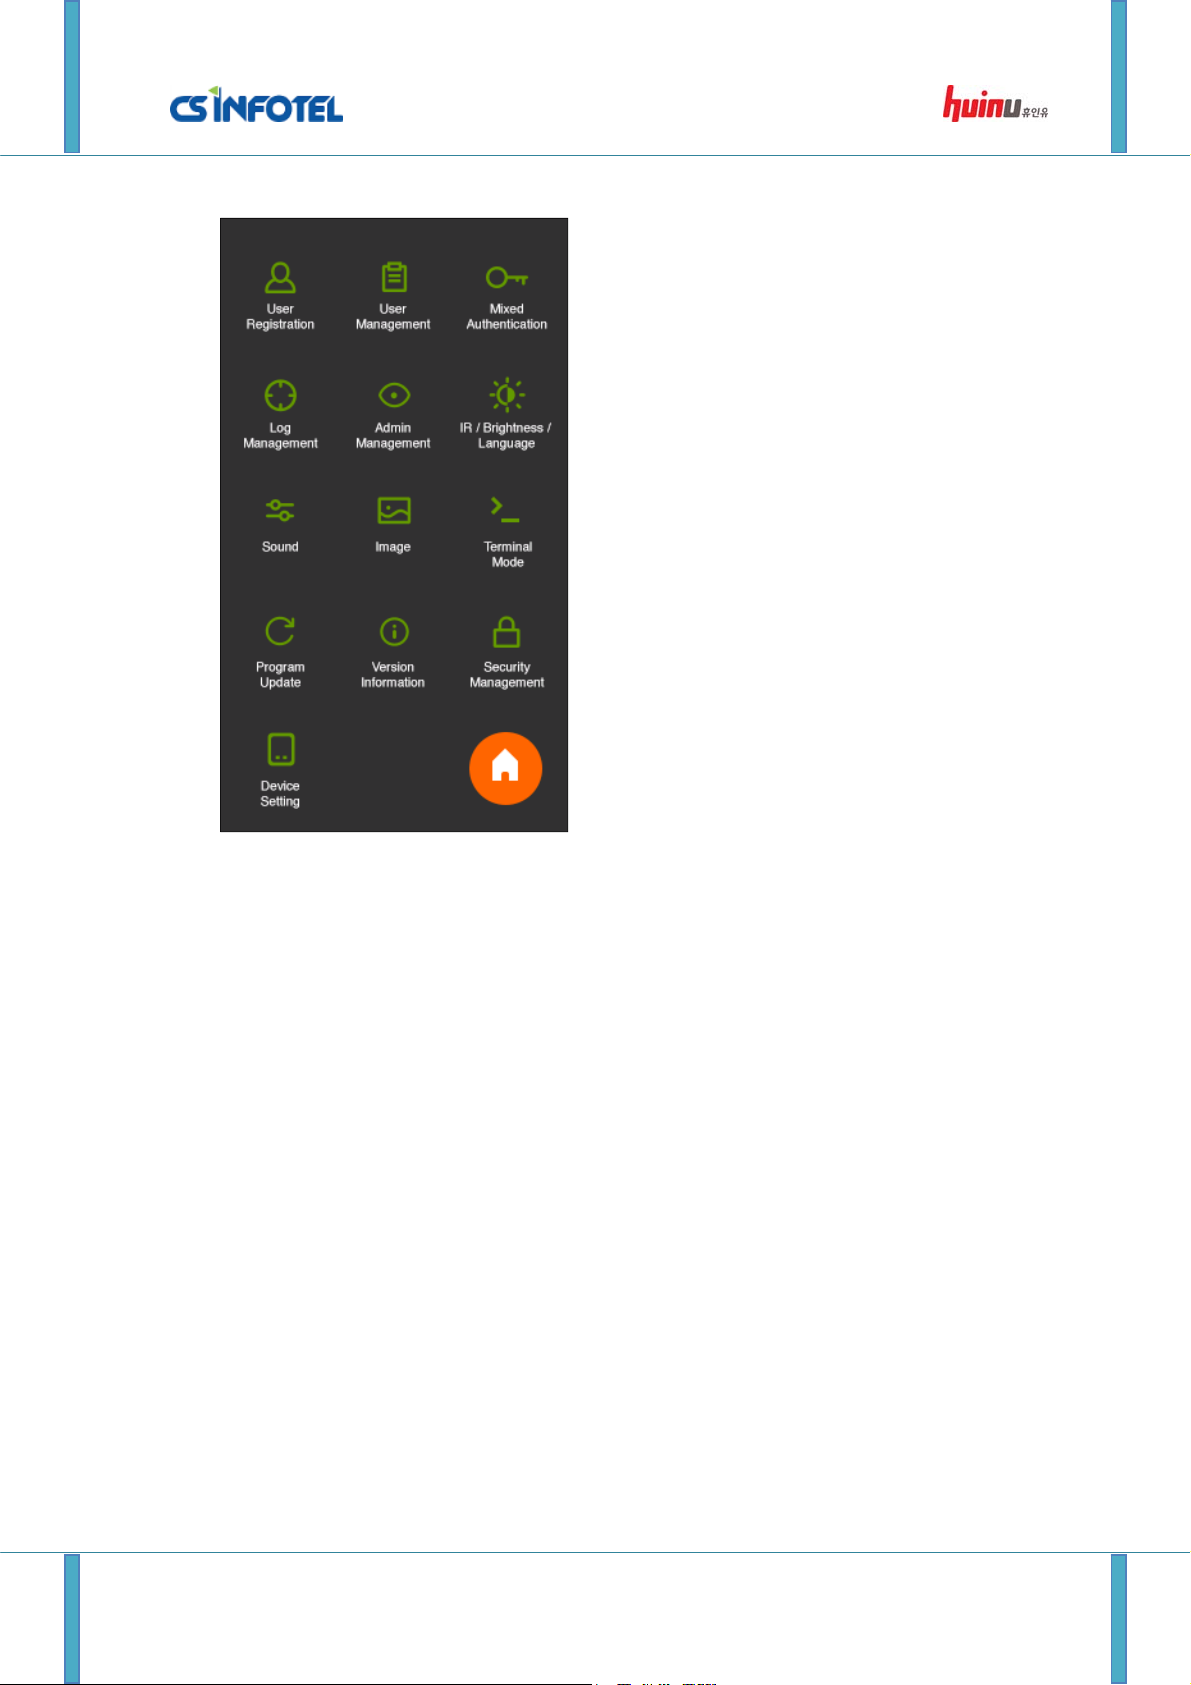
1.3. Setting Screen
The ‘Setting Screen’ allows you to configure various fe atures of the device, by clicking on the
respective button.
http://www.csinfotel.com/ Page 5
SG-3000 User Manual
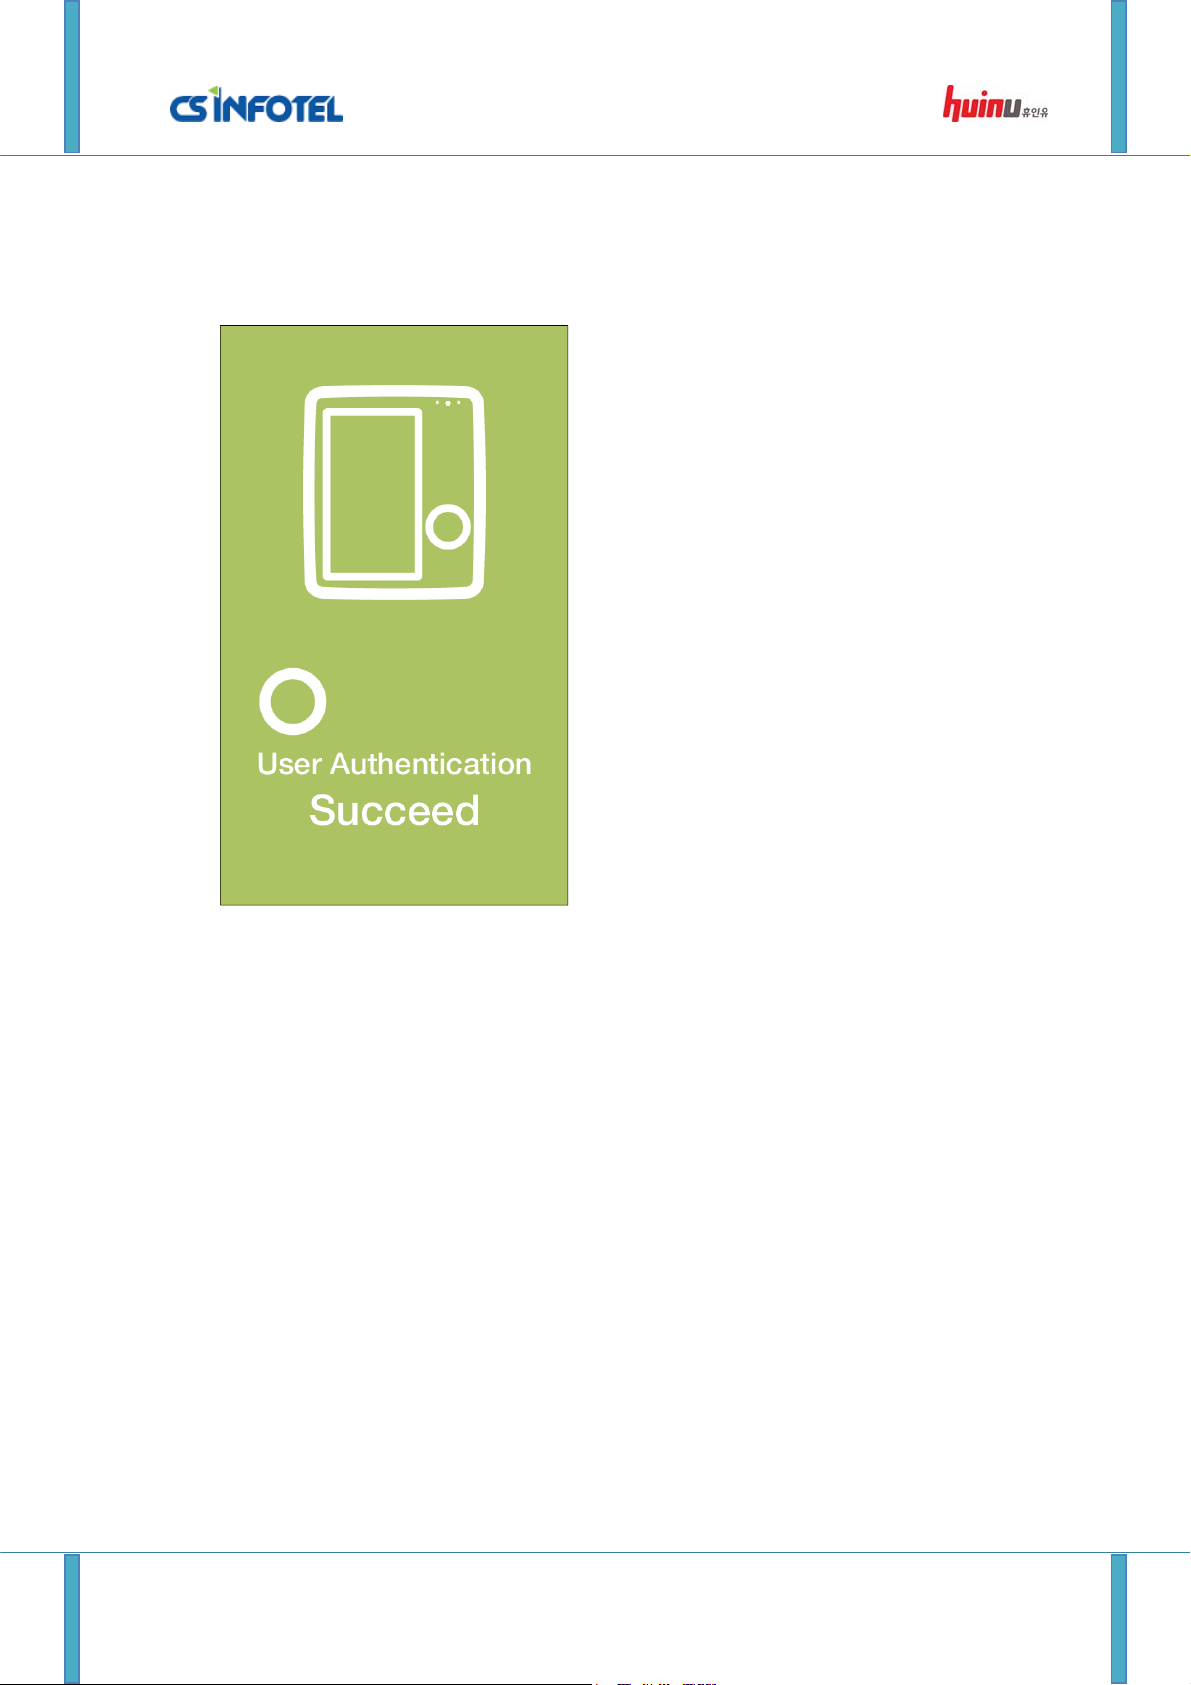
1.4. Authentication Success Screen
‘Authentication Success Screen’ is displayed when an authentication attempted by a user is
successful.
The screen is displayed for 1 second.
http://www.csinfotel.com/ Page 6
SG-3000 User Manual
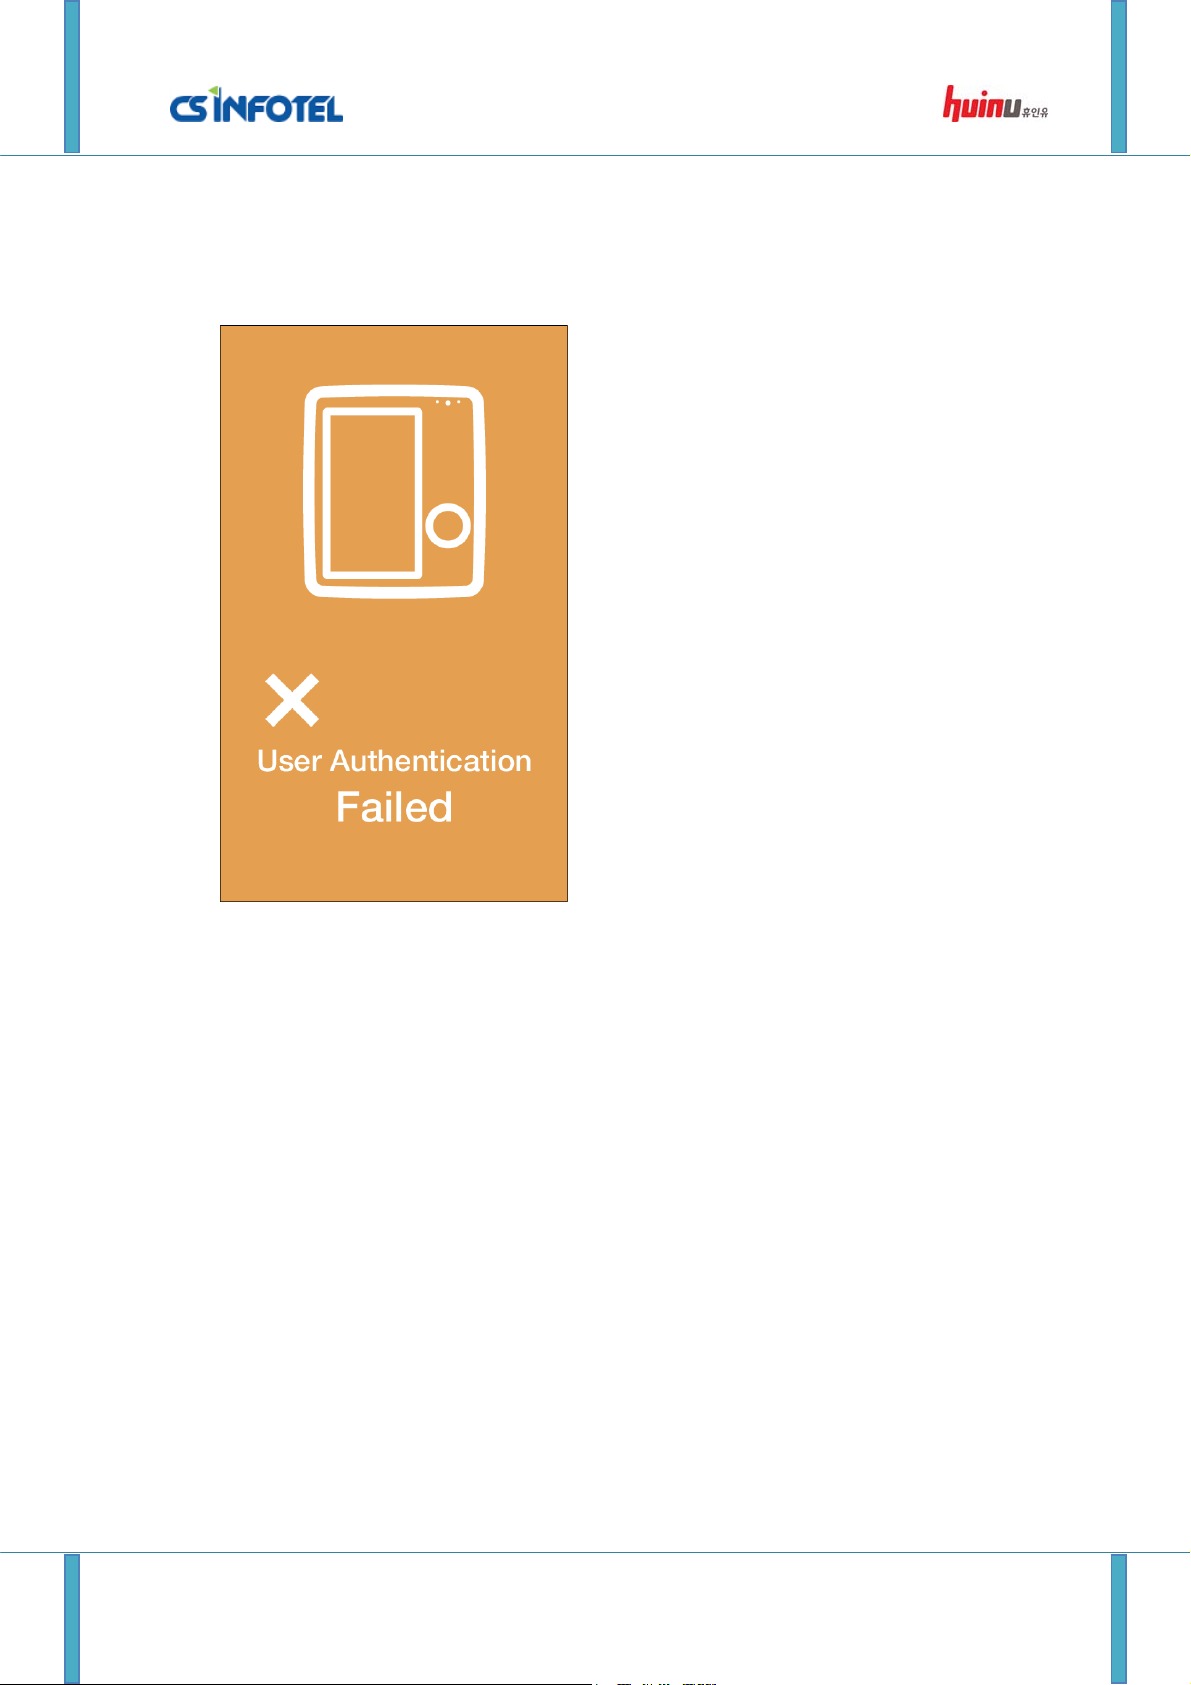
1.5. Authentication Failure Screen
‘Authentication Failure Screen’ is displayed when an authentication attempted by a user is not
successful.
The screen is displayed for 1 second.
http://www.csinfotel.com/ Page 7

SG-3000 User Manual
2. Administrative Functions
2.1. User Registration
Fingerprint registration
You can register a new user by accessing the ‘User Registration Screen’ from setting. By
default, User ID and Password are mandatory and need to be inserted to register a new user.
Currently, the device supports the registration of up to 3 fingerprints for a single user. By
clicking on the white square on the ‘User Registration Screen’, a screen such as the screen
below will be invoked. Here, you can scan your fingerprint and click ‘OK’.
http://www.csinfotel.com/ Page 8

SG-3000 User Manual
Once the scanned fingerprint appears on the screen as shown in the image above, you can
click ‘OK’ to save the captured fingerprint.
The ‘Check’ button will ensure there is no duplication of information in the device. Once all
the information for a single user has been inserted, click-on the ‘Insert’ button to store the
user information into the local database.
http://www.csinfotel.com/ Page 9

SG-3000 User Manual
2.2. User Management
You can search/modify/update a user via the ‘User Management Screen’. Insert the user ID
on the User ID box and click-on the ‘Search’ button.
‘Backup’ and ‘Restore’ allow you to back-up the local database to a location, and then restore
it in the future.
Double-click on the ‘StaffID’ to proceed to another page which you can modify the
information of a registered user.
http://www.csinfotel.com/ Page 10

SG-3000 User Manual
Update
Delete
Clear
In this screen, you can modify or delete the various information of a user. You can choose the
individual information to be included or excluded for a user. In the case where you would like
to erase a user entirely, click-on the ‘Delete all’ button.
http://www.csinfotel.com/ Page 11

SG-3000 User Manual
2.3. Mixed Authentication
The purpose of ‘Mixed Authentication’ is to provide enhanced security for the SG-3000 device.
There are four colors currently available for choosing as shown in the image above. If a
combination like the image above is chosen, users must provide all four methods of
authentication (regardless of sequence) to achieve a successful authentication.
http://www.csinfotel.com/ Page 12

SG-3000 User Manual
Any same color chosen for the authentication methods only require user to provide either one
of them for successful authentication. Fo r example, the combination such as the image above
require users to provide only one type of authentication for successful authentication.
http://www.csinfotel.com/ Page 13

SG-3000 User Manual
2.4. Log Management
In ‘Log Management’, you can back-up or view all the attempted access made via the device.
By clicking ‘Backup’, you can save the logs in .csv format (which can be open using Microsoft
Excel or any relevant software).
You can choose the date and hour of log you would like to view. If no ‘Hour’ is inserted, all
the log within the chosen date will be displayed.
http://www.csinfotel.com/ Page 14

SG-3000 User Manual
2.5. Administrator Management
You can modify the administrator’s password in this page. ‘Reset’ allows you to reset the
administrator’s ID and password to the default values, which are ‘1234’ and ‘4321’.
http://www.csinfotel.com/ Page 15

SG-3000 User Manual
2.6. IR/Brightness/Language
Represents the proximity in
which the IR sensor will be
triggered
Under IR/Brightness/Language, you can toggle the language between English and Korean,
adjust the brightness of the display, or change the distance of detection for the IR sensor.
You can turn the IR sensor on or off by using the toggle button. Disabling the IR sensor will
cause the sensor to be disabled during the slide-show (the screen will not be turned-off
during slide-show if IR sensor is disabled).
http://www.csinfotel.com/ Page 16

SG-3000 User Manual
2.7.
Sound
Open a file
Play sound
You can adjust the volume of the device under the ‘Sound’ setting.
- Success: Represents the sound that is played when an authentication is successful
- Failed: Repr esents the sound that is played when an authentication fails
- Warning: Not being used in the current version
http://www.csinfotel.com/ Page 17

2.8. Image
SG-3000 User Manual
You can modify the images that are displayed on the slide-show via this page. Currently, a
maximum of 4 images can be saved. Each image must be less than 100kB.
You can choose the image to delete by clicking ‘Delete’, and you can delete all the images by
clicking ‘Delete all’.
‘Main screen message’ represents the message that is displayed on the ‘Stand-by Screen’.
**A warning message will be displayed if you attempt to exit this page if there is no image in
the list.
http://www.csinfotel.com/ Page 18

SG-3000 User Manual
2.9. Device Setting
In ‘Device Setting’, you can change the displayed date and time.
Authentication security represents the level of security implemented for fingerprint
Brightness setting for fingerprint
This is a value that indicates the density of the fingerprint captured.
The fingerprint captured will get darker as the value increases from 0 to 400.
The default value is 200, and you may modify it depending on the weather, humidity and
lighting.
authentication. You can choose between, low, medium and high. The default value is high.
‘Factory reset’ – Erase all the information in the database, and restore all the settings to the
default values.
‘Reboot’ – Restart the device.
http://www.csinfotel.com/ Page 19

SG-3000 User Manual
3. User Authentication Process
User Authentication is possible anytime on the ‘Stand-by Screen’.
3.1. ID/PW Authentication Process.
Insert your ID and password on the ‘Stand-by Screen’ to have you credential authenticated.
3.2. W-KEY Authentication Process
Click-on the W-KEY button on the ‘Stand-by Screen’’ to perform a W-KEY authentication.
3.3. Fingerprint Authentication Process
Put your finger on the fingerprint scanner while on the “Stand-by Screen” to perform a
fingerprint authentication.
3.4. RFID Authentication Process
Tap the RFID card on the card zone as indicated on the device on the ‘Stand-by Screen’.
http://www.csinfotel.com/ Page 20

SG-3000 User Manual
WARNING
THIS DEVICE COMPLIES WITH PART 15 OF THE FCC RULES. OPERATION
IS SUBJECT TO THE FOLLOWING TWO CONDITIONS: (1) THIS DEVICE MAY
NOT CAUSE HARMFUL INTERFERENCE, AND (2) THIS DEVICE MUST
ACCEPT ANY INTERFERENCE RECEIVED, INCLUDING INTERFERENCE THAT
MAY CAUSE UNDESIRED OPERATION.
NOTE: THE MANUFACTURER IS NOT RESPONSIBLE FOR ANY RADIO OR TV INTERFERENCE CAUSED BY
UNAUTHORIZED MODIFICATIONS TO THIS EQUIPMENT.
SUCH MODIFICATIONS COULD VOID THE USER’S AUTHORITY TO OPERATE THE EQUIPMENT.
http://www.csinfotel.com/ Page 21
 Loading...