

Chameleon Labs 7603, 7603 XMOD User Manual

1
Chameleon Labs LLC, Woodinville, WA USA www.chameleonlabs.com 7603 User’s Manual
User’s Manual
7603 Mic/Line Pre-Amplier
7603 XMod Mic/Line Pre-Amplier
2
Chameleon Labs LLC, Woodinville, WA USA www.chameleonlabs.com 7603 User’s Manual
Important Safety Instructions
1. Read these instructions.
2. Keep these instructions.
3. Heed all warnings.
4. Follow all instructions.
5. Do not use this apparatus near water.
6. Clean only with a dry cloth.
7. Do not block any ventilation openings.
Install in accordance with the manufacturer’s
instructions.
8. Do not install near any heat sources such as
radiators, heat registers, stoves, or other
apparatus (including amplifiers) that produce
heat.
9. Protect the power cord from being walked on
or pinched particularly at plugs, convenience
receptacles, and the point where they exit from
the apparatus.
11.
Only use attachments/accessories specified by
the manufacturer.
12.
Use only with a cart, stand, tripod, bracket, or
table specified by the manufacturer, or sold with
the apparatus. When a cart is used, use caution
when moving the cart/apparatus combination
to avoid injury from tip-over.
13.
Unplug this apparatus during lightning storms
or when unused for long periods of time.
14.
Refer all servicing to qualified service
personnel. Servicing is required when the
apparatus has been damaged in any way, such
as power-supply cord or plug is damaged, liquid
has been spilled or objects have fallen into the
apparatus, the apparatus has been exposed to
rain or moisture, does not operate normally, or
has been dropped.
15.
This apparatus shall not be exposed to dripping
or splashing, and no object filled with liquids,
such as vases or beer glasses, shall be placed on
the apparatus.
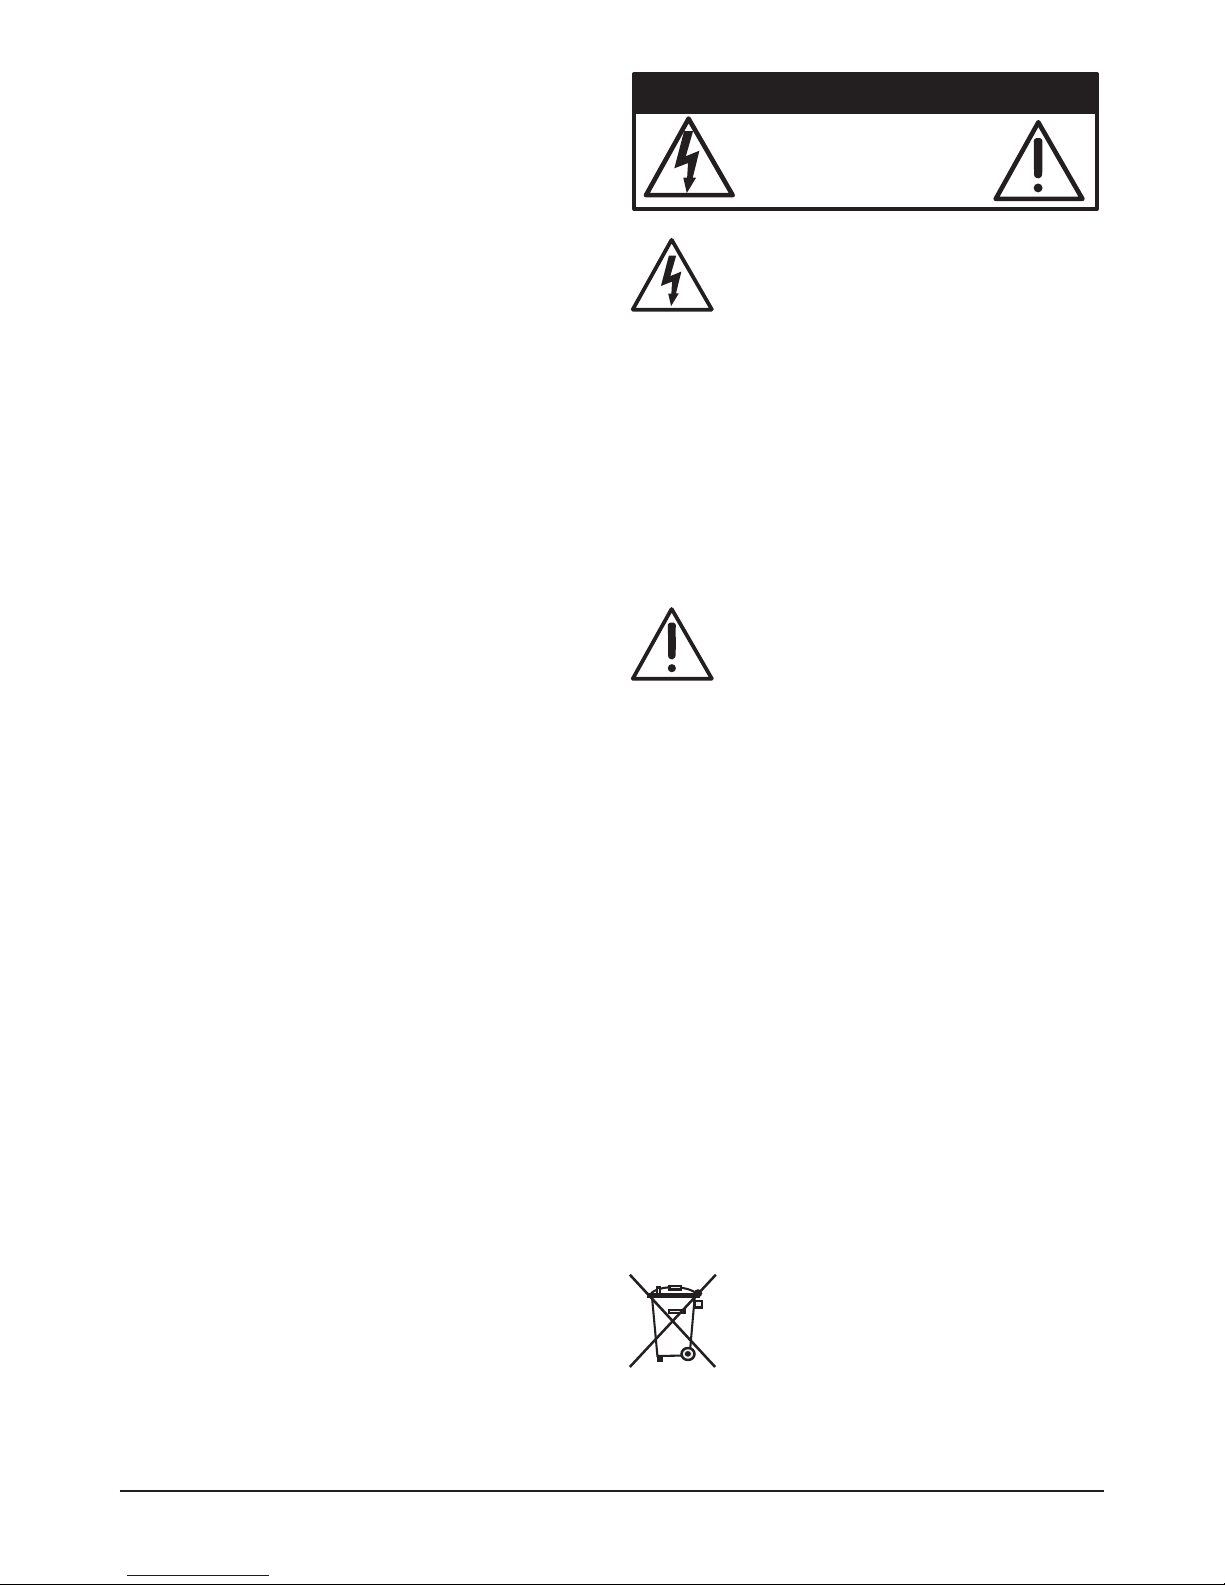
The lightning flash with arrowhead
symbol within an equilateral triangle is
intended to alert the user to the presence
of uninsulated “dangerous voltage”
within the product’s enclosure, that may be
of sufficient magnitude to constitute a risk of
electric shock to persons.
Le symbole éclair avec point de flèche à l’intérieur
d’un triangle équilatéral est utilisé pour
alerter l’utilisateur de la présence à l’intérieur
du coffret de “voltage dangereux” non isolé
d’ampleur suffisante pour constituer un risque
d’éléctrocution.
The exclamation point within an
equilateral triangle is intended to alert
the user of the presence of important
operating and maintenance (servicing)
instructions in the literature accompanying the
appliance.
Le point d’exclamation à l’intérieur d’un
triangle équilatéral est employé pour alerter
les utilisateurs de la présence d’instructions
importantes pour le fonctionnement et
l’entretien (service) dans le livret d’instruction
accompagnant l’appareil.
Caution: to reduce the risk of electric shock, do
not remove cover (or back). No user-serviceable
parts inside Refer servicing to qualified
personnel
Attention: pour eviter les risques de choc
Elect
rique, ne pas enlever le couvercle. Aucun
Entretien de pieces interieures par l’usager.
Confier L’entretien au personnel qualifie.
Avis: pour eviter les risques d’incendie ou
D’electrocution, n’exposez pas cet article A la
pluie ou a l’humidite
At the end of its useful life, this product must
be carefully and correctly disposed of, and
not placed in with household waste. Please
contact your local, state, or national services
for information regarding the safe disposal of
electronic equipment.
CAUTION AVIS
RISK OF ELECTRIC SHOCK
DO NOT OPEN
RISQUE DE CHOC ELECTRIQUE
NE PAS OUVRIR

3
Chameleon Labs - Vercelli 3 LLC, Woodinville, WA USA www.chameleonlabs.com 7603 User’s Manual
Introduction
Congratulations on your purchase of a fine
Chameleon Labs’ 7603 microphone/line preamplifier.
We hope that it gives you many years of reliable and
high-quality service.
Your Model 7603 has a transformer-balanced input
with a range between +20 dB and +70 dB of gain. The
separate line input is also transformer balanced
and accepts input levels from -30 to +20 dB. The
equalizer section is a selectable 3-band design with a
flexible filter section.
The Model 7603 has been carefully constructed and
individually tested for quality. It utilizes pure class
‘A’ circuitry. This unit is made with 100% discrete
components, with custom-wound transformers, and is
fabricated to precisely match vintage counterparts
manufactured in the early to mid 70’s.
The Model 7603 is based on high audio performance
design techniques. By employing classic circuit
design, film capacitors, a mechanical gain
selector and custom wound transformers, Chameleon
Labs ensures that the Model 7603 will exhibit classic
audio sound.
Your Model 7603 represents a dramatic breakthrough
in delivering vintage audio performance at an
affordable price.
Features:
• Chameleon Microphone and Line Input
Transformers w/ mumetal housings
• Hi-Z Front Panel Direct Instrument Input (TRS)
• Chameleon Output Transformer
• Discrete Class A Electronic Topology
• Variable gain, low noise output stage
• 48V Phantom Mic Power
• Input and Output Level Monitoring via VU Meter
• Selectable 300Ω or 1200Ω Mic Input Impedance
• Inductor Based Equalization and High Pass
Circuit
• Universal on board power supply
Front Panel Features
• Rack-mountable, one rack-space high, 19 inches
wide
• Mic/Line Gain rotary detented selector switch
• High-pass-filter frequency selector
• Low EQ frequency and amplitude selectors
• Mid EQ frequency and amplitude selectors
• High EQ frequency and amplifier selectors
• Output level control
• Power ON/OFF switch
• 300Ω or 1200Ω Mic Input Impedance Selector
• 48V Phantom Power ON/OFF switch
• Mic/Line switch
• DI input ON/OFF switch
• EQ ON/OFF switch
• Phase 0/180 degree switch
• DI 1/4” TRS input
• LEDs for input and output overload
• Illuminated input/ouput meter with dB range
switch
Rear Panel Features
• AC Power Input and integral fuseholder
• XLR Microphone input
• XLR Line input
• XLR Output
Power Supply
• Internal universal power supply
Limited Warranty
• One year
4
Chameleon Labs LLC, Woodinville, WA USA www.chameleonlabs.com 7603 User’s Manual
Front Panel Features
1. Front Panel
This rack-mountable front panel is one
rack-space high and 19 inches wide. Four
mounting holes accept standard rack screws
for securing the preamplifier in a rack.
2. DI Input
This high-impedance input can be used to
connect an instrument directly to the 7603.
Place the DI switch (3) to “ON” and the Mic/
Line switch must be set to “Line”.
The ¼” TRS connector is wired with the TIP
positive, the RING negative and the SLEEVE
ground (shield).
3. DI on/off switch
Use this switch to turn the DI output on or
off. Set it in the OFF position if you are not
using the DI input.
4. Mic/Line switch
This switch allows you to select either the
microphone input section, or line-level input
section. The microphone and line inputs each
have their own input connectors on the rear
panel, and separate input transformers.
5. Mic Impedance switch
This switch allows you to select between an
impedance of 300 Ω or 1.2 kΩ. Follow the
advice from your microphone manufacturer.
6. Mic/Line Gain
This detented selector switch allows you to
adjust either the gain of the microphone
input section, or the gain of the line-level
input section. The microphone and line inputs
have their own input connectors on the rear
panel, and separate input trans
formers. Use
the Mic/Line selector switch (4) to select the
input you would like to listen to.
Microphone
The microphone gain is adjustable from
+20 to +70 dB, in steps of 5 dB. Use the
dB markings on the outer ring of the Gain
control for setting the microphone level.
Line
The line input gain is adjustable from -30 to
+20 dB, in steps of 5 dB. Use the dB markings
on the inner ring of the Gain control for
setting the line level.
Adjust the gain carefully, so the input
section is not too overloaded with a strong
signal, and that weaker signals are boosted
sufficiently. Have the gain set to minimum
before turning on the preamplifier, then
increase the gain as desired.
7. Ovr LED
This LED will light when the input levels are
overloaded. Carefully adjust the Gain knob
(6) so this LED does not come on during
louder passages.
8. 48V switch
If your microphone requires 48 Volt Phantom
Power, turn on this switch.
Caution: Be very careful because
some microphones can be damaged
by Phantom Power. Read and follow the
manufacturer’s recommendations for your
microphone before using this switch.
9. EQ ON/OFF switch
In the ON position, the signal EQ is
adjustable using the EQ controls. In the OFF
position, they have no effect and the EQ
section is bypassed. This provides a quick
way of comparing your EQ settings with the
unaffec
ted original signal.
2 3 61 8 11 12 13 14 15 16 17 18 20 21
22199 105 74 23
 Loading...