

Page 1
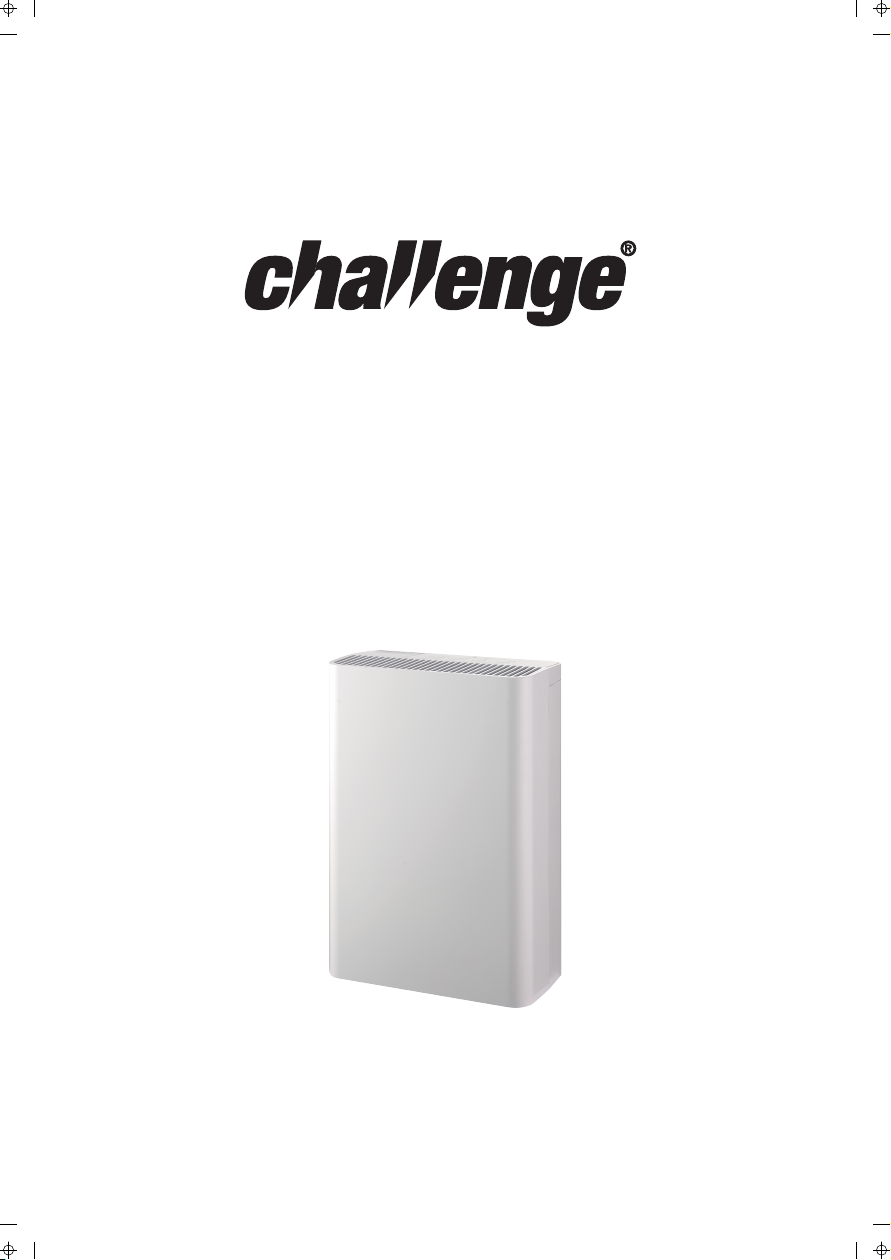
Air Purifier
Instruction Manual
Model No.: KJ200G-D41
READ AND SAVE THESE INSTRUCTIONS
Page 2

CONTENTS
2
SAFETY WARNINGS
........................................................................
IDENTIFICATION OF PARTS
INSTALLATION
PLACEMENT
..................................................................... ..................
.................... ........... ........................................ ..................
OPERATION
CARE AND MAINTENANCE
TECHNICAL INFORMATION
TROUBLESHOOTHING
......................................................................
CONNECTION TO POWER
........................................... ..................
....................................................................... ...... ............
........................................... ..................
.................... ................... ...
........................................... ................
.............
3
5
6
7
8
9
11
12
13
Page 3

Safety Warnings
3
- If the supply cord is damaged, it must be replaced by manufacturer,its
service agent or a similarly qualified person in order to avoid a hazard.
- This appliance can be used by children aged from 8 years and above
and persons with reduced physical, sensory or mental capabilities or
lack of experience and knowledge if they have been given supervision
or instruction concerning use of the appliance in a safe way and
understand the hazards involved. Children shall not play with the
appliance. Cleaning and user maintenance shall not be made by
children without supervision.
- Prior to cleaning or other maintenance, the appliance must be
disconnected from the supply mains.
- Children should be supervised to ensure that they do not play with the
appliance.
- Do not install the appliance in a location that may be exposed to
combustible gas.
- If combustible gas accumulates around the unit, it may cause fire.
- If the appliance is knocked over during use, turn off the unit and unplug
it from the main power supply immediately. Visually inspect the unit to
ensure there is no damage. If you suspect the unit has been damaged,
contact a technician or customer service for assistance.
- In a thunderstorm, the power must be cut off to avoid damage to the
machine due to lightning.
- Repair must be conducted by professionals
- When moving, cleaning or disassembling the purifier, stop operation
and disconnect power supply
- Unauthorized replacement of power line is prohibited. If the power cord
is damaged, replacement must be conducted by professionals of the
manufacturer, maintenance department or similar departments to
avoid risk.
- Do not operate with wet hands
- Do not press the control panel on the top of the machine forcibly
- Do not place articles on the top of the machine
Page 4

- Do not insert foreign matters at air inlet and outlet
4
- If it is not used for a long time, please pull out the plug, put the
machine back in the carton, and store it in the locker.
- It is forbidden to store flammable and explosive gas at the place where
the purifier is used
- Avoid long-time direct sunlight
- It is forbidden to use the machine at places with heavy moisture and
easy to be sprayed with water, such as the bathroom
- Do not use the machine in smoky environment, such as the kitchen.
- Do not use the machine outdoor
- This air purifier is intended for household use only and NOT for
commercial or industrial use.
- Keep finger, hair and loose clothing away from moving parts and
opening whist using the air purifier.
- Always position the air purifier on the flat ,stable solid surface and
never over stretch the power cord.
- Position the air purifier where dirty air is not drawn across your body or
head while sitting or sleeping.
- Inspecting the air purifier regularly and remove ant dust/dirt build up as
this may affect the airflow
- Keep all opening/grills clear and free from obstruction and source of
heat, open flames including candles. Don’t attempt to remove
blockages with sharp objects as this may cause damage to the air
purifier.
- Turn off all controls on the air purifier before disconnecting or
connecting the power cord
- Don’t use the air purifier if it has been dropped, damaged or left
outdoors
- Don’t run the power cord under rugs, runners or carpets as it can be a
trip hazard.
- Don’t unplug the air purifier by pulling on the power cord
Page 5

Identification of parts
5
①
④
⑤
②
⑥
③
Turbo
High
Mid
POWER
10
FAN
Press 3s, Auto mode
Low
TIMER
11
12
① control panel
② air outlet
③ front case
④ dust sensor
⑤ handle
⑥ air inlet
⑦ back cover
⑧ 3 in1 filter(installed in filter compartment)
⑨ power cord and plug
⑩ power button
⑦
8
9
17
18 19
Filter
SLEEP ION
13
14
15
11
fan button
12
fan indicator light
13
timer button
14
timer indicator light
15
sleep button
16
ion button
17
air quality indicator
18
filter clean indicator
19
sleep indicator light
20
ion indicator light
Press 3s, to reset Filter
20
16
Page 6

Installation
6
Filter installation - IMPORTANT
THE FILTER WAS PACKED INTO A POLYBAG BEFORE PACKING. IT IS A MUST TO TAKE
OUT TO REMOVE THE POLYBAG BEFORE 1ST USE.
1. Open the back cover (see fig.1)
Fig.1
2. Remove the packed filter from machine. (see fig.2)
Fig.2
3. Take out the filter from polybag. (see fig.3)
Fig.3
4. Install the filter to machine (see fig.4)
Fig.4
5. Replace the back cover (see fig.5)
Fig.5
Page 7

Placement
7
When positioning the air purifier, ensure that it is placed on a level surface and that there
is a minimum of 30cm of space on either side of the unit to allow for efficient airflow.
We do not recommend the use of an extension lead, so please try to ensure that the unit is
sufficiently close to a fixed main socket. If it is necessary to use an extension lead, please
ensure the diameter of the wires of the cable is at least 1 mm
When the
necessary for most efficient use.
Make sure that there is no obstruction around the air inlet and the air outlet. The position of
the air inlet and outlet is as below:
air purifier is in operation, outside doors and windows should be closed when
2
.
>30cm
>30cm
>30cm
Page 8

Operation
8
POWER
FAN
Press 3s, Auto mode
Turbo
High
Mid
Low
TIMER
Filter
SLEEP ION
Press 3s, to reset Filter
1. ON/OFF button
POWER
Press the button once to start the unit. Press it again to shut it down.
2. Fan button
FAN
Press the button to adjust fan speed. It will switch from Turbo – High – Mid – Low. The
relevant indicator will be illuminated.
The air purification will be increased or decreased depending on the fan speed, i.e. when the
fan speed is faster, the air purification will be higher.
Press and hold the button for 3 seconds, it will enter into auto mode. All 4 fan indicators will
be illuminated. To exit the auto mode, press the button it will switch back to the previous
mode.
3. Timer button
TIMER
Continue to press the button to select the desired time (1H – 2H – 4H – 8H). Once the time
has been selected, the relevant indicator will be illuminated. The unit will start to count down
and once the set time is arrived, it will switch itself off.
4. Sleep button
SLEEP
Press the button once, the sleep indicator will be illuminated. The unit will switch to sleep
mode. All the indicator light will switch off except the sleep indicator. Then the fan speed will
be changed to low.
To cancel, press any button once and the unit will revert back to the normal operation.
5. Ion button
ION
Press the button to open ion function. Press the button again the function will be closed.
6. Air quality indicator
The purifier will detect the particles in the air
through the dust sensor at the rear panel. It will
iluminate in three different colour (Green, orange
and Red).
Good
Normal
Bad
Color of air quality lightAir quality (dust)
Green
Orange
Red
PM2.5 is the term fine particles, or particulate matter 2.5 (PM2.5), refers to tiny particles or
droplets in the air that are two and one half microns or less in diameter
Page 9

How PM2.5 affect people's health: Particles in the PM2.5 size range are able to travel deeply
9
into the respiratory tract, reaching the lungs. Exposure to fine particles can cause short-term
health effects such as eye, nose, throat and lung irritation, coughing, sneezing, runny nose
and shortness of breath. Exposure to fine particles can also affect lung function and worsen
medical conditions such as asthma and heart disease.
7. Filter clean indicator
If the Filter clean indicator is illuminated, the filter should be cleaning asap. Please refer to
the Cleaning section for details. Once the clean of filter has been completed, please insert
the filter back to the unit and press the Ion button for 3 seconds to reset the counter for filter.
The indicator will be switched back to off.
Filter
Care and maintenance
Cleaning
Always unplug the unit from the power supply before beginning cleaning to avoid electric
hazard.
Housing
Use a soft, damp cloth to wipe the cabinet clean. Never use strong chemicals, oil-based
products, detergents, chemically treated cloths or other cleaning solution. These could
damage the cabinet.
Filter cleaning
When filter cleaning indicator is illuminated, it is time to remove the filter for cleaning. Before
cleaning, please unplug the unit from mains.
1. Open the rear cover to remove the filter. (see fig. 6)
Fig.6
2. Clean the filter with dist collect or hairbrush (not included). (see fig. 7)
3. Once it is completed, put the filter back to the unit. (see fig. 8)
4. Replace the back cover. (see fig. 9 )
5. Connect to mains and press ON/OFF button to start.
6. Press Ion button for 3 seconds to reset the filter clean indicator.
Fig.7
Fig.8
Fig.9
Page 10

Special warning
10
- Do not wash the filter with water. This will damage the filter.
- When cleaning the filter screen, it is recommended to use small soft hairbrush or household
dust collector;
- When cleaning with hairbrush, brush horizontally along with the filter screen, and avoid
vertical brush as much as possible so as not to damage the filter screen;
- When cleaning with dust collector, keep the exhaust inlet 5-10mm away from surface of the
filter screen so as not to damage the filter screen.
Recommandation
- It is suggested that the filter screen should be cleaned every two weeks and replaced every
half a year (cleaning and replacement cycle may be adjusted according to the service
environment);
- When being used under environments with strong smell such as smoke, barbecue, etc., the
filter screen may have odor within several weeks or several months. If so, please clean and
dry the filter screen (2-5 days). If the odor cannot be removed, please replace the filter
screen.
Filter replacement
If you find the filter has been damaged and require to change. Please visit website
www.argossupport.co.uk to find out the spare part.
Dust sensor cleaning
The dust sensor should be clean regular, i.e. every 2 months. This can ensure the dust
sensor operate in normal.
1. The dust sensor is located at the rear panel.
2. Press on the dust sensor cover to remove the cover. (see fig. 10)
3. Clean the sensor lens with wet cotton swab and then use dry
cotton swab to wipe residual water stains on the lens.(see fig. 11)
4. Once the lens is completed dry, replace the cover and
make sure it is locked in place.
Fig.10
Lens
Fig.11
Page 11

Technical information
11
Model
Applying area (m )
2
Rated voltage (V~)
Rated frequency (Hz)
Rated power (W)
Noise [dB (A)]
Purification efficiency particles
Purification efficiency formaldehyde
Net Weight (kg)
Dimensions (mm) (length x width x height)
KJ200G-D41
20-24
220-240
50
50
35~60
Efficient level
Efficient level
5.7
325x172x500
Solid Contaminants Clean Air Delivery Rate (CADR):
(FT /Min )
SMOKE
POLLEN
DUST
3
Test results
139
102
130
CADR
Due to product improvement, the following parameters may be changed, so it is
subject to the product nameplate parameters.
Page 12

Troubleshoothing
12
Never try to repair or dismantle the appliance yourself. Incompetent repairs result in loss of
warranty and can endanger the user and the property. If you have any question, please
consult the qualified person.
Problems encountered Reason Solution
During continuous
operation, the air
quality indicator light
is red all the time
The purifier cannot
operate
Poor smoke and odor
removal effect
The air quality
indicator light does
not change.
Filter screen cleaning
light is not off
Odor and smoke are
difficult to remove
- Room area may exceed purification
capacity of the machine
- Filter screen assembly may not be
installed
- Power line may not be inserted or
power line has bad contact
- Power switch may be not turned on
- Filter screen assembly may not be
installed well
- Service life of filter screen assembly is
over
- Air inlet may be blocked by foreign
matter
- Sensitivity of sensor may be unstable
within certain period after operating
- If the light does no change after
becoming green, the air may be in
cleaning state
- It may be placed at a place difficult to
monitor dirt or the sensor is dirty
- Sensitivity of the sensor declines due
to strong odor indoor
- After filter screen assembly is cleaned,
“ION” button is not pressed for 3
seconds
- Filter screen assembly may still be
packed in the package
- Please keep the purifier operating
continuously
- Please install the filter screen
assembly correctly
- Please insert the power supply and
make it contact well
- Please turn on the power switch.
- Please install the filter screen
assembly correctly
- Please replace with new filter screen
assembly
- Please remove the foreign matter at
air inlet
- Please wait. After operating for a few
minutes, the sensor will tend to be
stable
- Blow smoke to the sensor. If the color
of the indicator light changes, it is
normal
- Please move the purifier, or clean the
sensor
- please adjust the air speed to the
high gear to run for several hours ~
1 day.
- After filter screen assembly is
cleaned, press “ION ” button for 3
seconds
- Please remove the package outside
the filter screen assembly
In case of circumstances below, please send the air purifier for repair:
1. The machine operates abnormally or fails to operate and the methods above
are invalid;
2. External substance or water enters the machine and the machine operates
abnormally.
Page 13

Connection To Power
13
CORRECT DISPOSAL OF THIS PRODUCT
This marking indicates that this product should not be disposed with other household wastes throughout the EU.
To prevent possible harm to the environment or human health from uncontrolled waste disposal, recycle it
responsibly to promote the sustainable reuse of material resources. To return your used device, please use the
return and collection systems or contact the retailer where the product was purchased. They can take this
product for environmental safe recycling.
Page 14

PRODUCT GUARANTEE
This product is guaranteed against manufacturing defects for a period of
Year
This product is guaranteed for twelve months from the date of original purchase.
Any defect that arises due to faulty materials or workmanship will either be replaced,
refunded or repaired free of charge where possible during this period by the dealer from
whom you purchased the unit.
The guarantee is subject to the following provisions:
The guarantee does not cover accidental damage, misuse, cabinet parts, knobs or
consumable items.
The product must be correctly installed and operated in accordance with the instructions
contained in this manual. A replacement copy of this instruction manual can be obtained
from www.argos-support.co.uk
It must be used solely for domestic purpose.
The guarantee will be rendered invalided if the product is re-sold or has been damaged by
inexpert repair.
Specifications are subject to change without notice.
The manufacturer disclaims any liability for the incidental or consequential damages.
The guarantee is in addition to, and does not diminish your statutory or legal rights.
Guarantor: Argos Ltd
489 - 499 Avebury Boulevard
Central Milton Keynes
MK9 2NW
www.argos-support.co.uk
 Loading...