

Page 1
MAINTENANCE
Maintsnanca
Always
inspect
the
jumpstart
before
use
to
ensure
the
cables
are
in
gwd
condition
and
the
clamps
are
Clean
and
free
from
corrosion.
Have
them
replaced
if
any
damage
is
apparent.
Keep
clean
by
wiping
with
a
drj
cloth?
Do
not
use
solvents
as
a
cleaning
agent
12Volts
output
socket
A
bu~lt-in
reset
device
will
shut
off
the
power
when
the
jumpstart
overloads.
This
device
will
reset
after
a
few
minutes
and
the
lumpstart
will
resume
normal
service
condition
agarn.
Replaceable
fuse
The
fuse
wtll
be
blown
out
in
the
mse
of
overloading.
Unscrew
the
fuse
cap
(in
position
of
item
4)
and
replace
with
a
new
ZA
fuse,
the
Jumpstart
will
then
resume
to
wok.
NOTE:
DISCONNECT
APPLiANCE
BEFORE
YOU
CARRYING
OUT
ANY
MAINTENANCE
WARNING:
Do
not
use
the
output
socket
and
jumpstart
at
the
same
time.
The output
can
be
as
high
as
13
volts
after
the
jumpstart
has
been
fully
charged,
mnsult
your
appliane
handbook
to
ensure
it
is
safe
to
operate.
Do
not
allow
the
battery
to
be
completely
discharged
as
the
charger
can
not
recover
a
deeply
discharged
batlery.
If
faults
unnot
be
remedied,
contact
the
Helpline
on
020
83916767
or
help/ine@hilka.co.uk
GUARANTEE
The
pmduct
1s
guaranWd
fw
damesbc
use
fw
m
of
12
months
against
fatty
manufacture
u
matends
This
guarantee
does
rot
affect
the
statutcq
nghts
d
fhe
conswner.
If
h
Ihe
event
of
any
pmbm
mwnq
ptea?a
mntaa
our
Helpl~ne
at
tk
a-
f~
adwe.
Tb
poduct
a
na
gvaranleed
fa
HiRE
wrpnse
CHALLENGE
TOOLS
1
ROEBUCK
PLACE,
ROEBUCK
ROAD.
CHESSINGTON,
SURREY KTS
1EU
Issue:
OW003
-8-
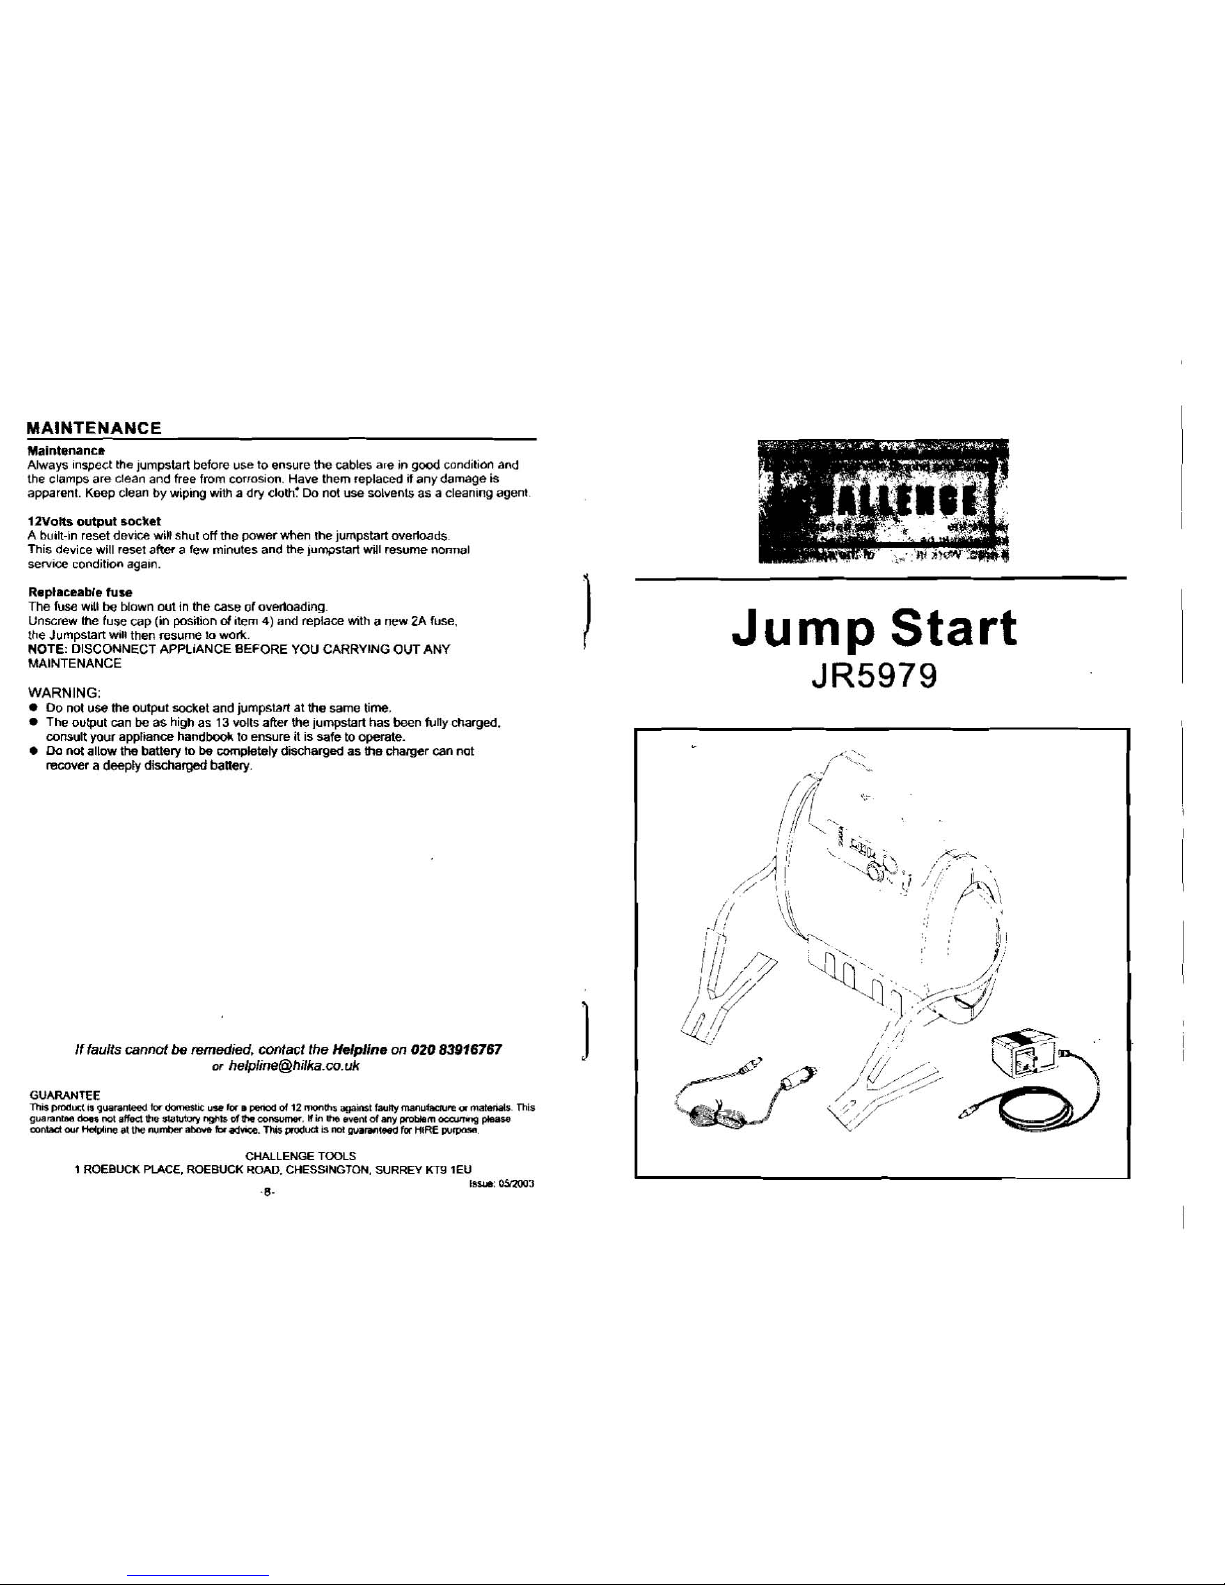
Jump
Start
Page 2

SAFETY
INSTRUCTIONS
PARTS
LIST
Follow basic
safety
principles
to
redua?
risk
of
pewnal
injury,
el-c
shmk
and
fire.
Please
read
the following instructions
prior
to operating
this
product and
keep
for
future use
Do
not letchildren
handle
the
the
battery.
then
itshould be
doneby
a
jumpstart, all onlookersshould
be
qualified
technician only
and
must
be
away
from yourwork area. Work
in
of
the samespecificatron
as
the
an
area thatis not cluttered. original.
Jumpstart
may
be
used outdoors.
Do
not
leaveit
exposed
tothe
elements
Do
not
use
jumpstart
in
damp
or
wet
areas.
Protect the jumpstartfrom
dlrect
sun
Ilght.
Donot
use
jumpstart
near
flammable
gases
orliqulds
check
cables
before operation.Battery
may
explode
dueto over-heating.
Jumpstart
IS
designed
for
use
w~th
12V
systems only
Do
notuse jumpstart
for
any
purpose
other
than that is
designed.
For
best performance
do
nat
use more than
one
output ata tlme.
When
using
the
12V
DC
output socket,
ensure that
the
plug
of
the item
you
are
to power hasthe
positive
lead
to
the
centre pin
ofthe plug.
Do
not
carry
the jumpstart by
the
Jumpstart
is
notdesigned
to
beused
cable or pull the cable to
remove
as a
replacementof a vehiclebattery.
the
plug from the mains
socket.
Protect
the
cable
from
sharp
Never allow theNEGATlVE
and
objects, heat andoil.
Have
it
POSITIVE
leads
onthis unit totouch
replaced if
damaged.
or
to
touch
the
same
metal object.
Always ensure
the
jumpstart
is
not
damaged.
Do
notoperate if inthe
case
of any
of
the cablesis
damaged.
Consult a qualified
person for repair.
Do
not attemptto repair
otopen
the
jumpstart (which containsno
user
serviceable parts).
Do not allowthe battery,
at
any
time.
to
become
completely
discharged.
The
product should
be
kept fully
charged
when notin
use.
Ifii
w~ll
be
kept in storage, then
it
must
be
recharged every 3 rnontos.
The internal battery
is
a
sealed
lead
acid
battery.
It
is classified
as
non-spillable and
has
unique
sealing techniques toguarantee
that no electrolyteleakage
will
occur.
If
it
is necessaryto replace
Ensure
the
postsand clamps ofthe
vehicle battery
are
perfectly
clean
before
use.
When connecting thejumpstart leads
to
a
battery, always connectthe
RED
(positive,
+)
clampto the unearthed
battery
terminal first,
then
connect the
BLACK
(negative, -)clamp
to
the
chassis
or suitableengine boit, well
away
from
the
battery
and
fuelline.
Toprevent
battery
overheatingand
consequent
damage,
donot exceed
our
recommendat~ons forlump starting.
When
jumpstarting ensure
the area
is
well ventilated.
Do
not attemptto boost chargethe
jumpstart's
sealed
battery.
b.
Charging
indieabr
(Red)
c.
Topup
charge
indicator (hllow)
12V
Output
smet
Page 3

SPECIFICATiONS
&
FEATURES
Specificatmns
3attery
Typ-
Seald
Lead
Acid
Batteq
Rechargeable
Maintenance
Free
12VDC17AH
Voltage
Output-
3,
6,9,
12hHs
DC
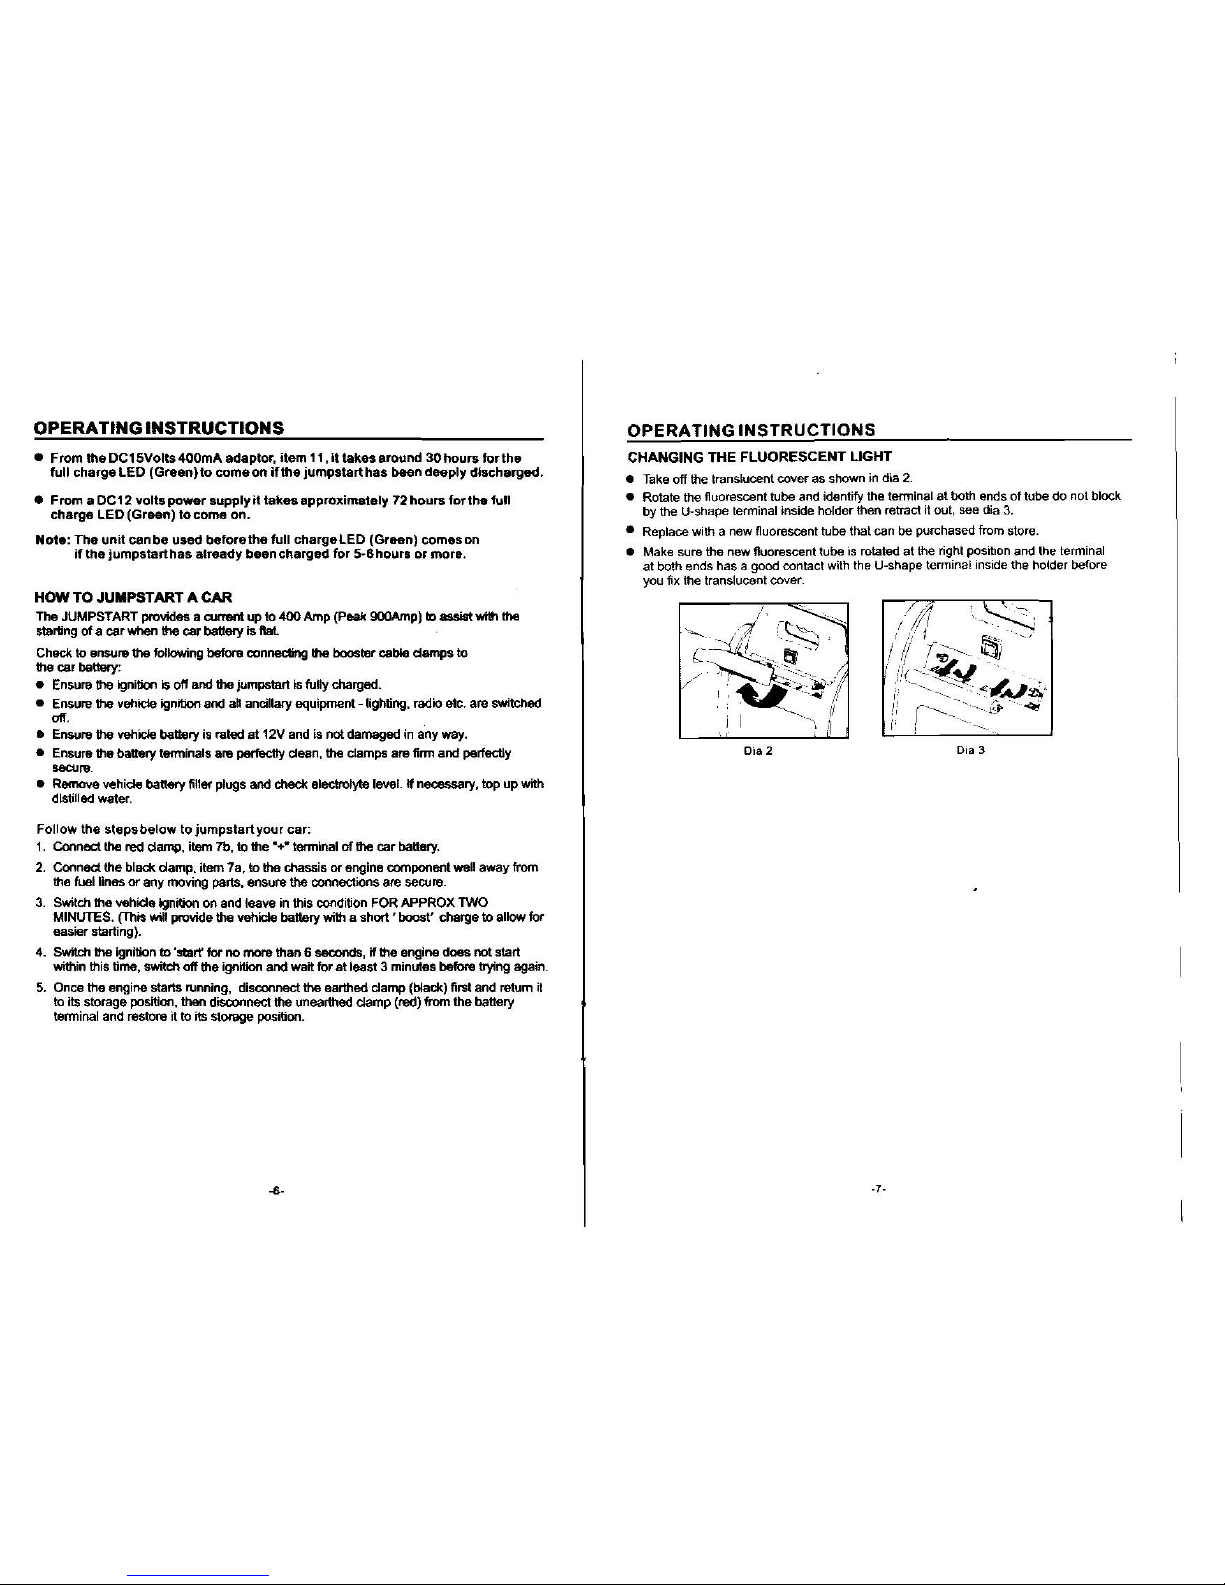
Fluorescent
Tub--
AWatts
FEATURES
Jumpstart is a product equipped
with
a
rechargeable
DC
12V
battery
asa
power
supply.
The
sealed
maintenance
free
heavy
duty
battery
issafe
to
use
and
transport
and
allows the
product
to
be
stored in
any
position without risk of leakage.
It
provides
upto
50
hours
of
DC
power dependingupon
application
forinput
volts
of
appliance.
And
it
can
be
used
in remote sites application
or
for
emergency
application
as
listed
below.
1.
Emergency
booster power
The
power battery
can
provide
upto
400Amp
(PeakSOOAMP)
cranking
powerto
start
your
carif
the carbattery
is
dead.
2.
DC
12V
powersource
The
unit isequipped with acigarette output
socket,~tem
3,
allowsmosl
auto
.
accessories I appliancessuch
as
carvacuum, car fan,electric,
mini
tireinflator
/deflator
etc.
drawing
up
to
8
amps
to
be
powered. In
the
case
of
over Loading
a
built
in resetdevice will shutoff the power
and
resetafter
a
few
minutes.
The
power
lead,
ttem6,
can
beused
as
anoutput
lead
tosupply
1
ZV
via
the
jack
plug
on
thelead.
Cheek
the
appliance
handbook
toensure
it
issafe
to
usewith
a
12V
battery.
Special
adaptor
maybe
required.
3.
Multiple voltage
output
for
auto
electronic
apdiance
Jumpstart
also
provides3
more
voltageoutput
jacks
(3V.
6V
&
9V),
item
2,
for
most
commonauto electrical
or
electronic products
suchas
mini power
tools, radio,
cassette,CD player
elc.
A
replaceable
fuse,
item
4,
is
applied
to
protect theoutput circuit
andthe
connected
device.
Check
the
appliancehandbook
tosnsure
it
is
safe
to
usewlth a
t2V
battery.
Special
adaptor
maybe
required.
4.
Worklight
It
is
a
built-in
fluorescenttube
and
is
protected by
aclear
guide
Itcan
be
used
as
a
stand-alone
lightsource
by
anind~vidual
ONlOFF
switch. Ffuorescent tube
can
be
replaced easil
y
once
there
is
malfunction.
CHARGING
THE
INTERNAL
BATTERY
WHEN
TOCHARGE:
A
top
up
charged
30
hours
is
recommended
when
you
first purchase the
jumpstart.
a-
The
jumpstart
MUST
be
recharged oncelhe Yellow
LED,
item
Ic.
comes
on
when
setting the
main
switch,
item
5
at
'ON'
position.
The
battery
should
be
charged after
each
use
to maintain
maximum
power.
Dependent
on
the
amount
the unit
was
used
a
top
up
charge
of
5
or
6
hours may
be
enough,
you
do
not
have
to wait
for
the
green
full charge
LED
to
comeon.
For maximum power a
top
up
charge
of
5
to
6
hours is recommended before
use.
If-the unit
is
in
storage.
have
it
fully
recharged
every
3
months.
/
HOW
TOCHARGE
The
internal battery should on1
y
be
charged
using
the accessories supplied.
Two
means
of
charging the internal
battery
are available:
A.
Via
230v
supply using
the
AC
charger,
item
11
Place
jack
plug
of
the
AC
charger Into
the
charging
socket,
item
8,
on
side
ofthe
jumpstart.
Plug
AC
chargerinto a suitable230v
50Hz
mainssocket.
Press
the
switch,
item
5
on
position
"CHA".
The
Red
charging
LED,
item
I
b,
will
come
on
indicating
that
charging is taking
pace.
The Green
LED,
item
I
a,
will
come
OD
ance
the battery is
fully
charged.
The unit
can
be
used
before the full charge
LED
(Green) corneson,
i.e..
the
battery
is
not
full
for
less
operating t~rne.
Disconnect
the charger.
B.
Via
12v
supply
using
the
cigarette lighter
adaptor,
item
6
NOTE:
Ensure that
the
supply vehicle has a 12volt
negativeearth
system.
The
engine
of
the
supply vehicle
needs
running to ensure
charging
process.
1
The
recommended method
of
charging
is
via
the
AC
charger.
Place
jack
plug
of
the cigarelte lighter adaptor into the charging socket,
item
8,
on
side ofthe jumpstart.
Plug
DC
lead into
the
12v
c~garette
socket
on your
car
Start the
car.
The
Red
charging
LED,
item
I
b,
will
come
on
indicat~ng that charging is taking
place.
This method
of
charging only ach~eves
75%
of
the
maximum
charge; i.e.
the
full
1
charge
LED
(Green)
will not
come
on.
/
NOTE:
If
the
Red
LED
does
not
come
on during
the
charging
process,
check
the
replaceable fuse (item
4)
and ensure
the
power
connection
ismsecure.
Have
the
blown-outfuse
replaced witha
new
onein the
same
rating
~f
necessary.
CHARGING
TIME:
w
This wilivary
considerably
depending on several factors.
the
weather
conditions,
howoften theunit is used and the amount
of
d~schargeof the unit etc.
Page 4
a;;
a
a
 Loading...