

Page 1
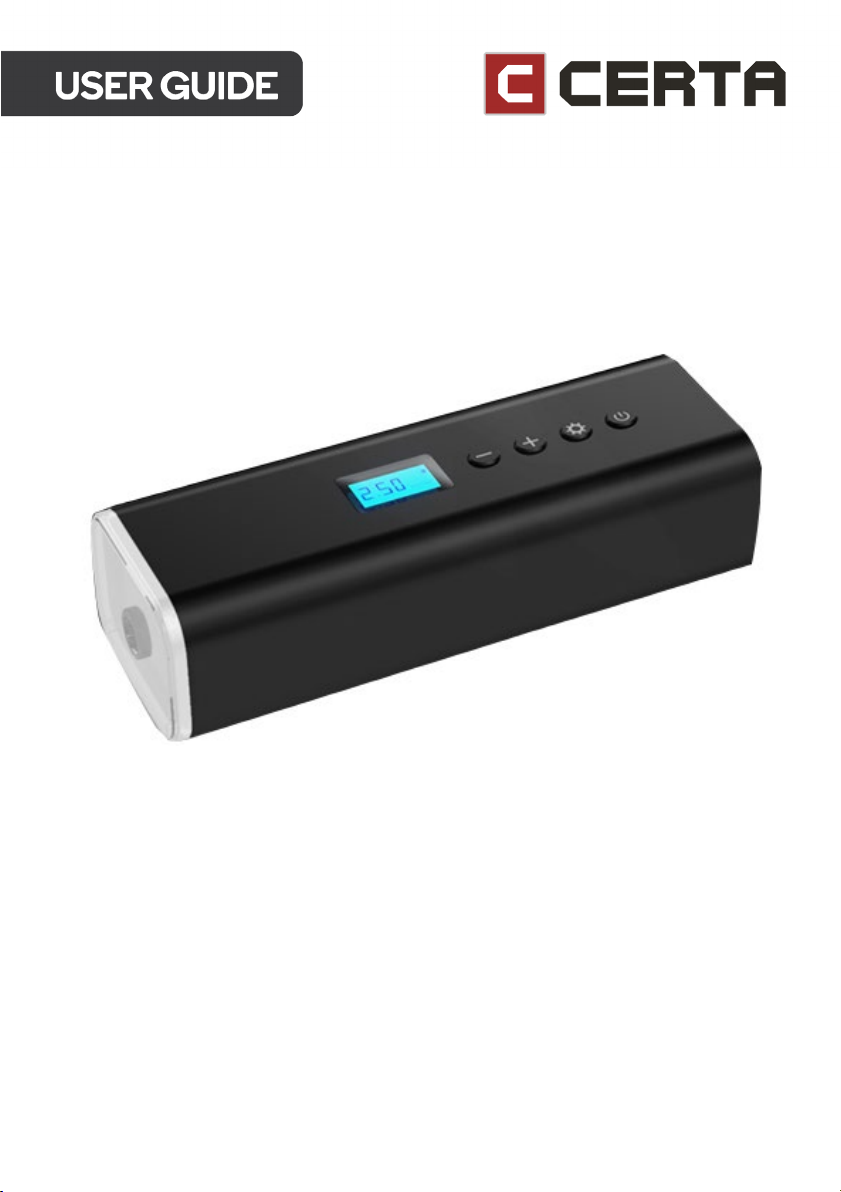
MINI CORDLESS AIR
COMPRESSOR TYRE INFLATOR
CTMINCRACTA
Page 2

Page 3

Read all of the following instructions before use. Keep this user guide for future reference.
• Keep inflator away from children. Never insert the inflator into the mouth, ears and
eyes of people or animals to inflate. Do not use this as a toy.
• Keep the product away from flammable or explosive materials.
• Do not leave the inflator unattended while inflating. After 8 minutes of continuous
use, the inflator must be stopped for the next 8 minutes.
• If there is abnormal noise or the temperature is too high during inflation, cease use
immediately. Allow the inflator to cool down for at least 15 minutes. Be cautious when
disassembling, the inflator will be hot.
• If the inflator is not used for a long time, ensure to store it in a dry and closed place.
For long-term storage, it is recommended to charge it once every 3 months.
• Before using the inflator, check whether it has been charged. The first-time charging
requires more than 4 hours for the inflator to be fully charged. After that, charge the
inflator full until the charging indicator light emits green.
• This inflator is equipped with a battery that can be used for cordless inflating.
• Ensure to follow the instructions in this user guide to use the inflator and its
accessories.
Page 4
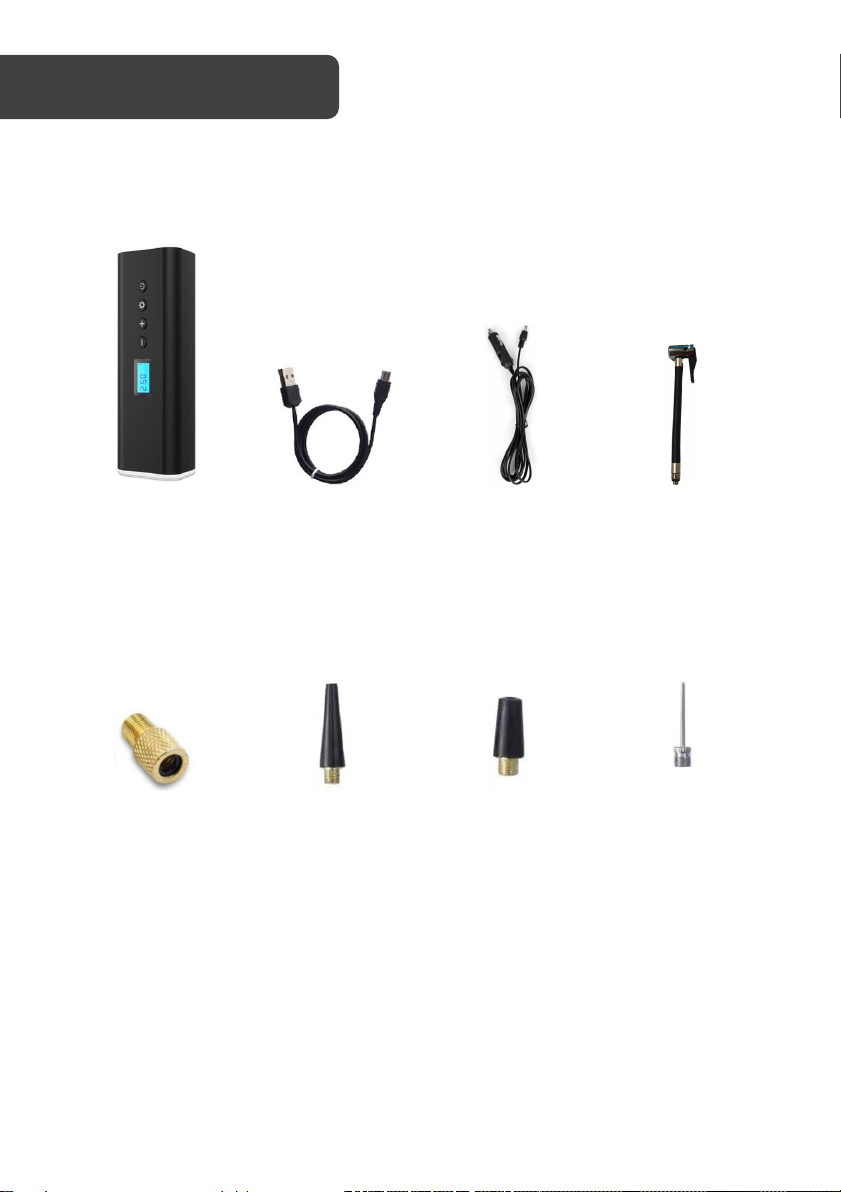
Schrader Valve
Narrow Inflating
Short Inflating
Ball Needle
Air Pump USB Charging Cable Car Charger Inflation Hose
Adaptor
Adaptor
Adaptor
Page 5
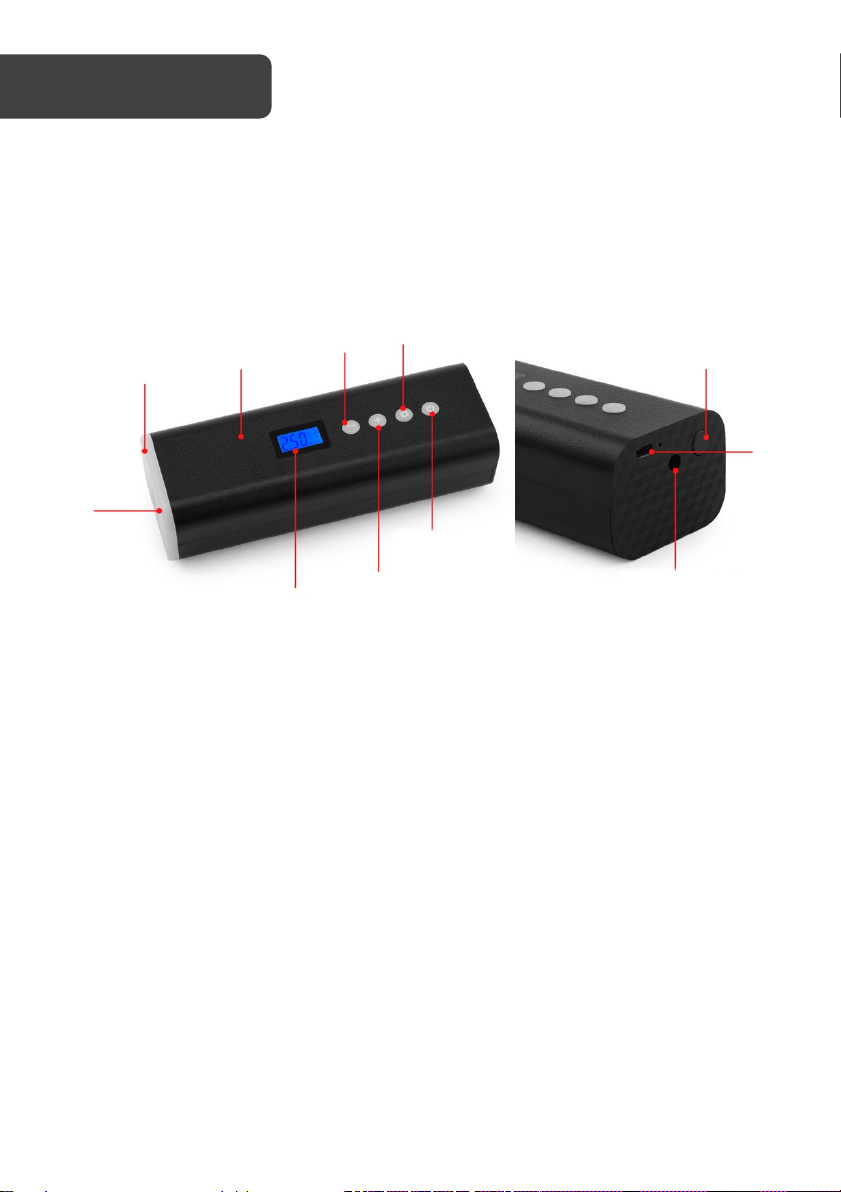
1
LED Emergency Lights
7
Increase Pressure Button
2
Air Pump Body
8
Power Button
3
Decrease Pressure Button
9
Emergency Light Button
4
Settings Button
10
Micro USB Port
5
Air Outlet
11
Car Charging Port
6
Display
1
2 3 4
5
6 7 8 9 10
11
Page 6
Connect the inflation hose to the air outlet. As per your requirement, attach one of the
included adaptors to the inflation hose:
Adaptor Usage
Schrader valve adaptor
Suitable for mountain bikes, electric bikes,
motorcycles and most car tires.
Narrow inflating adaptor
Short inflating adaptor Suitable for balloons.
Ball needle
Suitable for most inflatables, swimming rings, air
mattresses.
Suitable for basketballs, footballs and other kinds of
balls.
Page 7

Note:
Powering on
Press and hold the Power Button for 3 seconds to turn on the inflator.
Setting the air pressure value
• Short press the Setting Button to select an air pressure unit: psi, bar, kPa, kg/cm
2
• Short press the Increase Pressure Button to add once. Press and hold to keep
increasing the air pressure.
• Short press the Decrease Pressure Button to decrease once. Press and hold to keep
decreasing the air pressure.
• When adjusting the air pressure value, the lights will be flashing and stop when the air
pressure value is set.
Inflation
1. Connect the inflation hose to the item that will be inflated. Press and hold down the
latch on the inflation hose.
2. Press the Power Button to start inflating. When the inflation pressure reaches the
pressure value you set, the inflator will automatically stop inflating.
3. After inflating, unscrew the adaptor by rotating counter-clockwise. Use caution as the
adaptor might be hot.
It is normal if some air leakage occurs when unscrewing adaptors.
4. When finished, unscrew the inflation hose from the inflator, pack the inflator and
place it in a dry, ventilated, and safe place.
Powering off
To turn off the air pump, press and hold the Power Button for 3 seconds.
.
Page 8
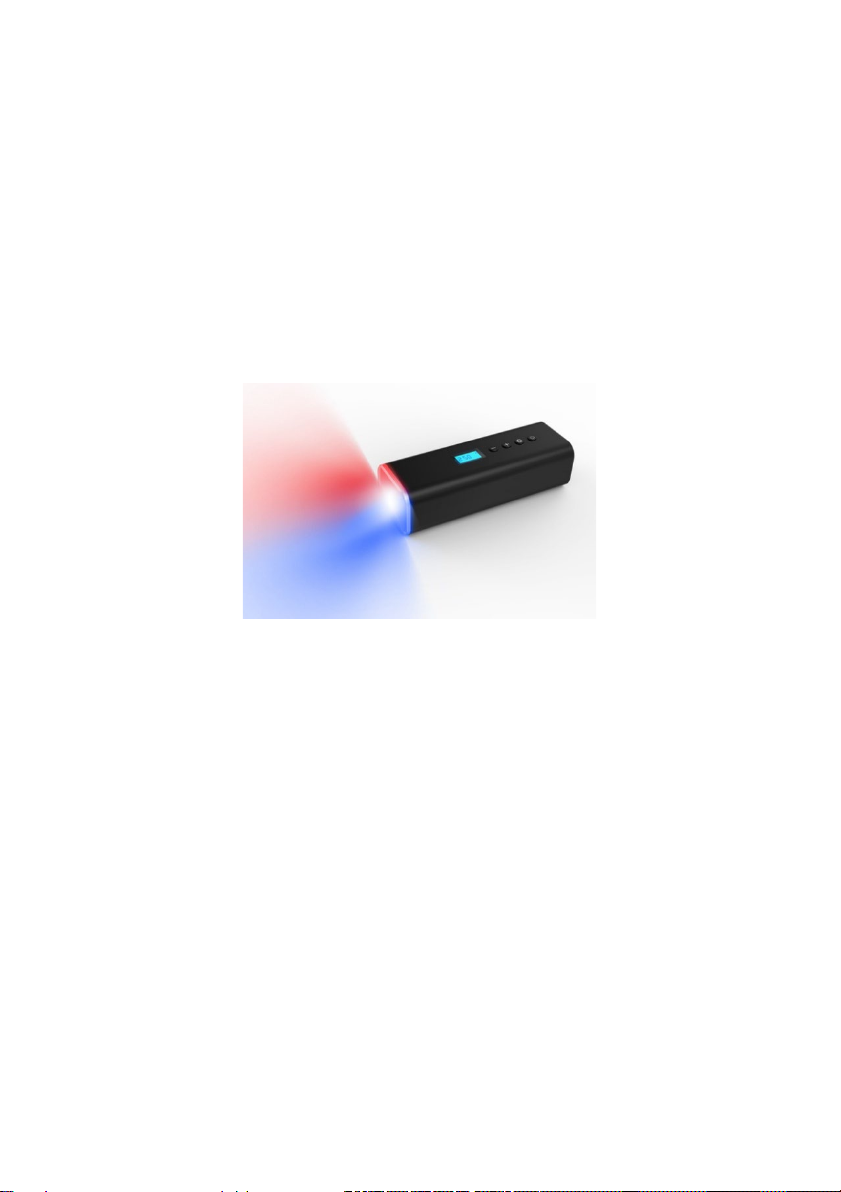
Emergency lights
To turn on the Emergency Lights, press the Emergency Light Button:
Press once Red light is on
Press twice Blue light is on
Press three times Red and Blue lights flash quickly
Press four times Red and Blue lights flash slowly
Press five times Both Red and Blue lights are on
Press six times Light is turned off
Page 9

SPECIFICATIONS
Input Voltage Charger 5V/2A
Working Current 1-5A
Car Power Input 12V 3A
Charging Method Micro USB
Charging Time About 4 hours
Battery Capacity 2000mAh
Emergency Light Duration Up to 6 hours
Working Temperature -20°C–~70°C
psi: 150
bar: 10.3
Maximum Pressure
kPa: 990
2
: 10.5
kg/cm
Dimensions 170x60x45mm
Product Weight 590g
Page 10

NOTES
Page 11

Page 12

Need more information?
We hope that this user guide has given you
the assistance needed for a simple set-up.
For the most up-to-date guide for your product,
as well as any additional assistance you may require,
head online to help.kogan.com
 Loading...