

Page 1
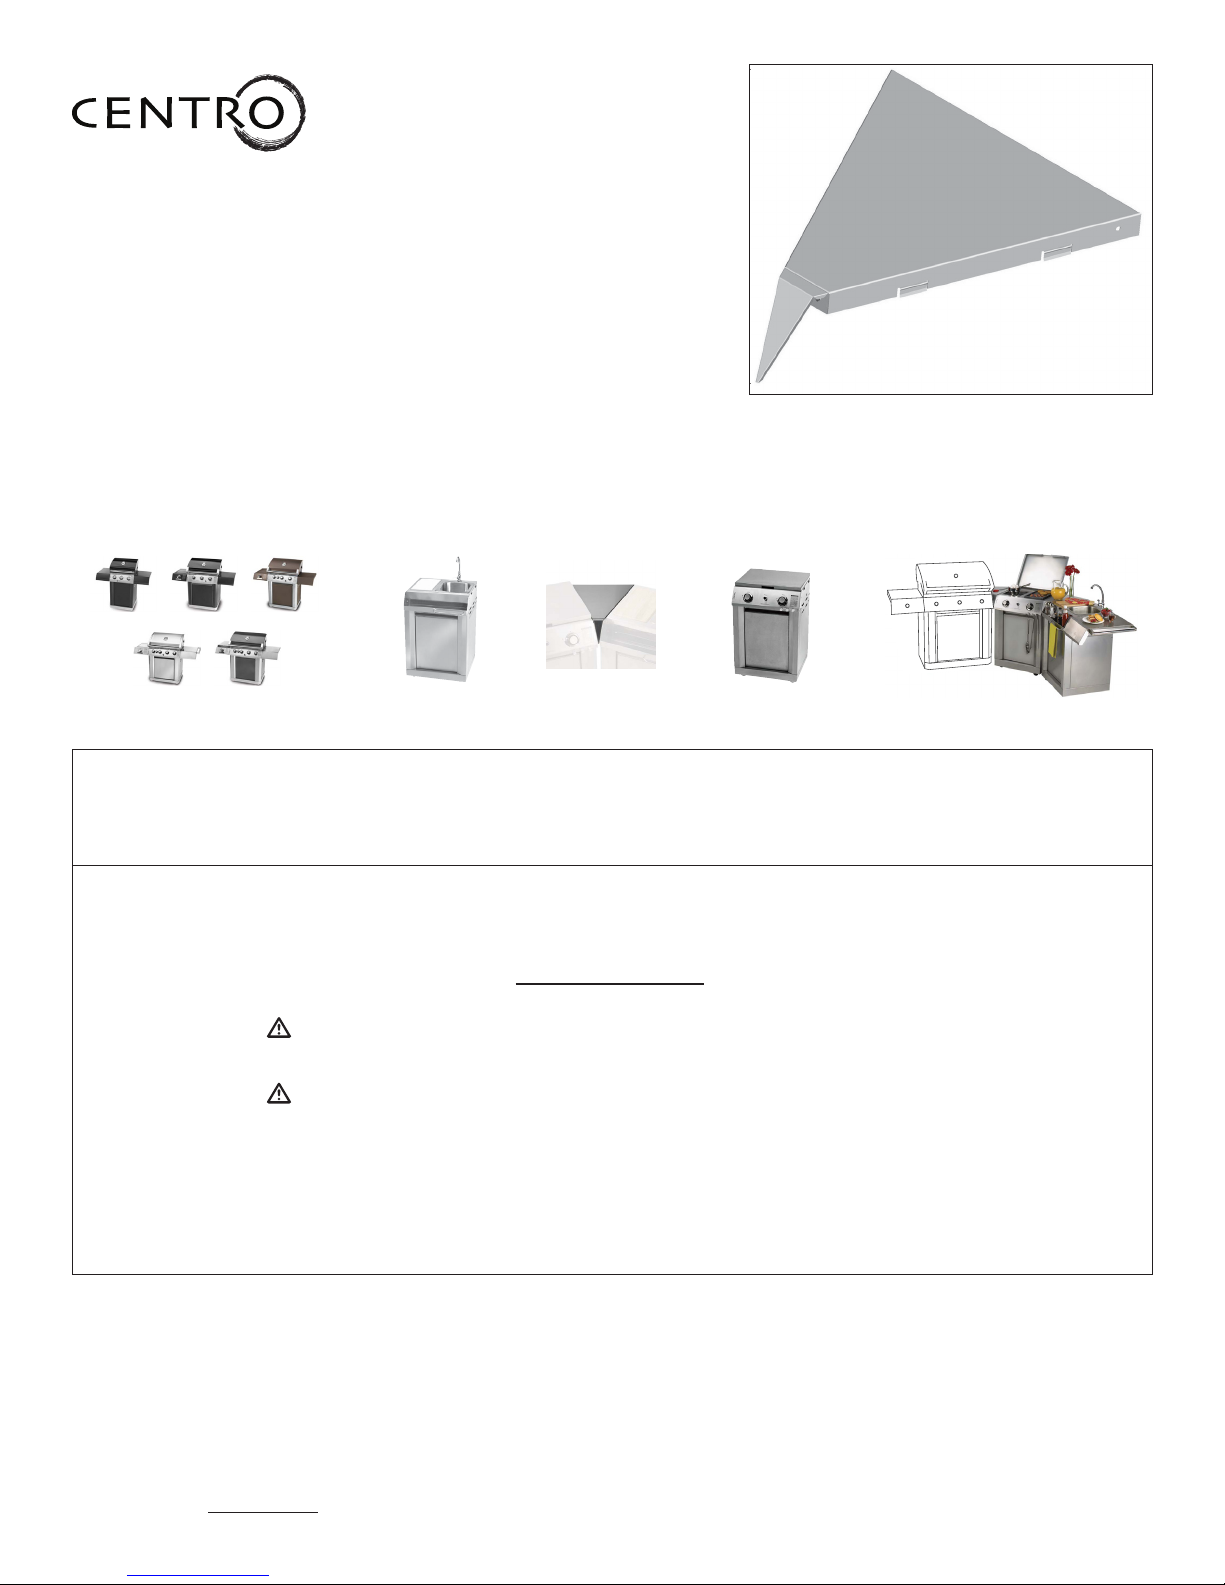
Countertop Corner Leaf
Design inspired,
Chef admired
EASY CLEAN GREASE
COLLECTION SYSTEM
Completely removable
lower casting and grease
tray.
PERFORMANCE AND
DURABILITY
Cast iron cooking grates,
warming rack and heat
plates. Durability and
performance.
PRECISION PORTED
BURNERS
U-shaped stainless steel
grill burners accurately
deliver up to 14,200 BTU
each.
SURE-START IGNITION
Enjoy the endurance
and reliability.
+ ++ =
S
E
a
Sink & Preparation Centre Breakfast CentreCounter Top Corner Leaf
2800 3800 4800
5800 6800
Step 1
Attach the front connect plate (B)
to (A) by using #1 (×2), #2 (×2)
and #3 (×2).
#1×2
(#85-1147-4/ A01301)
ASSEMBLY MANUAL
Limited 1-Year Warranty
o Extend your counter space
o Arrange your Centro BBQ and Centro Cuisine outdoor appliances at a 45° angle
o Connect your Centro BBQ and Centro Cuisine outdoor appliances for a seamless outdoor kitchen experience.
To ORDER non-warranty replacement parts or accessories, or to register your warranty,
CAUTION
Sharp edges. Wear gloves when assembling your grill.
CAUTION
Read and follow all safety statements, assembly instructions,
and use and care directions before attempting to assemble and cook.
Read and save manual for future reference.
Assemble your grill immediately.
Missing or damaged parts should be claimed within 15 days of purchase.
Call the Centro Hotline at 1-877-707-5463.
THIS MANUAL MUST REMAIN WITH THE
PRODUCT AT ALL TIMES
please visit us on the web at
www.centrobbqs.com.
THIS PRODUCT IS FOR OUTDOOR USE ONLY
Manual Revision #: 112607
Page 2
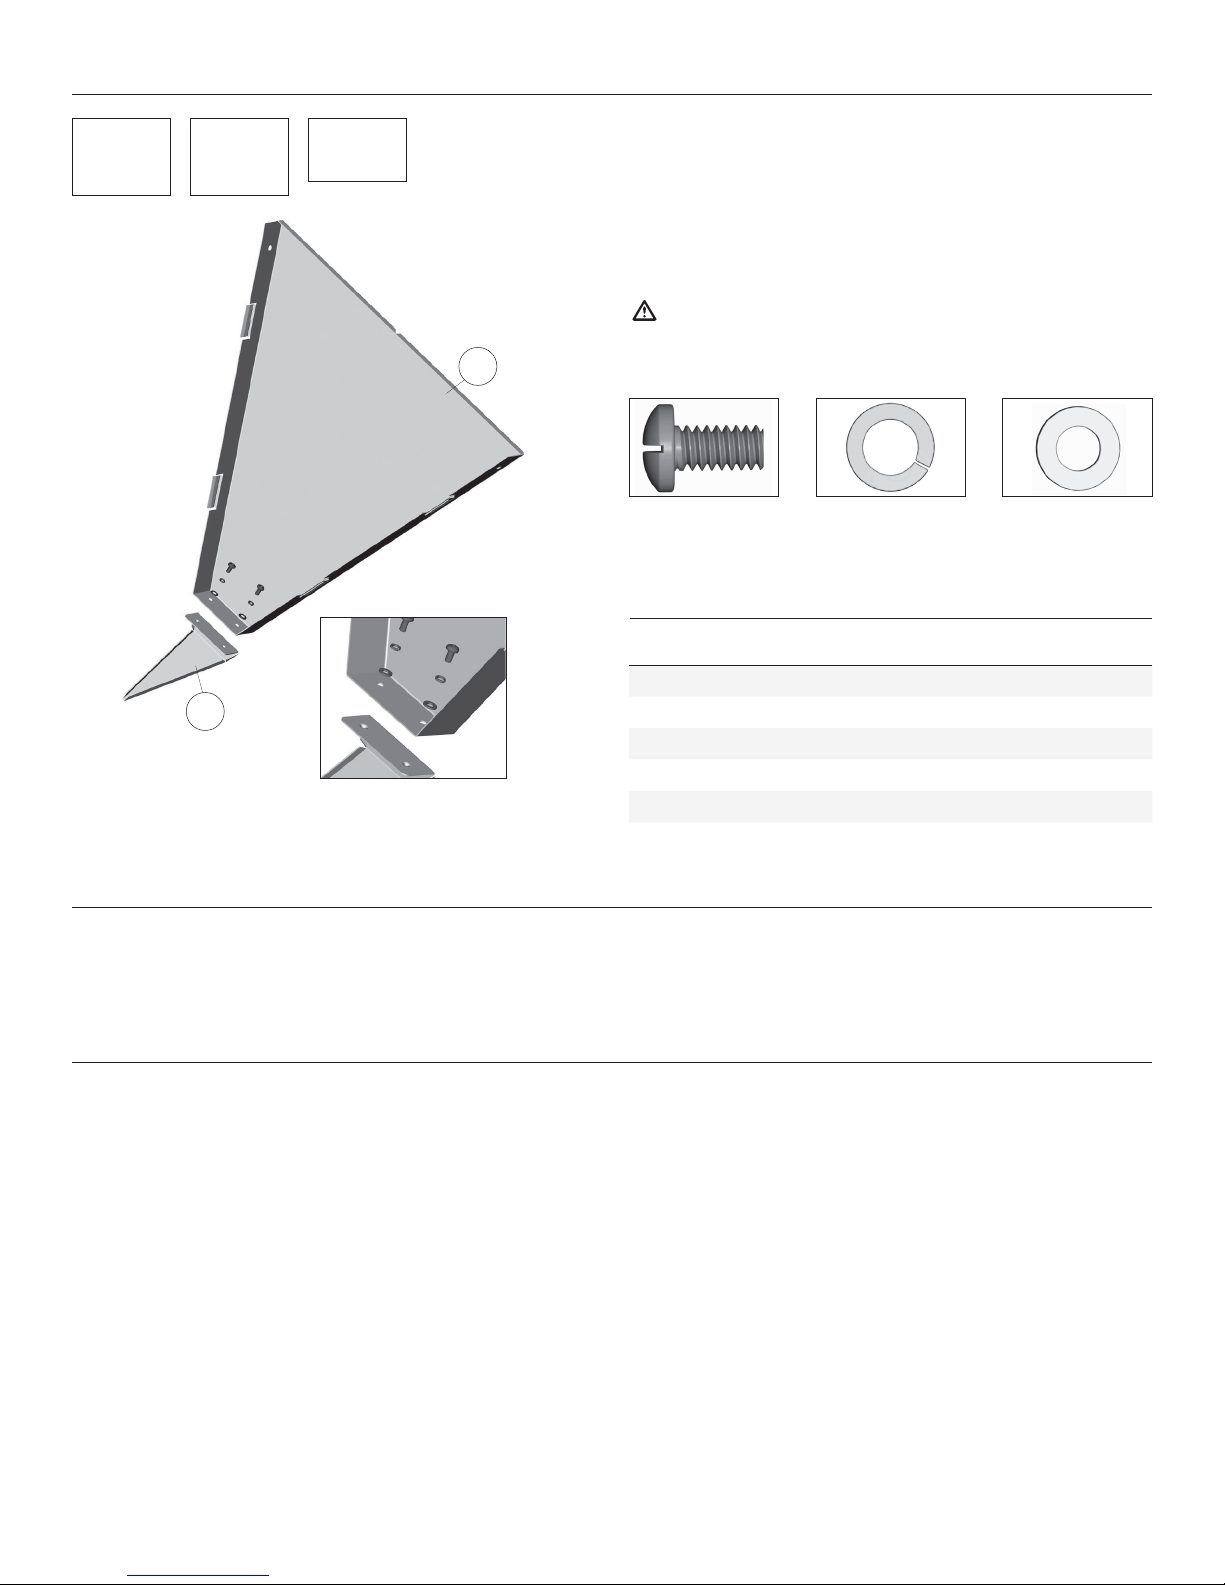
Exploded Diagram - Countertop Corner Leaf for 85-1147-4 (A01301)
A
B
Step 1
Attach the front connect plate (B)
to (A) by using #1 (×2), #2 (×2)
and #3 (×2).
#1×2
Step 1
Attach the front connect plate (B)
to (A) by using #1 (×2), #2 (×2)
and #3 (×2).
#1×2
#2×2
#3×2
Step 1
Attach the front connect plate (B)
to (A) by using #1 (×2), #2 (×2)
and #3 (×2).
#1×2
#2×2
Assembly
Manual
Safety
& Care
Manual
B
Hardware
Pack
TOOLS NEEDED FOR ASSEMBLY
• #2 Phillips screwdriver (long and short)
• ¼” Slotted screwdriver (long and short)
Before assembling the shelf, read these instructions carefully.
Caution: Sheet metal can cause injury.
Wear gloves when installing.
A
Use care when assembling.
#1 x 2
No. 10-24UNCx10 Screw
(Part #: 20124-10010-250)
#2 x 2 #3 x 2
ø7 Lock Washer
(Part #: 41400-05000-250)
ø7 Washer
(Part #: 40300-05000-250)
Parts List
Key Quantity Description Part Number
A 1 Main Shelf Plate A013-0001-01
B 1 Front Corner Plate A013-0002-01
1 Hardware Pack A013-B001-01
1 Assembly Manual A013-M001-01
1 Safety & Care Manual G617-M001-02
Assembly Instructions
1. Assemble the main shelf (A) to the front cover plate (B) with the hardware provided.
Note: Please assemble on a level surface.
Installation:
1. Place your BBQ in the preferred position on your deck or patio. For Centro 2800 ONLY, ensure that you leave enough room at
the rear of the BBQ for turning on and off your propane tank.
2. Depending on the configuration you prefer, begin by removing your BBQ’s side shelf.
TIP: Keep the side shelf and hardware handy for the final step.
3. To assemble the Cuisine Countertop Corner Leaf, insert the two hooks, located on the left side of the shelf, into the two openings located on the right upper side panel of your Centro BBQ, or cuisine appliance.
4. Align the left side of your Cuisine appliance or your Centro BBQ with the right side of the Cuisine Countertop Corner leaf.
5. Insert the two hooks on the right side of the Cuisine Countertop Corner Leaf, into the two openings located on the left side
of your Centro Cuisine appliance.
6. Press the shelf firmly into position.
7. Finally, re-assemble the side shelf removed in step 2 to the right side of your Cuisine appliance, using the harware removed.
PLEASE NOTE: Only remove the side shelves that do not include a side burner. Centro 3800 through to 6800 include a side
burner on the left side shelf. For these models, ONLY remove the Right side shelf.
 Loading...