

Page 1
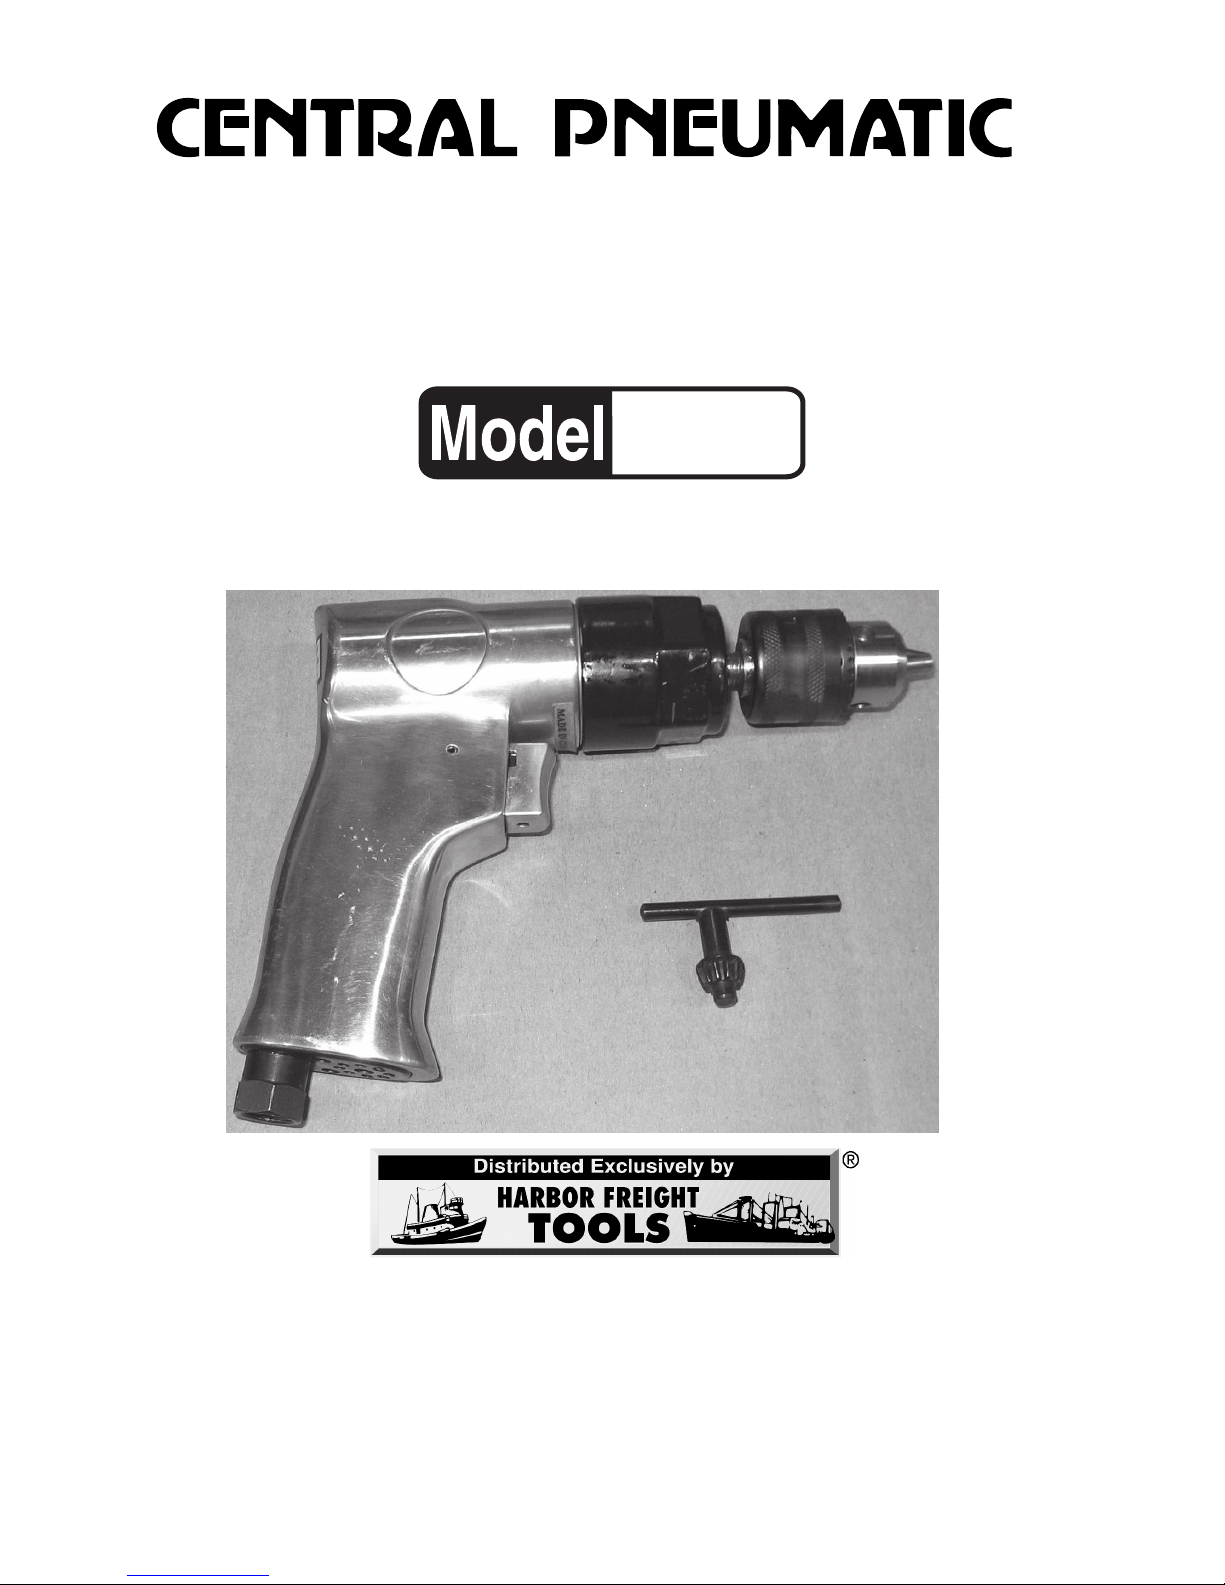
3/8” Reversible Air Drill3/8” Reversible Air Drill
3/8” Reversible Air Drill3/8” Reversible Air Drill
3/8” Reversible Air Drill
ASSEMBLY AND OPERATING INSTRUCTIONS
3491 Mission Oaks Blvd., Camarillo, CA 93011
Visit our Web site at http://www.harborfreight.com
Copyright © 2004 by Harbor Freight Tools®. All rights reser ved. No por tion of this
manual or any artwork contained herein may be reproduced in any shape or form
without the express written consent of Harbor F reight Tools.
For technical questions, please call 1-800-444-3353
91977
®
Page 2

SKU 91977 Page 2
For technical questions, please call 1-800-444-3353
Specifications
Save This Manual
You will need the manual for the saf ety warnings and precautions, assembly
instructions, operating and maintenance procedures, parts list and diagram. K eep
your inv oice with this man ual. Write the inv oice number on the inside of the front
cover. Keep the manual and inv oice in a safe and dry place for future reference.
Safety Warnings and Precautions
WARNING: When using tool, basic safety precautions should always be followed to reduce the risk of personal injury and damage to equipment.
Read all instructions before using this tool!
1. Keep work area c lean . Cluttered areas invite injuries.
2. Observe work area conditions. Do not use machines or po wer tools in
damp or wet locations. Don’t expose to rain. Keep work area well lit. Do not
use electrically powered tools in the presence of flammable gases or liquids.
3. Keep children a way. Children must never be allowed in the w ork area. Do
not let them handle machines, tools, or extension cords .
4. Store idle equipment. When not in use, tools must be stored in a dry
location to inhibit rust. Alw a ys loc k up tools and k eep out of reach of children.
5. Use the right tool for the job. Do not attempt to force a small tool or
attachment to do the work of a larger industrial tool. There are certain
applications for which this tool was designed. It will do the job better
and more safely at the rate for which it was intended. Do not modify this
tool and do not use this tool for a purpose for which it was not intended.
6. Dress properly. Do not wear loose clothing or jew elry as they can be caught
in moving parts. Protectiv e , electrically non-conductiv e clothes and non-skid
footwear are recommended when w orking. Wear restrictive hair co v ering to
contain long hair .
:noitcurtsnoC
htiwydoBmunimulA
stnenopmoCleetS
:epyTreggirT
esreveRhtiwelbairav-noN
reveL
:kcuhCyeKhtiw"8/3:snoisnemiDllarevO.aiD"4/3-1xH"2/1-5xL"2/1-6
:erusserPgnitarepO)dednemmocer(isp09:deepSdaoLoNmpr0051
:noitpmusnoCriAMFCS91:eziStelnIriATPN81-"4/1
:gniraeG
epyTyratenalPelpitluM
sgniraeBllaBhtiw
:thgieWteN.sbl2.2
Page 3

SKU 91977 Page 3
For technical questions, please call 1-800-444-3353
7. Use eye and ear protection. Always wear ANSI approved impact safety
goggles. W ear a full f ace shield if y ou are producing metal filings or w ood
chips. Wear an ANSI approved dust mask or respirator when working around
metal, wood, and chemical dusts and mists.
8. Do not overreach. Keep proper footing and balance at all times. Do not
reach over or across running machines.
9. Maintain tools with care. Keep tools maintained and clean for better and
safer performance. Follow instructions for lubricating and changing
accessories. Inspect tool cords periodically and, if damaged, have them
repaired by an authorized technician. The handles must be k ept clean, dry,
and free from oil and grease at all times.
10. Disconnect air power. Disconnect tool from air supply when not in use.
11. Remove adjusting keys and wrenches. Check that keys and adjusting
wrenches are removed from the tool or machine work surface before
connecting air supply .
12. Av oid unintentional starting. Be sure the trigger is in the Off position when
not in use and before connecting it. Do not carry any tool with your finger on
the trigger, whether it is connected to the air supply or not.
13. Stay alert. W atch what you are doing, use common sense . Do not operate
any tool when you are tired.
14. Take caution as some woods contain preservatives such as copper
chromium arsenate (CCA) which can be to xic. When drilling these materials
extra care should be taken to avoid inhalation and minimize skin contact.
15. Check for damaged parts. Before using an y tool, any part that appears
damaged should be carefully checked to determine that it will operate
properly and perform its intended function. Check f or alignment and binding
of moving parts; any broken parts or mounting fixtures; and an y other
condition that may aff ect proper operation. Any part that is damaged should
be properly repaired or replaced by a qualified technician. Do not use the tool
if any switch does not turn On and Off properly.
16. Replacement parts and accessories. When servicing, use only identical
replacement parts. Use of any other parts will void the warranty. Only use
accessories intended for use with this tool. Approved accessories are
availab le from Harbor Freight T ools .
17. Do not operate tool if under the influence of alcohol or drugs. Read
warning labels on prescriptions to determine if your judgment or refle x es are
impaired while taking drugs. If there is any doubt, do not operate the tool.
Page 4

SKU 91977 Page 4
For technical questions, please call 1-800-444-3353
18. Maintenance. For y our safety, service and maintenance should be performed
regularly by a qualified technician.
19. Always secure the workpiece with a vise, or other appropriate means. Never
hold the workpiece by hand when drilling.
Warning: The warnings, cautions, and instructions discussed in this instruction
manual cannot cover all possible conditions and situations that ma y occur. It
must be understood by the operator that common sense and caution are factors which cannot be built into this product, but must be supplied by the operator .
Unpacking
When unpacking, check to mak e sure the following parts are included.
Air Drill with 3/8” Chuck
Chuck Ke y
If any parts are missing or broken, please call Harbor Freight Tools at the number
on the cover of this manual.
Operation
1. Install a standard 1/4” Air Connector (not included) to the Air Inlet (28). First
wrap the threaded portion of the 1/4” air connector with pipe thread seal tape
before threading it into the Air Inlet (28). Tighten securely.
2. Attach a standard quick connector (not included) to your 3/8” i.d. air pressure
source hose. Then attach the air hose to the Air Drill.
NOTE: If y ou are not using an automatic in-line oiler, add a f ew drops of pneumatic
oil to the Air Inlet (28) before attaching the air hose. Add a few more drops of oil
after every hour of continual use.
W ARNING: Some dust created by po wer sanding, sa wing, grinding,
drilling, and other construction activities, contain chemicals known [to
the State of California] to cause cancer, birth defects or other reproductive harm. Some examples of these chemicals are:
* Lead from lead-based paints
* Crystalline silica from bricks and cement or other masonry products
* Arsenic and chromium from chemically treated lumber
(California Health & Safety Code 25249.5,
et seq.
)
Page 5

SKU 91977 Page 5
For technical questions, please call 1-800-444-3353
2. Set the air pressure regulator at 90 psi.
WARNING: Do not exceed the recommended pressure of 90 psi. Damage to your
tool, and possible personal injury may result.
3. Check the air line and its connections for air leaks. Make note of these, and
repair them before using this tool.
NOTE: Turn off your air compressor and disconnect the air pressure hose before
changing bits or making any adjustments to this tool. Se vere injury or property
damage may otherwise result.
WARNING: This tool generates considerab le torque when in use. Always hold the
tool with both hands when using, and brace yourself to resist the torque which will
be delivered to the work piece.
4. Select the appropriate size drill bit (not included) for your needs. The Chuck
may be opened and closed using the Chuck Key (see photo). Turn the Chuck
Key counterclockwise to open, and clockwise to close the Chuck.
5. Insert the base of the drill bit into
the Chuck (16). With the bit in
place, tighten the Chuck with the
Chuck Key until the bit is
securely held.
6. Move the Direction Switch (30) to
the LEFT to drill clockwise, move
the Direction Switch (30) to the
RIGHT to drill counterclockwise.
NOTE: In most cases, drill bits
are designed to bore into the work
material turning clockwise, and to
reverse out of the work material
by turning counterclockwise.
Air Drill
Page 6

SKU 91977 Page 6
For technical questions, please call 1-800-444-3353
7. Place the point of the drill bit at the spot you wish to drill. When it is safe to do
so, squeeze the Trigger (24). The Drill will begin to operate, and the drill bit will
begin to drill into the work material. Drill until you have reached the desired
depth. Release the Trigger (24) to cease operation of the drill.
WARNING: This drill operates at non-variable speed. That means once the T rigger
is squeezed it will begin to operate at full speed. When the trigger is released it will
stop operating. Be prepared for the drill to operate at full speed immediately
when the trigger is squeezed.
8. In most cases, you will be able to simply retract the drill bit from the hole. If
the bit can not be easily pulled out of the hole, move the Direction Switch (30)
to the RIGHT to reverse direction of the drill. Squeeze the Trigger (24) to
operate the drill, and pull the bit out of the hole as it rotates counterclockwise.
NOTE: To extend the lif e of your tool, wait f or the drill to stop rotating before moving
the Direction Switch to reverse direction. Operating the Direction Switch while
the drill is still turning may cause damage to the tool.
9. When you are done, disconnect the Drill from the air supply, and store it
properly.
Maintenance
1. After each use, wipe the tool with a clean cloth to remove any dirt, oil or other
contaminants.
2. If an automatic oiler is not being used, always add a few drops of pneumatic
oil (av ailable from Harbor Freight Tools) to the air line before each use.
3. After each use, drain any collected water from the air compressor tank, air
lines and filter . Bef ore each use rechec k these to be sure they are dry.
Accumulated moisture can cause rusting and corrosion of your compressed
air equipment.
Page 7

SKU 91977 Page 7
For technical questions, please call 1-800-444-3353
Parts List
NOTE: Some parts are listed and shown for illustration purposes only and are not
available individually as replacement parts.
#traPnoitpircseD.ytQ
1gnisuoH1
2gniraeB2
3etalPdnE1
4rotoR1
5edalBrotoR5
6rednilyC1
7niP1
8etalPtnorF1
9raeG3
01niP3
11eldnipSkroW1
21raeGgniRdaerhT1
31gniraeB2
41tuNpmalC1
51rehsaW1
61kcuhC1
71wercSkcuhC1
81gniR-O1
91metSevlaV1
02gniR-O1
12gnihsuB1
22gniR-O1
32gnirpSreggirT1
42reggirT1
52wercSreggirT1
62revoCrelffuM1
72wercS2
82telnIriA1
92niP1
03lortnoCnoitceriD1
13teksaGraeR1
23rehsaW1
Page 8

SKU 91977 Page 8
For technical questions, please call 1-800-444-3353
PLEASE READ THE FOLLOWING CAREFULLY
THE MANUFACTURER AND/OR DISTRIBUTOR HAS PROVIDED THE PARTS DIAGRAM
IN THIS MANUAL AS A REFERENCE TOOL ONLY. NEITHER THE MANUFACTURER
NOR DISTRIBUTOR MAKES ANY REPRESENTATION OR WARRANTY OF ANY KIND TO
THE BUYER THAT HE OR SHE IS QUALIFIED TO MAKE ANY REPAIRS TO THE
PRODUCT OR THAT HE OR SHE IS QUALIFIED TO REPLACE ANY PARTS OF THE
PRODUCT. IN FACT, THE MANUFACTURER AND/OR DISTRIBUTOR EXPRESSLY
ST A TES THA T ALL REPAIRS AND P ARTS REPLA CEMENTS SHOULD BE UNDERT AKEN BY
CERTIFIED AND LICENSED TECHNICIANS AND NOT BY THE BUYER. THE BUYER ASSUMES ALL RISK AND LIABILITY ARISING OUT OF HIS OR HER REP AIRS TO THE ORIGINAL PRODUCT OR REPLACEMENT PARTS THERETO, OR ARISING OUT OF HIS OR HER
INST ALLA TION OF REPLA CEMENT P ARTS THERETO .
Assembly Drawing
 Loading...