

Page 1
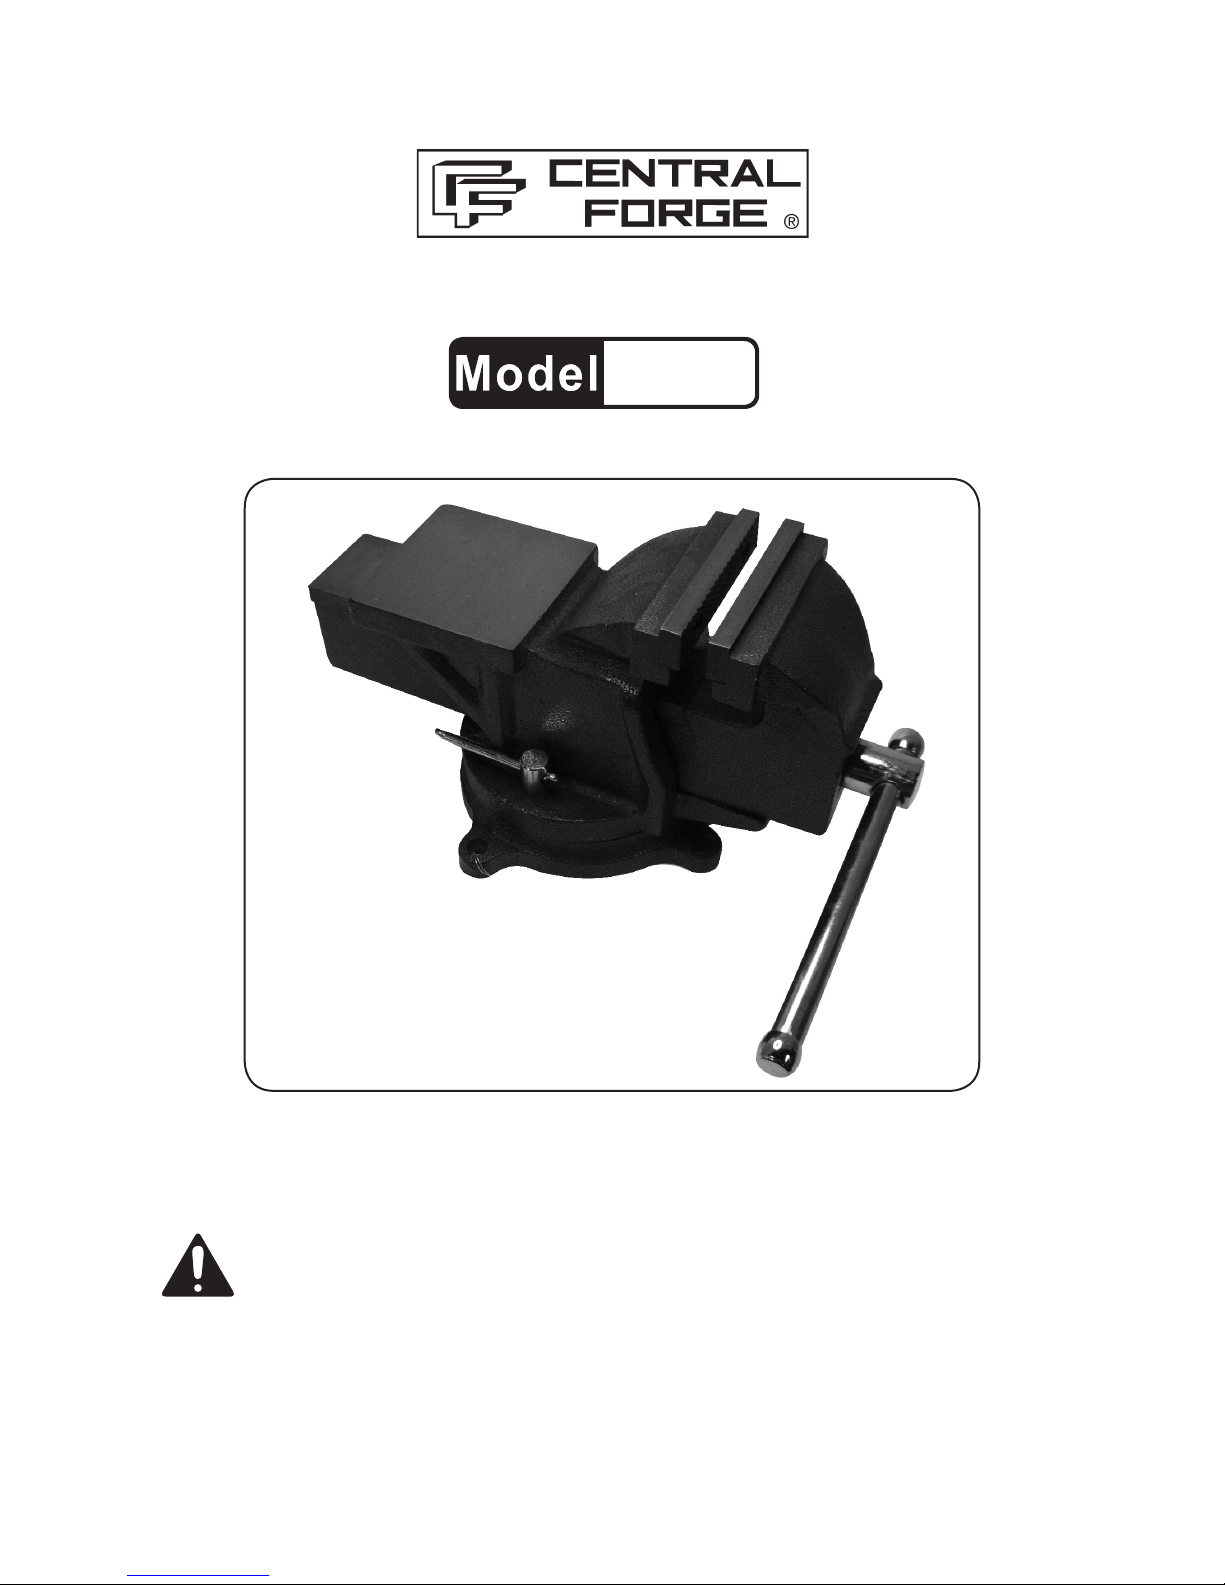
4" SWIVEL VISE WITH ANVIL
98656
INSTRUCTIONS AND PRECAUTIONS
Distributed exclusively by Harbor Freight Tools®.
3491 Mission Oaks Blvd., Camarillo, CA 93011
Visit our website at: http://www.harborfreight.com
SAVE THESE INSTRUCTIONS. READ ALL
PRECAUTIONS AND INSTRUCTIONS.
Copyright© 2008 by Harbor Freight Tools®. All rights reserved. No portion of this document or any artwork contained
herein may be reproduced in any shape or form without the express written consent of Harbor Freight Tools.
Diagrams within this document may not be drawn proportionally. Due to continuing improvements, actual product
may differ slightly from the product described herein. Tools required for assembly and service may not be included.
For technical questions or replacement parts, please call 1-800-444-3353.
Page 2

IMPORTANT SAFETY
INFORMATION
Assembly Precautions
Assemble only according to these instruc-1.
tions. Improper assembly can create hazards.
Keep assembly area clean and well lit.2.
Keep bystanders out of the area during as-3.
sembly.
This product is not a toy. Do not allow chil-4.
dren to play with or near this item.
Use for intended purpose(s) only.5.
Inspect before use; do not use if parts are 6.
loose or damaged.
Maintain product labels and nameplates. 7.
These carry important safety information.
If unreadable or missing, contact Harbor
Freight Tools for a replacement.
SAFETY WARNINGS AND
PRECAUTIONS
WARNING: Before drilling holes,
check for hidden electrical wires or
cords in drilling path.
KEEP PRODUCT USAGE AREA CLEAN. 1.
Cluttered areas invite injuries.
KEEP CHILDREN AWAY FROM PRODUCT 2.
USAGE AREA. Do not allow children to
handle this product.
DO NOT USE THIS PRODUCT IF UN-3.
DER THE INFLUENCE OF ALCOHOL OR
DRUGS. Read warning labels on prescrip-
tions to determine if your judgement or
reexes are impaired while taking drugs. If
there is any doubt, do not use this product.
USE EYE PROTECTION. 4. Wear ANSI-ap-
proved safety impact goggles. Goggles are
available from Harbor Freight Tools.
DRESS SAFELY.5. Do not wear loose cloth-
ing or jewelry as they can become caught
in moving parts. Wear a protective hair
covering to prevent long hair from becoming
caught in the moving parts.
WHEN WORKING WITH THE ANVIL, DO 6.
NOT STRIKE WITH A HARDENED TOOL. It
could chip the Anvil and/or the tool.
DO NOT OVERREACH. 7. Keep proper footing
and balance at all times.
STAY ALERT. 8. Watch what you are doing
at all times. Use common sense. Do not
operate this product when you are tired or
distracted from the job at hand.
Warning: Damage could occur to your
vise and/or workpiece if you overtighten
the Handle (6). (See Fig. 1.)
CHECK FOR DAMAGED PARTS. 9. Before
using this product, carefully check that it will
operate properly and perform its intended
function. Check for damaged parts and any
other conditions that may affect its operation.
Replace or repair damaged or worn parts
immediately.
REPLACEMENT PARTS AND ACCESSO-10.
RIES. When servicing, use only identical
replacement parts.
MAINTAIN PRODUCT WITH CARE.11. Keep
this product clean and dry, and moving parts
lightly lubricated for better performance.
Keep the Handle dry, clean and free from oil,
grease, and solvents.
USE THE RIGHT PRODUCT FOR THE 12.
RIGHT JOB. Do not attempt to force a small
tool or attachment to do the work of a larger
industrial tool. There are certain applications
for which this tool was designed. It will do
the job better and more safely at the rate for
which it was intended. Do not modify this
tool and do not use this tool for any purpose
other than which it was intended.
SAVE THESE
INSTRUCTIONS.
SKU 98656 For technical questions, please call 1-800-444-3353. Page 2
Page 3
SPECIFICATIONS
Item Description
Construction Material 360° Swiveling Cast Iron Base
Jaw Material Machined High-Carbon Steel
Jaw Opening 5-5/16"
Throat Depth 2-1/2"
Leadscrew Steel, 5/8" Dia.
Sliding “T” Locking Handles Chrome (2)
Mounting Hole Size 7/16" Dia.
Weight 25.2 lbs.
UNPACKING
When unpacking, check to make sure that
the item is intact and undamaged. If any parts are
missing or broken, please call Harbor Freight Tools
at the number shown on the cover of this document
as soon as possible.
You will need the manual for the safety warnings and precautions, operating and maintenance
procedures, parts list and diagram. Keep your
invoice with this manual. Write the invoice number
on the inside of the front cover. Keep the manual
and invoice in a safe and dry place for future reference.Assembly Instructions
Read the ENTIRE IMPORTANT
SAFETY INFORMATION section at the
beginning of this document including
all text under subheadings therein
before set up or use of this product.
OPERATING INSTRUCTIONS
Set-Up:
Use the mounting holes on the vise’s Fixed 1.
Base (1) as a template to mark drill points.
Set the Vise at on the workbench so that the
mounting holes are positioned as desired.
With a pencil, mark the points at which to
fasten the Vise onto the workbench. Set the
Vise aside.
Drill holes of the appropriate size (where 2.
previously marked with a pencil) through the
top of the workbench.
WARNING: Before drilling holes,
check for hidden electrical wires or
cords in drilling path.
Carefully set the Fixed Base (1) of the Vise 3.
with the Mounting Holes corresponding to the
holes previously drilled through the top of the
workbench. (See Fig. 1.)
Insert hardened steel bolts (not provided), of 4.
the appropriate diameter (to t 1/2" diameter mounting holes) and length, downward
through the Fixed Base (1) and through the
workbench. The length of the mounting bolts
will be determined by the thickness of the
workbench. Secure the mounting bolts in
place with the appropriate washers and nuts.
Turn the Handle (6) counterclockwise to 5.
open the Jaws (3) of the Vise. Place the item
you are working on inside the Jaws. Tighten
Jaws (3) against the workpiece by turning the
Handle (6) clockwise until your workpiece is
held securely against the Jaws (3).
Warning: Damage could occur to your
vise and/or workpiece if you overtighten
the Handle (6). (See Fig. 1.)
To remove the object you are working on, 6.
turn the Handle (6) counterclockwise two to
three times, opening the Jaws (3). Remove
your workpiece.
Swivel the Mounted Vise
By swiveling the Vise around you can access
your workpiece easier.
Turn the two Locking T-Handles (4) until they 1.
release the Swivel Base (5) of the Vise.
Turn the Vise to the desired position. (Ex-2.
ample: Swivel 125°).
Tighten the Locking T-Handles (4) once you 3.
have the Vise in the position best suited for
your work.
Maintenance
Keep the moving parts lubricated. Wipe off 1.
any lubricant off of the Handles (4, 6) and
Jaws (3).
Keep the Jaws (3) clean.2.
The jaws can be removed for cleaning and 3.
are replaceable. Each is held on by two 5mm
cap screws. Use a 5mm hex wrench (not
included) to loosen/tighten the cap screws.
SKU 98656 For technical questions, please call 1-800-444-3353. Page 3
Page 4
Check and tighten the mounting screws or 4.
bolts to be sure the vise has not loosened
from its mounting.
PLEASE READ THE FOLLOWING
CAREFULLY
THE MANUFACTURER AND/OR DISTRIBUTOR HAS
PROVIDED THE PARTS LIST AND ASSEMBLY DIAGRAM
IN THIS DOCUMENT AS A REFERENCE TOOL ONLY.
NEITHER THE MANUFACTURER OR DISTRIBUTOR
MAKES ANY REPRESENTATION OR WARRANTY OF ANY
KIND TO THE BUYER THAT HE OR SHE IS QUALIFIED
TO MAKE ANY REPAIRS TO THE PRODUCT, OR THAT
HE OR SHE IS QUALIFIED TO REPLACE ANY PARTS OF
THE PRODUCT. IN FACT, THE MANUFACTURER AND/OR
DISTRIBUTOR EXPRESSLY STATES THAT ALL REPAIRS
ASSEMBLY DIAGRAM
AND PARTS REPLACEMENTS SHOULD BE UNDERTAKEN
BY CERTIFIED AND LICENSED TECHNICIANS, AND NOT
BY THE BUYER. THE BUYER ASSUMES ALL RISK AND
LIABILITY ARISING OUT OF HIS OR HER REPAIRS TO THE
ORIGINAL PRODUCT OR REPLACEMENT PARTS THERETO,
OR ARISING OUT OF HIS OR HER INSTALLATION OF
REPLACEMENT PARTS THERETO.
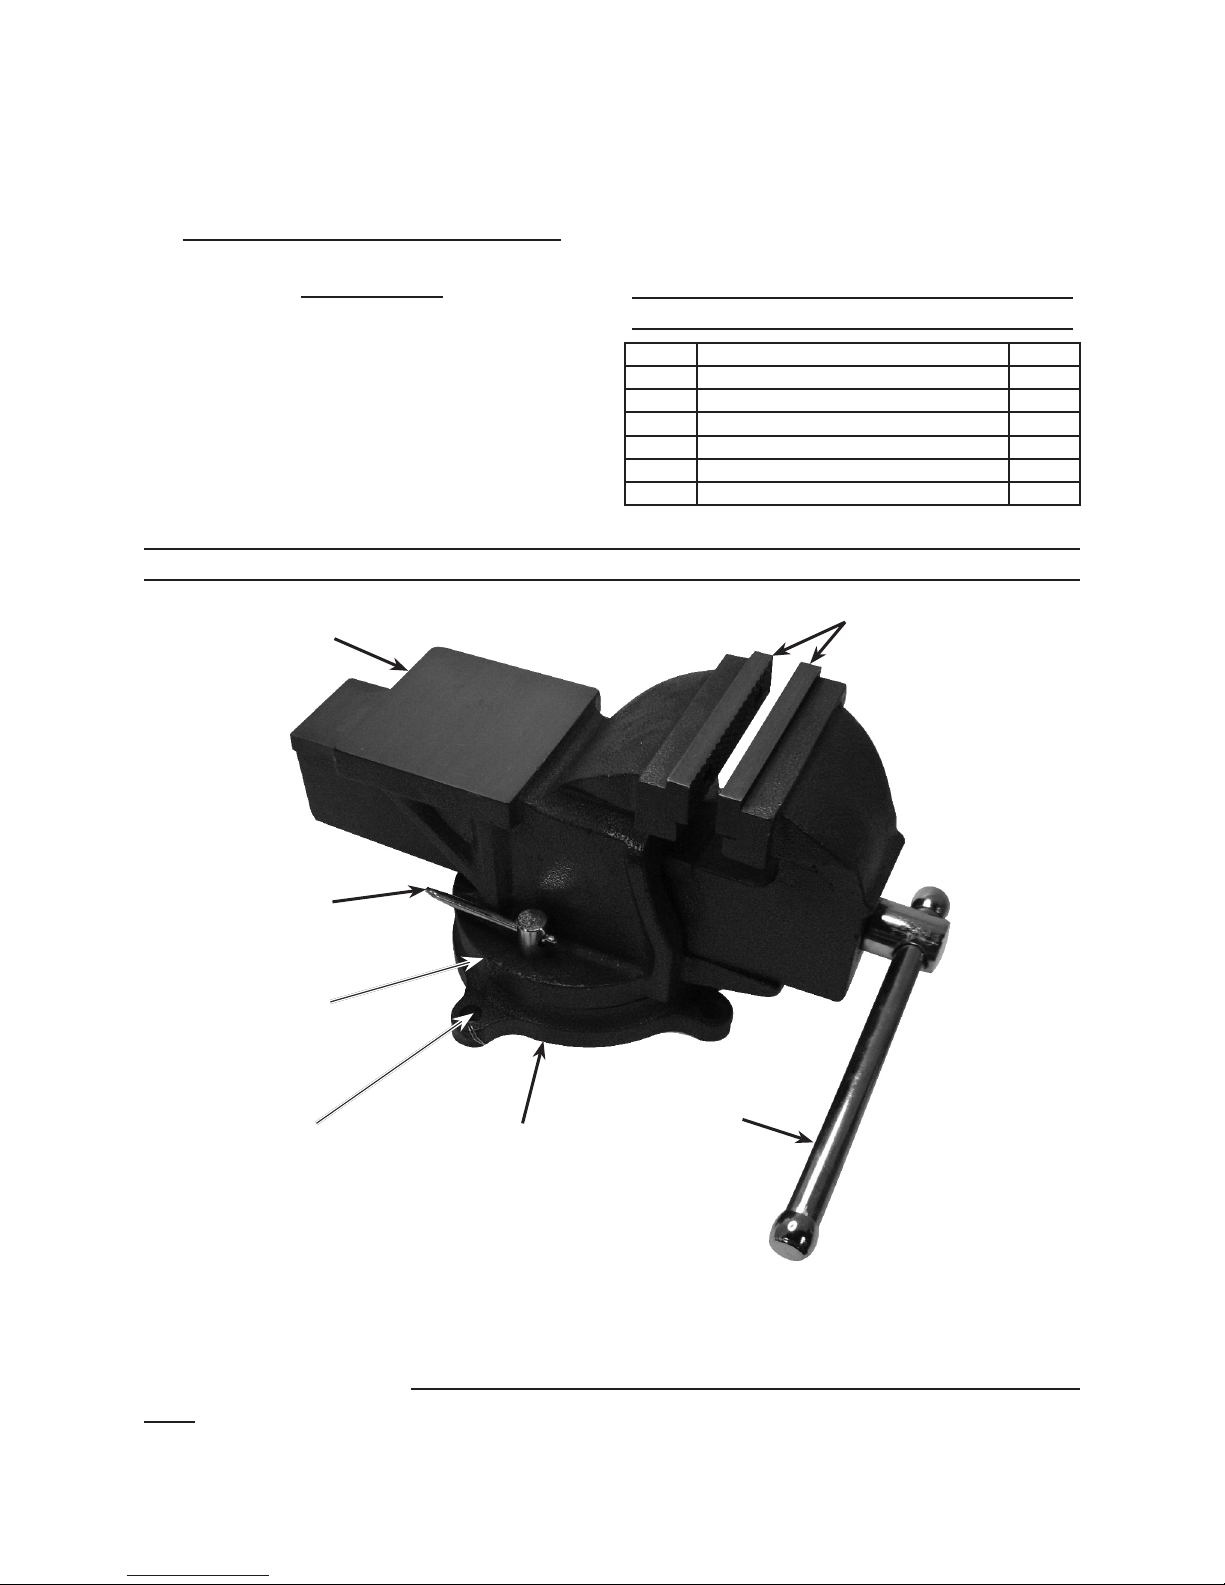
PARTS LIST & DIAGRAM
Part Description Qty.
1 Fixed Base 1
2 Lead Screw (Not shown) 1
3 Jaws 2
4 T-Locking Handles 2
5 Swivel Base 1
6 Handle 1
Anvil
Locking
T-Handle (4)
Swivel
Base (5)
Mounting
Holes
Jaws (3)
Handle (6)
Fixed
Base (1)
Record Serial Number Here:
Note: If product has no serial number, record month and year of purchase instead.
SKU 98656 For technical questions, please call 1-800-444-3353. Page 4
Fig. 1
 Loading...