

Center 32 Instruction Manual
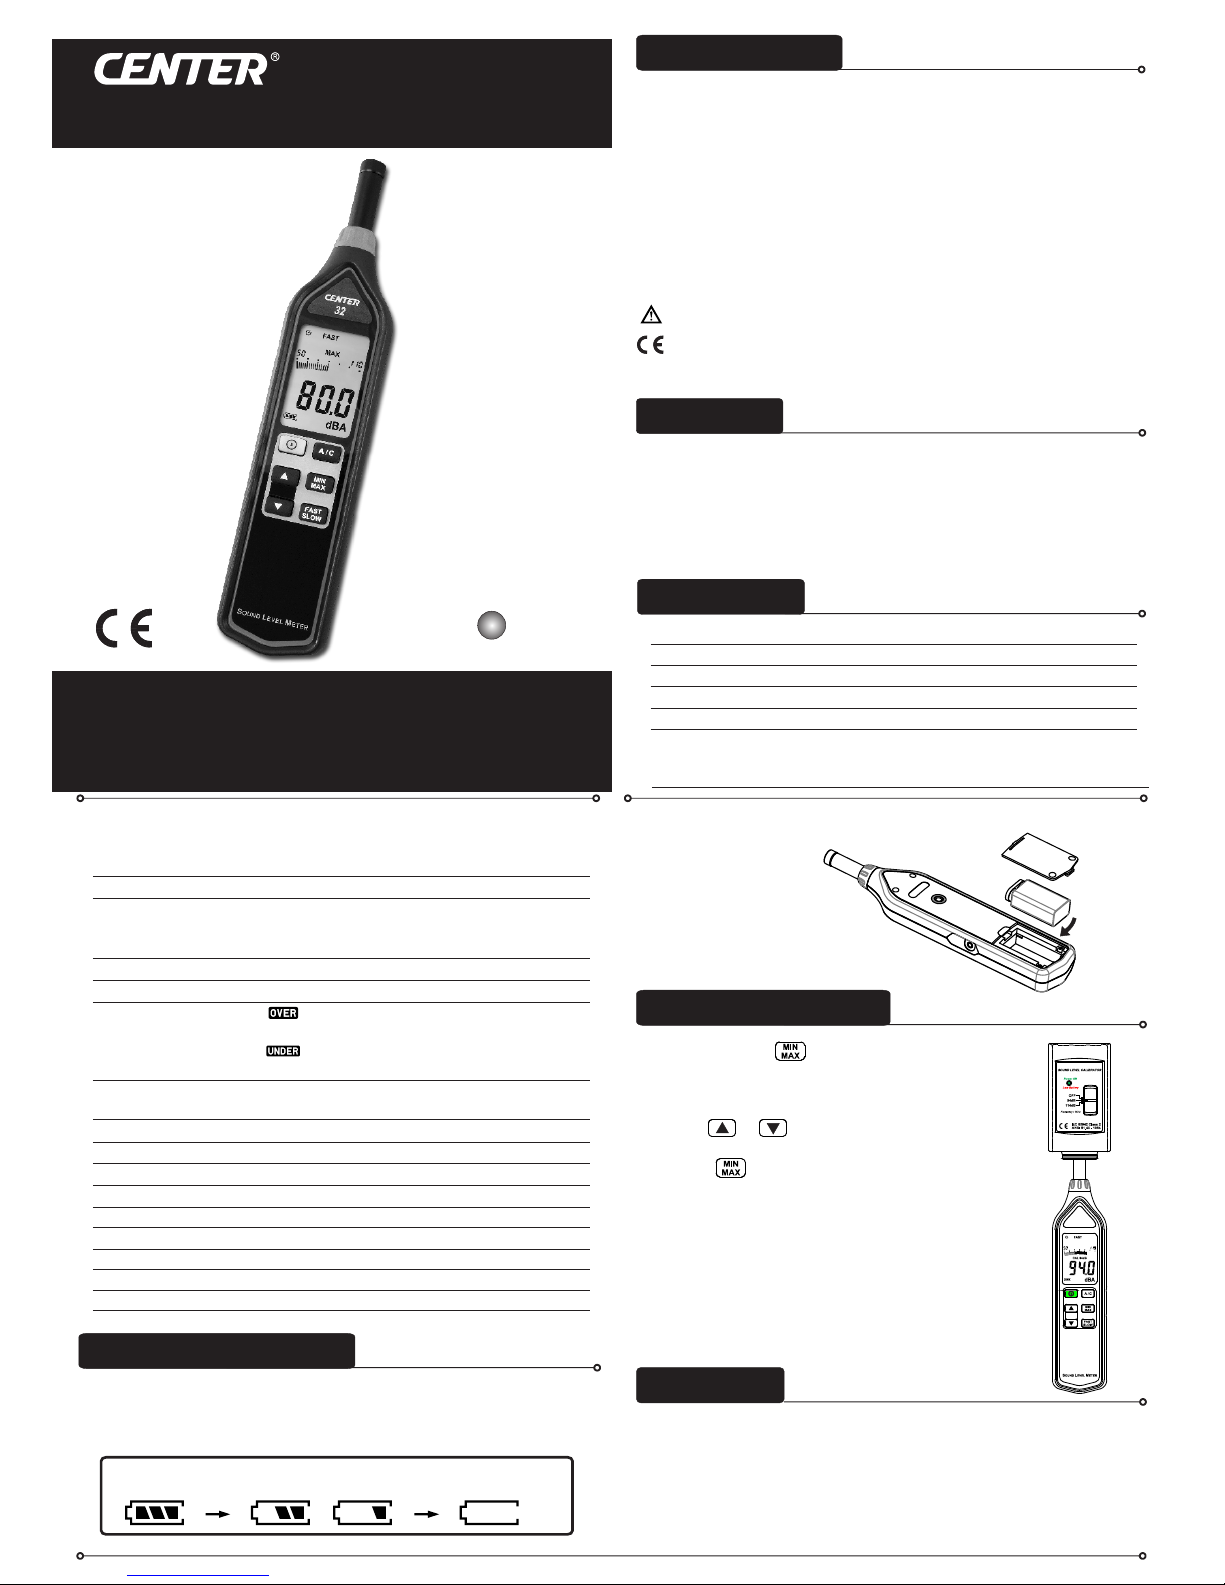
32
SOUND LEVEL METER
CENTER TECHNOLOGY CORP.
4F, NO.415, Jung-Jeng Rd., Shu-Lin Dist., New Taipei City 238, Taiwan
E-Mail:center@centertek.com
http://www.centertek.com
GCA 00003 2-020 00
Safety Information
n
o
M
i
t
a
c
n
u
r
u
t
a
s
l
n
I
Environment Conditions:
Introduction
This Sound Level Meter has been designed to meet the measurement
requirements of safety Engineers, Health, Industrial safety offices and
sound quality control in various environments.
Both AC and DC signal outputs are available from standard 3.5mm coaxial
socket, suitable for a frequency analyzer, level recorder, FFT analyzer,
graphic recorder, etc.
Read the following safety information carefully before attempting to operate
or service the meter.
Use the meter only as specified in this manual; otherwise, the protection
provided by the meter may be impaired.
Ÿ Altitude up to 2000 meters
Ÿ Relatively humidity 90% max.
Ÿ Operation Ambient 0 ~ 40°C
Explanation of Symbols:
Attention! Refer to operation instructions.
Comply with EMC.
When servicing, use only specified replacement parts.
Operation Temperature:
Operation Humidity:
Storage Temperature:
Dimension / Weight:
Accessories:
0 to 40°C (32 to 104°F)
10 to 90%RH
258 55 10.2” 2.2”× ×25mm ( × ×1.0”) / Approx. 185g
battery, Instruction manual, Windscreen, Tool box.
-10 to 60°C (14 to 140°F)
Measurement Preparation
Remove the battery
cover on the back and
insert a 9V Battery.
2. Battery Loading:
Repairs or servicing not covered in this manual should only be performed
by qualified personnel.
Attention!
Periodically wipe the case with a dry cloth. Do not use abrasives or
solvents on this instrument.
Cleaning
Digital Display:
4 digits
Analog display: 30 segment bargraph
Time weighting: FAST , SLOW
Resolution: 0.1dB
Display updata: 0.5 sec.
Resolution: 2dB
Display updata: 100 mS
Level ranges: Lo: 30 - 90 dB
Accuracy: ±1.4dB (under reference conditions)
Med: 50 - 110 dB
Hi: 70 – 130 dB
Dynamic Range: 60 dB
Alarm Function: “ ” is show when input is more than upper
limit of range.
“ ” is show when input is Less than lower limit
of range.
AC Output: 1 Vrms at FS (full scale)
FS: means the upper limit of each level Range.
DC Output: 10mV / dB
Power Supply: One 9V battery, 006P or IEC 6F22 or NEDA 1604
Power Life: Approx. 60hrs (alkaline Battery)
Storage Humidity:
10 to 75%RH
Maintenance
When operating the unit on battery, periodically check this indicator to
determine the remaining battery capacity.
1. Battery capacity indicator:
Batteries Good
Batteries Partly
Depleted
Replace Batteries
9V battery
Specifications
Standard Applied:
Frequency Range:
IEC61672-1 Class2
20Hz ~ 8KHz
Measuring level Range: 32 ~ 130dB
Frequency Weighting: A / C
Microphone: ½ inch electret condenser microphone
Calibration Procedures
(1) Press and hold button and then power on
the meter, LCD display “CAL 94dB” symbol.
(2.) Insert the microphone housing carefully into the
insertion hole of the calibrator.
(3.) Press or button to increase or decrease
number.
(4.) Press button to finish. To abort during a
setup process, press power button to cancel.
Note: Our products are all well calibrated before
shipment.
Recommended recalibration cycle: 1 year.
Using a standard Acoustic Calibrator
(94dB, 1KHz Sine wave )
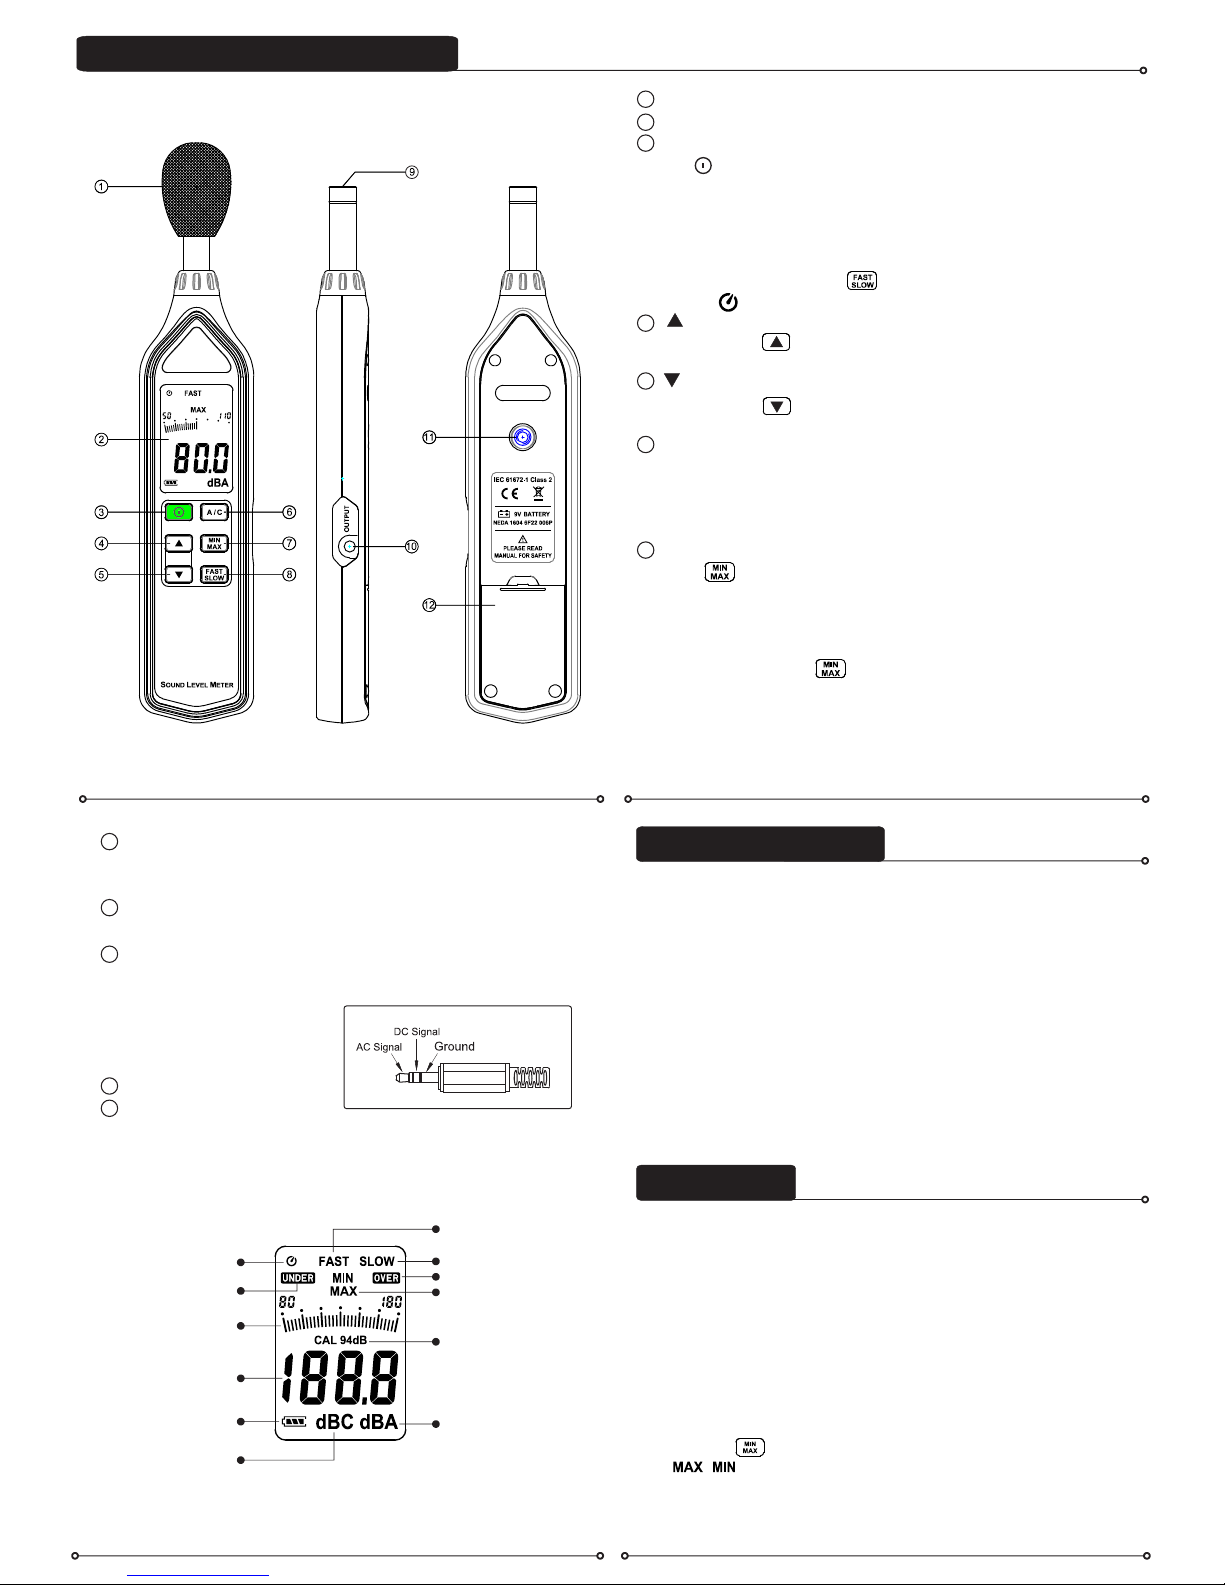
2. LCD Display:
A-Weighting ind icator
Batter y capacit y indicator
C-Weighting ind icator
Readin g indicat or
Range In dicator
Under ra nge indic ator
Auto pow er off indi cator
Calibr ation Mod e indicator
Over ran ge indica tor
Slow res ponse ind icator
Maximu m/Minim um
Valu e hold indicat or
Fast res ponse ind icator
Time weighting select Switch:
FAST: for normal measurements
SLOW: for checking average level of fluctuating noise.
Microphone:
1/2 inch Electret Condenser microphone.
AC/DC output terminal:
AC Output: 1 Vrms corresponding to each range step.
DC Output: 10mV/dB.
Tripod mounting screw
Battery Cover
2
Symbol Definition & Button Location
1. Name of Parts & Position:
Windscreen.
Display: 4 digits LCD display
Power Switch:
The key turns the sound level meter ON.
Press and hold this button for 2 seconds to turn OFF the power.
Auto Power Off:
By default, when the meter is powered on, it is under auto power off
mode. The meter will power itself off after 30 minutes if no key
operation.
One may press and hold “ ” button and then power on the meter
and the will not show up to indicate that auto power off is disabled.
Level range control button:
Each time the button is pressed. The level range increments from
“ Lo ” Level to “ Hi ” Level range.
Level range control button:
Each time the button is pressed. The range decreases from “ Hi ”
Level to “ Lo “ Level range.
Frequency Weighting select switch:
A: A - Weighting. for general sound level measurements.
C: C - Weighting. for checking the low-frequency content of noise.
(If the C-Weighted level is much higher than the A-weighted level, then
there is a large amount of low-frequency noise.)
MAX / MIN hold switch:
Press button to enter the maximum and minimum recording mode.
Select the proper Level range before using MAX/MIN to ensure that
reading value will not exceed the measurement range. Press once to
select MAX value. Press again to select MIN value, and press again to
select current value with “ MAX MIN “ annunciator blinking.
Press and hold down button for 2 seconds to exit the MAX.MIN
mode.
Note: If change sound level range or change A-C weight, the
MAX.MIN mode will be cleared.
1
3
4
5
6
7
8
9
10
11
12
Measurement
(1) Turn on and select the desired response time and weighting. If the
sound source consists of short bursts, set response to FAST. To
measure average sound level, use the SLOW setting.
Select A weighting for general noise sound level and C weighting for
measuring sound level of acoustic material.
(2) Select desired Level.
(3) Hold the instrument comfortably in hand or fix on tripod and point the
microphone at the suspected noise source, the sound pressure level
will be displayed.
(4) When MAX MIN (maximum, minimum hold) mode is chosen. The
instrument captures and holds the maximum and minimum noise level
for a long period using any of the time weightings and ranges.
Press the button 2 seconds to clear the MAX/MIN reading.
“ / ” symbol disappears.
(5) Turn OFF the instrument.
Operating Precautions
(1) Wind blowing across the microphone would bring additional
extraneous noise.
Once using the instrument in the presence of wind, it is a must to
mount the windscreen to avoid picking up undesirable signals.
(2) To achieve more accurate measurement, use an extension cable to
separate the microphone from the main body so that the effect of
unexpected sound reflection can be eliminated.
(3) Calibrate the instrument before operation if the instrument was not in
use for a long time or operated at bad environment.
(4) Do not store or operate the instrument at high temperature and high
humidity environment.
(5) Keep microphone dry and avoid severe vibration.
(6) Please take out the battery and keep the instrument in low humidity
environment when not in use.
 Loading...