

Page 1
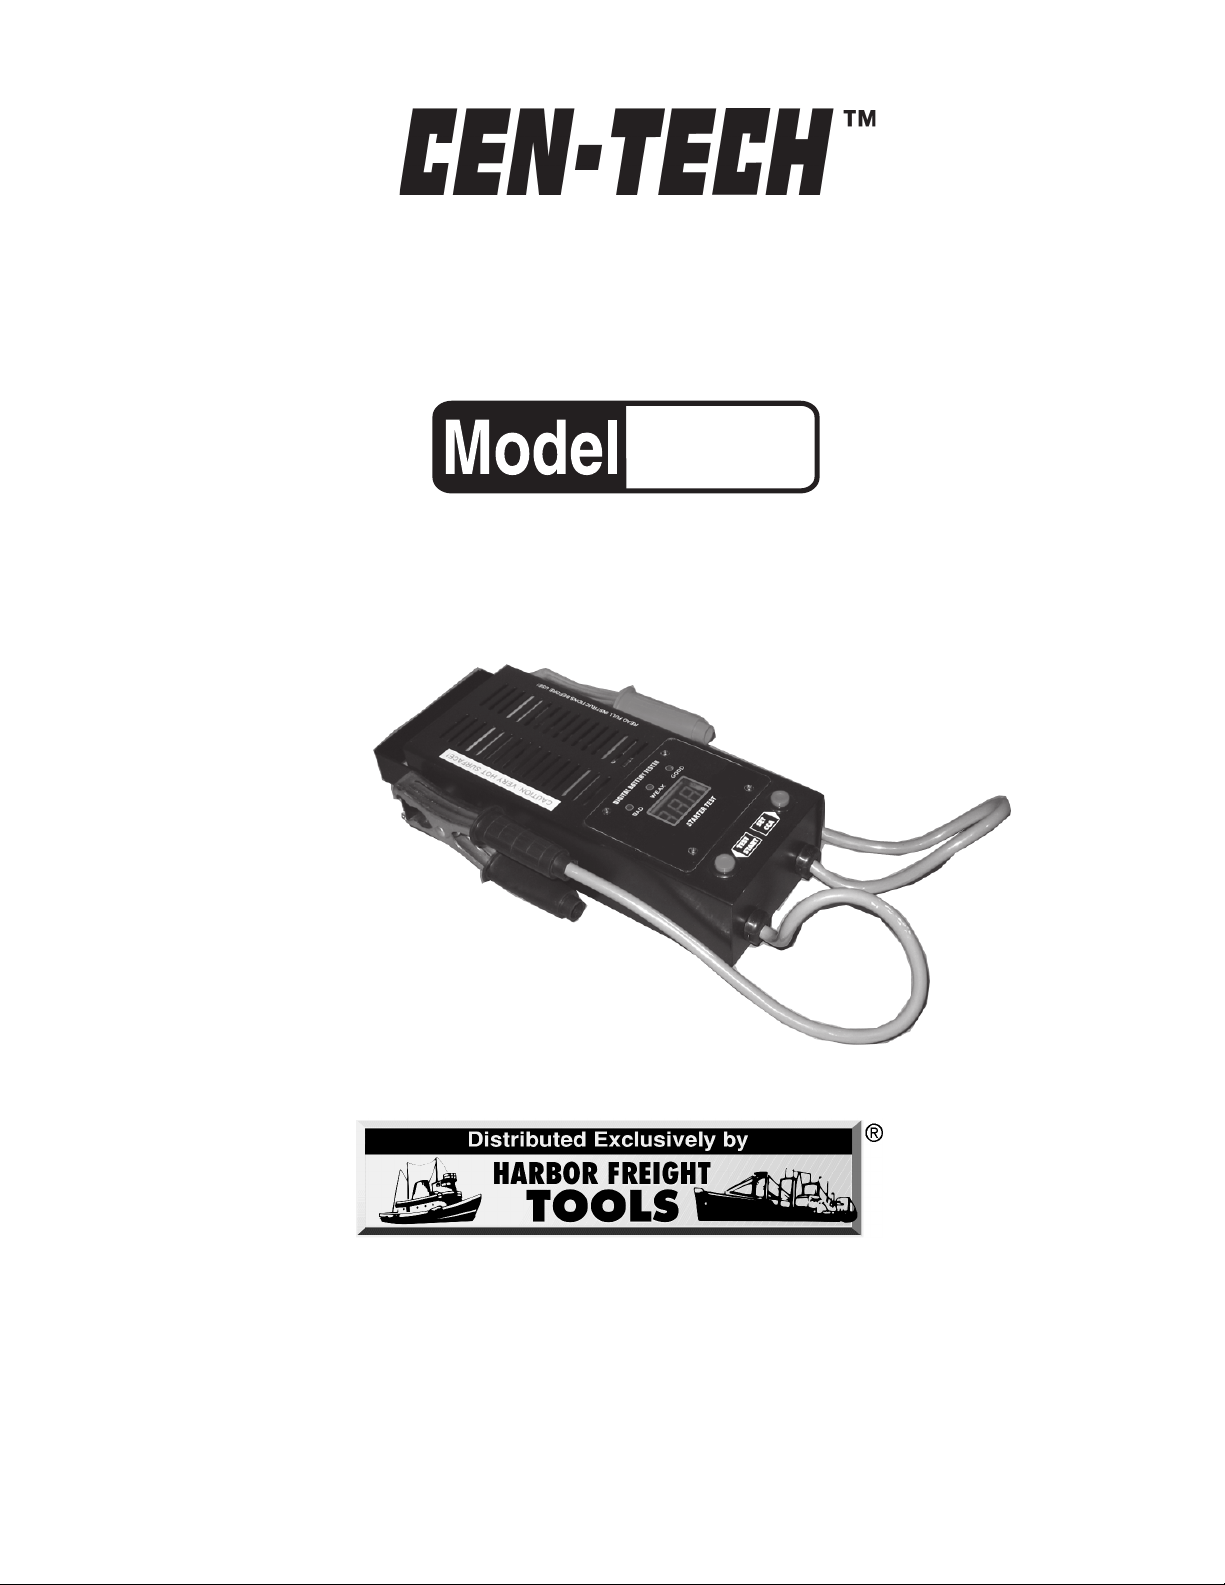
DIGITAL BATTERY TESTER
WITH CCA SET CODE
92903
ASSEMBLY AND OPERATING INSTRUCTIONS
3491 Mission Oaks Blvd., Camarillo, CA 93011
Visit our Web site at http://www.harborfreight.com
Copyright© 2005 by Harbor Freight Tools®. All rights reserved. No portion of this
manual or any artwork contained herein may be reproduced in any shape or
form without the express written consent of Harbor Freight Tools.
For technical questions and replacement parts, please call 1-800-444-3353
Page 2

Specifications
Battery Capacity 12 Volts DC, 125 Amps Load Capability
Maximum Capacity 300 - 1000 CCA Testing Capacity
Battery Cable Length 16” Long
Test Cycle 10 Second Test, 1 Min. Cool Down
3 Tests in 5 Min. Maximum
Overall Dimensions 11-1/4” x 6-1/2” x 2-1/2”
Save This Manual
You will need the manual for the safety warnings and precautions, assembly instructions,
operating and maintenance procedures, and parts list illustration. Keep your invoice with
this manual. Write the invoice number on the inside of the front cover. Keep the manual and
invoice in a safe and dry place for future reference.
Safety Warnings and Precautions
WARNING: When using tool, basic safety precautions should always be followed to reduce the risk of personal injury and damage to equipment.
Read all instructions before using this tool!
1. Keep work area clean. Cluttered areas invite injuries.
2. Observe work area conditions. Do not use the Battery Tester in damp or wet
locations. Don’t expose to rain. Keep work area well lit. Do not use electrically
powered tools in the presence of flammable gases or liquids.
3. Keep children away. Children must never be allowed in the work area. Do not let
them handle the Battery Tester.
4. Store idle equipment. When not in use, products must be stored in a dry location to
inhibit rust. Always lock up products and keep out of reach of children.
5. Use the right product for the job. Do not attempt to force a small Battery Tester to
do the work of a larger industrial Battery Tester. There are certain applications for
which this Battery Tester was designed. It will do the job better and more safely at the
rate for which it was intended. Do not modify this Battery Tester and do not use this
Battery Tester for a purpose for which it was not intended.
6. Dress properly. Do not wear loose clothing or jewelry as they can be caught in the
Battery Tester. Protective, electrically non-conductive clothes and non-skid footwear
are recommended when working. Wear restrictive hair covering to contain long hair.
7. Use eye and ear protection. Always wear ANSI approved impact safety goggles.
Wear a full face shield when working with battery acid. Wear an ANSI approved dust
mask or respirator when working around metal, wood, and chemical dusts and mists
8. Do not overreach. Keep proper footing and balance at all times. Do not reach over
or across running machines.
REV 07d
Page 2SKU 92903 For technical questions, please call 1-800-444-3353
Page 3

9. Maintain tools with care. Keep the Battery Tester clean for better and safer
performance. Follow instructions for changing accessories. Inspect product cords
periodically, and if damaged, have them repaired by an authorized technician. The
handles must be kept clean, dry, and free from oil and grease at all times.
10. Disconnect power. Disconnect from battery when not in use.
11. Avoid unintentional starting. Be sure the Test Start Button is not depressed when
not in use.
12. Stay alert. Watch what you are doing, use common sense. Do not operate any
product when you are tired.
13. Check for damaged parts. Before using any product, any part that appears
damaged should be carefully checked to determine that it will operate properly and
perform its intended function. Check for alignment and binding of moving parts; any
broken parts or mounting fixtures; and any other condition that may affect proper
operation. Any part that is damaged should be properly repaired or replaced by a
qualified technician. Do not use the product if any button does not turn On and Off
properly.
14. Guard against electric shock. Prevent body contact with grounded surfaces such
as pipes, radiators, ranges, and refrigerator enclosures.
15. Replacement parts and accessories. When servicing, use only identical
replacement parts. Use of any other parts will void the warranty. Only use accessories
intended for use with this tool. Approved accessories are available from Harbor
Freight Tools.
16. Do not operate product if under the influence of alcohol or drugs. Read warning
labels if taking prescription medicine to determine if your judgment or reflexes are
impaired while taking drugs. If there is any doubt, do not operate the product.
17. Maintenance. For your safety, service and maintenance should be performed
regularly by a qualified technician.
18. Beware of hot surfaces. The cables, clamps, and batteries may become hot during
use. Avoid touching without exercising care to avoid harm and injury.
19. Avoid extreme heat. Do not create smoke, flames, or sparks near batteries. Battery
acid is extremely explosive.
20. Test Start Button Warnings. Release the Test Start Button before connecting,
disconnecting, or rocking clamps.
than ten seconds.
21. CARBON MONOXIDE WARNING: Only operate a vehicle in a well-ventilated area.
Do not operate an engine in a garage or enclosed structure. Running engines
produce carbon monoxide, a colorless, odorless gas, that is deadly if inhaled.
Do not depress the Test Start Button for longer
Caution!! This Battery Tester becomes very hot during use. Touching it will
result in serious burns.
Page 3SKU 92903 For technical questions, please call 1-800-444-3353
Page 4

Caution!! Keep this Battery Tester a safe distance from any flammable
products. The extreme heat generated from this unit combined with a close
proximity to flammable materials can result in fire.
Warning: In case of accidental contact, rinse eyes with cool water for five minutes and
contact a doctor immediately.
WARNING: Always read and adhere to all warnings and instructions provided by the
manufacturer of the battery being tested.
during normal operation, which can be ignited by a spark. Make sure you work in a properly ventilated area.
WARNING: This product contains or, when used, produces a chemical known to the State
of California to cause cancer and birth defects or other reproductive harm.
(California Health & Safety Code 25249.5, et seq.)
WARNING: People with pacemakers should consult their physician(s) before using this
product. Electromagnetic fields in close proximity to a heart pacemaker could cause interference to or failure of the pacemaker.
Lead acid batteries produce explosive gases
Warning: The warnings, cautions, and instructions discussed in this instruction manual
cannot cover all possible conditions and situations that may occur. It must be understood by the operator that common sense and caution are factors which cannot be
built into this product, but must be supplied by the operator.
Unpacking
When unpacking, check to make sure that the product is intact and undamaged. If any
parts are missing or broken, please call Harbor Freight Tools at the number on the cover of
this manual as soon as possible.
Page 4SKU 92903 For technical questions, please call 1-800-444-3353
Page 5

Operation
Caution!! This Battery Tester becomes very hot during use. Touching it will
result in serious burns.
FIGURE 1
Negative Clamp
(BLACK)
TESTING THE BATTERY
Note: The temperature of the battery will affect the testing data. It will test lower when
cold than when warm. Never test or charge a frozen battery.
Caution! Wear rubber gloves (not included) whenever working with the Battery
Tester or batteries.
Note: Before any testing, make sure to clean the battery contacts.
LED Window
Test Start
Positive Clamp
(RED)
Set CCA
Note: CCA stands for
Cold Cranking Amps,
the amount a battery
can deliver in 30 sec.
at zero degrees F.
1. Make sure the vehicle is not running. Connect the Red Clamp (+) to the positive (+)
terminal post on the battery. Connect the Black Clamp (-) to the negative (-) terminal
post on the battery. Adjust the Set CCA button to correspond with the CCA of the battery. Push the CCA button (in increments of 100) until the CCA that matches your
battery appears. See FIGURE 1. Round your Battery CCA number DOWN.
2. Check the Battery Tester LED Window (See FIGURE 1) to determine effectiveness of
charge. If the Battery Tester does not register and no display is seen, double check that
the Clamps are connected to the proper terminal posts. Make certain a clean connection has been made between the Clamps and terminal posts.
3. Hold the Test Start button until a solid and consistent measurement is indicated by the
Battery Tester. A tone should sound once an acceptable reading is attained. Within ten
seconds, while continuing to hold the button, read the meter. Do not test more than
three times in a five minute period. Allow one minute for cool down between tests.
Note: Do not activate the Test Start button for more than ten seconds.
Note: If a battery does not have the charge expected, have a qualified technician check
the specific gravity. There may be an electrical drain or charging system trouble. If
charging does not raise the specific gravity, you may have a defective battery.
REV 04/05
Page 5SKU 92903 For technical questions, please call 1-800-444-3353
Page 6

Operation (continued)
Analyzing test results by color display: The Battery Tester will measure battery out-
put/charge in two ways. The three lights above the LED Window (See FIGURE 1) will
indicate a color telling you the general condition of the battery.
Red = Bad, No Charge, or Completely Discharged
Yellow = Weak, Needs Recharging
Green = Good or Normal - Has Existing Charge
Analyzing test results by Voltage Reading: The LED Window will display a number
along with the color.
Green = Greater than 10.7 V - Battery is fully charged
Yellow = Between 9.0 and 10.7 V - Battery is undercharged
Red = Less Than 9.0 V - Battery is uncharged and possibly damaged
4. If the battery is without significant charge, charge it and check it again under load. The
battery should measure 75% of Open-Circuit Voltage. 75% can be considered fully
charged. If the charging rate reaches at least 75%, but fails to reach 75% during the
load test, it needs replacing. Refer to the table below for 12 Volt battery percentages:
Open Circuit Voltage (V): Less than 11.7V 12V 12.2V 12.4V 12.4V+
Battery Charge Percentage
0% 20% 50% 75% 100%
5. When test is complete, remove Black Clamp (-) from battery first; then remove Red
Clamp (+).
TESTING THE CHARGING SYSTEM - Alternator / Regulator Output:
Warning: When testing a system in a car/truck, the vehicle must be on a flat, dry surface.
The transmission must be in park and the emergency brake engaged.
1. Connect the Red Clamp (+) to the positive (+) terminal post on the battery. Connect the
Black Clamp (-) to the negative (-) terminal post on the battery.
2. With the engine off, check the Battery Tester LED Window (See FIGURE 1) to determine effectiveness of charge. Without using the Test Start Button, If the Battery Tester
does not register and no display is seen, double check that the Clamps are connected
to the proper terminal posts. Make certain a clean connection has been made between
the Clamps and terminal posts.
3. Start the engine and let it run. Without using the Test Start Button, observe the volt-
age readout when the engine speed reaches between 1200 to 1500 RPM (normal idle
speed).
4. Determine battery charge based on color indicators and voltage as described above. If
the battery registers below 75 percent or the readout is not constant, you may have an
alternator/regulator problem. See a qualified service technician.
5. When charging system test is complete, remove Black Clamp (-) from battery first; then
remove Red Clamp (+).
REV 04/05
Page 6SKU 92903 For technical questions, please call 1-800-444-3353
Page 7

STARTER MOTOR TEST
If starting your vehicle is difficult, you may have unnecessary starter motor draw, which
dramatically shortens battery life. This test identifies starter motor performance.
1. Make sure your engine is running at normal operating temperature.
2. Connect the Red Clamp (+) to the positive (+) terminal post on the battery. Connect the
Black Clamp (-) to the negative (-) terminal post on the battery.
3. Disable the engine to make sure the car will not start. Refer to your vehicle’s service /
technical manual.
4. While watching the LED window, crank the engine briefly to determine the voltage
reading during cranking.
A display reading of 9 volts or less indicates excessive current draw. This may be
caused by a bad connection of a failing starter motor, or, the battery is too small for the
vehicle’s requirements. Consult an authorized service technician.
5. When starter motor test is complete, remove Black Clamp (-) from battery first; then
remove Red (+) clamp.
SEDOCYALPSID
edoCnoitautiSsesuaC/sgninaeMelbissoP
EF1
tsetdaoL
tsetfotratS.stlov21nahtsselegatlovyrettaB
cetdeifilauq
.ecivresnaicinh
-L-
tsetdaolgniruD.evitcefedyrettab,stlov7nahtsselegat
Maintenance
1. Keep the Clamps clean and clear of dirt, grease, or debris.
2. Store and use in a dry environment away from any heat sources.
lovyrettaB
aevahdnaesueunitnocsiD.evitcefedyaler/retseT
REV 10/05
Page 7SKU 92903 For technical questions, please call 1-800-444-3353
Page 8

Negative Clamp
(BLACK)
Parts List Illustration
Positive Clamp
(RED)
Set CCA
LED Window
Test Start
Note: CCA stands for
Cold Cranking Amps
NO REPLACEMENT PARTS ARE AVAILABLE FOR THIS PRODUCT.
PLEASE READ THE FOLLOWING CAREFULLY
THE MANUFACTURER AND/OR DISTRIBUTOR HAS PROVIDED THE PARTS DIAGRAM IN THIS
MANUAL AS A REFERENCE TOOL ONLY. NEITHER THE MANUFACTURER NOR DISTRIBUTOR MAKES ANY REPRESENTATION OR WARRANTY OF ANY KIND TO THE BUYER THAT HE
OR SHE IS QUALIFIED TO MAKE ANY REPAIRS TO THE PRODUCT OR THAT HE OR SHE IS
QUALIFIED TO REPLACE ANY PARTS OF THE PRODUCT. IN FACT, THE MANUFACTURER
AND/OR DISTRIBUTOR EXPRESSLY STATES THAT ALL REPAIRS AND PARTS REPLACEMENTS
SHOULD BE UNDERTAKEN BY CERTIFIED AND LICENSED TECHNICIANS AND NOT BY THE
BUYER. THE BUYER ASSUMES ALL RISK AND LIABILITY ARISING OUT OF HIS OR HER
REPAIRS TO THE ORIGINAL PRODUCT OR REPLACEMENT PARTS THERETO, OR ARISING
OUT OF HIS OR HER INSTALLATION OF REPLACEMENT PARTS THERETO.
NOTE: Some parts are listed and shown for illustration purposes only and are not available
individually as replacement parts.
Page 8SKU 92903 For technical questions, please call 1-800-444-3353
 Loading...