

Page 1
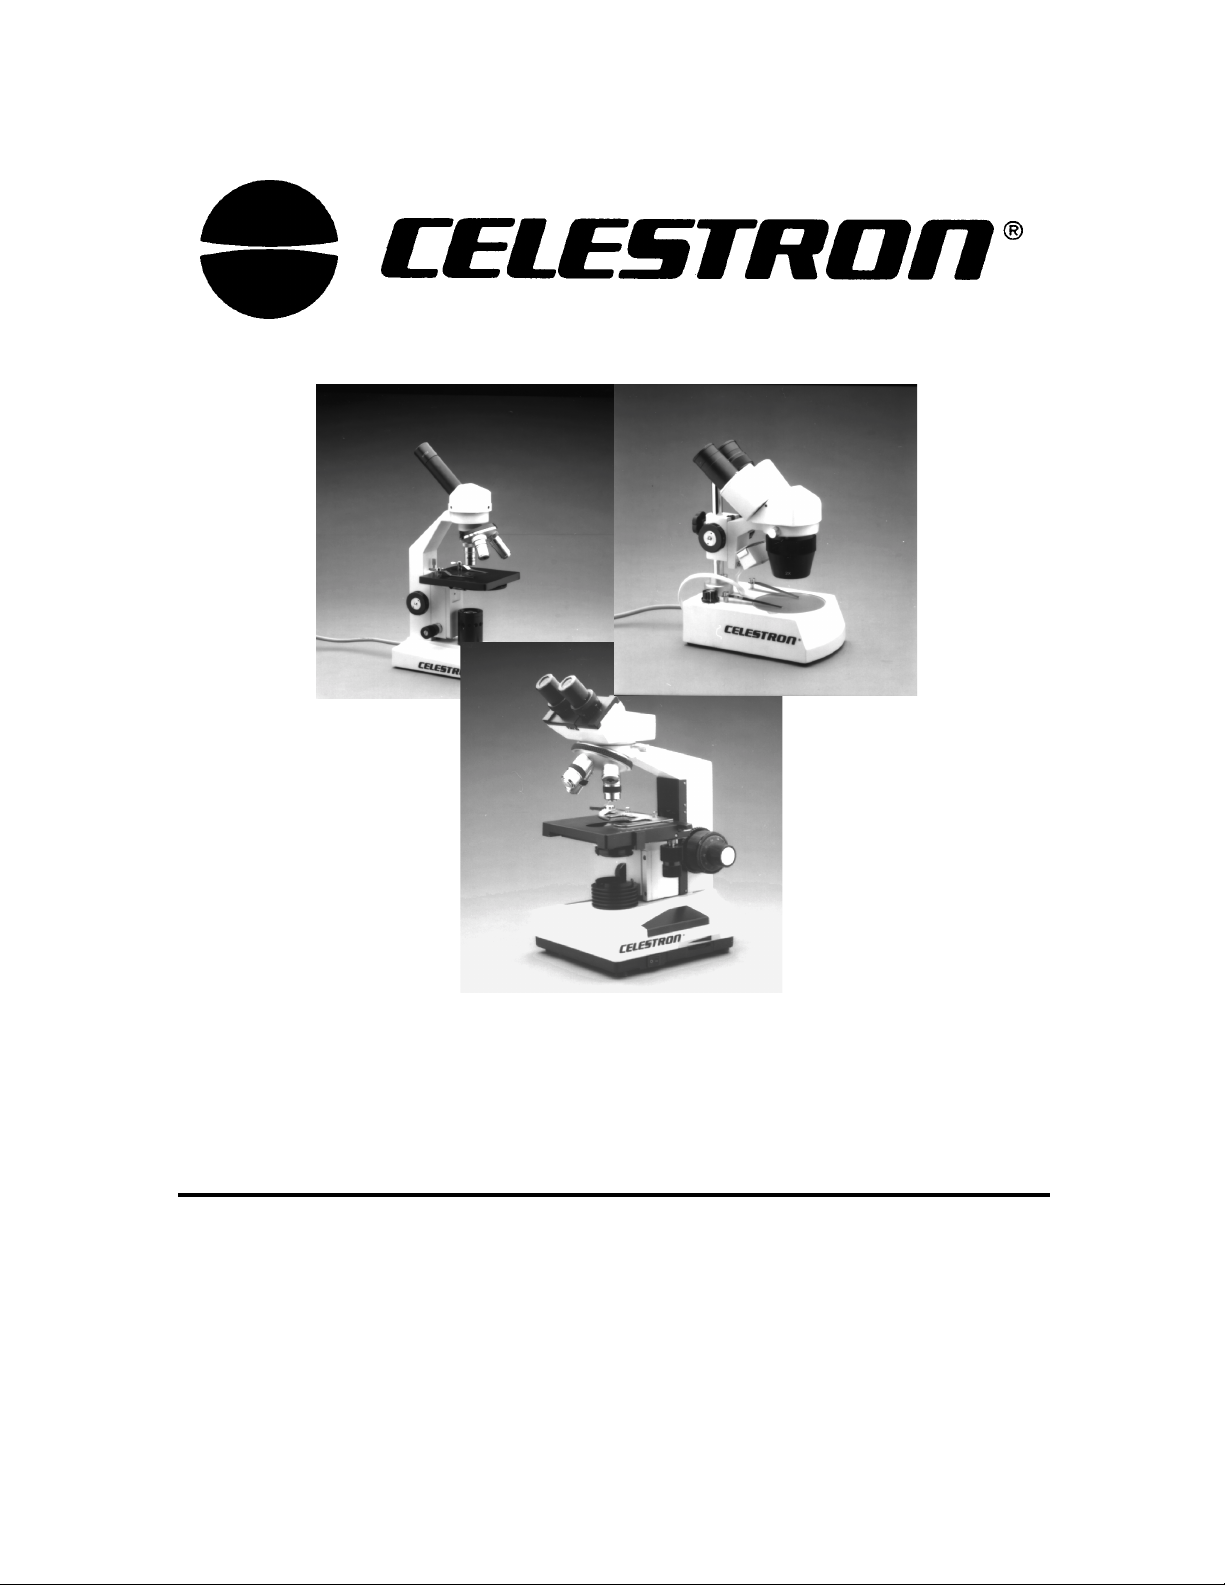
Microscope
Instruction Manual
Models # 4040, 4050 and 4060
Page 2

Table of Contents
Introduction ……………………………………………………………………… 1
Stereo Dissecting Microscope Model #4040
………………………………. 2
Biological Microscope Model #4050 …………………………………………. 5
Research Microscope Model #4060 ………………………………………….. 8
Care and Maintenance ………………………………………………………….. 12
Introduction
Congratulations on your purchase of a Cel estron m icr oscope. Ce lestron of fers a com plete line of
quality microscopes ranging from beginner and educational microscopes to research level
instruments. Your Celestron microscope is a precis ion optical instrument, m ade of the highest
quality materials t o ensure durability and long l ife. Your microscope is designe d to give you a
lifetime of pleasure with a minimal amount of maintenance.
The first sections of this manual will help you become familiar with the various parts of your
microscope and ho w they work toge ther. Read car efully the sec tions on vi ewing spec imens and
focusing. Take special notice of all precautions regarding using the illuminator mirror (if
applicable to your model) t o focus s unlight an d regulatin g the f ocuser trav el so as not to dam age
specimen slides or the objective lens.
The final section pro vides sim ple care and m aintenance t ips for you to f ollow to ensur e that your
microscope provides you with years of quality performance and enjoyment.
2
Page 3

Stereo Dissecting Microscope – Model #4040
8
9
13
12
11
10
Figure 1
1 Eyepiece 8 Power Cord
2 Diopter Ring 9 Illuminator Switch
3 Binocular Head 10 Top Light Illuminator
4 Binocular Head Tension Screw 11 Focus Adjustment Knob
5 Objective Turret 12 Pillar Stand Locking Bolt
6 Slide Holder Clips 13 Pillar Stand
7 Glass Stage Plate
Standard Accessories:
Your Celestron microscope (#4040) comes complete with the following standard accessories:
• Two 10x Eyepieces • Rubber Eyecups
• One 2x Objective lens (20x) • Black/White Stage Plate
• One 4x Objective lens (40x) • Plastic Dust Cover
Item #4040 Specifications:
Optical Head
Interpupillary distance Adjustable from 55-75mm
Illuminator Top/Bottom built-in electric illuminator;
Stage 94.5mm glass stage and black/white stage plate
Power Supply 110v
Nosepiece Turret objective 2x/4x
Objectives Achromatic objectives
45º inclined Binocular Head; 360º Rotatable
Incandescent Bulb
2
Page 4

Assembling Your Microscope
Before you can view through your Celestron microscope, the binocular head assembly must be
attached to the pillar stand (13) and the rubber eyecups must be placed over the eyepieces. To
attach the binocular head assembly:
1. Remove the safety screw from the top of the pillar stand (13).
2. Partially unthread the pillar stand locking bolt (12) located behind the focuser assembly.
3. Place the binocular head assembly onto the pillar stand (13) and slide it half way down the
stand. Be careful not to put too much tension on the cord that goes from the microscope base
to the top light illuminator (10).
4. Rotate the binocular head assembly until the objective turret (5) is directly over the center of
the stage (7).
5. Tighten the pillar stand locking bolt (12) to hold the binocular head assembly in place.
6. Thread the safety screw back onto the top of the pillar stand.
To Attach the Rubber Eyecups:
1. Place the rubber eyecups over the eyepieces with the rubber lips facing up.
2. Push the eyecups down over the tops of the eyepieces.
3. Rotate the eyepieces so that the rubber lips are facing out to the sides.
Your microscope is now ready to view specimens.
Microscope Operation
Powering the illuminator:
Your Celestron microscope has a built-in, 3-setting illuminator powered by 110v AC power. To
power the illuminator:
1. Plug the power cord (8) into a wall outlet.
2. Turn the illuminator switch (9) to the "I" setting to turn on the bottom illuminator bulb.
3. Turn the illuminator switch (9) to the "II" setting to turn on the top illuminator bulb.
4. Turn the illuminator switch (9) to the "III" setting to turn on both the top and bottom
illuminator bulbs.
Viewing a Specimen
To view a specimen:
1. Place the round glass stage plate (7) into the opening above the illuminator. When viewing a
specimen using top lighting only, you may wish to replace the glass stage plate with the
black/white stage plate.
Specimens of different size and thickness will require different levels of illumination.
Tip:
Experiment with different lighting for each specimen. When using top lighting, the white side
of the stage plate may wash out fine detail where as the black side will increase contrast but
may make the specimen less bright.
2. Place a specimen slide under the specimen holder clips (6) and center the specimen directly
in the center of the stage.
3
Page 5

Focusing:
To achieve the best focus with your microscope, not only can you make adjustments with the
focus adjustment knobs, but you can also adjust the left diopter ring as well as the interpupillary
distance between the eyepieces. To achieve sharpest focus:
1. Rotate the objective turret (5) to the 2x position . (Always begin by viewing a specimen at low
power, then switch to high power when needed).
2. Turn the focus adjustment knob (11) until the specimen comes into focus. If there is not
enough travel in the focuser mechanism to reach focus, it may be necessary to loosen the
pillar stand locking bolt (12) and slightly raise or lower the entire binocular head assembly
until the image becomes sharp.
3. Next, while looking through the eyepieces, adjust the interpupillary distance by sliding both
eyepieces side to side until the whole field of view can be observed through both eyes at the
same time.
4. Finally, close your right eye and turn the left eyepiece diopter ring until the image is in sharp
focus through the eyepiece.
If higher power is desired, rotate the objective turret (5) to the 4x position and readjust the focus
knobs (11) until the specimen comes into focus.
4
Page 6

Biological Microscope - Model #4050
0
5
1
2
1
14
13
12
11
1
1 Eyepiece 9 Power Switch
2 Monocular Head 10 Fine Focus Adjustment Knob
3 Objective Lens Rotator 11 Power Cord
4 Objective Lens 12 Course Focus Adjustment Knob
5 Condenser 13 Specimen Holder Clips
6 Specimen Stage 14 Focus Travel Safety Screw
7 Diaphragm Dial 15 Stand Column
8 Illuminator
Standard Accessories:
Your Celestron microscope (#4050) comes complete with the following standard accessories:
• 10x eyepiece with pointer • 4x Objective lens (40x)
• Plastic Dust Cover • 10x Objective lens (100x)
• 40x Objective lens (400x)
Item #4050 Specifications
Objective Lens Achromatic Objective
Nosepiece Triple nosepiece with click stop
Stage 120mm x 110mm, with paired clips
Illuminator Built-in electric illuminator; 20W tungsten bulb
Diaphragm Disc diaphragm with five aperture sizes
Head Monocular head, 45º incline, 360º rotatable
Focuser Course focus; Fine focus adjustments
5
Page 7

Assembling Your Microscope
Before you can view through your Celestron microscope, the objective lenses must first be
attached.
Installing the Objective Lenses:
1. Remove the three objective lenses from their individual containers. Unscrew the container
lids from the threaded portion of the objective lens.
2. Thread the end of the 4x objective lens into one of the holes on the objective lens rotator (3).
It may be necessary to lower the specimen stage (6) by turning the coarse focus knob (12).
3. Now turn the objective rotator to the next opening and thread each of the remaining
objective lenses into the remaining holes.
Your microscope is now ready to view specimens.
Microscope Operation
Powering the illuminator:
Your Celestron microscope has a built-in illuminator powered by 110v AC power. To power the
illuminator:
5. Plug the power cord (11) into a wall outlet.
6. Turn the power switch (9) to the "on" position.
To regulate the amount of light shining on the specimen, rotate the diaphragm dial (7). The
diaphragm dial has five openings of different sizes which allow different amounts of light to pass
from the illuminator.
Viewing a Specimen
To view a specimen:
3. Press downward on the back portion of the spring-loaded specimen holder clips (13) to raise
the front of the clips off of the specimen stage (6).
4. Place a specimen slide under the specimen holder clips (13) and center the specimen directly
over the condenser lens .
You are now ready to focus and view the specimen, but first you must take some precautions so
as not to damage the specimen slide or objective lens. Your microscope is equipped with a focus
travel safety screw (14) which allows you to regulate the range of travel on the focuser. This
assures that the objective lenses will not accidentally come in contact with specimen slide,
breaking the slide or scratching the objective lens. To adjust the travel on the focuser
mechanism:
1. Lower the specimen stage by rotating the course focus adjustment knobs (12).
2. Partially unscrew the focus travel safely screw (14) so that about 1 inch is sticking up.
3. Turn the objective lens rotator (3) until the 40x lens is directly over the light condenser (5).
4. Use the focus knobs (12) to raise the stage (6) until the tip of the lens is slightly above the
specimen slide. (Be careful not to touch the slide to the objective lens).
5. Thread the focus travel safely screw (14) down until it stops against the focuser mechanism.
6. Rotate the knurled locking nut downward to lock the safety screw in place.
6
Page 8

Focusing:
Now that the specimen slide is placed directly under the objective lens, use the course focus
knob (12) to focus on the specimen.
• Always start with the lowest power (4x objective lens) and switch to higher power by rotating
the objective lens rotator (3). Be cautious not to let the objective lens touch the specimen
slide when changing to higher power.
• Use the fine focus knob (10) to change the depth of field on the specimen you are observing.
• If you run out of upward travel before reaching sharp focus, you can unscrew the focus travel
safety screw (14) to allow for more upward travel. Once again be careful not to let the
objective lens touch the specimen slide.
Replacing the illuminator lamp:
1. Raise the specimen stage (6) to its highest position by rotating the course focus adjustment
knob (12).
2. Unscrew the black metal illuminator housing (8) and lift it straight up over the lightbulb.
3. Turn the lightbulb counterclockwise while gently pushing down.
4. Replace with a new 20W tungsten bulb.
5. Slide the illuminator housing back over the lightbulb and thread into place.
7
Page 9

Research Microscope – Model #4060
3
516
0
115
21
2
19
18
17
1
14
121
11
Figure 3
1
2 Eyepiece Diopter 13 Power Switch
3
Eyepiece Housing
4 Locking Screw 15 Condenser Adjustment Handwheel
5 Stand Column 16 Iris Diaphragm
6 Specimen Holder 17 Condenser
7 Focuser Lock 18 Specimen Stage
8 Coarse Focus Handwheel 19 Specimen Holder Clamp Lever
9 Fine Focus Handwheel 20 Objective
10 Transverse Specimen Mover Handwheel 21 Objective Changer
11 Brightness Control Wheel
Eyepiece
12 Longitudal Specimen Mover Handwheel
14
Illuminator
Standard Accessories
Your Celestron microscope (#4060) comes complete with the following standard accessories:
• Two 10x Eyepieces • One 100x Objective lens
• Two 15x Eyepieces • Three Color Filters (Red, Blue ,Green)
• One 4x Objective lens • Plastic Dust Cover
• One 10x Objective lens • Cedar Wood Oil
• One 40x Objective lens
8
Page 10

Item #4060 Specifications:
Optical Head
Interpupillary distanc e
Illuminator Built-in, electric illuminator; Halogen bulb
Stage
Size
Working Range
Condenser Abbe N.A. 1.25 condenser, and iris diaphragm
Power Supply 110v
Nosepiece Quadruple nosepiece
Objectives Achromatic objectives
45º inclined Binocular Head; 360º Rotatable
Adjustable from 55-75mm
6v/20w
Built-in, Mechanical
123mm x 153mm
70mm x 40mm
Magnification Table
Use the following table to determine the magnification of the different eyepiece/objective lens
combination of your microscope.
Objective Lens
4x 10x 40x 100x
Eyepiece
10x
15x
40x 100x 400x 1000x
60x 150x 600x 1500x
Assembling Your Microscope
Before you can view through your Celestron microscope, the eyepiece housing, eyepieces and
objective lenses must first be attached. To attach the eyepiece housing:
1. Remove the microscope body from its packaging by lifting it by the stand column (5).
2. Unthread the locking screw (4) located on the side of the microscope body just above the
objective lens changer (21).
3. Place the round angled end of the eyepiece housing (3) inside the circular opening at the top
of the microscope body. The round eyepiece housing adapter is slightly angled and should
slide under the two metal tabs on the inside of the microscope body opening.
4. Secure the eyepiece housing by tightening the locking screw (4).
Installing the Binocular Eyepieces
1. Remove the two 10x eyepieces from their individual containers.
2. Slide the narrow end of the eyepiece barrel into each of the eyepiece holders on top of the
eyepiece housing.
Installing the Objective Lenses:
4. Remove the four objective lenses from their individual containers. Unscrew the container lids
from the threaded portion of the objective lenses.
5. Thread the end of the 4x objective lens into one of the holes on the objective changer (21). It
may be necessary to lower the specimen stage (18) by turning the coarse focus knob (8).
6. Now rotate the objective changer to the next opening and thread each of the remaining
objective lenses in order of power (10x, 40x, 100x) into the remaining holes.
9
Page 11

Microscope Operation
Powering the illuminator:
Your Celestron microscope has a built-in illuminator powered by 110v AC power. To power the
illuminator:
7. Plug the power cord into a wall outlet.
8. Turn the power switch (13) to the "on" position.
Your microscope is now ready to view specimens.
Viewing a Specimen:
Your instrument is provided with a specimen holder and a specimen mover. To view a specimen:
1. Use the clamp lever (19) to open the clamping arm of the specimen holder (6).
2. Place a specimen slide inside the holder and gently close the clamping arm against the slide.
3. Use the specimen mover handwheels (10 & 12) to position the specimen over the opening in
the specimen stage (18).
To position the specimen directly under the objective lens, first rotate the illuminator
TIP:
brightness control wheel (11) to increase the brightness to its maximum setting. Then close
the opening on the iris diaphragm (16) until it is almost completely closed. You should see a
small beam of light projected onto the specimen slide. Now simply use the specimen mover
handwheels (10 &12) to move the specimen directly inside the beam of light.
4. Use the knurled ring to rotate the objective lens changer (21) until the 4x objective lens is
directly over the specimen (Always start with the lowest power objective and work you way
up to higher powers).
Look through the eyepieces while turning the coarse focus handwheel (8) until the specimen
5.
comes into view. You may need to adjust the specimen mover handwheels (10 & 12) slightly
to center the specimen in the field of view.
raise the specimen stage so high that the specimen slide touches the objective lens.
Not only can you break your slide but you may also scratch the objective lens.
6. Finally, adjust the fine focus handwheel (9) until you reach the sharpest focus for your eye.
Never rotate both of the fine focus handwheels at the same time in opposite directions
Otherwise the focusing mechanism will be damaged.
: When viewing a specimen with the 100x objective lens, you can improve the resolving power
Tip
by placing a small drop of the cedar wood oil between the specimen and objective lens. For
specimen slides that you prepare yourself, always cover the specimen with a thin piece of
glass and place the oil on the cover glass. Do not put oil directly on the specimen sample.
Adjusting the Lighting:
Specimens of different size and thickness will require different levels of illumination. There
are three ways to change the amount of illumination when viewing a specimen; adjusting the
brightness control, adjusting the condenser and adjusting the iris diaphragm.
• When viewing a specimen that is not transparent or dark in color you may need to
increase the amount of light to resolve certain features or details. This is best done by
simply increasing the brightness of the illuminator by rotating the
Wheel (11)
all the way to its highest setting.
Warning: When focusing, be careful not to
Brightness Control
.
• When viewing with the lower power (4x and 10x) objective lenses you will need to lower
the condenser lens (17) in order to spread the light over the larger field of view. To
change the position of the condenser, simply rotate the
Handwheel (15)
clockwise until the beam of light spreads wide enough to illuminate the
10
Condenser Adjustment
Page 12

entire field of view when viewing.
• As you lower the condenser to spread out the light or change to a higher power objective,
your image will appear dimmer. Instead of increasing the light intensity of the illuminator
(which may "wash out" fine detail of the specimen you are viewing), open the aperture of
the
Iris Diaphragm (16)
a relief view of the specimen and allow you to change the depth of field of the specimen
being viewed.
Filters:
To bring out different levels of detail, experiment with changing the color of the back lighting of
the specimen. To change the lighting color, place one of the color filters in the light path by
placing it on the top of the illuminator (14). You may need to refocus by adjusting the fine focus
knob (9) slightly for best viewing.
Focusing:
To achieve the best focus with your microscope, not only can you make adjustments with the
coarse and fine focus handwheels, but you can also adjust the focus of each eyepiece
individually as well as the interpupillary distance between the eyepieces. To achieve sharpest
focus:
1. First rotate each eyepiece tube so that the scales read the same number (i.e. 60mm).
2. Change the distance between the eyepieces by sliding the eyepiece slide plate in or out
horizontally until the interpupillary scale reads the same as the eyepiece scales. (To adjust
the slide plate, grasp the knurled portion on each side of the plate.
eyepieces to adjust the interpupillary distance).
3. With the 10x objective lens, focus with one eye using the coarse and fine focus handwheels.
4. Adjust the eyepiece slide plate until the whole field of view can be observed through both
eyes at the same time without having to move your head side to side.
5. Now, read the number off of the eyepiece sliding plate scale. This is your interpupillary
distance.
6. Finally, set the scale on each eyepiece tube to read the same as the eyepiece sliding plate.
(Depending on your individual eyes, you may need to make slight adjustments to the right
and left eyepiece tubes for the most comfortable viewing).
to let in more light. Opening and closing the diaphragm will give
Do not
hold the
Replacing the illuminator lamp:
1. Carefully lay the microscope back on its side so that the stand column (5) is flush against a
flat surface.
2. On the bottom of the microscope, locate and unscrew the knurled bolt that holds the lightbulb
compartment closed (see figure 4).
3. Open the light bulb compartment door.
4. Remove the old halogen bulb from its socket.
5. Use a tissue to hold the new bulb between your fingers and press the prongs into the socket.
6. Close the light bulb compartment and tighten the knurled screw.
Figure 4
11
Page 13

Care and Maintenance
Your Celestron microscope is a precision optical instrument and should be treated with care at all
times. Follow these maintenance suggestions and your microscope will need very little
maintenance throughout its lif etime.
• Always place the plastic cover over the microscope when not in use or when being stored.
• When moving your microscope, carry it by the stand column. Never pick it up by the
eyepiece housing or focuser knobs.
• Clean the outside of the microscope with a slightly damp cloth.
• Always unplug the microscope (models with electric illuminators) before cleaning.
• Never wipe optical surfaces with cloth or paper towels.
• Clean dust off optical surfaces with an air blower or camels hair brush.
• Clean dirt off optical surfaces by wiping with a piece of clean cotton.
• Never disassemble or clean internal optical surfaces.
12
Page 14

CELESTRON ONE YEAR WARRANTY
A. Celestron International (CI) warrants this microscope to be free from defects in materials and workmanship for one
year. CI will repair or replace such product or part thereof which, upon inspection by CI, is found to be defective in
materials or workmanship. As a condition to the obligation of CI to repair or replace such product, the product must
be returned to CI together with proof-of-purchase satisfactory to CI.
B. The Proper Return Authorization Number must be obtained from CI in advance of return. Call Celestron at (310)
328-9560 to receive the number to be displayed on the outside of your shipping container.
All returns must be accompanied by a written statement setting forth the name, address, and daytime telephone
number of the owner, together with a brief description of any claimed defects. Parts or product for which
replacement is made shall become the property of CI.
The customer shall be responsible for all costs of transportation and insurance, both to and from the factory
of CI, and shall be required to prepay such costs.
CI shall use reasonable efforts to repair or replace any microscope covered by this warranty within thirty days of
receipt. In the event repair or replacement shall require more than thirty days, CI shall notify the customer
accordingly. CI reserves the right to replace any product which has been discontinued from its product line with a
new product of comparable value and function.
This warranty shall be void and of no force of effect in the event a covered product has been modified in
design or function, or subjected to abuse, misuse, mishandling or unauthorized repair. Further, product
malfunction or deterioration due to normal wear is not covered by this warranty.
CI DISCLAIMS ANY WARRANTIES, E XPRESS OR IMPLIED, WHETHER OF MERCHANTABILITY OF FITNES S
FOR A PARTICULAR USE, EXCEPT AS EXPRESSLY SET FORTH HEREIN.
THE SOLE OBLIGATION OF CI UNDER THIS LIMITED WARRANTY SHALL BE TO REPAIR OR REPLACE THE
COVERED PRODUCT, IN ACCORDANCE WITH THE TERMS SET FORTH HEREIN. CI EXPRESSLY DISCLAIMS
ANY LOST PROFITS, GENERAL, SPECIAL, INDIRECT OR CONSEQUENTIAL DAMAGES WHICH MAY RESULT
FROM BREACH OF ANY WARRANTY, OR ARISING OUT OF THE USE OR INABILITY TO USE ANY CI
PRODUCT. ANY WARRANTIES WHICH ARE IMPLIED AND WHICH CANNOT BE DISCLAIMED SHALL BE
LIMITED IN DURATION TO A TERM OF ONE YEAR FROM THE DATE OF ORIGINAL RETAIL PURCHASE.
Some states do not allow the exclusion or limitation of incidental or consequential damages or limit ation on how l ong
an implied warranty lasts, so the above limitations and exclusi ons may not apply to you.
This warranty gives you specific legal rights, and you may also have other rights which vary from st ate to state.
CI reserves the right to modify or discontinue, without prior notice t o you, any model or style microscope.
If warranty problems arise, or if you need assistance in using your microscope contact:
Celestron International
Customer Service Department
2835 Columbia Street
Torrance, CA 90503
Tel. (310) 328-9560
Fax. (310) 212-5835
Monday-Friday 8AM-4PM PST
This warranty supersedes all other product warranties.
NOTE: This warranty is valid to U.S.A. and Canadian customers who have purchased this product from an
Authorized CI Dealer in the U.S.A. or Canada. Warranty outside the U.S.A. and Canada is valid only to customers
who purchased from a CI International Distributor or Authorized CI Dealer in the specific country and please
contact them for any warranty service.
13
Page 15

Celestron International
2835 Columbia Street
Torrance, CA 90503
Tel: 310-328-9560
Fax: 310-212-5835
Web site: http://www.celestron.com
Copyright 1998 Celestron International
All right reserved
(Products or instructions may change
without notice or obligation).
05-98
Printed in China
 Loading...