

Cattani SMART Series, MICRO SMART, MICRO SMART CUBE, TURBO SMART, TURBO SMART CUBE User Manual
...
WE LOVE WHAT WE DO.
SMART
MAINTENANCE
USER GUIDE
WHY IS MAINTENANCE IMPORTANT?
Daily maintenance is important to reduce the amount of bacterial build up within the system;
preventing blockages and unpleasant odours.
It is very important that whilst cleaning filters and disinfecting thesuctionsystem, atno time
should any detergents or house holdproductscome into contact with anycomponents.
Only use products recommended for use by the manufacturer. Useof other productsmay cause
damage to the equipment or effect its performance.
Always ensure you are familiar with safety warning labels, productinstructions andsafety data
sheets before performing any processes or procedures.
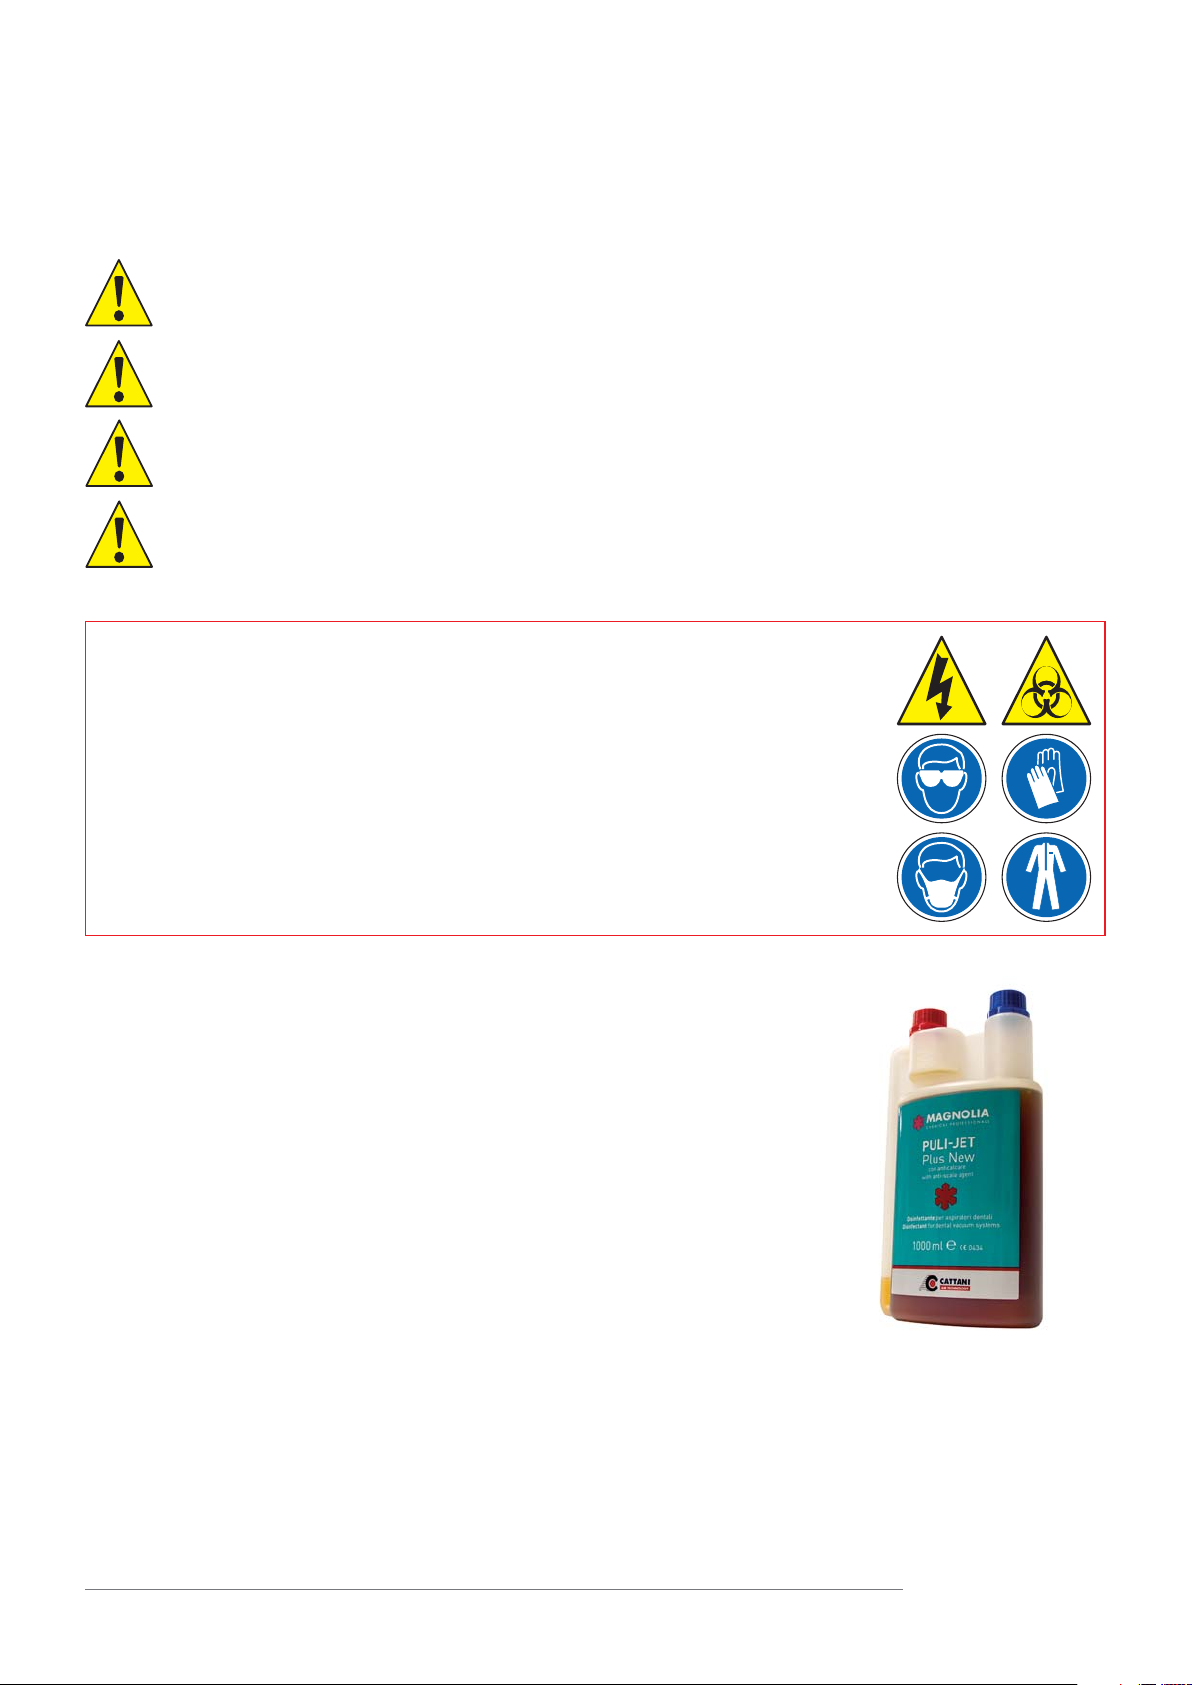
Before carrying out any maintenance on this system, ensure all appropriate Personal Protective
Equipment (PPE) such as: gloves, mask,full sleeve gown and eye protection are worn.
WARNINGS
- Always refer to the operator’s handbook before carrying out any work
- Manuals are available on the website www.cattaniesam.it
- We recommend their consultation especially for updates about safety
- Prior to carrying out any servicing operation make sure to wear disposable
gloves, goggles, a mask and overalls
- Disconnect the appliance from the power
- Keep the plant room free from flammable and corrosive mixtures
PEACE OF MIND FOR THE USER
Cleaning, disinfecting and system maintenance are imperative to
ensure long life of the suction system.
Failure to properly clean, disinfect or maintain the system as per
the manufacturer’s recommendations may affect the warranty.
Cattani recommend Magnolia cleaning products which are fully
compatible with the system’s components and deliver ultimate
care to the unit. Please follow dilution instructions in this guide.
AMALGAM RECYCLING
Amalgam container replacement should be part of the annual maintenance of the suction system
performed by your engineer.
Please DO NOT place this item in the rubbish bin and/or down the sink.
Amalgam must be collected and disposed of by an authorised licensed company.
PLEASE REFER TO USER MANUAL AND WARRANT Y STATEMENT FOR FURTHER DETAILS.
MAGNOLIA CARE PRODUCTS
PROTECTING YOUR SYSTEM
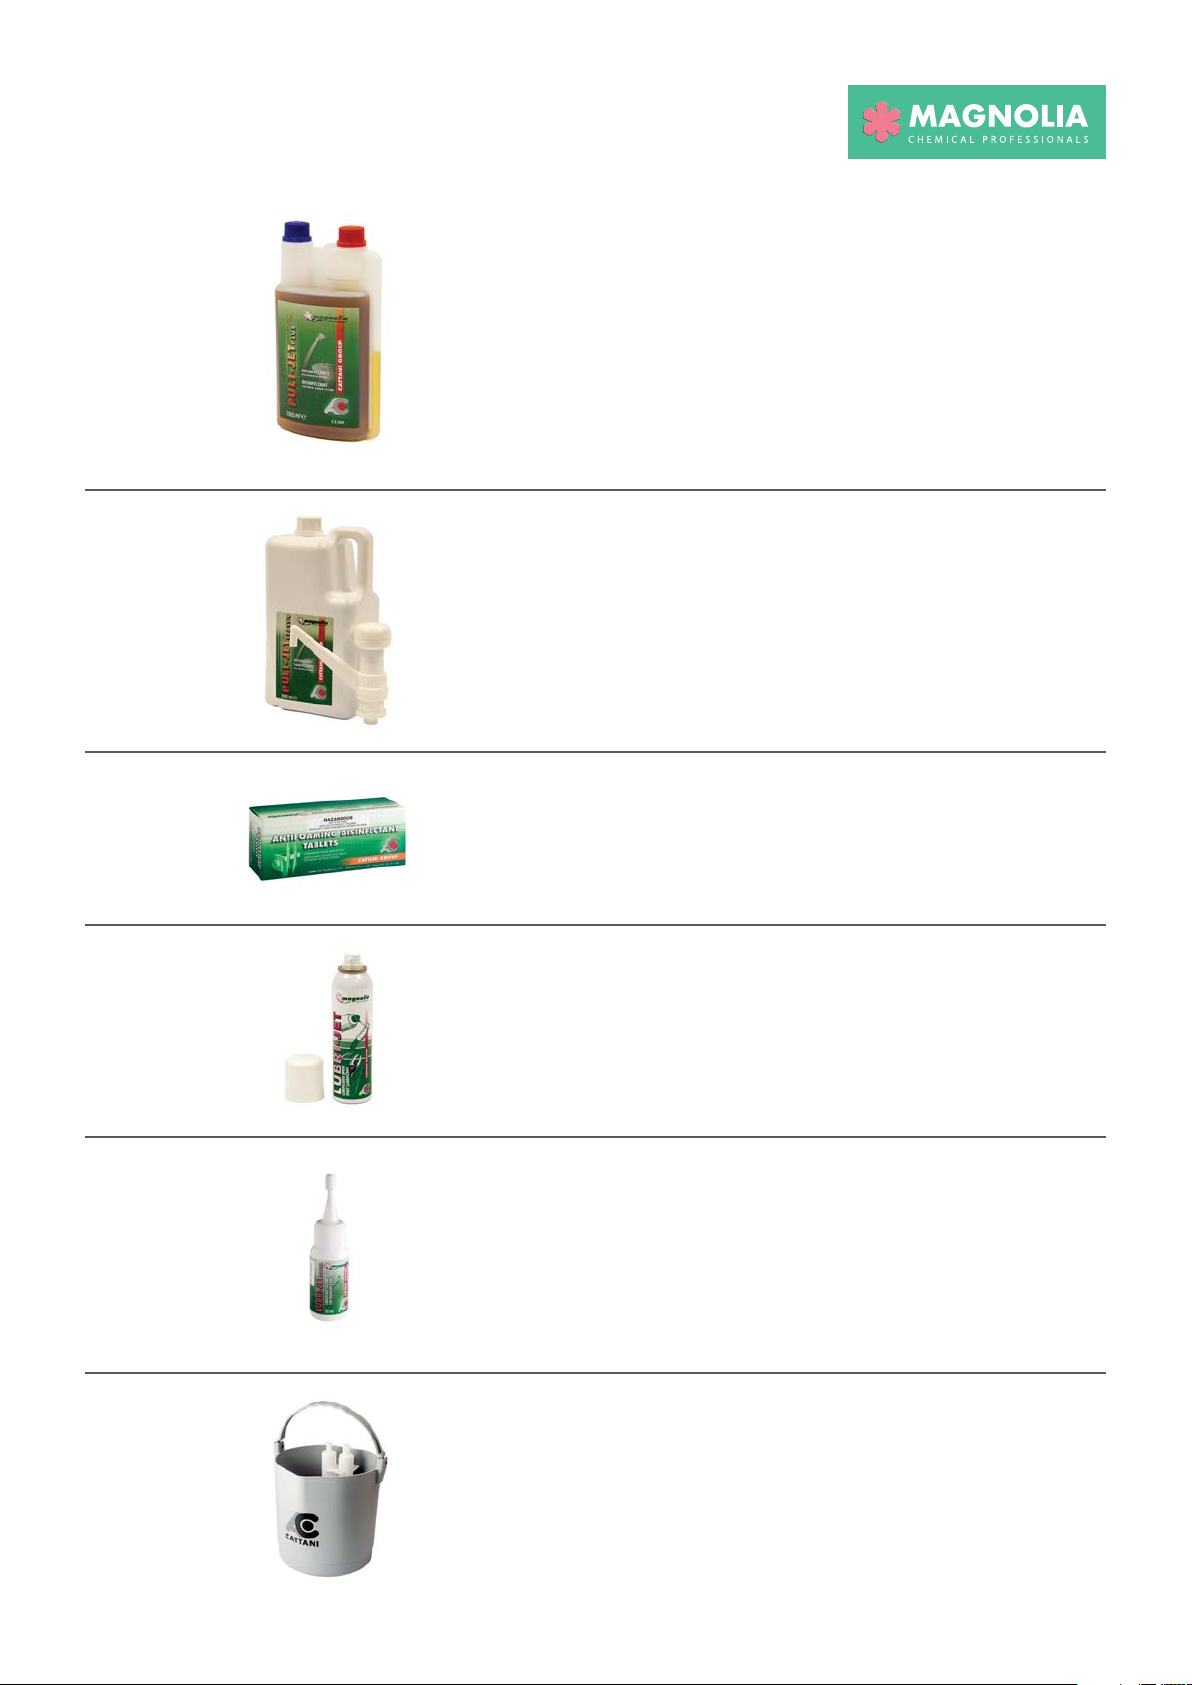
Puli Jet Plus
(4 x 1L bottle)
060900
Puli Jet Classic
(4 x 5L bottle)
040715
Sanitising
Antifoaming
Tablets
(50 per box)
040825
Disinfe cts, deod orises and cleans al l dental aspir ators (wet, semi-wet and dr y line), does not contain
aldehydes and phenol. 1 litre makes up to 125 litres of disinfectant or 250 litres of cleaner.
WHEN TO USE:
HOW TO U SE:
GENERAL
CLEANING:
DISINFECTION:
Every evening.
1. Shake bot tle, then unscrew red cap slightly.
2. Squ eeze bottle to distr ibute 10ml of liquid to top container.
3. To mix, fill the ‘P ulse Clea ner Bucket’ with war m water (approx temp 5 0°c) up to
the thir d marker, then uns crew the red c ap on the Puli J et bottle fully and p our
the Pul i Jet Plus into th e ‘Pulse Cl eaner bucket ’.
We recommend that you cleanse the aspiration system every evening, at the end of work.
For this, fill the Pul se Cleaner Bucket up to the thir d marker with warm water (approx temp
50°c) and add 10ml of Puli Jet Plus solution. Pour exc ess down th e spittoon.
We reco mmend to disin fect the asp iration sy stem once a we ek with a higher conce ntrate of
Puli J et Plus. For th is, fill the P ulse Clea ner Bucket up to th e third marker with w arm water
(approx temp 50°c) and add 20ml of Puli Jet Plus solution. Pour exces s down the spittoon.
Clean s, sanitis es and deodor ises denta l suction uni ts. 5 litre s makes up to 250 l itres of clea ner.
WHEN TO USE:
HOW TO USE:
Every evening.
1) Fill the ‘Pulse Cleaner Bucket’ with warm water (approx temp 50°c) up to the
third marker, then measure out 50ml of Puli Jet Classic cleaner and pour it into
the ‘Pulse Cleaner bucket’.
2) Using the terminals, aspirate the mixed Puli Jet Classic solution from the Pulse
Cleaner through the equipment. Pour excess down the spittoon.
Stops foam build up, which can cause an interruption in the aspiration.
APPLICATION:
WHEN TO USE:
HOW TO USE:
Single surgery and centralised suction systems.
Ever y day, after cleaning and disinfection.
At the beginning or end of every working day, after cleaning, place 1 or 2 tablets inside the
tip support filter or filter housing on the pump, tablet action lasts the entire day.
Lubri Jet Spray
(1 x 150ml can)
040735
(4 x 150ml can)
040737
Lubri Jet Drop
(1 x 30ml bottle)
040726
(4 x 30ml bottle)
040727
Pulse Cleaner
040720
Silicone spray for lubricating surfaces including diaphragms, O-rings, plastic materials and
metal, useful for treating clamp hinges and scissors before placing in autoclave. Silicone
lubricant with non-flammable ozone-friendly propellant, contains high-quality silicone oil and
is dust-repellent.
APPLICATION:
WHEN TO USE:
HOW TO USE:
Surfaces exposed to friction, rubber o-rings, plastic and metal materials.
When required.
Ready-to-use, Shake before use, Clean and wipe the parts to be lubricated, then spray.
Silico ne based liqu id for lubric ating surfaces inc luding diaphr agms, O-r ings, plas tic material s
and metal, useful for treating clamp hinges and scissors before placing in autoclave. Put a
drop onto the instrument and wipe off excess before putting in autoclave. Silicone lubricant
for the periodic lubricant of the hinge of pincers, scissors and other instruments of the dental
surgery. Contains high-quality silicone oil and is dust-repellent.
APPLICATION:
WHEN TO USE:
HOW TO USE:
Surgical instruments with the parts subjects to friction (scissors, pincers, etc).
When required.
Put a drop on the parts under friction. To be used on clean and dry instruments before
sterilization.
Pulse Cleaner is a turbulence-maker.
To prepare the Puli Jet solution, pour the concentrated product into warm water (approx temp
50°c) and then place the terminals on the pistons. The cleansing aspiration will start without
any further operation.
The solution left in the container can be used to sanitize the spittoon bowl. Do not rinse the
aspirator; do not turn on the spittoon-rinsing tap: Puli Jet Plus will go on sanitizing and
dissolving blood and mucus all night.
1x16mm & 1x11mm connections, reducers for smaller terminals included.
DAILY MAINTENANCE
TO BE CARRIED OUT BY INSTRUCTED SURGERY STAFF
CHECK FOR ANY ALARMS ON THE DISPLAY
SEE ALARMS DESCRIPTION BELOW
Before carrying out any daily maintenance check the display on the keypad for your unit for any
possible alarms.
These alarms will indicate any issues such as the Amalgam level and any temperature faults.
Alarm Information:
CODE ID DESCRIPTION SOLUTION
I14 2 Amalgam level > 95% Replace the amalgam container
as soon as possible
I15 3 Amalgam level > 100% Replace the amalgam container
I04 36 Over temperature (temperature has
exceeded max. allowed limit)
GENERAL OBSERVATION
Ensure the area around the suction system is clean and clear of debris that may affect ventilation. Check
Ventilate the plant room
(check the control panel cooling fan)
the display on the keypad for any error messages or warnings and report as necessary. Check for any signs
of fluid leaks or damaged hoses and if suspect, report toyour equipment service technician.

DAILY MAINTENANCE
TO BE CARRIED OUT BY INSTRUCTED SURGERY STAFF
CLEANING AND DISINFECTING YOUR SMART SUCTION UNIT
User Instructions:
1. Fill the Pulse Cleaner Bucket
with 2.5 litres of warm water
(approx temp 50°c).
4. Squeeze the bottle softly
to force the solution into the
measuring container at the top
of the bottle, until it reaches the
desired mark (10ml general
cleaning or 20ml disinfecting).
2. Each line on the inside of
the Pulse Cleaner Bucket
represents 1 litre, so fill it up to
halfway between the 2nd and
3rd line.
5. If too much solution has
entered into the container it can
be poured back into the bottle
by tipping the bottle towards
the small tube on the side of the
bottle.
3. Place the Puli Jet on a level
and steady surface and slightly
unscrew the red cap, but do not
completely unscrew it.
6. Unscrew and remove the red
cap fully and pour the solution
into the Pulse Cleaner Bucket
making sure that no extra
solution travels up the pipe
from the main bottle.
7. When all the solution has
been poured into the Pulse
Cleaner Bucket, replace the red
cap and then with a disposable
cloth, wipe away any residue
from the bottle.
8. Connect your suction hoses
to the Pulse Cleaner Bucket
(adaptors may be required),
pulsed aspiration of the solution
will happen automatically.
9. Once pulsing has stopped
please remove the suction
hoses from the Pulse Cleaner
Bucket.
Please note: there may be a small
amount of solution left at the bottom
of the Pulse Cleaner Bucket, this
can be poured down the spittoon or
aspirated manually.
It is recommended that you
continue to aspirate air for several
minutes before turning off the
suction system. This ensures that
the disinfectant reaches the suction
unit in the plant room.

DAILY MAINTENANCE
TO BE CARRIED OUT BY INSTRUCTED SURGERY STAFF
CLEANING THE INLET DEBRIS FILTER
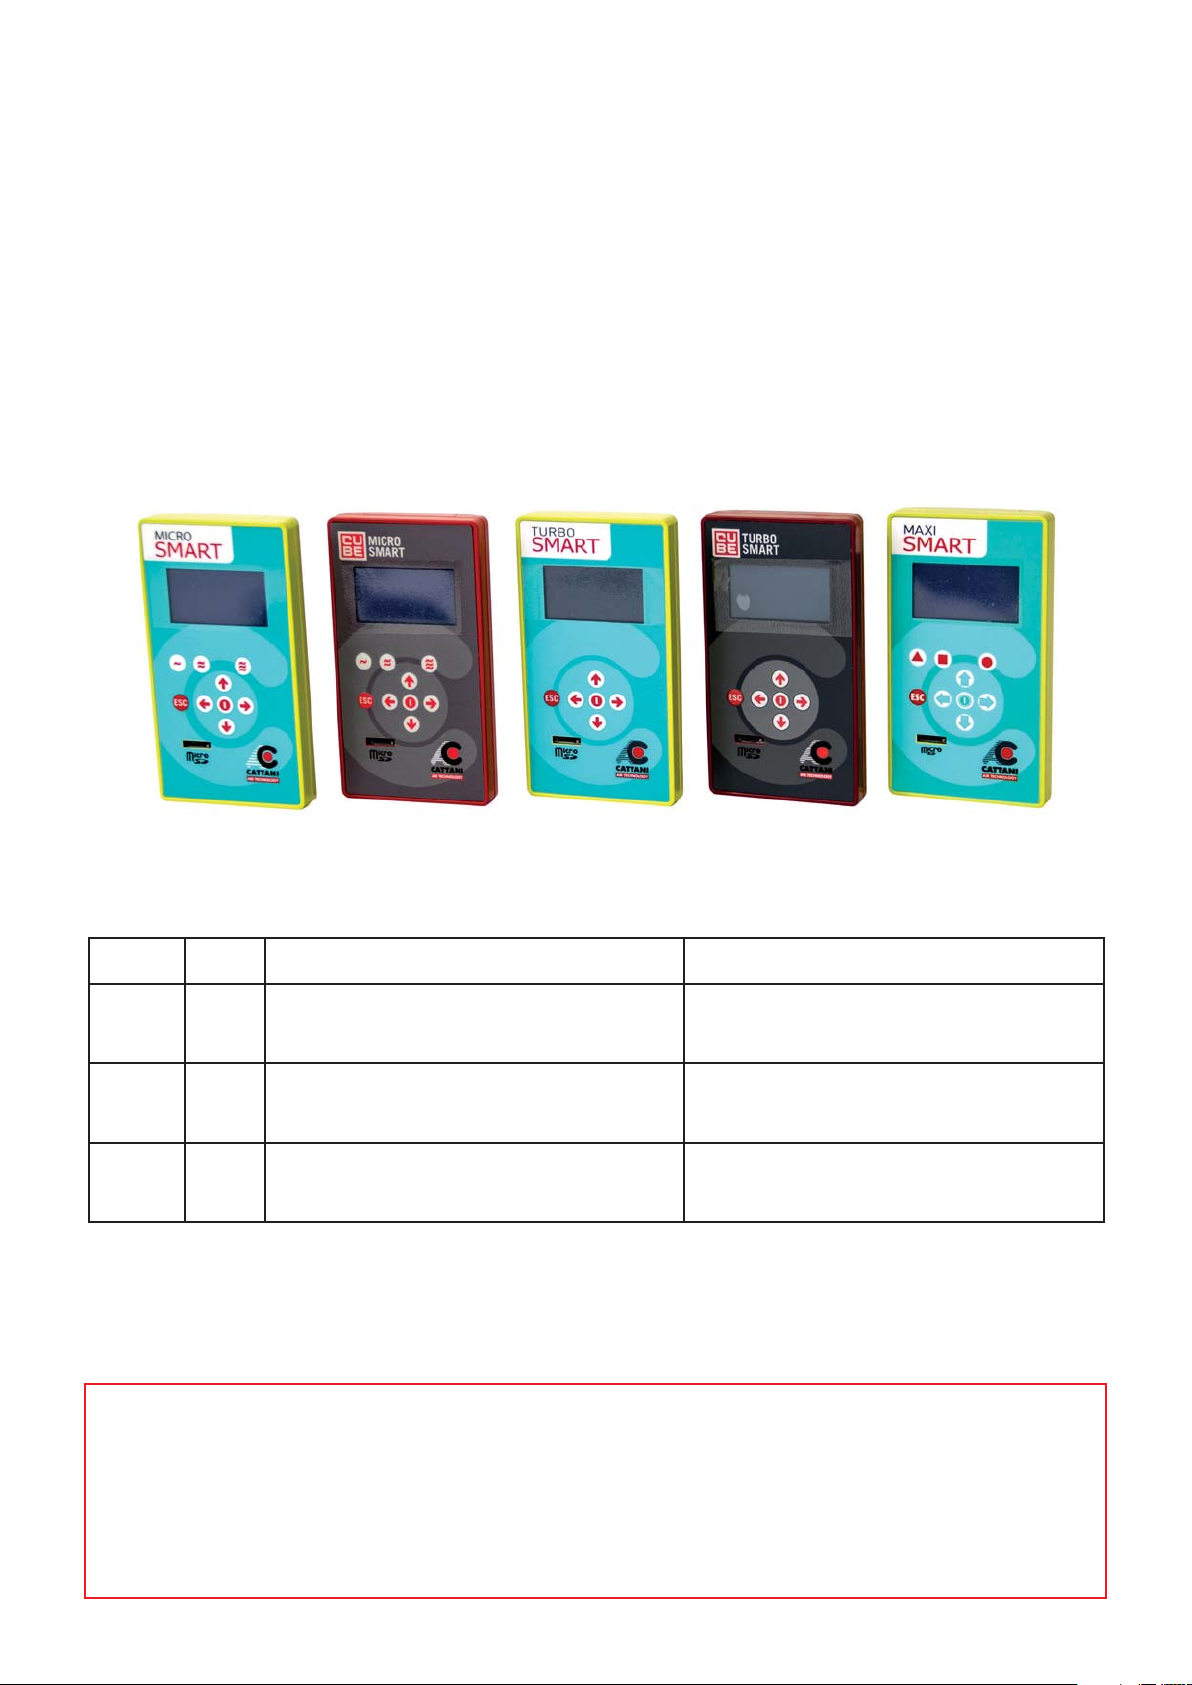
Inlet debris filter location:
MICRO SMART MICRO SMART CUBE TURBO SMART TURBO SMART CUBE MAXI SMART
Instructions for cleaning:
1. Turn the power off to the suction system.
2. To remove the filter from its housing, twist anti-clockwise and
pull. It is recommended that you collect the waste material
from the filter as it contains amalgam. This can be done by
tapping the filter and allowing waste material to fall into an
appropriate container and safely stored for later collection
by an approved recycling company.
3. Brush and rinse filter with clean water to shift any stubborn matter from the filter. Ensure the
brush has not been used with any other chemical or detergent. DO NOT use any detergent or
disinfectant to clean the filter – simply empty it and rinse with water.
4. Wipe the outside of the filter basket and the inside of the filter housing, especially around the
rubber o-ring seal, to clean away any gritty material.
5. Apply Lubri Jet drop or spray lubricant to the rubber o-ring, work it around the entire o-ring and
then reinstall the filter into its housing.
6. After the filter is reinstalled, check that the o-ring seal is seated properly and not bulging out in
any place as this may cause a fluid leak. If the o-ring is bulging, swollen or shows signs of wear,
contact your equipment service technician for replacement.
7. Turn the power back on to the suction system.
CLEANING THE ASPIRATION FILTERS
It is recommended that you clean the filters on the dental unit
and replace the Antifoaming Tablets (if used).

DAILY MAINTENANCE
TO BE CARRIED OUT BY INSTRUCTED SURGERY STAFF
AMALGAM CONTAINER REPLACEMENT
NOTIFICATION & VERIFICATION
If your SMART suction system is fitted with a Hydrocyclone amalgam retention unit, alarm
messages will appear on the unit’s display to notify you of 95% and 100% amalgam levels.
When the 95% level alarm is displayed, make arrangements to have the amalgam container
replaced at an appropriate time (to do this the system will need to be turned off).
It is not necessary to empty the amalgam container immediately when the alarm indicates 95%
however, waiting until the 100% level is reached may cause interruption to your clinic.
Whilst this process can be performed by clinic staff, it is highly recommended to employ your
equipment service technician.
The amalgam container is always full of waste fluid and a varying level of amalgam waste material.
100% amalgam waste capacity of the container is approx. half the container.
The amalgam waste material settles at the bottom of the container and usually appears darker
than the waste fluid.
BEFORE replacing the container, firstly verify the 95% or 100% level alarm visually.
If this cannot be determined visually from the outside, begin the container replacement process
and check internally when the container is removed.
False alarms can occur if the daily disinfection process in ineffective. If the disinfectant is not
aspirated through the entire suction system & Hydrocyclone amalgam container, it is possible for
a dark bacterial build up to form on the inside of the container. This can block the level sensor and
trigger a false alarm. If this is occurring, check your disinfection processes and/or contact your
equipment service technician or Cattani for further advice.
In this case, the rib in the back of the container (that fits into the sensor) will need to be cleaned
with an appropriate brush. The container can then be reinstalled with a new o-ring seal as per the
container replacement procedure.
* All waste amalgam must be handled and disposed of correctly, see your practice
procedures for the disposal of hazardous waste and materials.
** If the original container is to be re-used, place any small container under the tap
and then empty into the approved waste container, do not pour down the sink. Clean the
level sensing groove of the container with a cotton bud or similar.
The above are guidelines only, if you require further assistance please contact your engineer.

DAILY MAINTENANCE
TO BE CARRIED OUT BY INSTRUCTED SURGERY STAFF
CHANGING THE AMALGAM CONTAINER
MICRO SMART / MICRO SMART CUBE
1. Turn off the unit with the switch on the control panel.
2. Turn the handle underneath the amalgam container
clock-wise until the container reaches the bottom of the
thread.
3. Gently pull the container outward.
4. Top up the amalgam container to within 5mm of the rim
with neat Puli Jet Plus. Place the container on a solid
surface and carefully place a new lid on top, twist and lock
in position. Then push in the small plastic bung and twist
to lock. The container is now airtight and safe for disposal*.
If re-using the original amalgam container, empty the
contents into an approved amalgam waste container**
5. Before replacing or refitting the new container treat the
o-ring seal with a silicon based lubricant (not vaseline).
6. Replace with a new container (043132), relocate the new
container into the stainless steel guide making sure the
plastic disc fits within the recess at the base of the
amalgam pot.
1
2
7. Push the container forward and turn the handle anti
clock-wise until container is fully located and sealed at
the top of the lever.
6
7

DAILY MAINTENANCE
TO BE CARRIED OUT BY INSTRUCTED SURGERY STAFF
CHANGING THE AMALGAM CONTAINER
TURBO SMART / TURBO SMART CUBE
1. Turn off the unit with the switch on the control panel
2. Turn the vent valve on the top of the amalgam separator
anti clock-wise to open it so you can empty the excess
liquid from the amalgam container. Wait 15 seconds.
Turn the drain tap (left hand side of amalgam container) to
the vertical position allowing the liquids to drain into the pot.
3. Gently hold the collection container and slowly lift the
stainless steel lever, the amalgam collection container can
now be removed.
4. Top up the amalgam container to within 5mm of the rim with
neat Puli Jet Plus. Place the container on a solid surface and
carefully place a new lid on top, twist and lock in position.
Then push in the small plastic bung and twist to lock. The
container is now airtight and safe for disposal*. If re-using
the original amalgam container, empty the contents into an
approved amalgam waste container**
1
2
5. Turn the drain tap (left hand side of amalgam container) to
the horizontal position.
6. Before replacing or refitting the new container treat the o-ring
seal with a silicon based lubricant (not vaseline).
7. Replace with the new container (043135), place the new
container into position carefully but DO NOT push up onto
the separator.
Relocate the stainless steel lever by pushing downwards to
lock the container into place.
8. Turn the vent valve on the top of the amalgam separator
clock-wise to close it.
3
7

DAILY MAINTENANCE
TO BE CARRIED OUT BY INSTRUCTED SURGERY STAFF
CHANGING THE AMALGAM CONTAINER
MAXI SMART
1. Turn off the unit with the switch on the control panel.
2. Turn the handle underneath the amalgam container
clock-wise until the container reaches the bottom of the
thread.
3. Gently pull the container outward.
4. Top up the amalgam container to within 5mm of the rim
with neat Puli Jet Plus. Place the container on a solid
surface and carefully place a new lid on top, twist and lock
in position. Then push in the small plastic bung and twist
to lock. The container is now airtight and safe for disposal*.
If re-using the original amalgam container, empty the
contents into an approved amalgam waste container**
5. Before replacing or refitting the new container treat the
o-ring seal with a silicon based lubricant (not vaseline).
6. Replace with a new container (043138), relocate the new
container into the stainless steel guide making sure the
plastic disc fits within the recess at the base of the
amalgam pot.
1
2
7. Push the container forward and turn the handle anti
clock-wise until container is fully located and sealed at
the top of the lever.
3
6

ANNUAL MAINTENANCE
TO BE PERFORMED ONLY BY A TRAINED TECHNICIAN
Consideration should be given to the maintenance of the Cattani equipment
installed in your plant room. Implementation of a routine maintenance
schedule at your practice should be your highest priority.
Servicing your SMART Suction Unit on time annually is important. Annual servicing will reduce
the risk of unwanted breakdowns, interruptions or delays in daily practice and loss of income
due to stopping for unexpected repairs.
Routine servicing by a trained technician ensures the long term reliability of your equipment,
trouble free operation and greatest life expectancy.
Servicing of Cattani Suction equipment should be performed by a trained Authorised Service
Technician using only genuine Cattani parts.
PLEASE REFER TO USER MANUAL AND WARRANT Y STATEMENT FOR FURTHER DETAILS.
WHAT SHOULD BE COVERED IN AN ANNUAL SERVICE?
- Complete System Check
This includes: Checking maximum detected temperatures and any other alarms on the display.
- The technician is required to check to make sure that routine maintenance has been duly
carried out and that the recommended Magnolia cleaning products are used.
- A complete service using the appropriate kit for the suction unit:
900051 or 900050 for Micro Smart and Micro Smart Cube
900053 for Turbo Smart, Turbo Smart 2v and Turbo Smart Cube
900026 for Maxi Smart
Technicians must make sure that when parts are reassembled all O-rings on the amalgam
container and debris filter are lubricated with the recommended Lubri Jet Spray (040735) or
Lubri Jet Drop (040726).
A simple diagnostic test should be completed after every service, please see the relevant
instruction manual for your unit.

SMART THINKING, THE WAY WE INNOVATE.
WE HAVE BEEN SPECIALISING WITH AIR TECHNOLOGY
FOR 50 YEARS:
SPECIALIZATION HAS GIVEN EXCELLENT RESULTS.
HOW IS IT WE LEAD IN OUR FIELD, WHEN WE COST LESS THAN THE ALTERNATIVES? THIS IS HOW:
Constant research: this enables us to apply the latest technology to all of our products and solutions.
We enhance performance: electronic and info rmation technology enable us to enhance the per formance and reliabilit y of our product s.
We reduce costs: less maintenance and lower energy costs mean that we are always the most economical on a cost-benefit analysis.
We reduce environmental impact: we save 50 % on raw mater ials, so that y ou can save bet ween 30% a nd 50% on elec trical cons umption.
Cattani ESAM UK Limited, 21A Harris Business Park, Hanbur y Road, Stoke Prior, Bromsgrove, Worcestershire, B6 0 4DJ
T +44 (0)1527 877997 F +4 4 (0)1527 839799 info@cattanies am.co.uk
WW W.CATTANIESAM .CO.UK
 Loading...