

Cateye Stealth EVO+ CC-GL51 Quick Start Manual
CC-GL51
START
Quick Start
Click the button and follow the
instructions.
Thank you for purchasing our cyclocomputer CATEYE STEALTH evo+.
Next
This Quick Start Manual explains how to set up the STEALTH evo+ and how to install the
unit on your bicycle.
Please set up the unit according to the specified procedure, then it will be ready for use as a
cyclocomputer.
Before use, read the instruction manual that comes with the product thoroughly to the
end to understand the functions of this unit, and to use it safely in a correct manner.

This PDF contains a movie file.
Next
When you click on the movie screen, a message regarding security appears. Click the
“Trust in the text” or “Play” button to close the message.
Click the screen again to play the movie.

Quick Start Manual
Return to a Cover
Setting up the STEALTH evo+
Set up the STEALTH evo+ from a PC
How to install the bracket (movie format)
Optional: How to install the speed sensor (movie format)
Optional: How to wear the heart rate sensor (movie format)
Perform measurement
Click on the item to view.
Contents
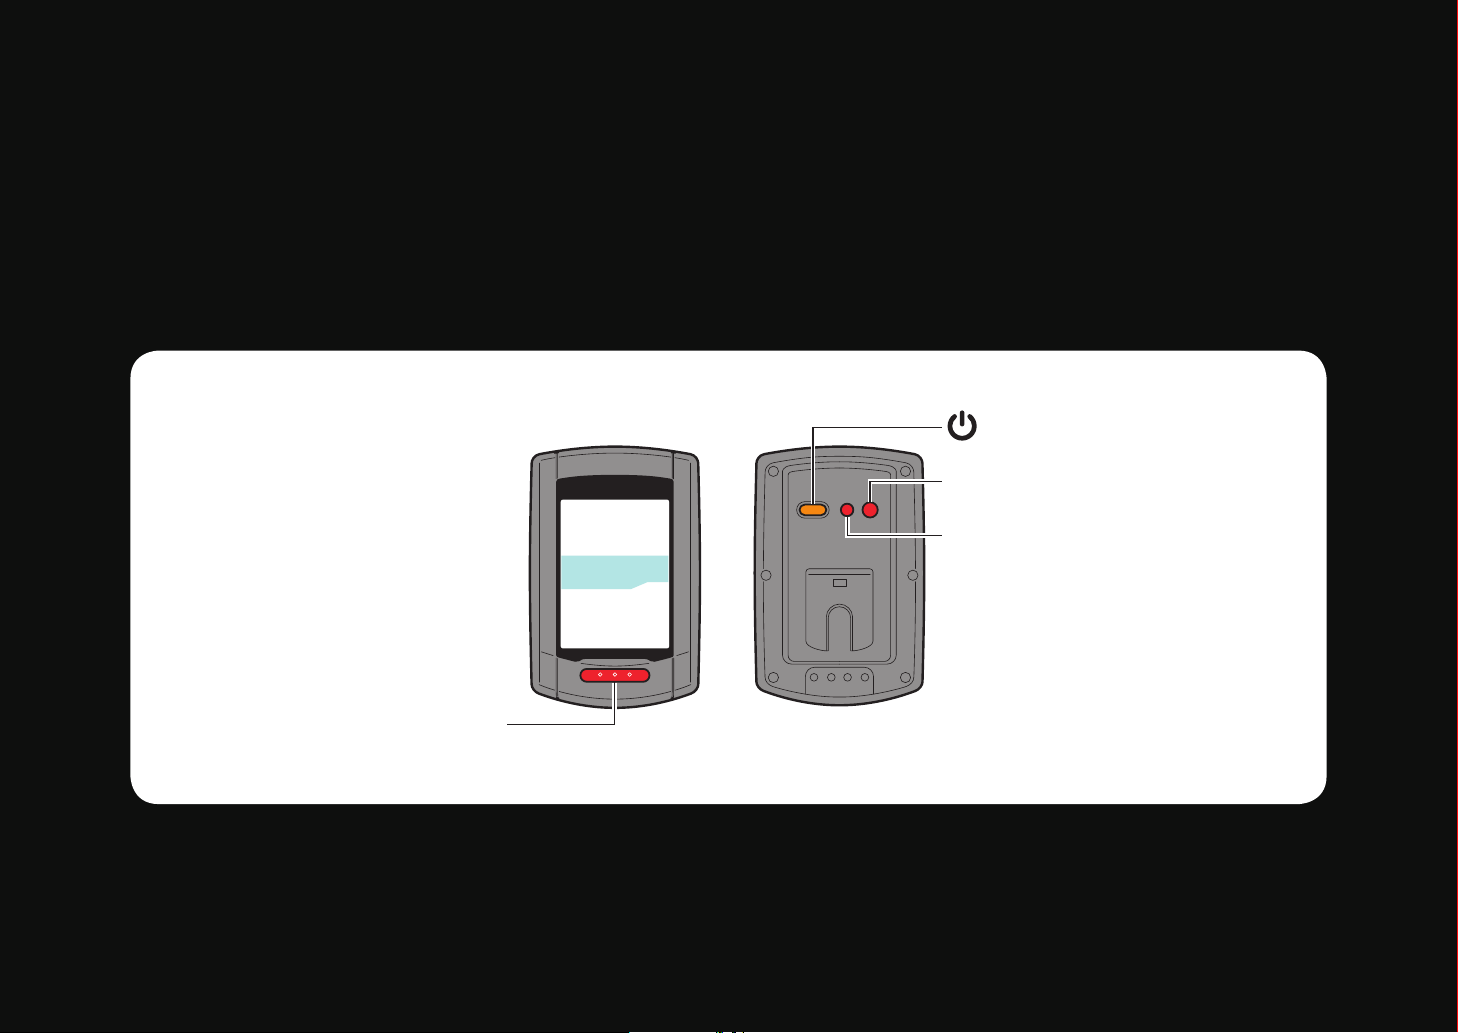
Operation of buttons
AC
MENU
MODE
Next
Set up the STEALTH evo+ by operating the buttons as follows.
Check the button position before you start setting up.
(Power)
Quick Start Manual
Return to Contents
Next
Return
Setting up the STEALTH evo+
Power ON
Power ON
Formatting operation
Setting the speed unit
Pairing
Setting the tire circumference
Setting the time zone
Setting the daylight saving time
Setting the clock display format
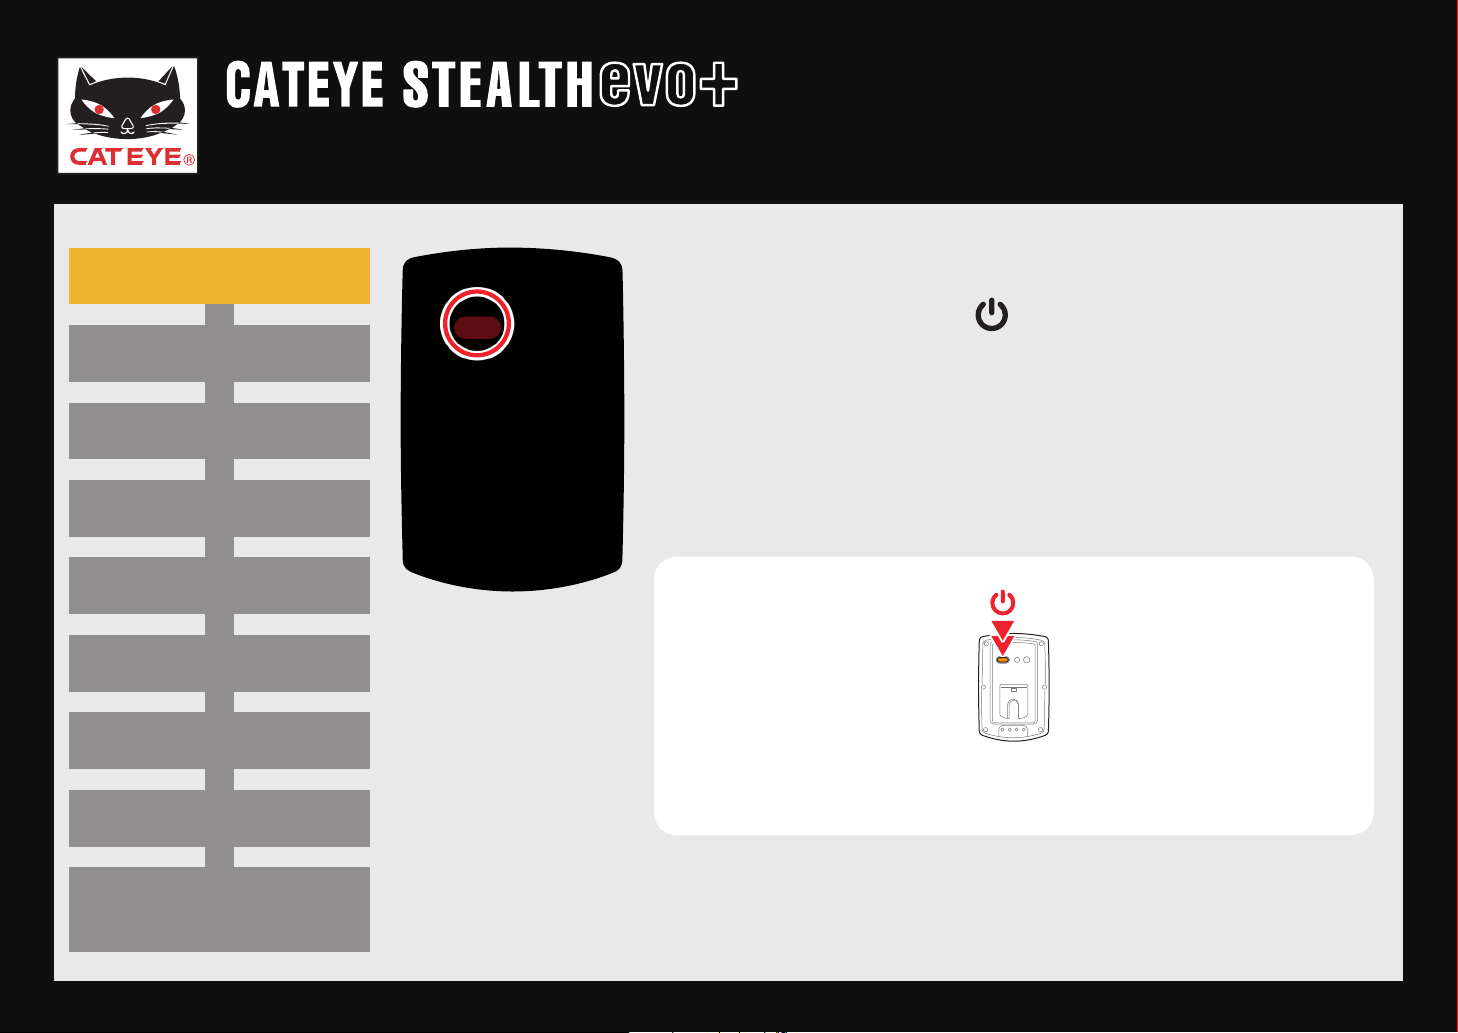
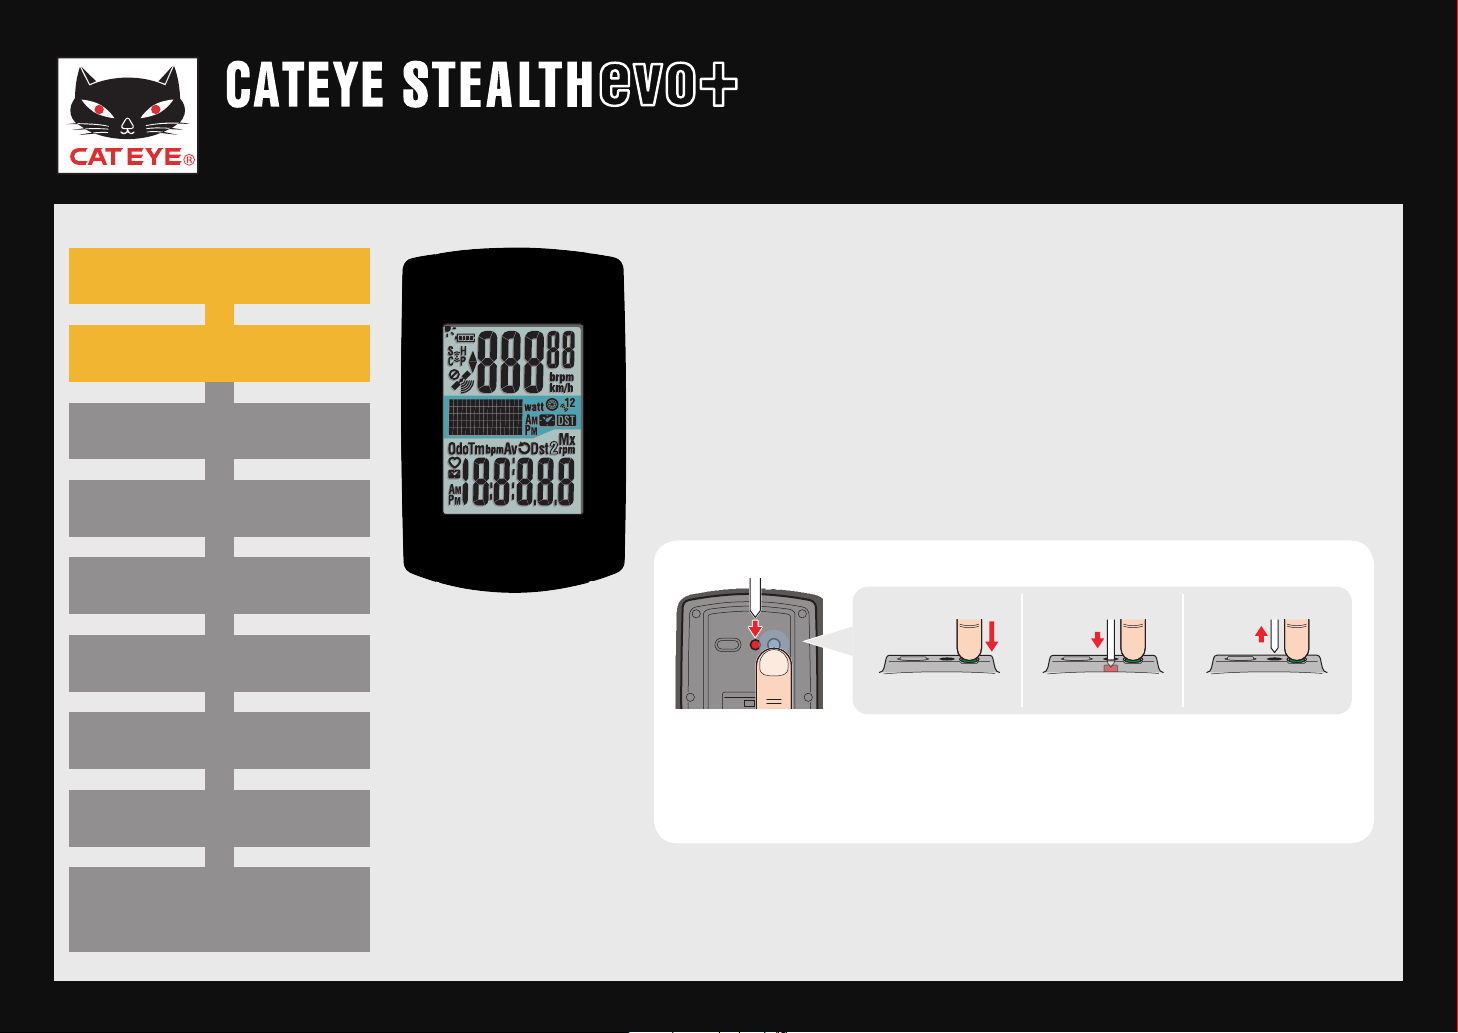
Power ON
Pressing and holding the button on the back of the
STEALTH evo+ for 2 seconds turns on the power, and the
screen lights up.
Power ON
(Press and hold)
GPS search screen
(Setup completed)
Quick Start Manual
MENU
MENU
AC
AC
MENUAC
MENUAC
MENUAC
1 2 3
Return to Contents
Next
Return
Formatting
operation
Setting up the STEALTH evo+
Power ON
Formatting operation
Setting the speed unit
Pairing
Setting the tire circumference
Setting the time zone
Setting the daylight saving time
Setting the clock display format
All screen items light up
Formatting operation
Press the
and the AC button simultaneously.
After all screen items light up, the display will be changed
to the speed unit setting screen, and setup will start.
MENU
button on the back of the STEALTH evo+
Press and hold the * MENU button for 3 seconds
after releasing the AC button.
GPS search screen
(Setup completed)
Quick Start Manual
MENU
MODE
Return to Contents
Next
Return
Setting up the STEALTH evo+
Power ON
Formatting operation
Setting the speed unit
Pairing
Setting the tire circumference
Setting the time zone
Setting the daylight saving time
Setting the clock display format
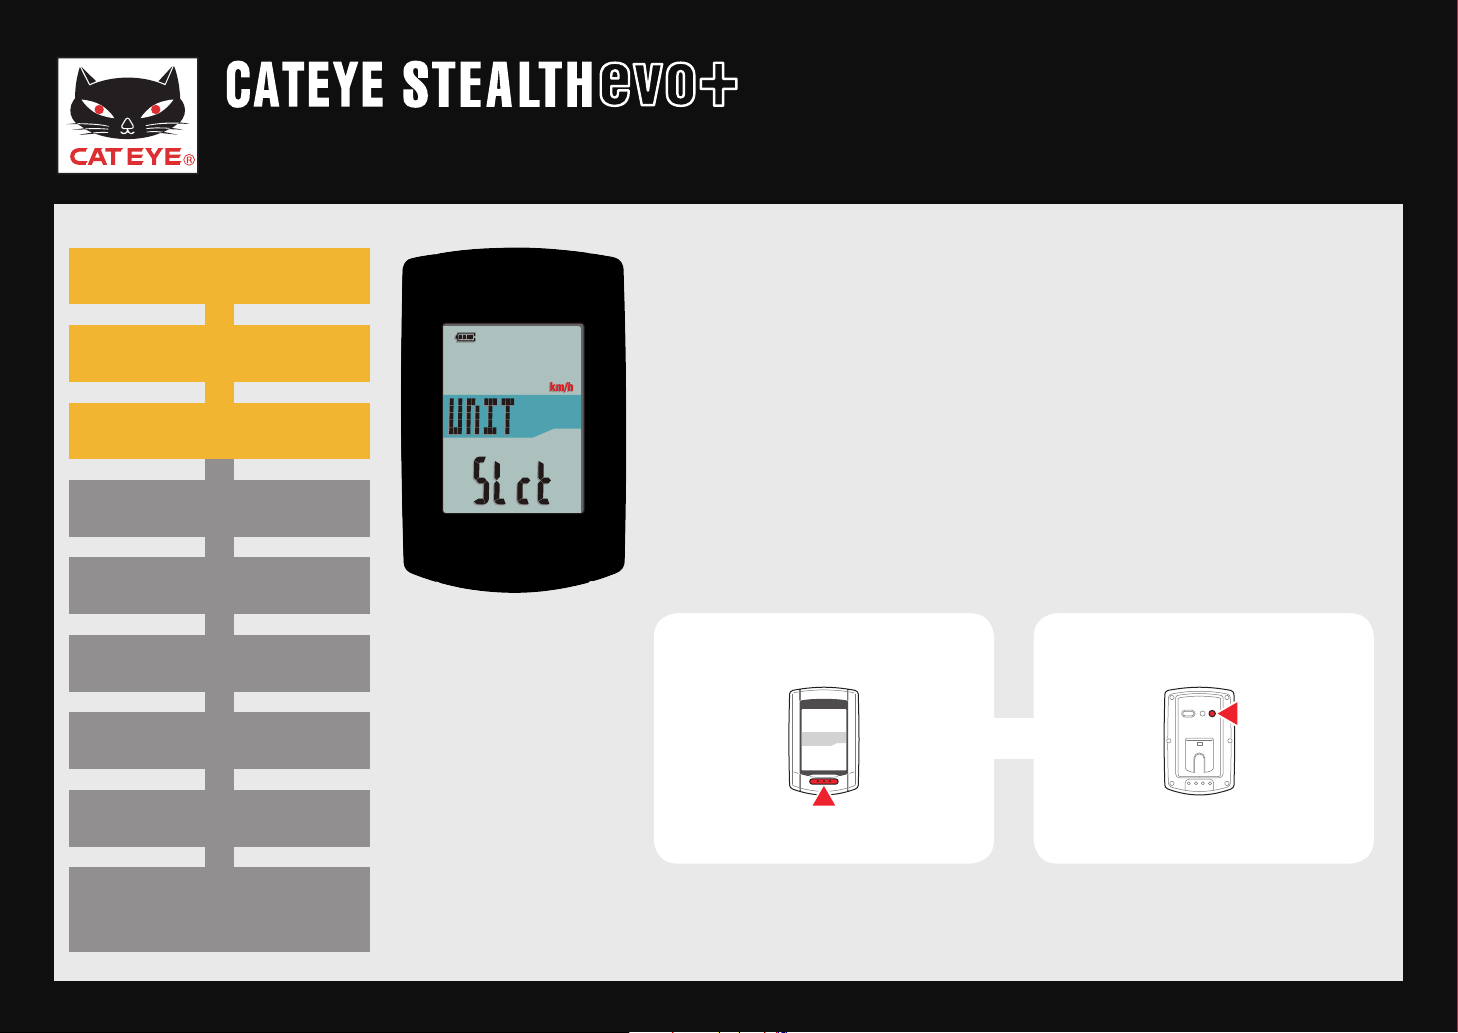
Setting the speed unit
Setting the speed unit
When the MODE button is pressed, either “km/h” or “m/h
(mile)”
Select the display of your choice.
Press the MENU button to go to the next step “Selecting
the time zone”.
is selected for the speed unit display.
To the next stepkm/h ↔ m/h
GPS search screen
(Setup completed)
Quick Start Manual
Return to Contents
Return
I do not have an ANT+ sensor
I have an ANT+ sensor
Setting up the STEALTH evo+
Power ON
Formatting operation
Setting the speed unit
Pairing
Setting the tire circumference
Setting the time zone
Setting the daylight saving time
Setting the clock display format
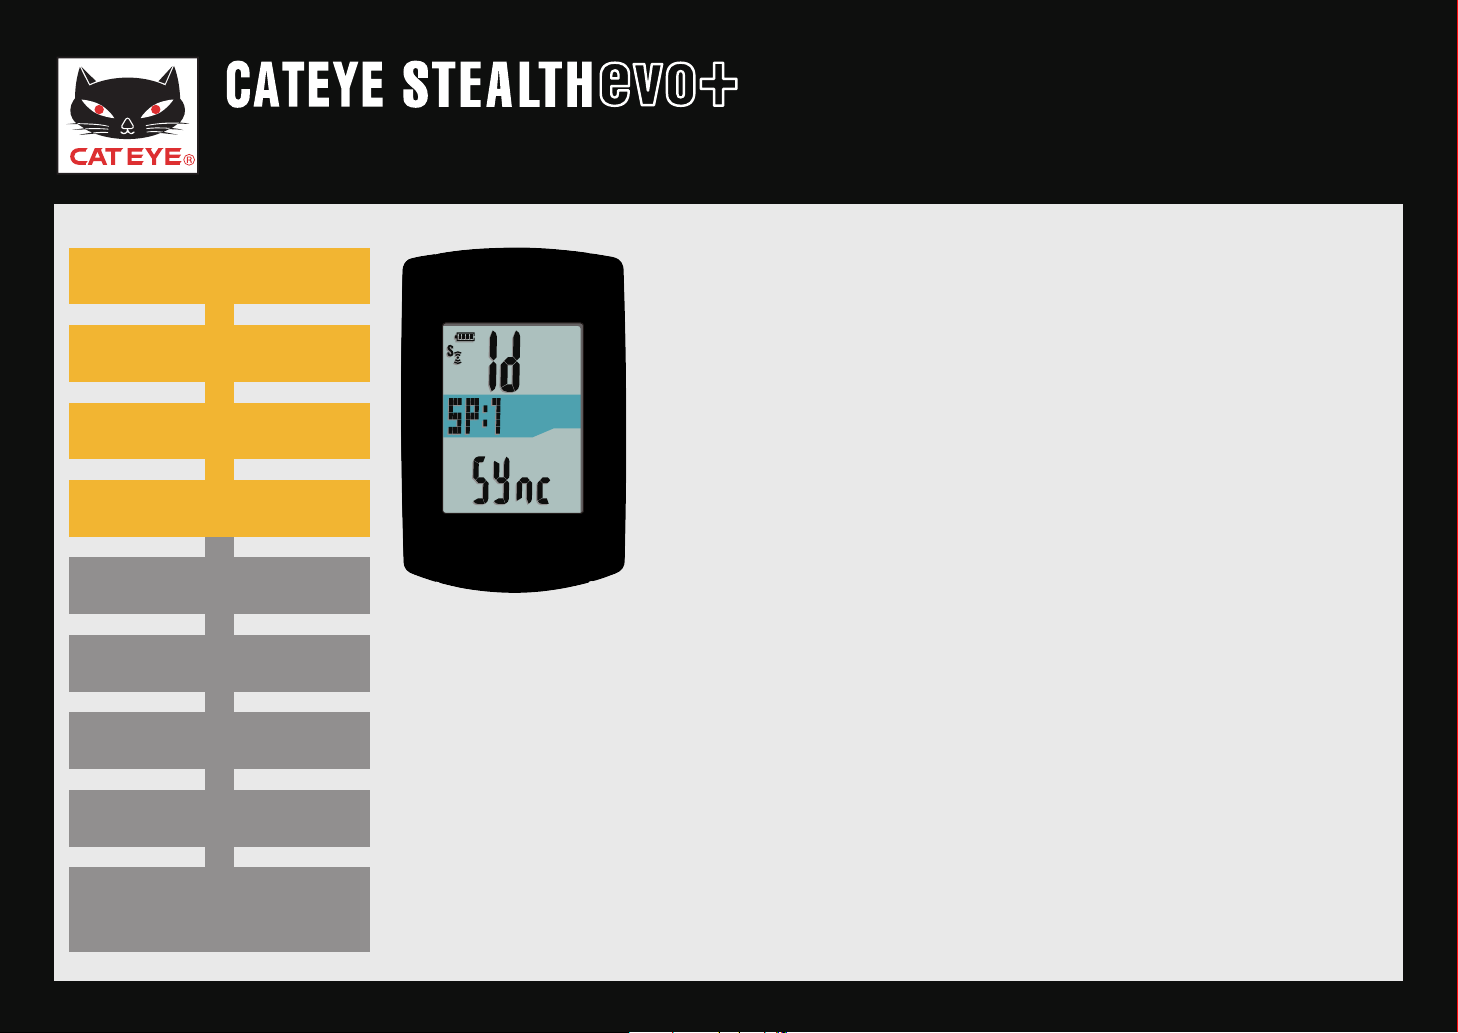
Pairing (Searching the sensor ID)
When using the ANT+ sensor, it is necessary to perform
pairing with the STEALTH evo+. When not using, pairing
is not required.
Click on either button and follow the steps below.
Pairing can be performed also after setting is complet-*
ed. When you perform pairing later, click on “I do not
have an ANT+ sensor”.
Pairing
GPS search screen
(Setup completed)
Quick Start Manual
MENU MENU MENU MENU MENU
Return to Contents
Next
Return
Setting up the STEALTH evo+
Power ON
Formatting operation
Setting the speed unit
Pairing
Setting the tire circumference
Setting the time zone
Setting the daylight saving time
Setting the clock display format
I do not have an ANT+ sensor
Pairing is not required. Press the MENU button 5 times to jump to the next
step “Setting the time zone”.
1 2 3 4 5
Pairing To “Setting the
time zone”.
GPS search screen
(Setup completed)
Quick Start Manual
MODE
MODE
Return to Contents
Next
Return
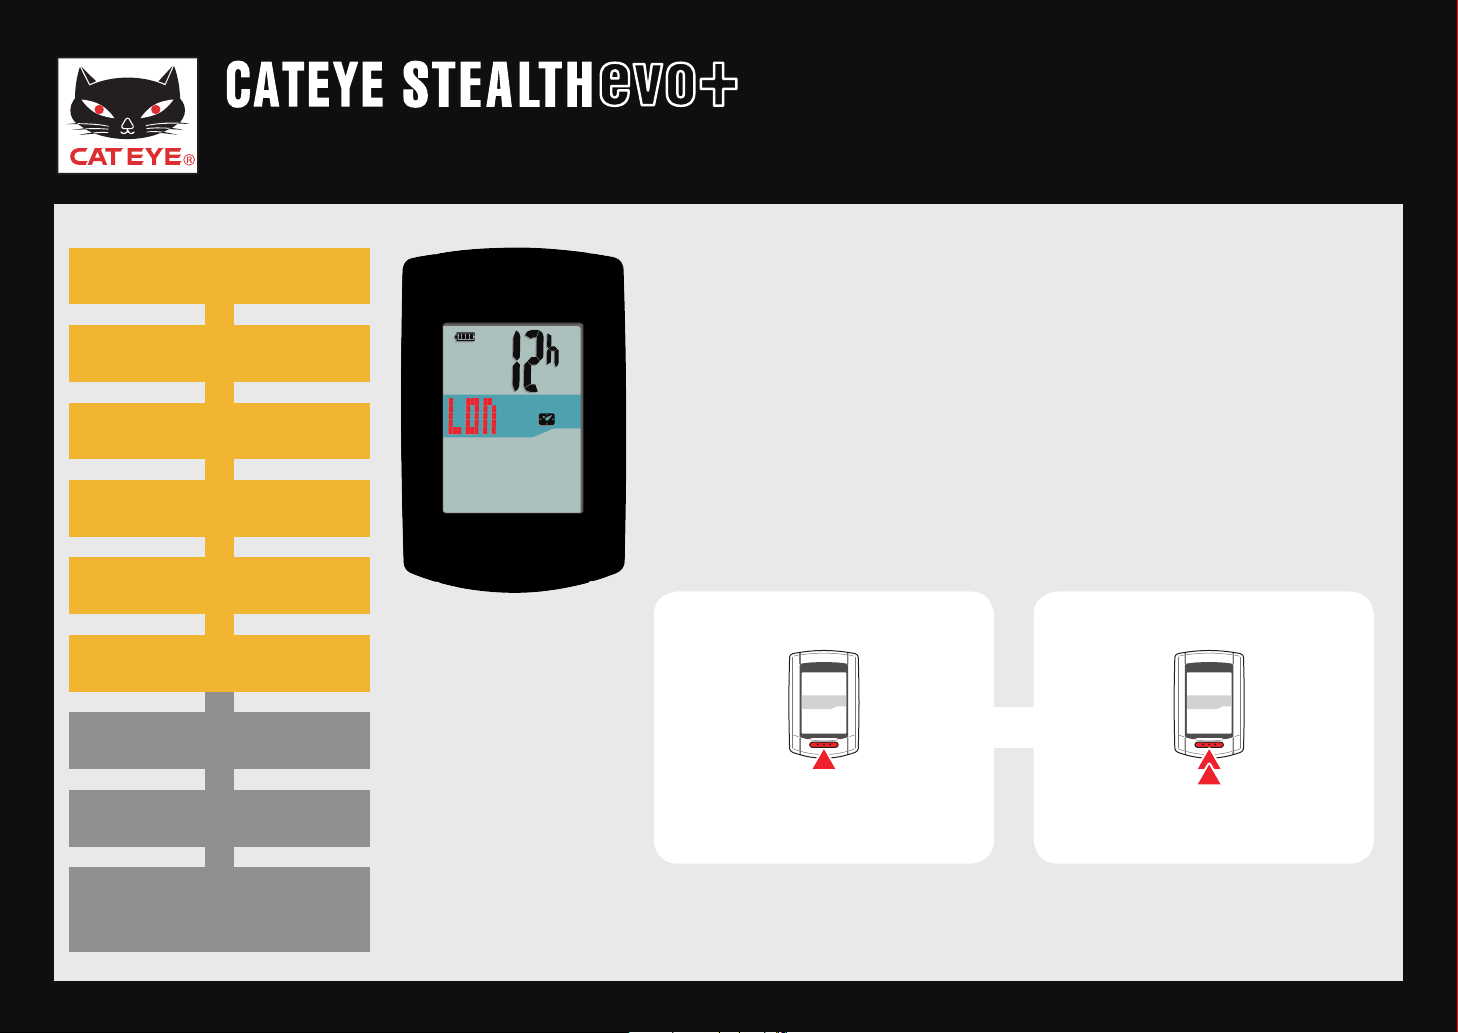
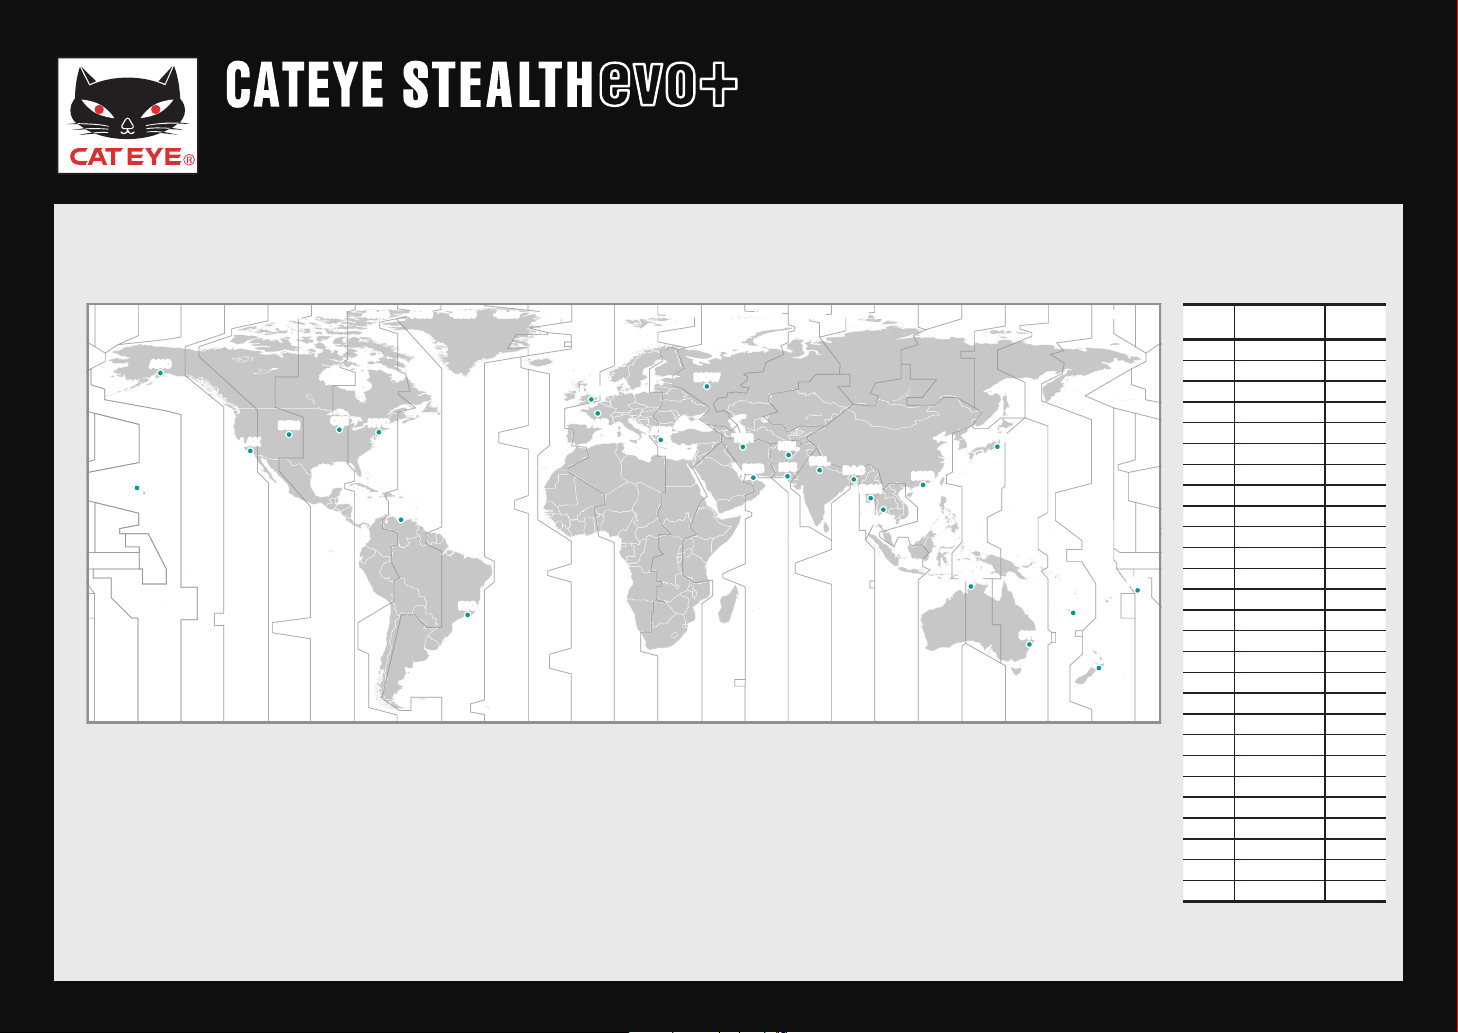
Time zone list
Setting up the STEALTH evo+
Power ON
Power ON
Formatting operation
Formatting operation
Setting the speed unit
Setting the speed unit
Pairing
Pairing
Setting the tire circumference
Setting the tire circumference
Setting the time zone
Setting the time zone
Setting the daylight saving time
Setting the clock display format
Setting the time zone
Setting the time zone
Select the code for the city nearest from your current
location, while viewing the “Time zone list”.
When the MODE button is pressed, the city code changes. After selecting the appropriate city code, press and
hold the MODE button to go to the next step “Setting the
daylight saving time”.
Change city code
To the next step
(Press and hold)
GPS search screen
(Setup completed)
Quick Start Manual
MODE
MODE
Return to Contents
Next
Return
Setting up the STEALTH evo+
Power ON
Power ON
Formatting operation
Formatting operation
Setting the speed unit
Setting the speed unit
Pairing
Pairing
Setting the tire circumference
Setting the tire circumference
Setting the time zone
Setting the time zone
Setting the daylight saving time
Setting the daylight saving time
Setting the clock display format
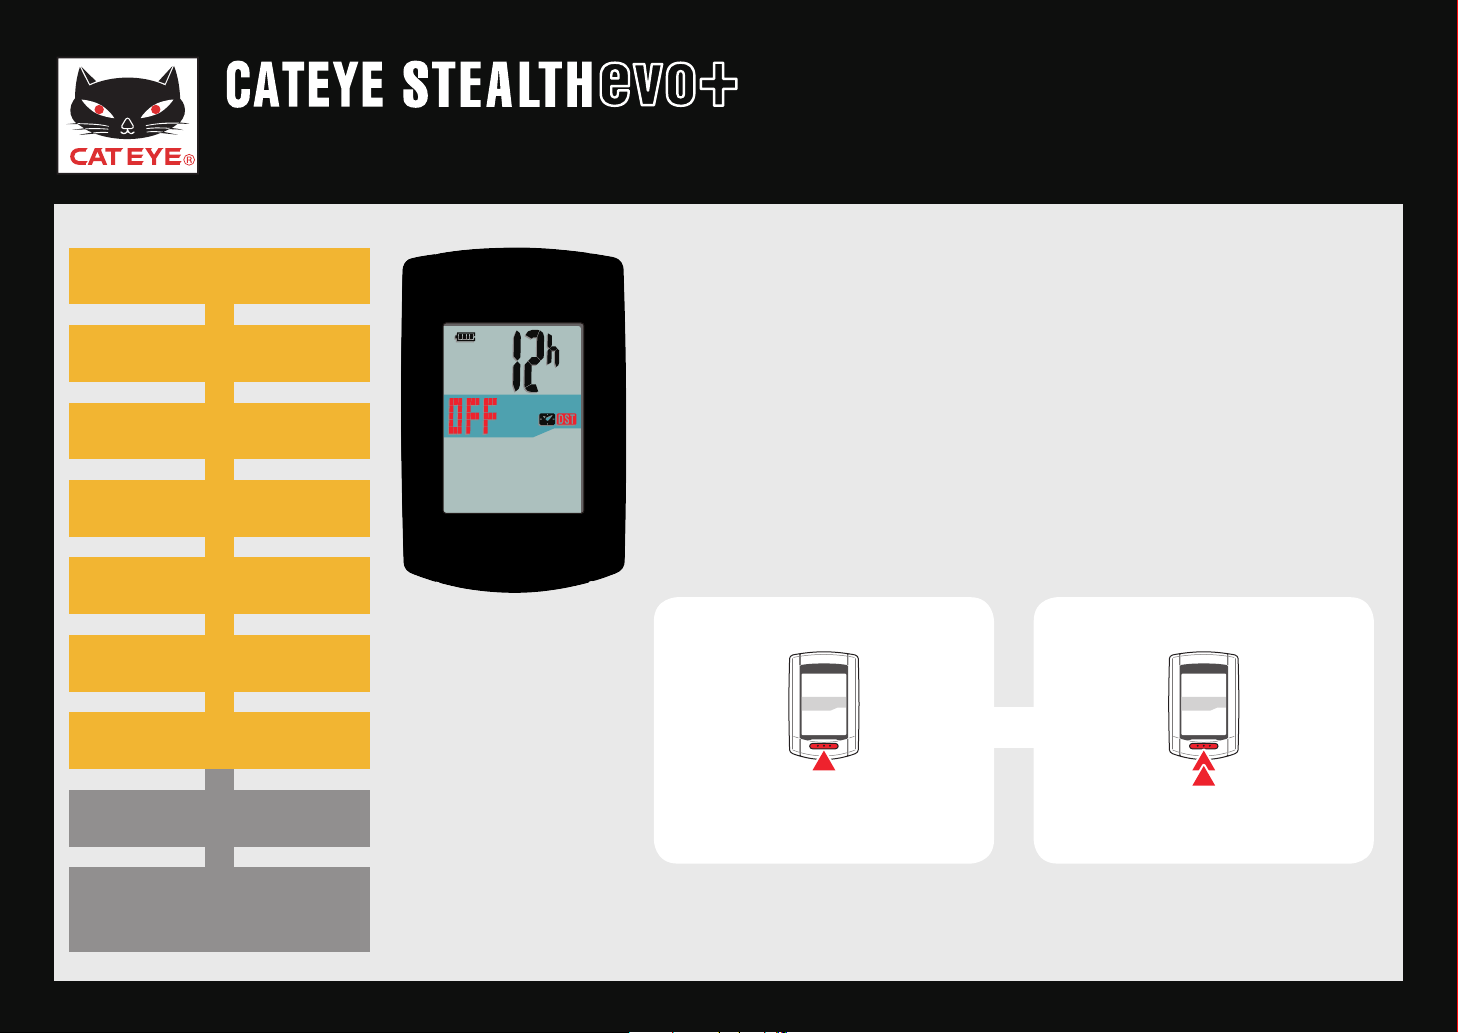
Setting the daylight
saving time
Setting the daylight saving time
Change ON/OFF according to the period of daylight saving time, when you are on Daylight Saving Time.
Press and hold the MODE button to go to the next step
“Setting the clock display format”.
To the next stepOFF ↔ ON
(Press and hold)
GPS search screen
(Setup completed)

Quick Start Manual
MENU
MODE
Return to Contents
Next
Return
Setting up the STEALTH evo+
Power ON
Power ON
Formatting operation
Formatting operation
Setting the speed unit
Setting the speed unit
Pairing
Pairing
Setting the tire circumference
Setting the tire circumference
Setting the time zone
Setting the time zone
Setting the daylight saving time
Setting the daylight saving time
Setting the clock display format
Setting the clock display format
Setting the clock
display format
Setting the clock display format
When the MODE button is pressed, either “12h” or “24h”
is selected for the clock display format. Select the display
format of your choice.
Date and clock are acquired from GPS signal; there-*
fore, it is not necessary to enter them.
Press the MENU button to change to the GPS search
screen.
Setting completed
12h ↔ 24h
To the GPS search screen
GPS search screen
(Setup completed)
Quick Start Manual
Return to Contents
Return
Return to Contents
Setting up the STEALTH evo+
Power ON
Power ON
Formatting operation
Formatting operation
Setting the speed unit
Setting the speed unit
Pairing
Pairing
Setting the tire circumference
Setting the tire circumference
Setting the time zone
Setting the time zone
Setting the daylight saving time
Setting the daylight saving time
Setting the clock display format
Setting the clock display format
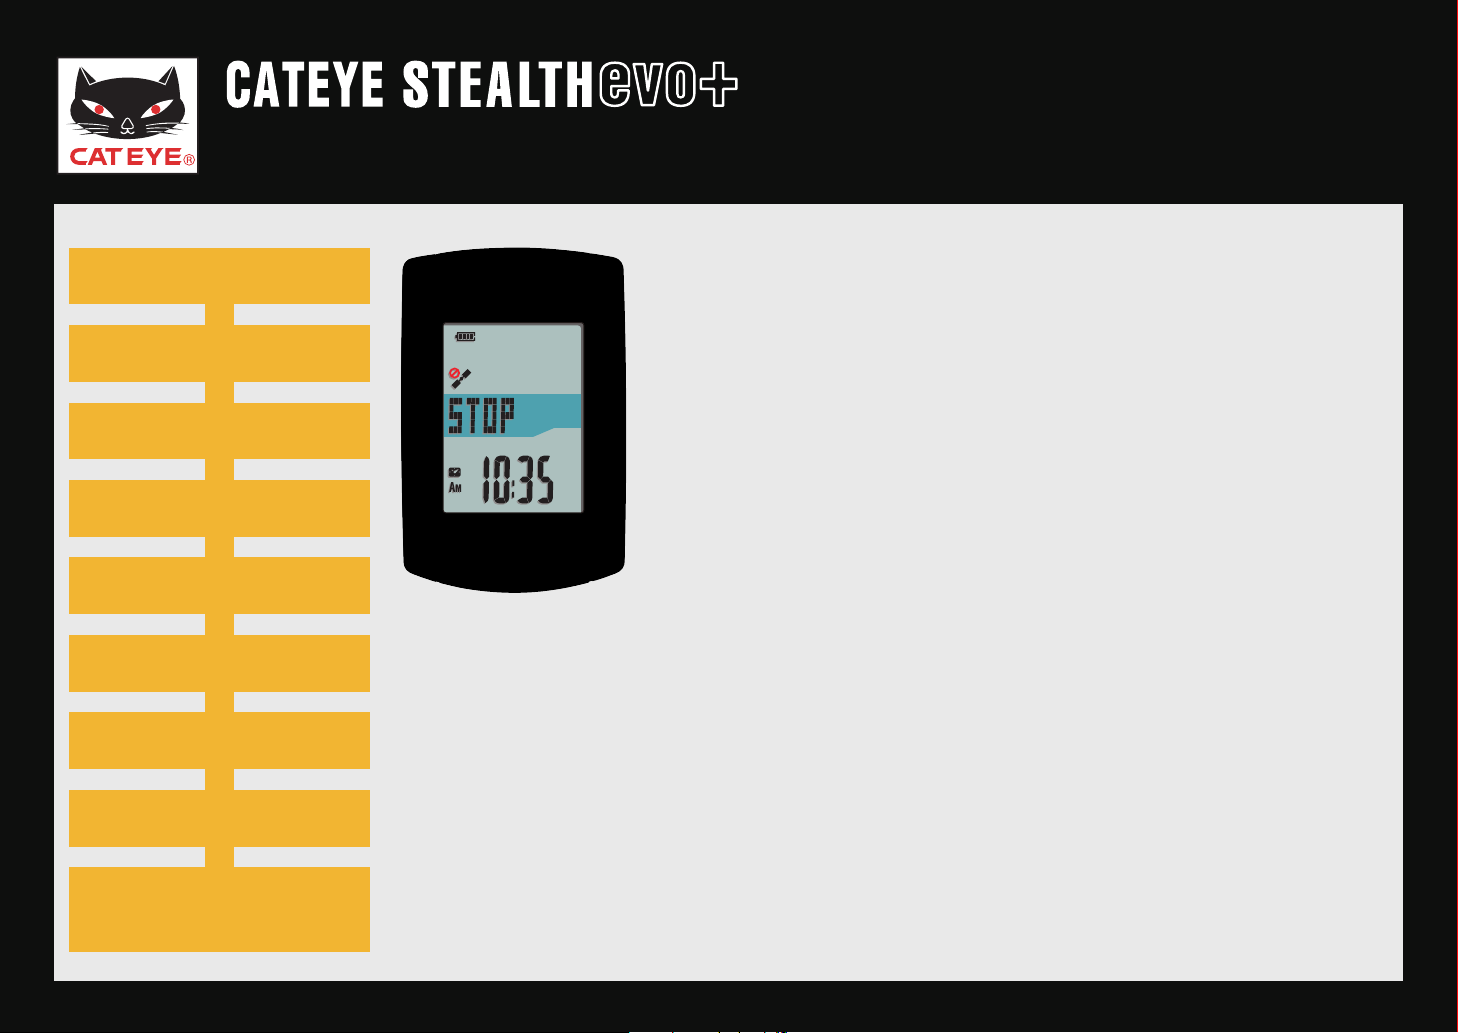
Now, setup of the STEALTH evo+ is completed.
When the bracket is not attached to your bicycle, return
to Contents, click on “How to install the bracket (movie
formant)”, and then attach it according to the instructions.
Receiving the GPS signal or pressing the MODE button
changes to the measurement screen.
GPS search screen
GPS search screen
GPS search screen
(Setup completed)
(Setup completed)
Quick Start Manual
LON
HNL
ANC
PAR
ATH
MOW
THR
DXB
KBL
KHI
DEL
DAC
RGN
BKK
HKG
TYO
DRW
SYD
NOU
PPG
WLG
LAX
DEN
CHI
NYC
CCS
RIO
-00:00-01:00-02:00-03:00-04:00-05:00-06:00-07:00+08:00-09:00-10:00-11:00 +01:00 +02:00 +03:00 +04:00 +05:00 +06:00 +07:00 +08:00 +09:00 +10:00 +11:00 +12:00
Return to Contents
Return
Setting the time zone
Setting up the STEALTH evo+
City
City name
code
LON London 0
PAR Paris +1
ATH Athens +2
MOW Moscow +3
THR Tehran +3.5
DXB Dubai +4
KBL Kabul +4.5
KHI Karachi +5
DEL Delhi +5.5
DAC Dhaka +6
RGN Yangon +6.5
BKK Bangkok +7
HKG Hong Kong +8
TYO Tokyo +9
DRW Darwin +9.5
SYD Sydney +10
NOU Noumea +11
WLG Wellington +12
PPG Pago Pago -11
HNL Honolulu -10
ANC Anchorage -9
LAX Los Angeles -8
DEN Denver -7
CHI Chicago -6
NYC New York -5
CCS Caracas -4
RIO Rio de Janeiro -3
Time dif-
ference

Quick Start Manual
Return to Contents
Manual ID number entry
Automatic search
Return
Setting up the STEALTH evo+
Power ON
Power ON
Formatting operation
Formatting operation
Setting the speed unit
Setting the speed unit
Pairing
Pairing
Setting the tire circumference
Setting the time zone
Setting the daylight saving time
Setting the clock display format
I have an ANT+ sensor
This unit has 2 different methods for pairing.
Automatic search:•
The STEALTH evo+ completes pairing by receiving the signal sent from the
ANT+ sensor. Generally, use this method for pairing.
Manual ID number entry:•
When the sensor ID number is known, you can perform pairing by entering the number. Use this method for paring, when there are two or more
ANT+ sensors, such as at a race site, and automatic search cannot be
done.
GPS search screen
(Setup completed)

Quick Start Manual
MENU MENU MENU MENU
MENU
Return to Contents
Next
Return
Setting up the STEALTH evo+
Power ON
Power ON
Formatting operation
Formatting operation
Setting the speed unit
Setting the speed unit
Pairing
Pairing
Setting the tire circumference
Setting the time zone
Setting the daylight saving time
Setting the clock display format
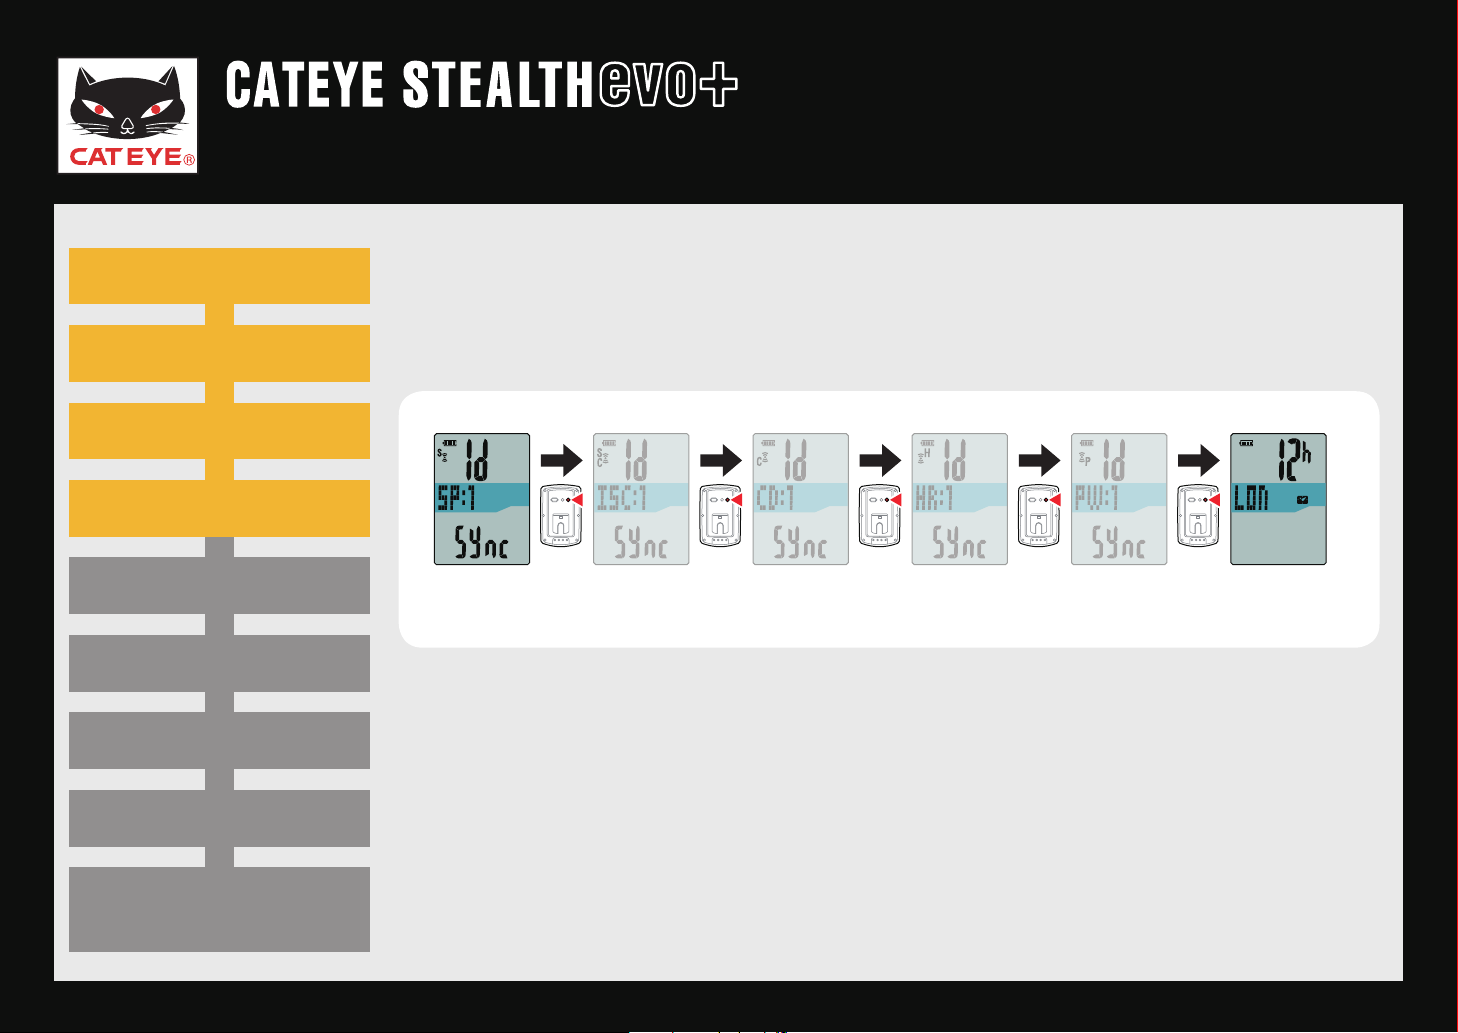
Pairing: Automatic search (1/4)
Pressing the MENU button changes the sensor value in the middle display.
Perform pairing with your sensor as described below.
Selecting the sensor
Speed
sensor
When you perform pairing with “* SP:1” (Speed sensor), the display of
“ISC:1” (Speed/cadence sensor) is skipped.
When you perform pairing with “* ISC:1” (Speed/cadence sensor), the display of “CD:1” (Cadence sensor) is skipped.
Select “* ISC” to pair the CATEYE speed/cadence sensor (ISC-11).
Speed/cadence
sensor
Cadence
sensor
Heart rate
sensor
Power
sensor
GPS search screen
(Setup completed)
 Loading...