

CASTLE Euro 46 User Manual

EURO 46
User
Manual
For use with EURO 46 (version 9.1 or
above)
RINS1531-2

EURO User Manual
Page 1
Contents
Introduction
1
Using EURO Panel with Code or Tag
7-9
Intelligent Setting
13
Silencing the Alarm
20
Setting Individual Areas 14-17
Chime Facility
22
Omitting Inputs
18-19
Keypad Hold Up/Personal Attack
23
Manager Menu
24
Omitting 24 hr Inputs 26
Changing Date & Time 25
Change/Add Codes or Tags
27-35
A
dding Wireless Keyfobs
32
Deleting Codes, Tags and Keyfobs
35
Review History Log
36
SMS Phonebook
37
Walk Testing Detectors 38
SMS Messaging System
39-40
Testing your Sounder 42
Dial Out Menu
41
A
llow Engineer Menu 42
Block Remote Set
43
Perform Anti-Code Reset
43
Troubleshooting
45-46
Service & Codeholder Records
47-48
Disclaimer
49
Note the specification of EURO panels
may vary between models, and some
facilities in the manual may not be available. Check
with your installer for full details. This equipment may
be used in systems installed to a lower grade, which
will be agreed with your installation company. There
are no user serviceable parts contained in this
product. This manual is for use with panels fitted with
version 9 software.
© Castle Care-Tech 2012 (RINS1531) Issue 2
EURO User Manual
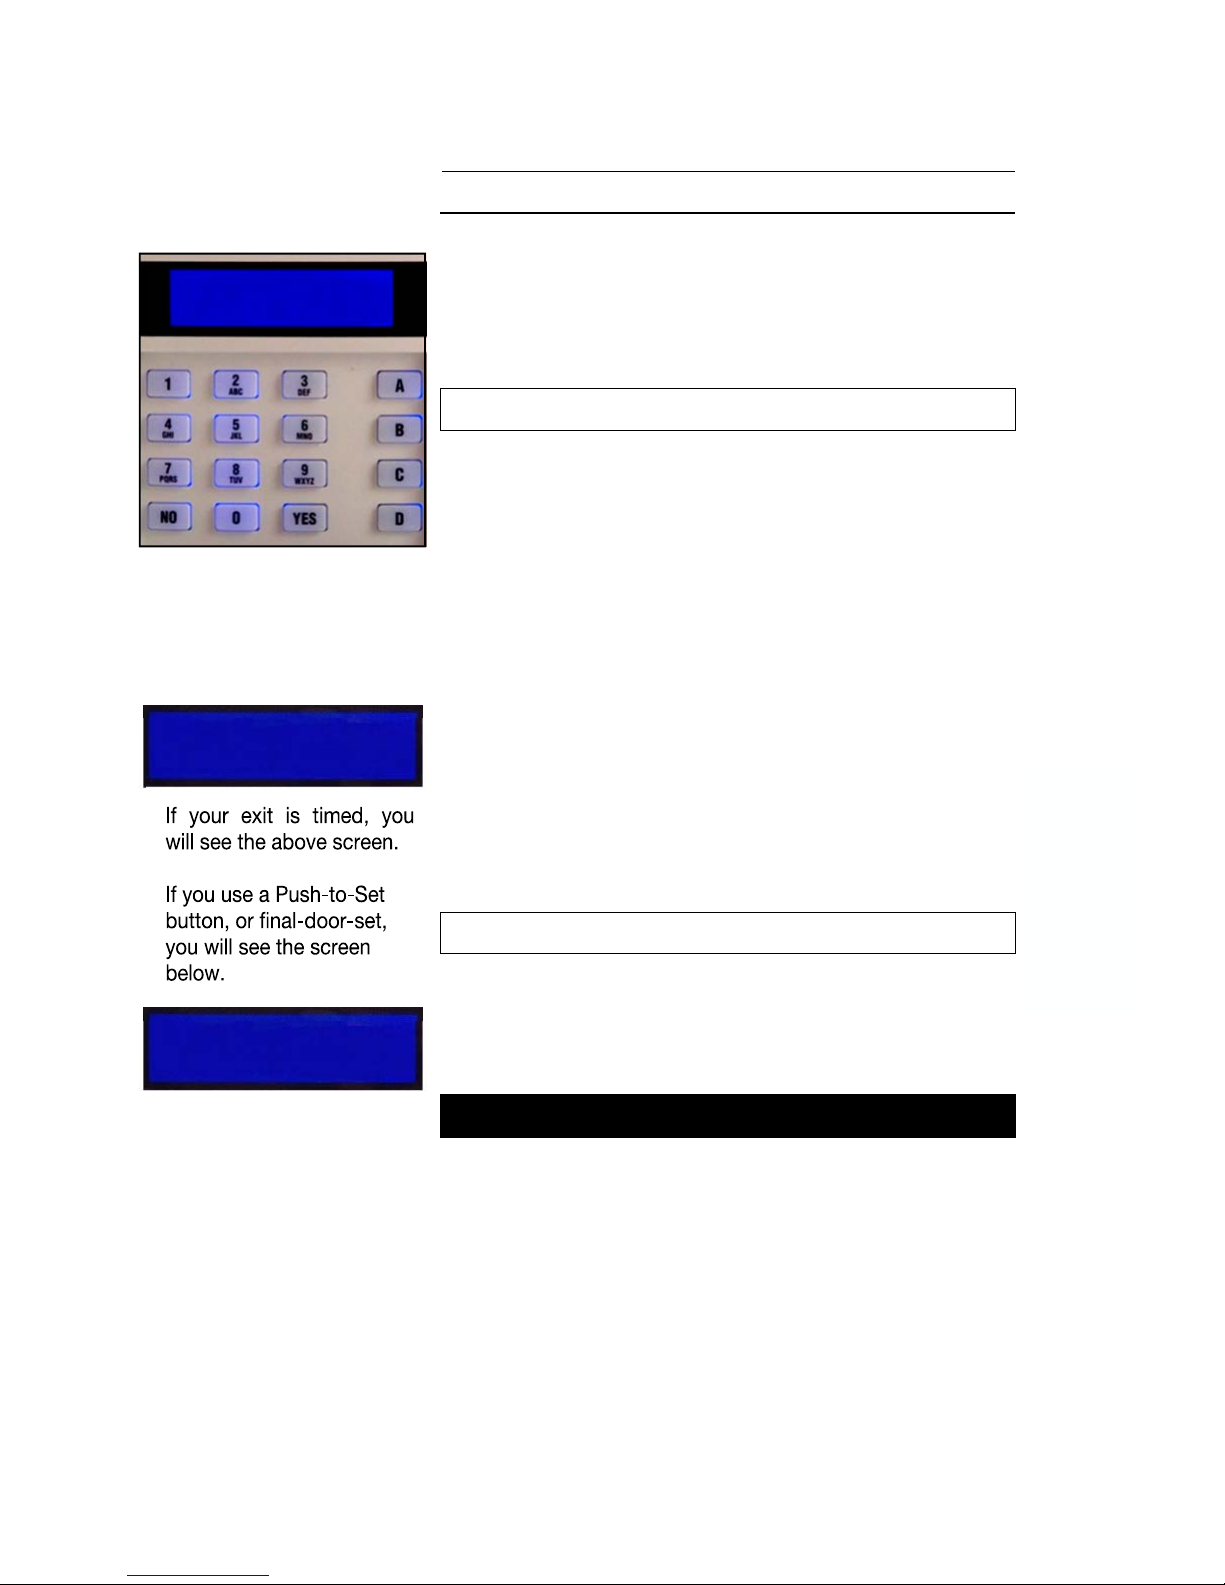
The Euro Keypad
Page 2
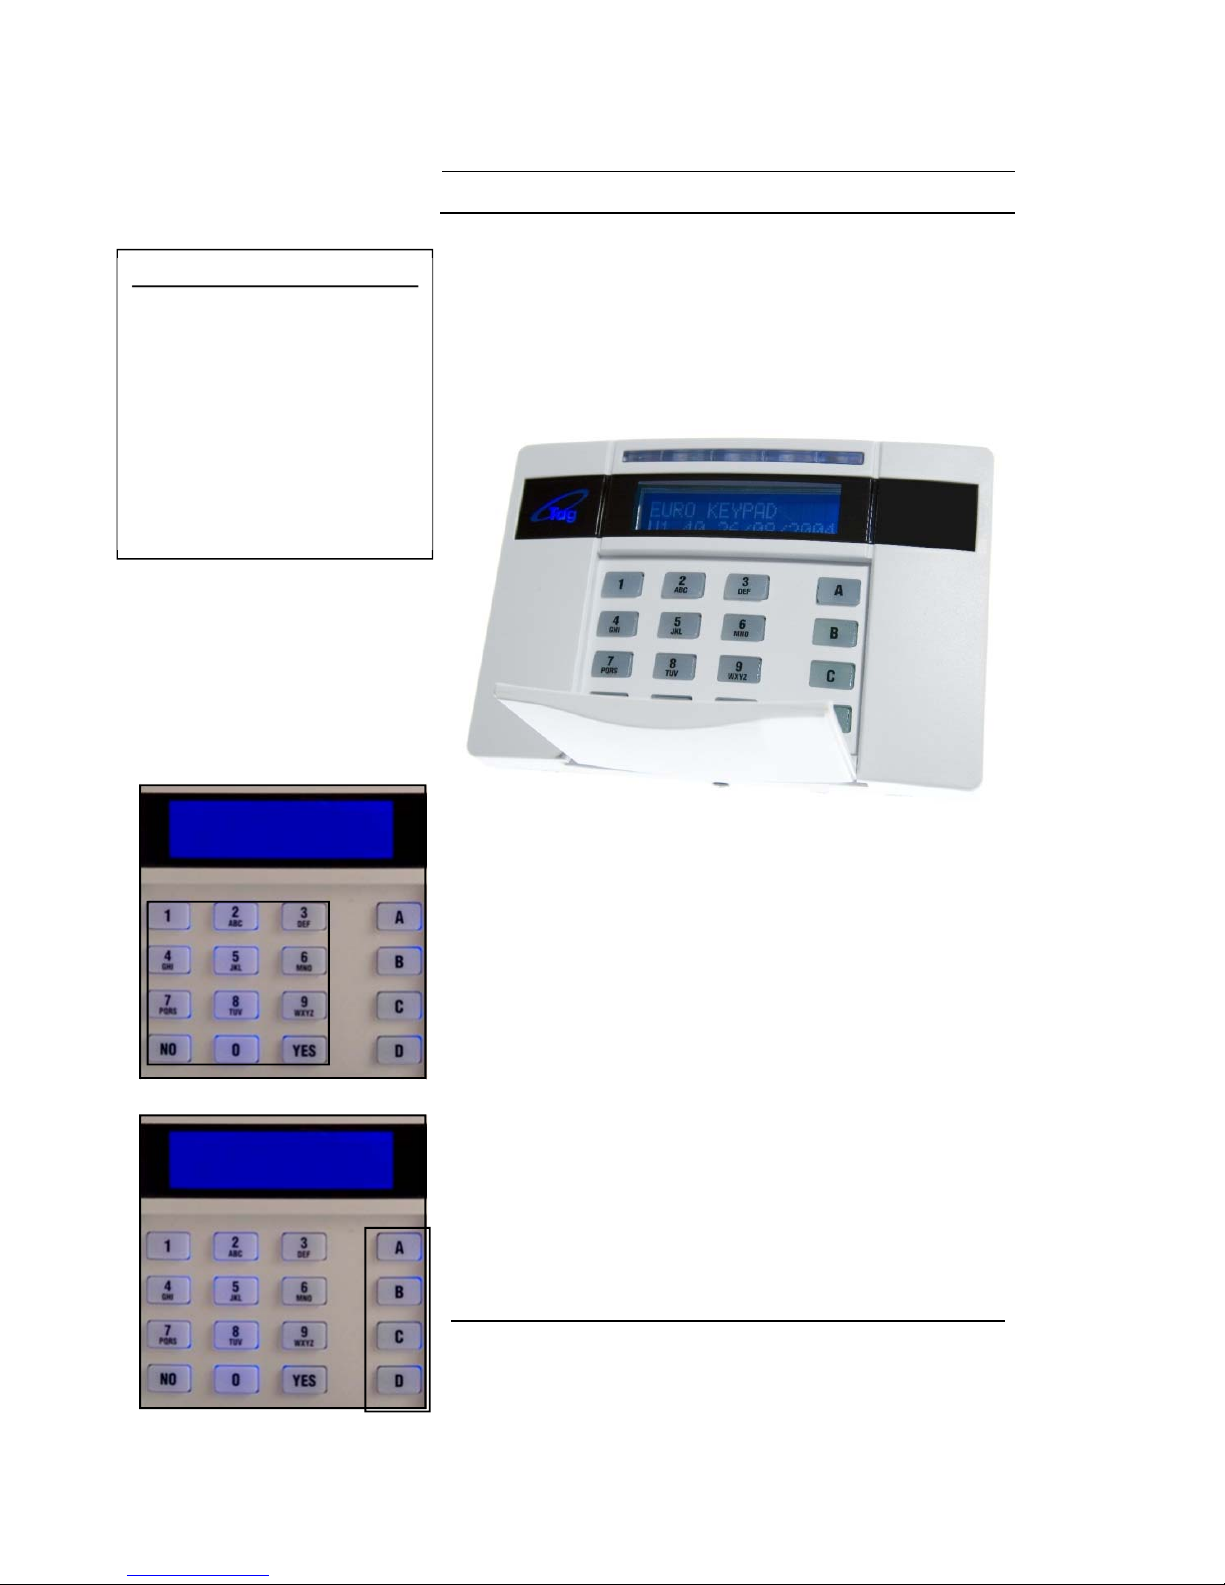
Using your EURO Alarm System just couldn’t be
easier!
This is the Keypad from where you control your
Alarm System*
The LCD display guides you through user menus and
gives you any important messages regarding the
status of the system.
The 10 digit numeric keypad is where you use your
PIN code.
The A B C D keys allow you to choose which level of
security you wish to apply when you leave the
building, or to part-set the system.
*Please note that Keypad design may differ from that shown.
EUROmini
Ti
me: 15:02
MAINS FAIL
MAINS FAIL
EURO
Time: 15:02
Note:
For your security, the keypad
becomes disabled for 90
seconds after 30 incorrect
key-presses. It will
subsequently be disabled
again after 7 further incorrect
key-presses. Once a correct
code has been registered, the
keypad is returned to normal
operation.
EURO User Manual
Using Proximity Tags
Page 3
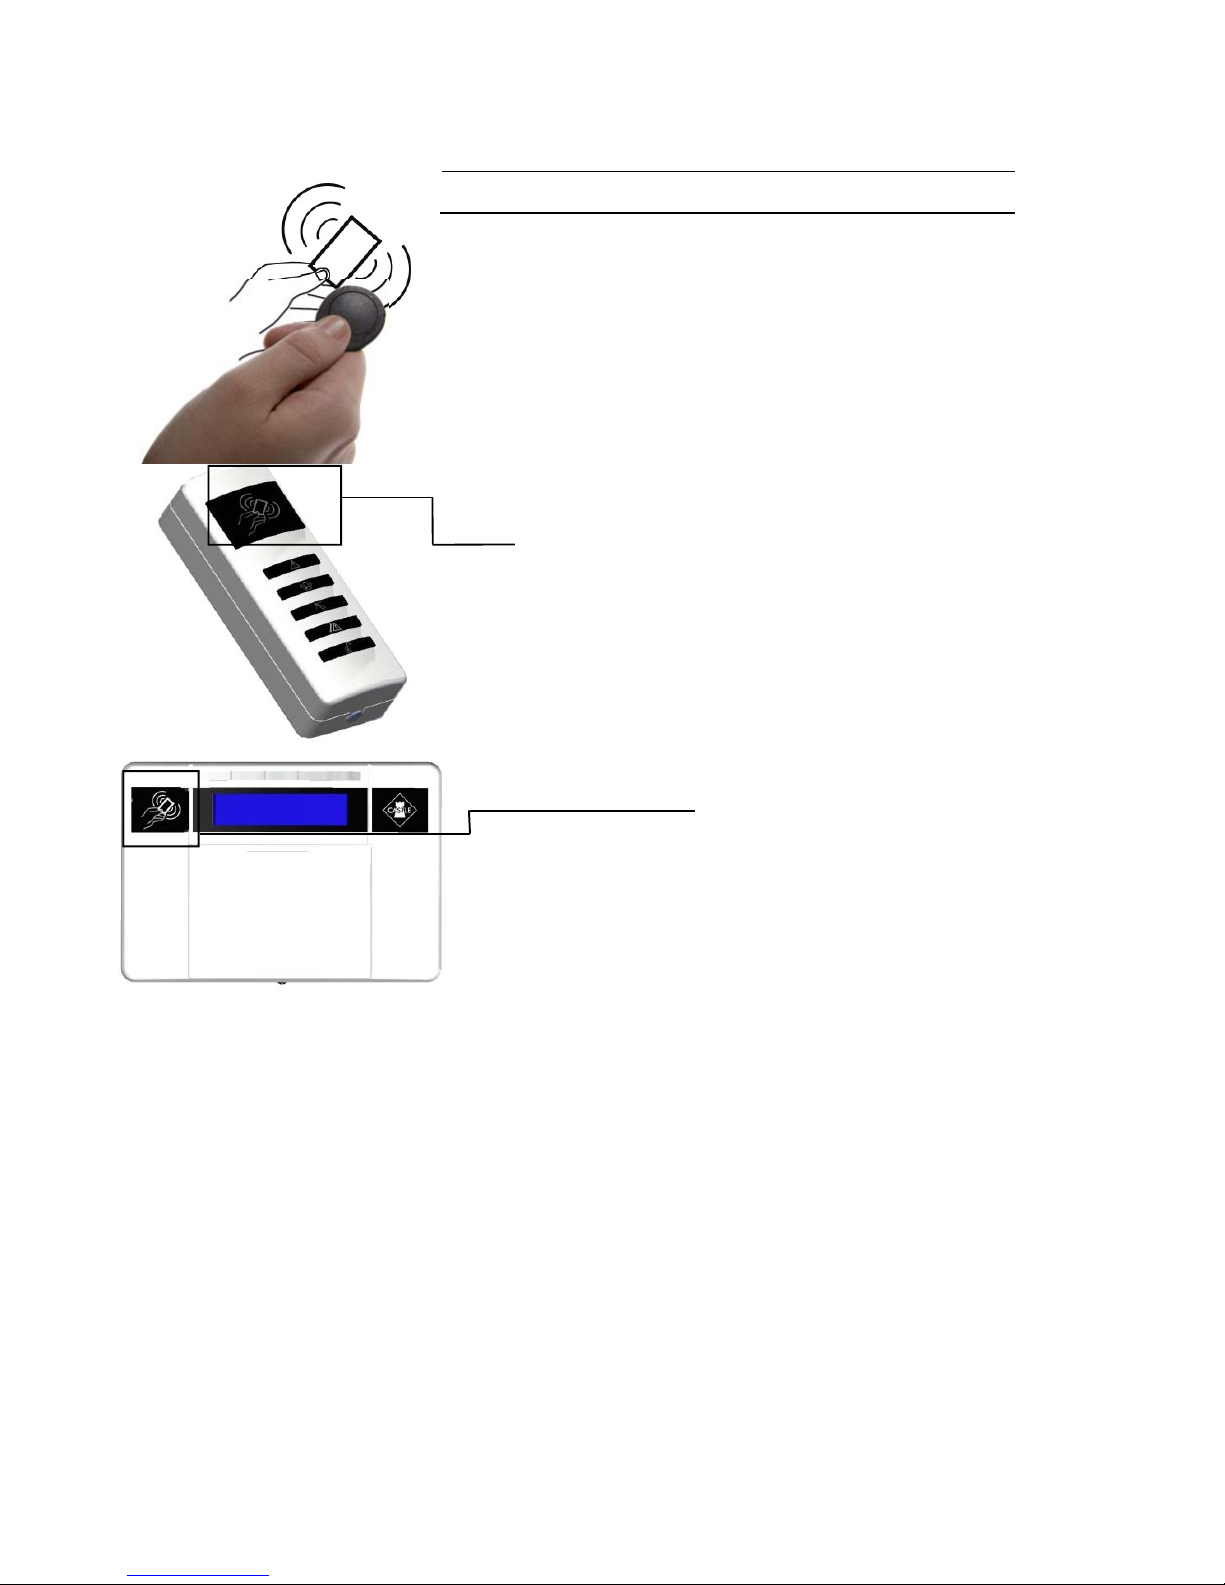
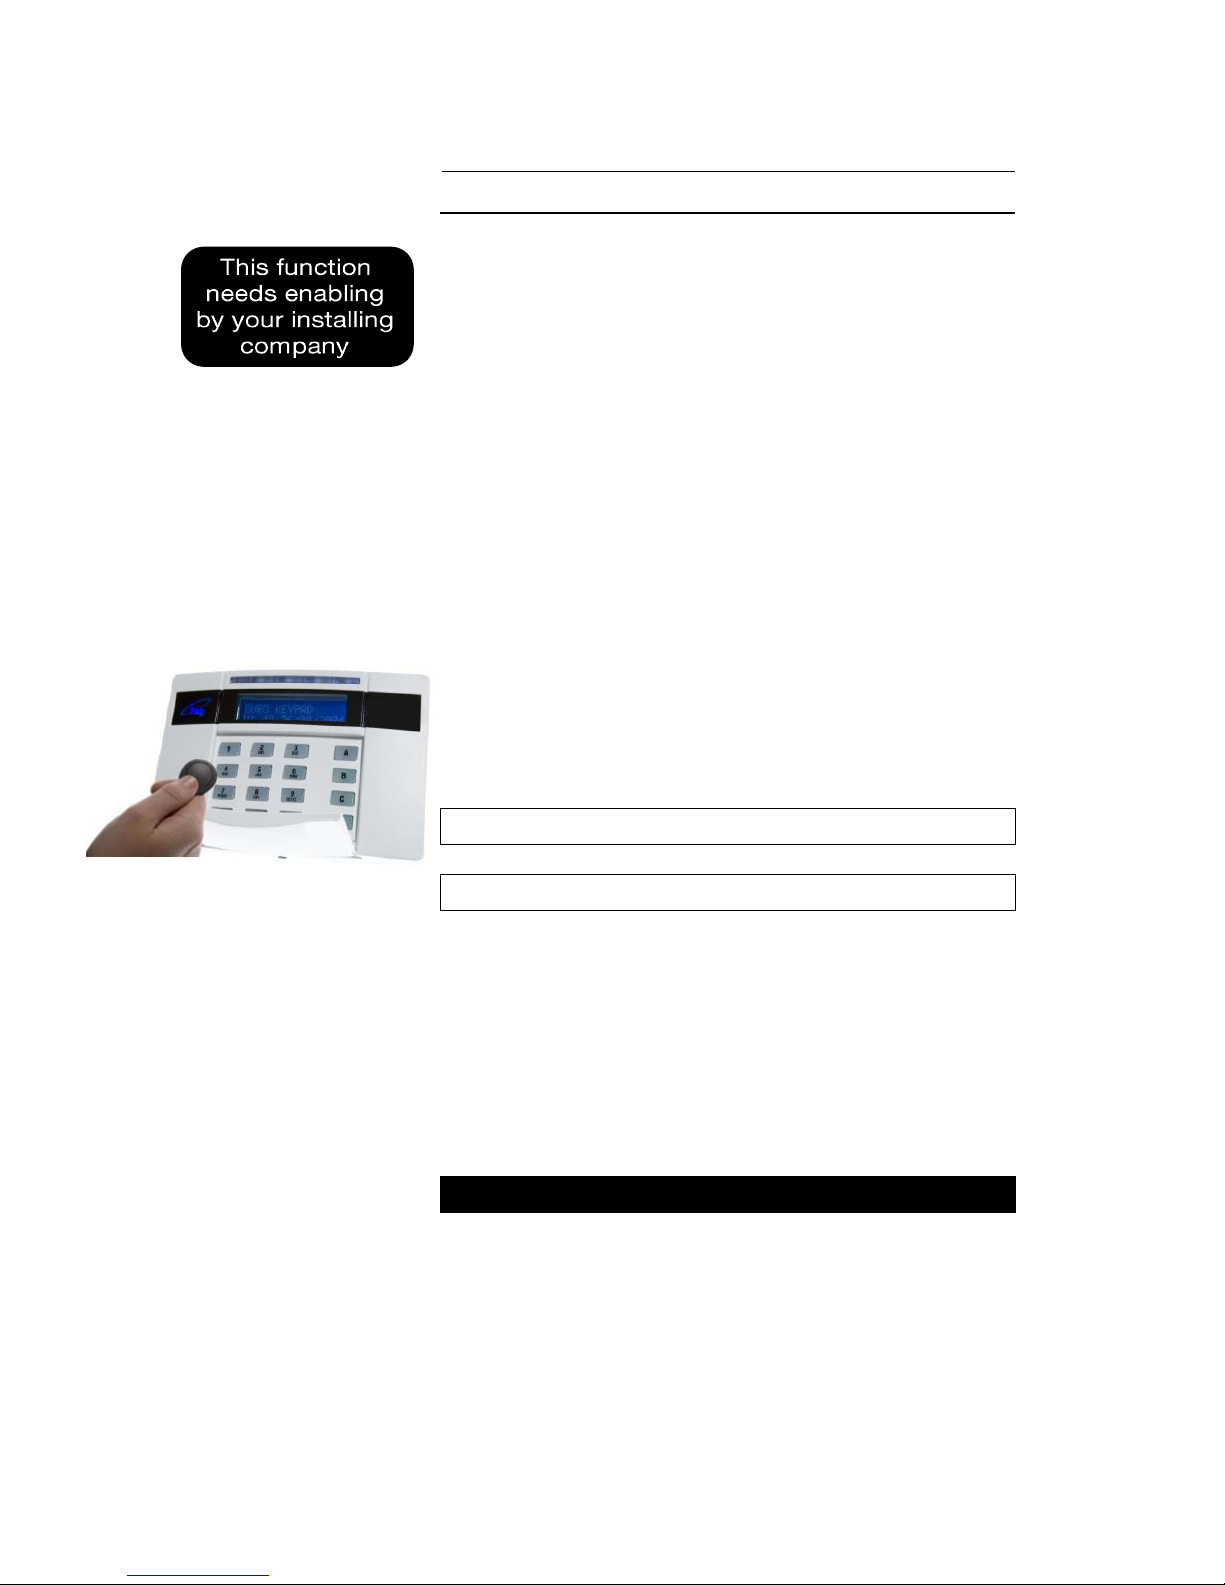
Your EURO system may have been enabled for
use with proximity tokens, or ‘Tags’.*
If you have Tag Readers installed then simply
hold your Tag against the ‘Tag’ logo.
When using the keypads, hold your Tag to the
area shown left.
When your Tag has been accepted there will be
an acknowledgement ‘beep’.
You can use your Tag in place of a pin code for
all operations of the alarm system, i.e. setting,
unsetting, and entering the Manager and User
Menus.
The tag contains NO batteries and is completely
maintenance free.
EURO User Manual
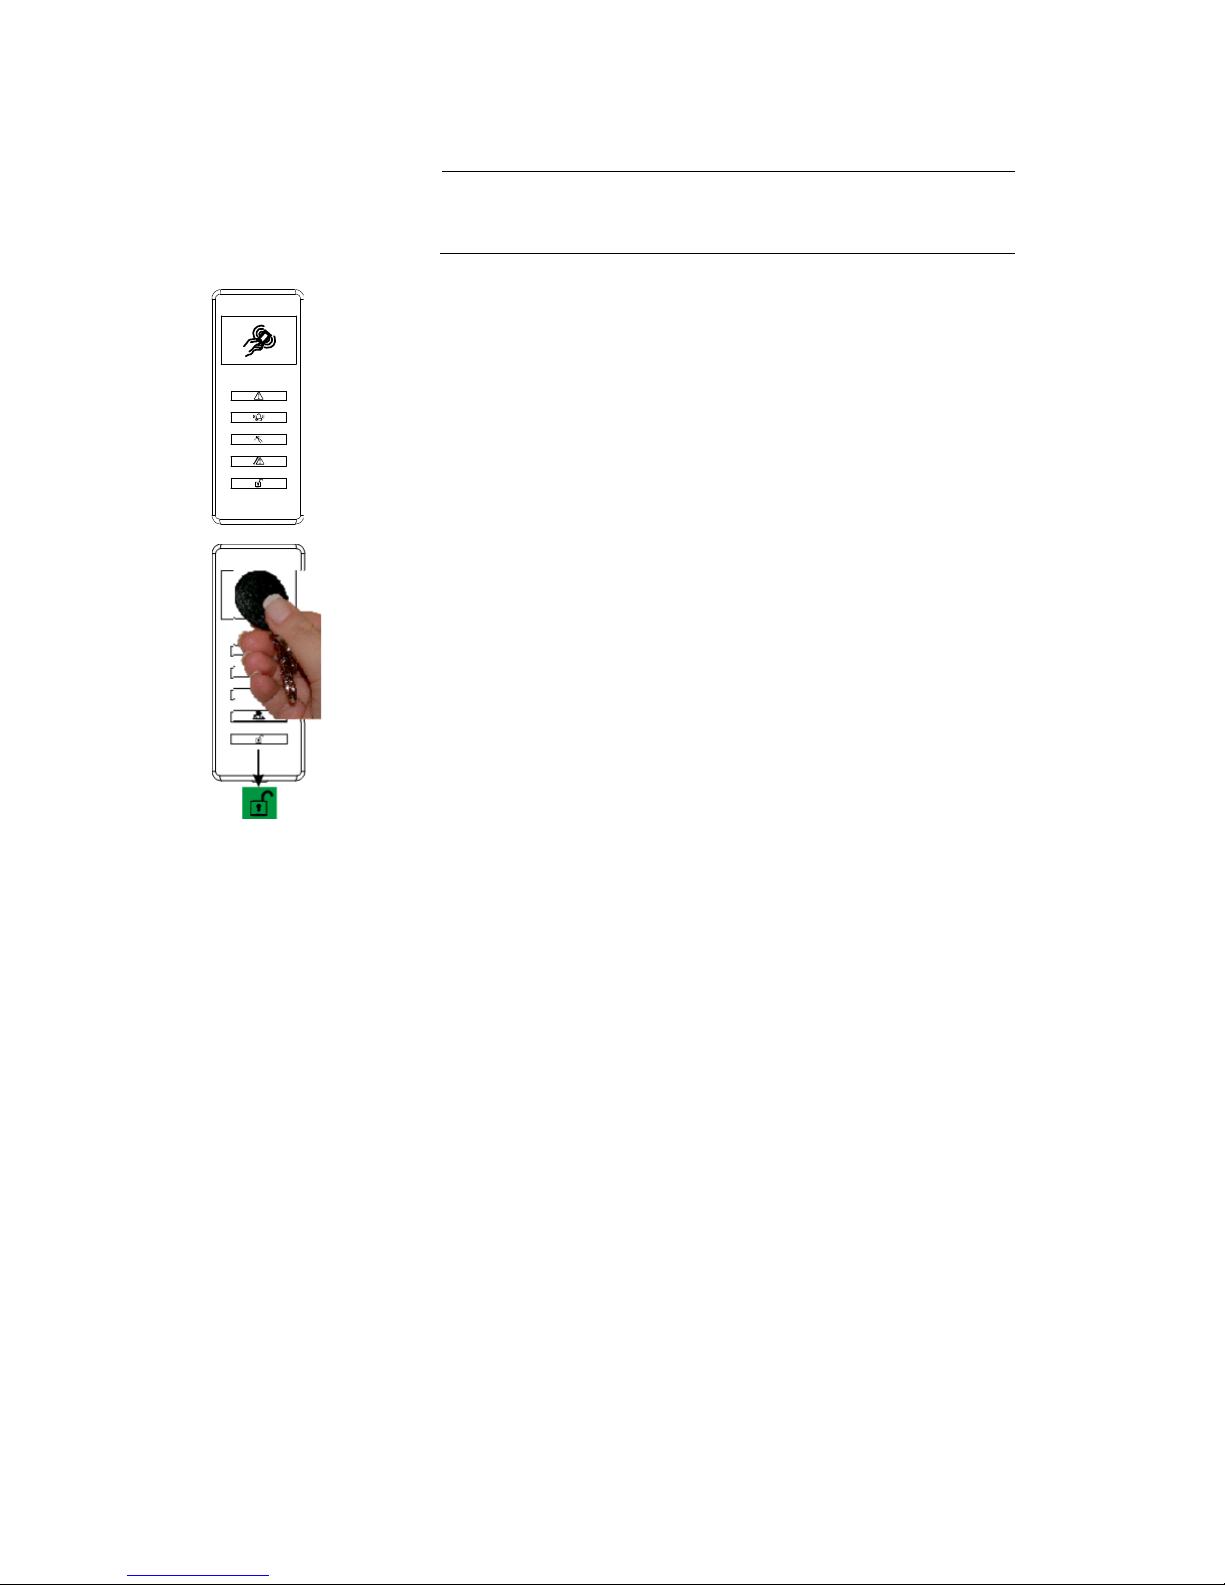
Using Keyfobs
Page 4
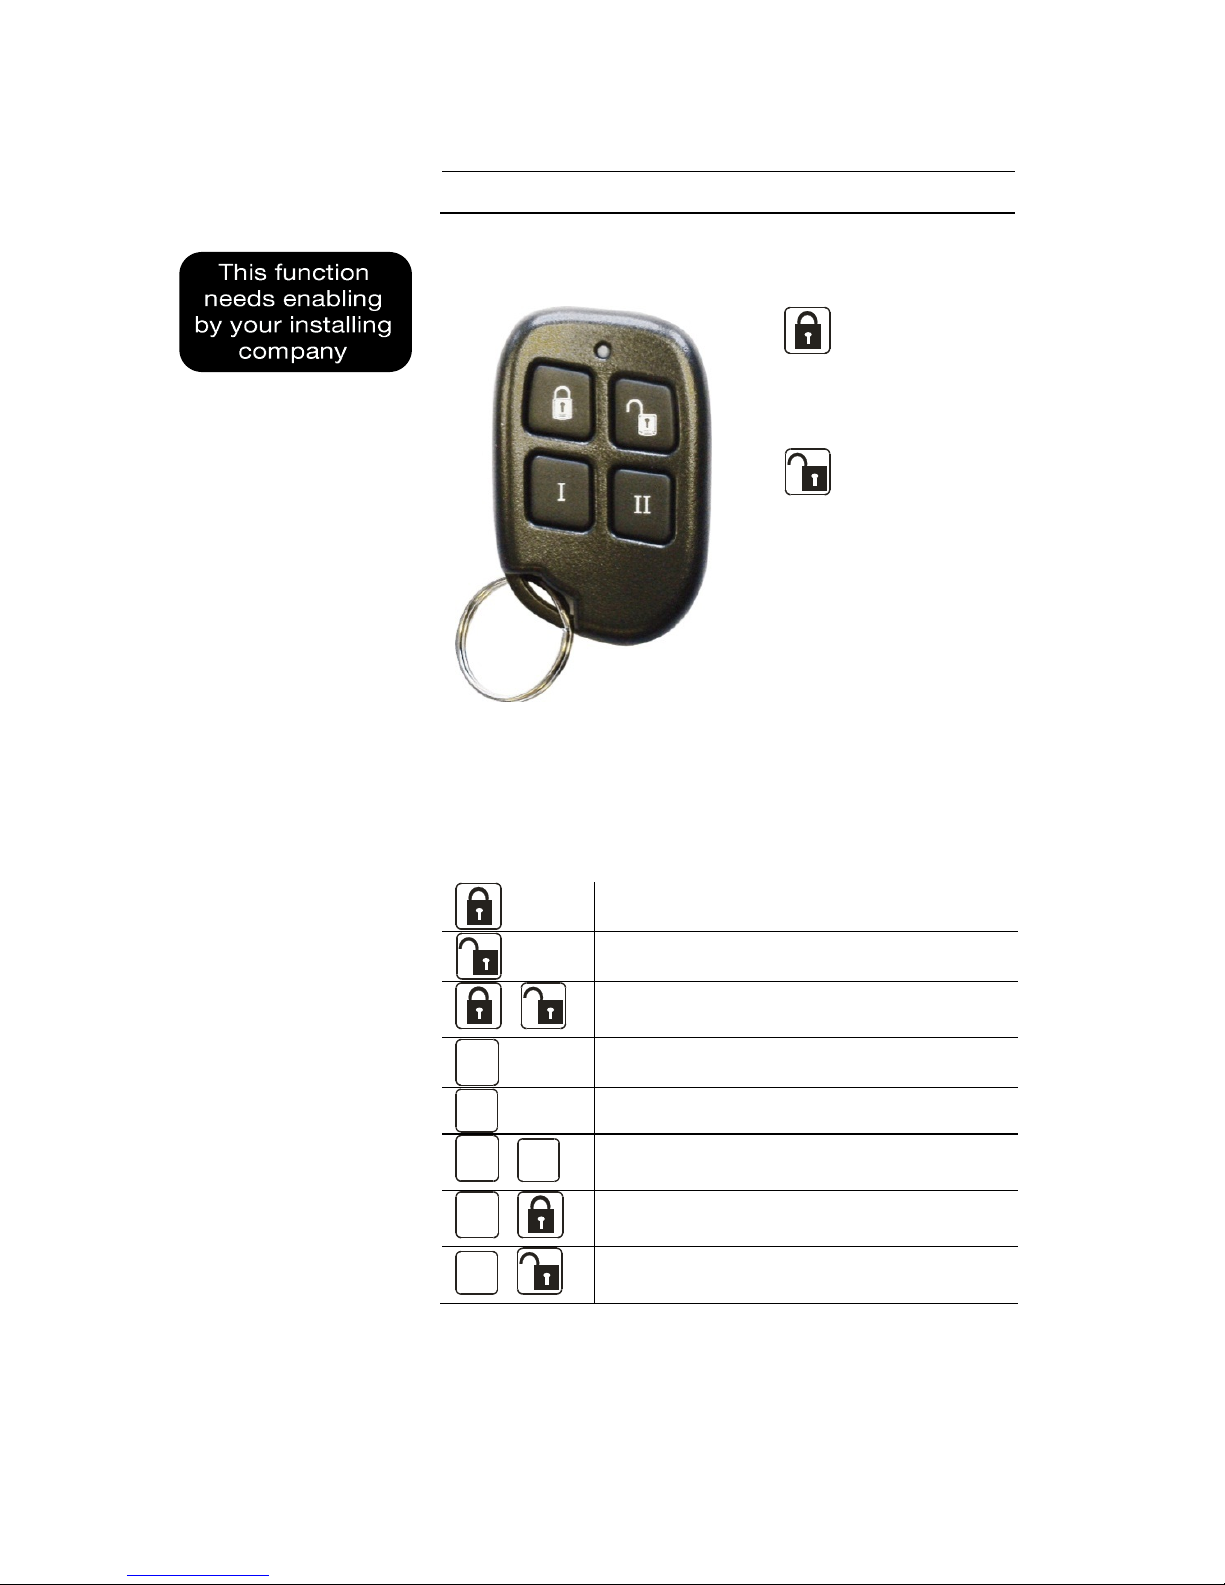
The Wireless Key Fob allows quick, easy and
control of your alarm system.
Press the
closed padlock to
set the system
Press the
open padlock to
unset the system
The functionality of the buttons is fully
programmable, and it is useful to keep a record
in the table below to remind you how your fob
has been configured.
+
I II
I
+
II
I
+
II
+
Note: Not all buttons may be active on your fob.

EURO User Manual
Warning Indications
Page 5
All setting points (Keypads or Tag Readers) have
LEDs to clearly indicate what is happening.
The ‘Alert’ LED will flash if there is information
available to you. Enter your code to see the
information. After a code has been entered, one
of the following LEDs will light: Alarm, tamper or
fault. The relevant detail of the problem will be
shown on the display. To clear the display, press
the ‘Yes’ key (or the display will clear
automatically after 3 minutes.)
The ‘Alarm’ LED will flash after code entry if an
alarm occurs.
The ‘Tamper’ LED will flash after code entry if
the wiring or equipment is tampered with.
The ‘Fault’ LED will light after code entry to
indicate if a technical fault occurs.
The ‘Unset’ LED will light for 5 seconds if the
panel is completely Unset (steady) or if some
areas remain Set (flashing). It will also illuminate
during the setting procedure, turning off once
set.
Alert Alarm Tamper Fault Unset
EURO User Manual
Security Checks
Page 6
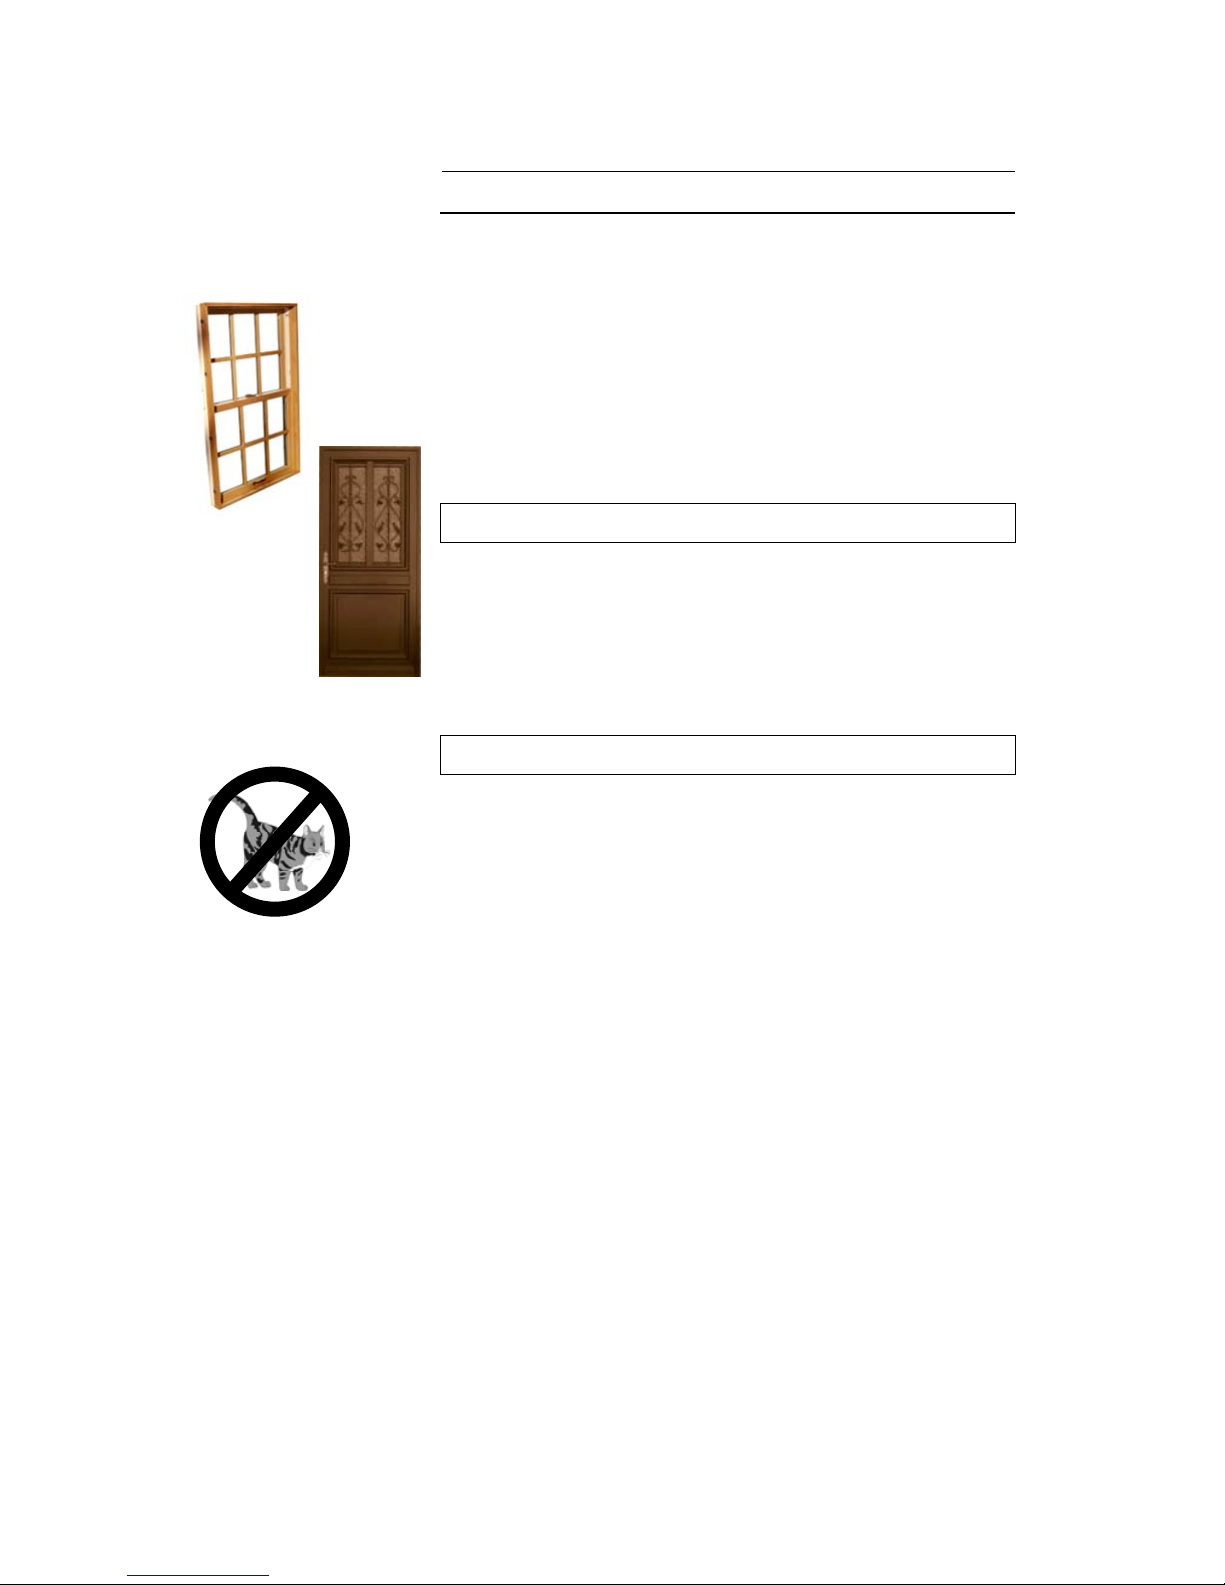
Before you set your system:
You must ensure all doors and windows are
securely closed and any pets or people are
excluded from areas protected by
movement sensors.
Close Doors & Windows
Exclude Pets and People
EURO User Manual
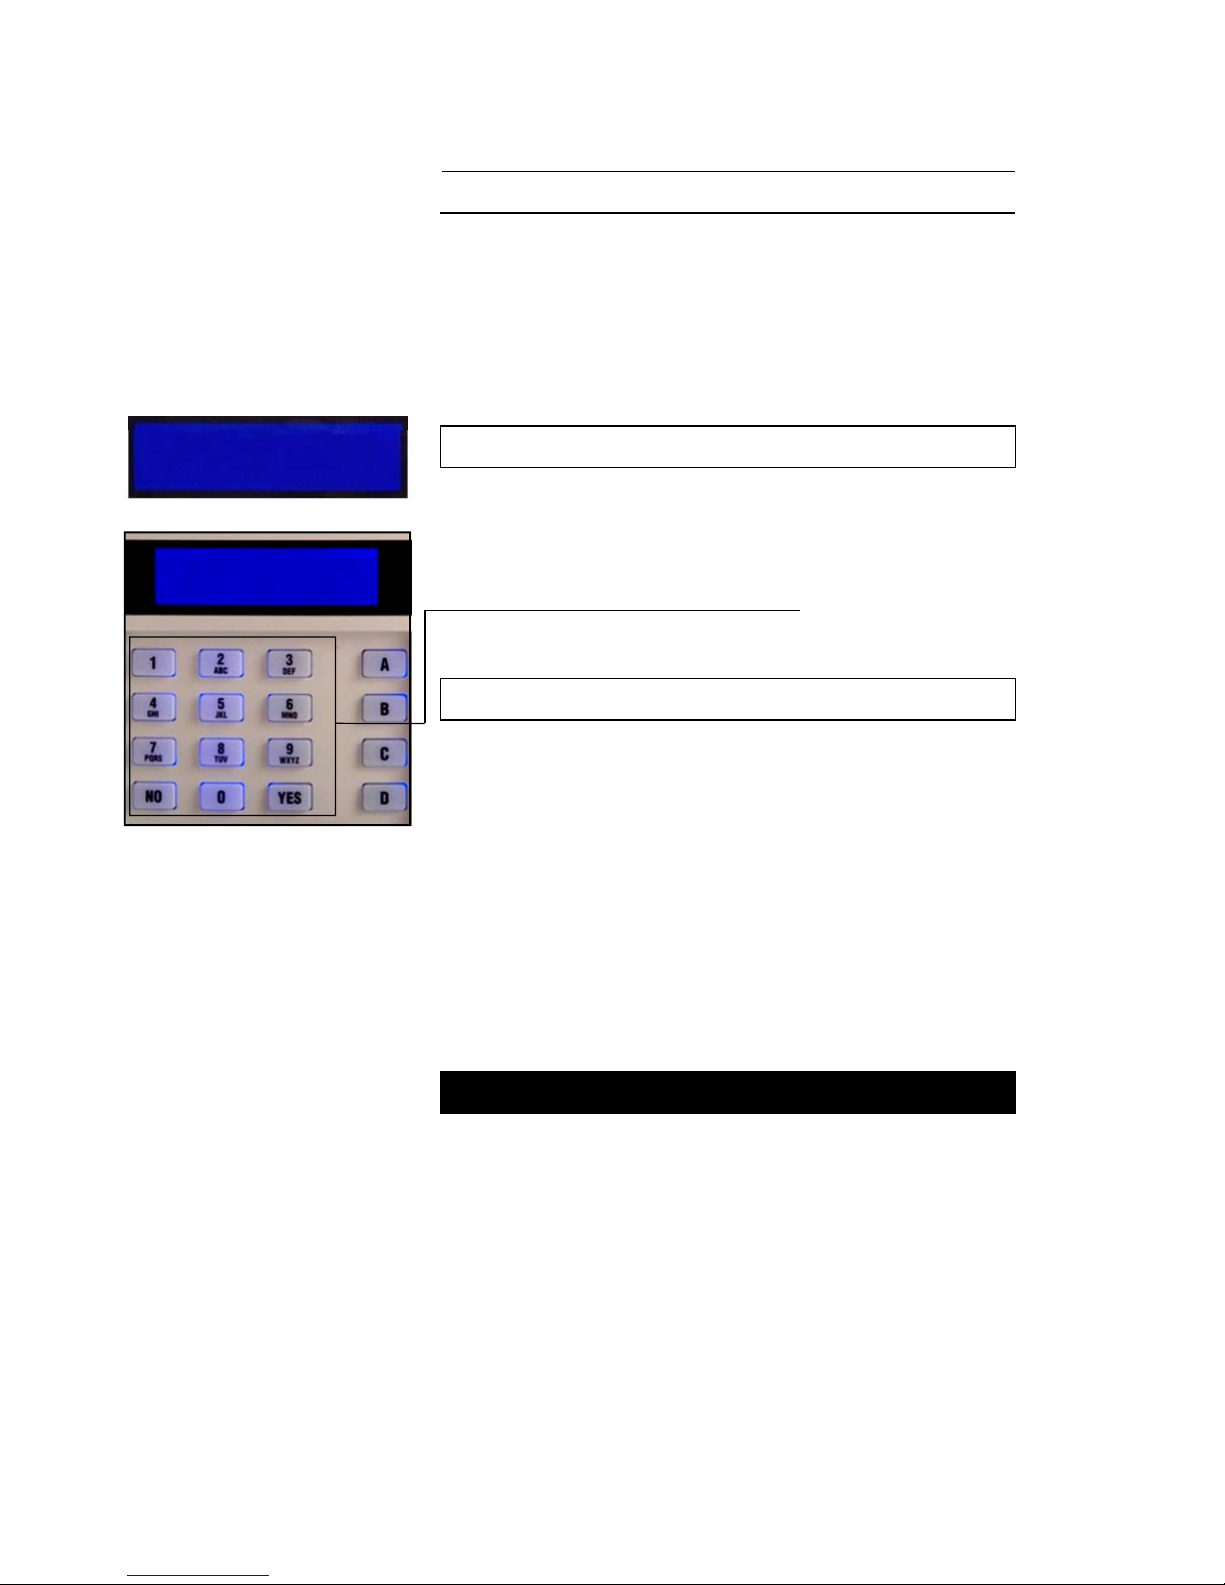
Leaving the Building
Page 7
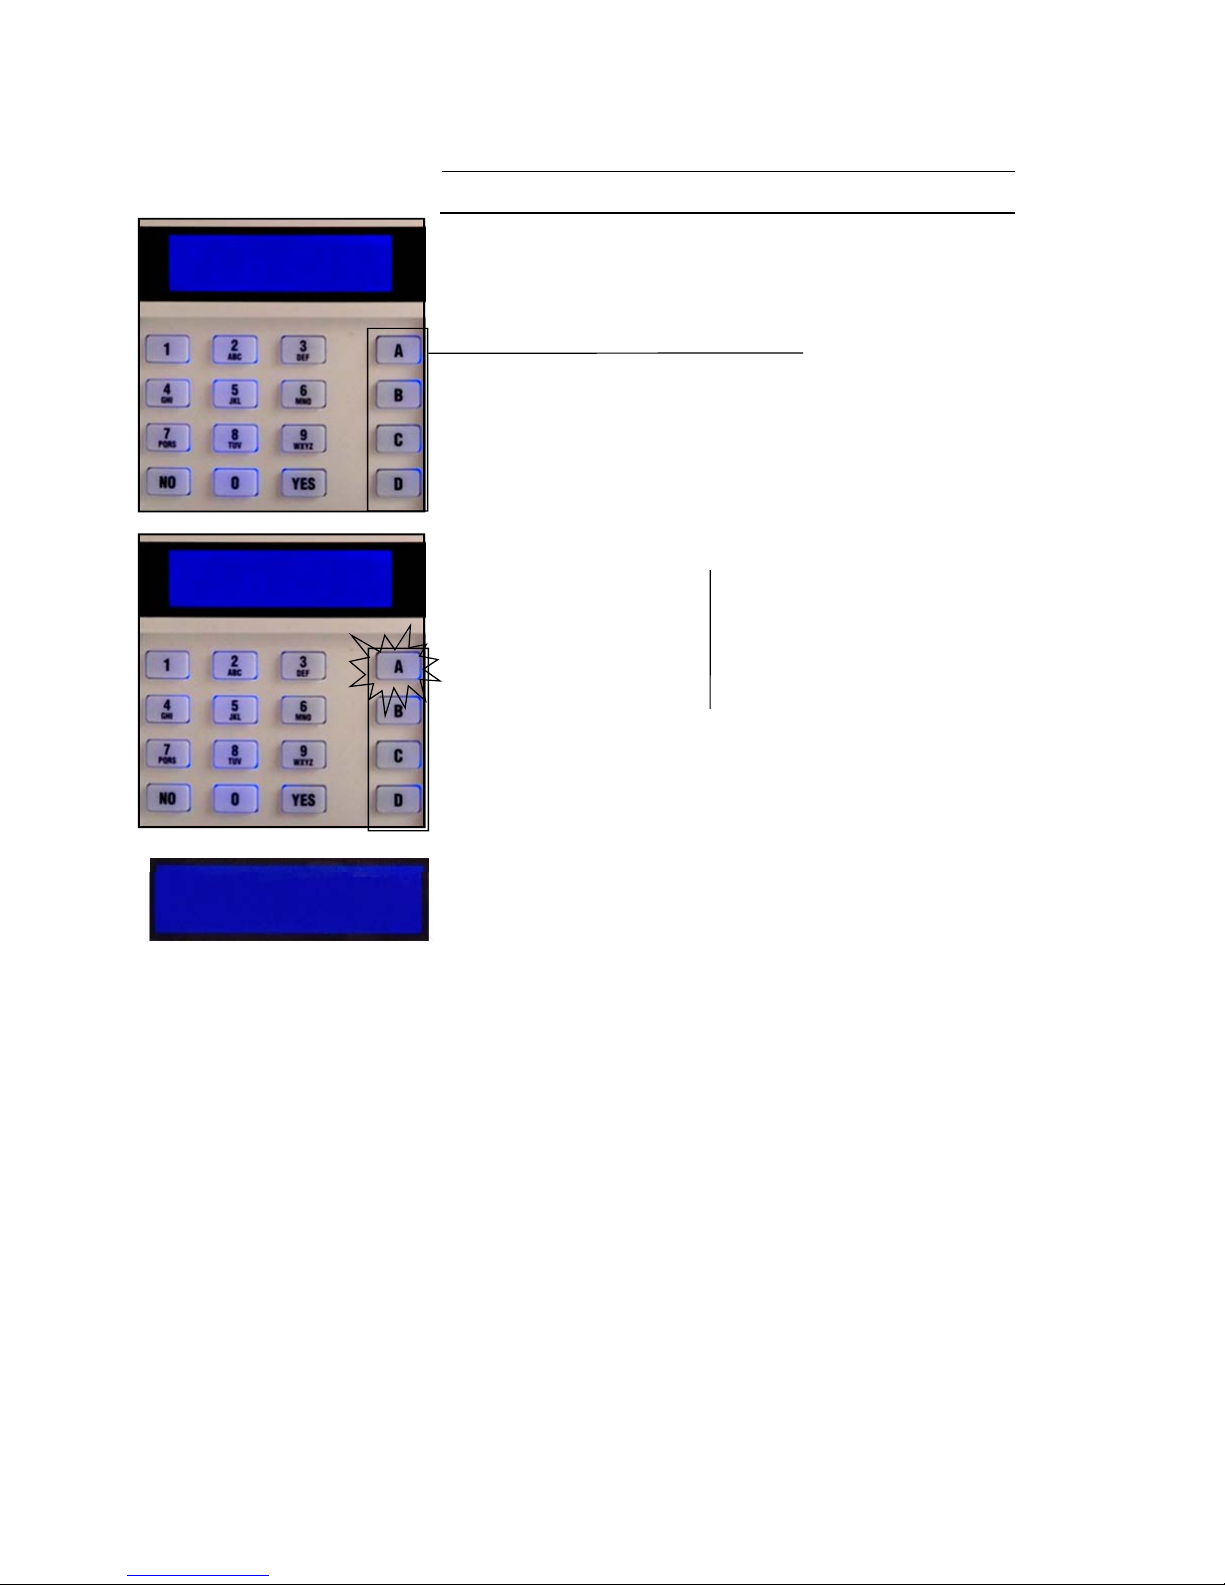
If you are leaving the building, go to your
keypad and key in your PIN code, or
present your tag.
The Exit Tone Starts
The appropriate area (ABCD) keys will
illuminate.
(If flexi-set is enabled you will be able to choose
which areas you set, see page 15)
Leave by agreed Exit Route
Close and Lock the Final Exit Door
Finally, press the ‘Push to Set’ button
(if fitted) that is mounted externally by
the final exit door.
The Exit Tone will cease
EURO is now SET
SETTING [009]
OFFICE
EURO
Time: 15:02
Leave via
Exit Route

EURO User Manual
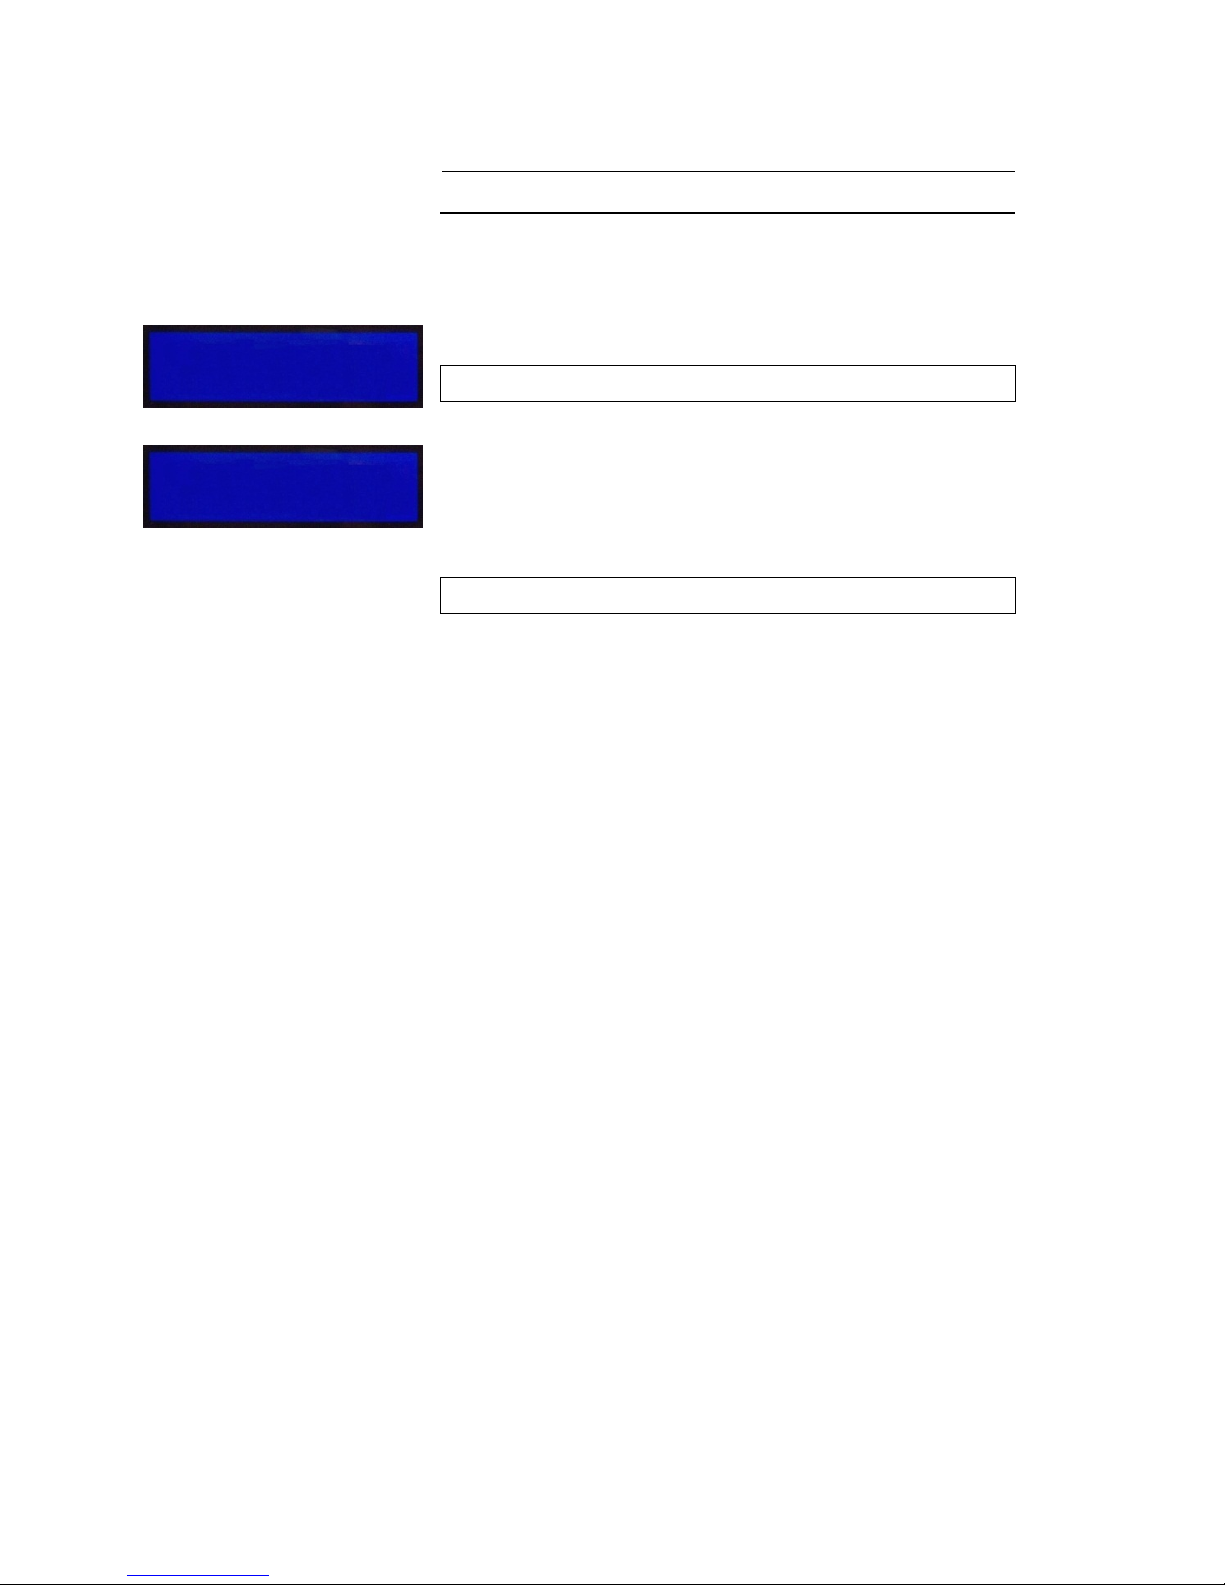
Simple Setting
Page 8
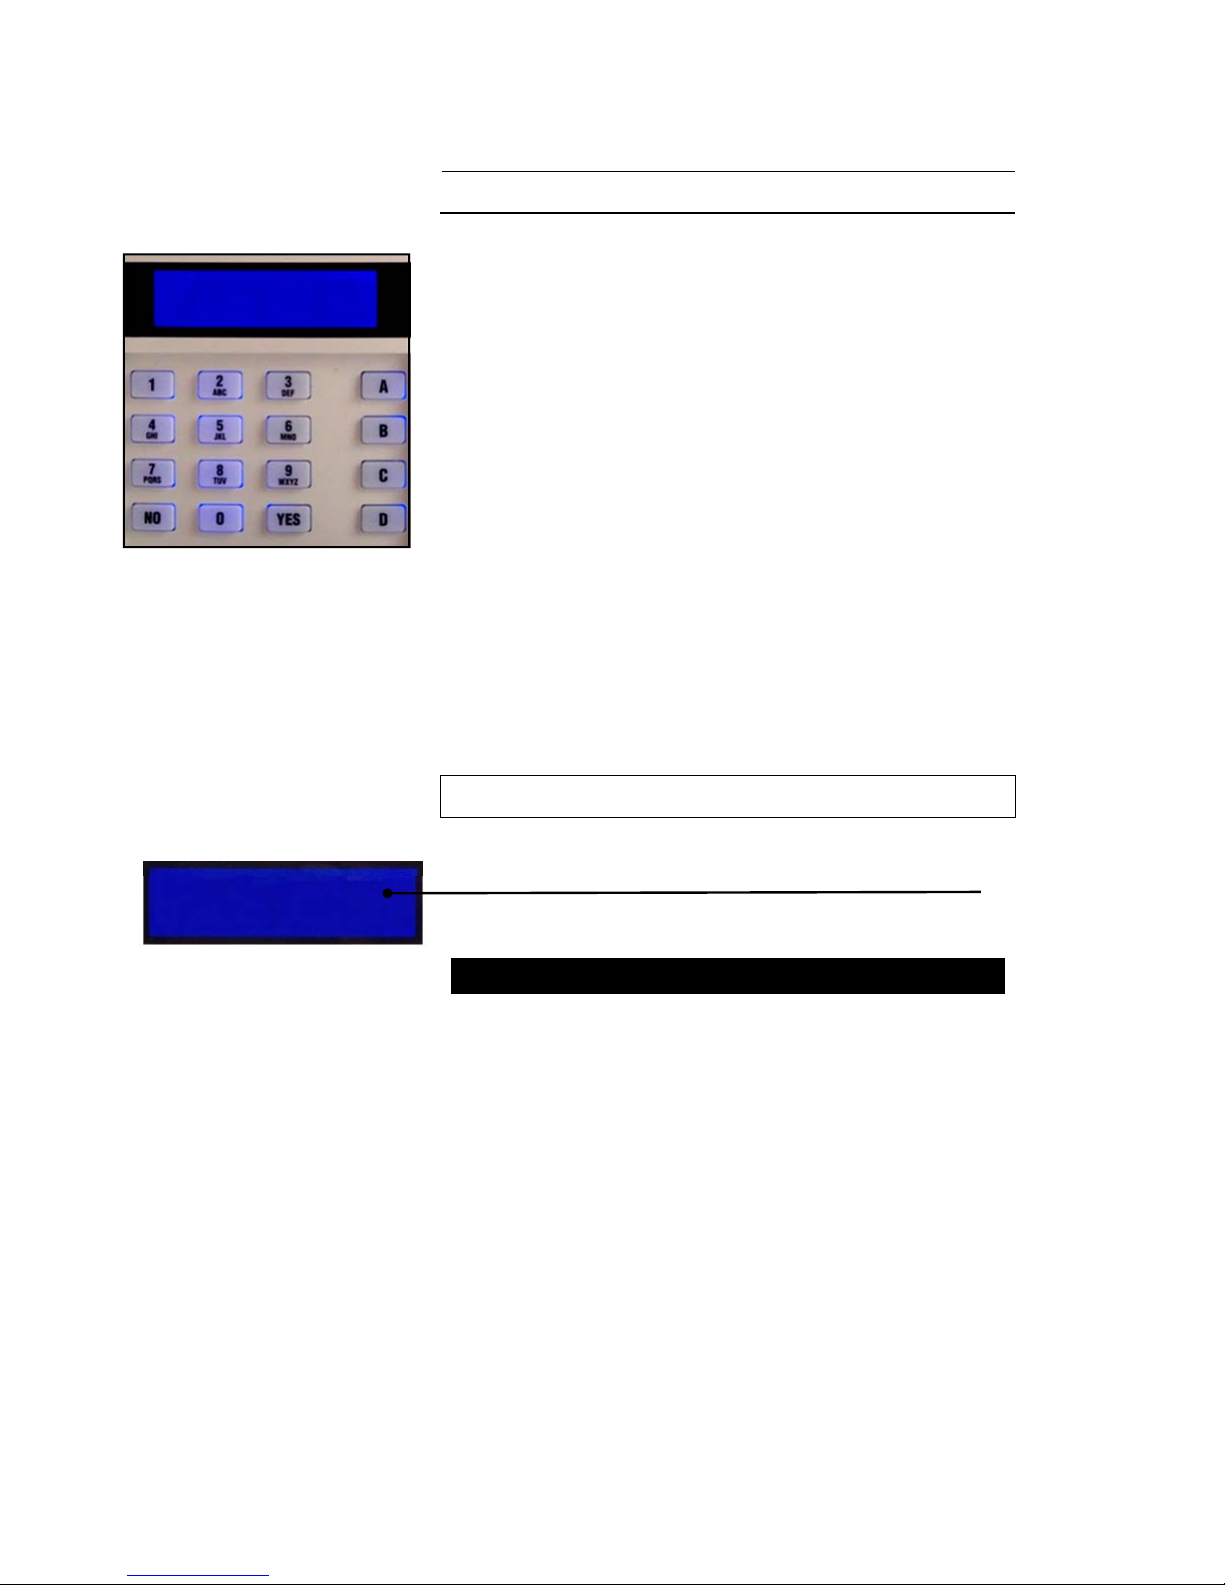
It is also possible to set the EURO
without using your PIN code or Tag.
When your system is unset, press the
‘YES’ key, and then select the area you
wish to set.
For example, to set area C:
Press ‘YES’, then Press ‘C’
The exit procedure will start.
“beep – beep – beep – “
EURO is now Set
Please note that when using the ‘simple
set’ facility, the user who initiated the
set cannot be logged.
Setting [15]
Area C
EURO
Area C
EURO
Time: 13:36
EURO User Manual
Entering the Building
Page 9
To enter the building you
must
use the
agreed entry route and go straight to
the keypad.
The Entry Tone will be sounding
“beep – beep – beep –“
Key in your PIN code, or present your
tag.
The Entry Tone will cease
To indicate that the system has unset,
the unset LED will illuminate for five
seconds.
EURO is now UNSET
ENTRY [010]
TIME **
ENTRY [020]
TIME
EURO User Manual
Quick Adding of a New Tag
Page 10
If during the unset mode you present a tag to
the system which is not recognised, you will be
asked if you would like to add it as a valid user.
Press ‘YES’
(Press ‘NO’ to cancel and return to day mode)
A valid manager code must be added to
authorise the addition of the new tag.
Enter Valid Code
The tag will now be assigned to the next
available slot on the system, and the normal
“Add User” menu will be displayed (see page
29).
Unknown Tag
Add new user?
Enter a managers
Code or tag [ ]

EURO User Manual
Using an External Proximity
Reader
Page 11
Setting your EURO panel with the
External Proximity Reader
Present a valid tag to the reader and then remove it.
The GREEN LED will come on.
Present the same tag to the reader, and then
remove it. The exit time will start on the control
panel.
The RED LED may be programmed to illuminate
under certain actions (for example when the system
is set).
Unsetting your EURO panel with the
External Proximity Reader
Present a valid tag to the reader and then remove it.
The GREEN LED or RED LED (if programmed) will
be displayed.
Present the same tag to the reader, and then
remove it. The exit time will start on the control
panel.
The RED LED will extinguish, and after 25 seconds
the GREEN LED will extinguish.
EURO User Manual
Using an External Proximity
Reader
Page 12
Setting your EURO panel with the
Internal Proximity Reader
Present a valid tag to the reader and then remove it.
The GREEN padlock LED will come on for 5
seconds to indicate that the panel is setting.
An exit tone will be generated during the exit
prodedure, and a confirmation beep will sound 5
seconds after completion of setting.
Unsetting your EURO panel with the
Internal Proximity Reader
Present a valid tag to the reader and then remove it.
The GREEN padlock LED will come on for 5
seconds to indicate that the panel is unset.
EURO User Manual
Intelligent Set
Page 13
If you wish to set your EURO panel and stay in
the building (e.g. set the alarm at night), the
EURO’s intelligent operating system will
realise which level of security you require and
will set only part of the system.
You will NOT need to press a Push-to-Set
button if you set only part of a system.
If intelligent set is not installed on your
system, you may part set the system as
described on pages 14-15.
To Part Set EURO go to the keypad and enter
your PIN code or present your Tag. By default
EURO will ask if you want to set area
B
, this
can be overridden if required by pressing the
ABCD
keys.
The appropriate
A B C D
keys will illuminate
Exit tone will start
Area
B
will now start setting.
If you now open and go through your final exit
door, EURO will detect you and will now
‘quick set’ area
A
.
After a pre-set time the exit tone will cease.
Your
EURO
panel is now Part Set
EURO User Manual
Codes with Flexi-Set
Page 14
Sometimes your security needs will be
a little more complex and you will
need to use the
A B C D
keys.
Your installer can also give names to
all four of the
A B C D
areas, so that
you can easily identify them.
For example:
A
=Reception or All Set
B=Warehouse Bedtime Set
C=Office
C
at in Lounge
D=Storeroom Dog in Study
In addition, names can be given to the
whole system
‘ALL AREAS’
These will be displayed when setting the
system.
Note: The Euro 46 has six available
areas, labelled as ABCD01.
Euro 46
Time 15:20
Euro 46
Time 15:21
SETTING
ALL AREAS
EURO User Manual
Codes with Flexi-Set
Page 15
For greater flexibility in setting parts of
your system, you can make a choice at
the keypad.
Key in your PIN code or present your
Tag.
If you do not wish to set all the areas
assigned to your PIN code/tag, simply
select the areas you wish to Set by
pressing the relevant A B C D key(s).
To change your mind, press the relevant
A B C D key(s) again.
Press the Yes key to accept
Setting areas will now be displayed, with
the corresponding area keys being lit.
EURO will now set the selected areas.
SETTING
ALL AREAS
SET AREAS
[ABCD]
 Loading...