

Page 1
How To…
8.50
Rebuilding Cylinder
The cylinders have several rings and gaskets that help maintain pressure within the cylinder itself.
Over time these seals can become worn or damaged and may need to be replaced. Refer to the parts
explosion and corresponding list below for specific part identification.
This procedure requires two people.
SOLUTION STEPS:
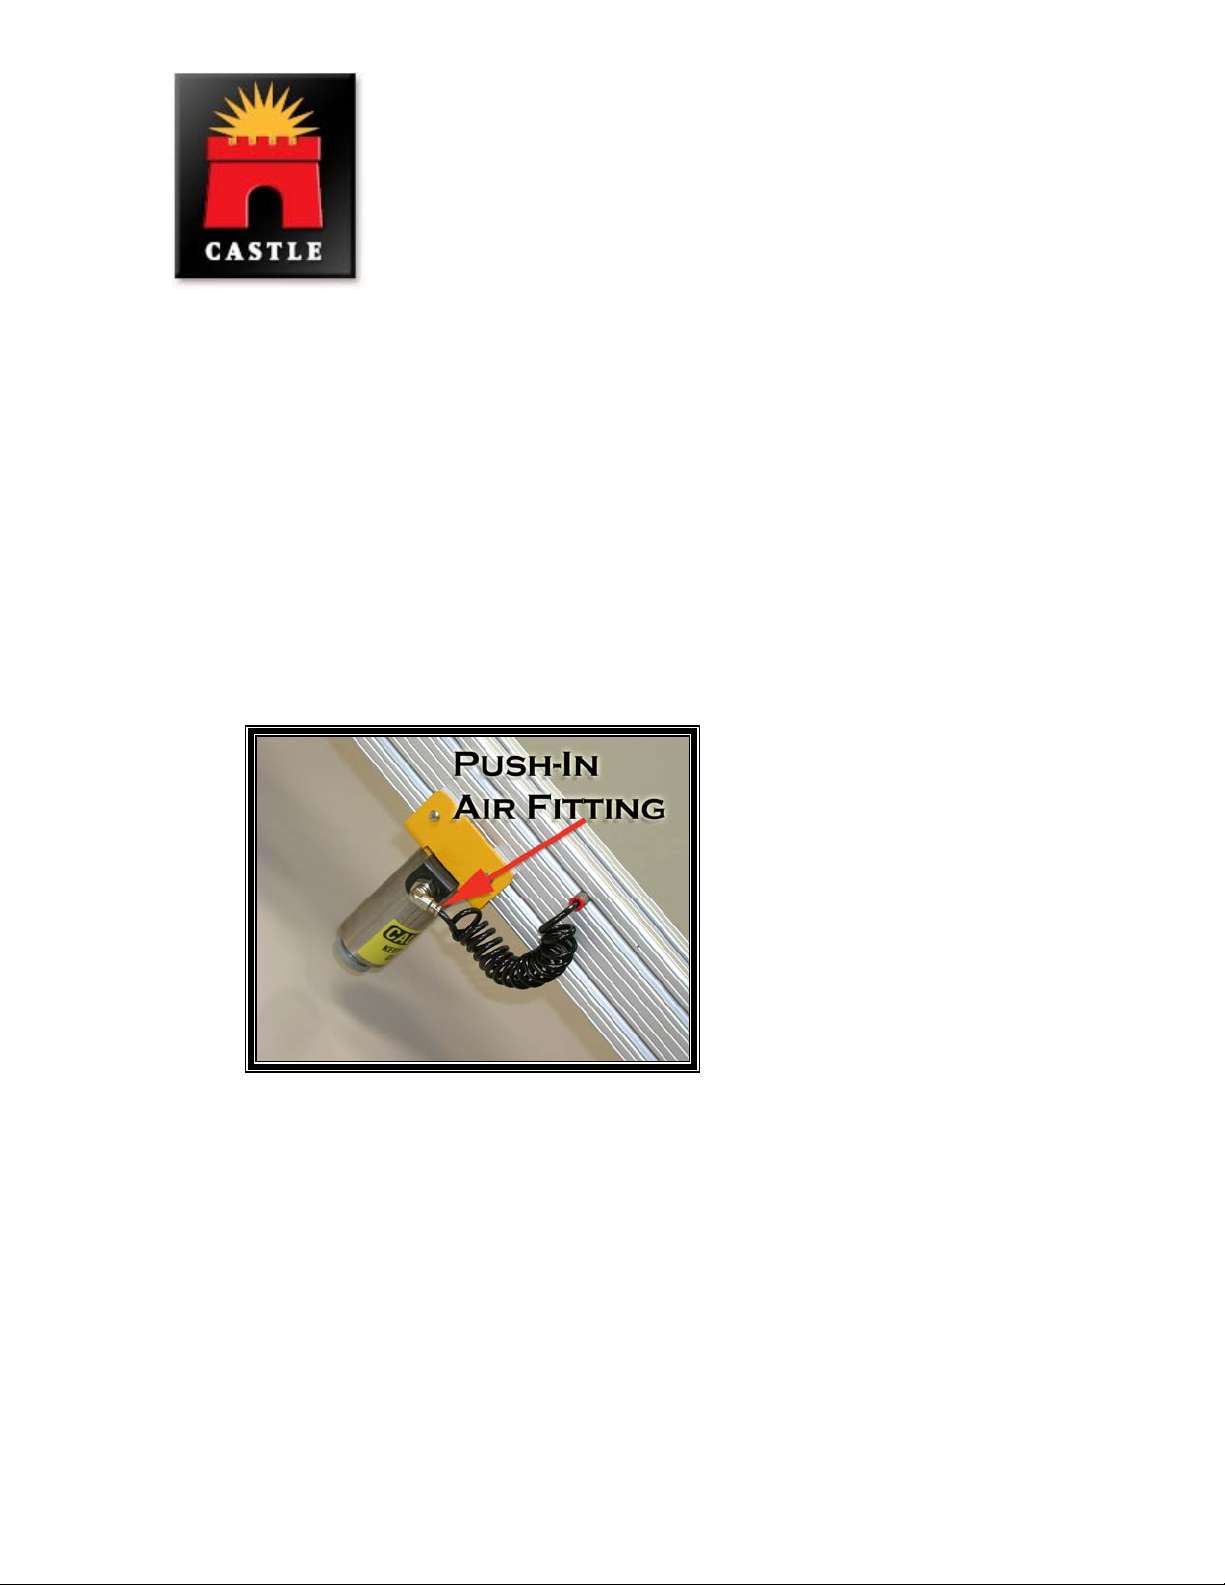
1. Turn off the air and remove the airline for the cylinder to be removed/rebuilt. The line is
connected to the cylinder by a push-in fitting. Simply push the outer ring in as you pull the airline.
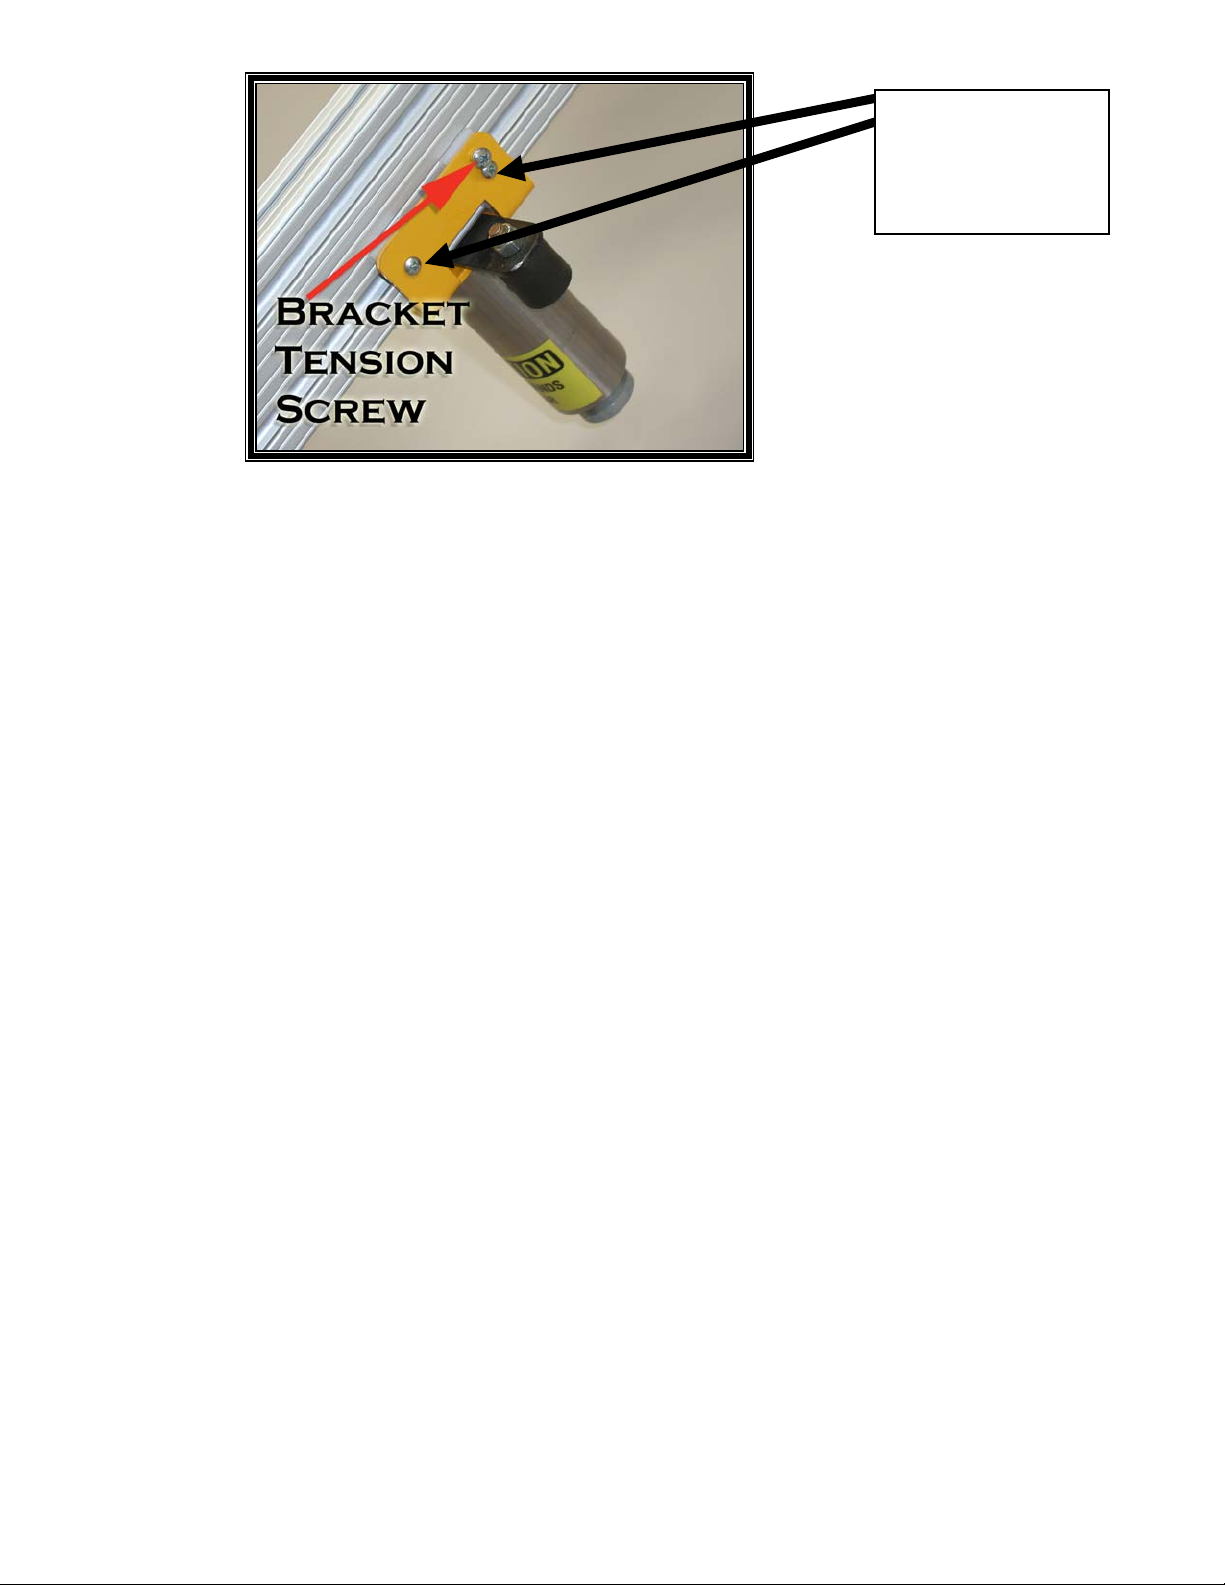
3. Loosen the tension screw on the side of the cylinder bracket
Page 2
Bracket
Slide
Screws
4. Take out the two bracket slide screws on each side of the cylinder bracket (4 total), and pull the
whole assembly off of the arm.
5. With the cylinder off of the arm, remove the snap ring - (2) on the parts explosion
6. Remove the piston (1)
7. Remove the PEM nut(10) and the screw (4) in the center.
8. Remove the large washer (5) and the gasket (6)
9. Remove the piston assembly from the elbow (17), (18), (19)
10. Replace the O rings with new ones from the rebuild kit and apply the enclosed lube.
11. Put the cylinder back together in the opposite order of Steps 5 through 9 using the new
components in the rebuild kit (K08004) where supplied.
12. When tightening the center screw, be sure it is left JUST LOOSE enough to allow air flow from
the elbow into the cylinder sleeve. This usually means that you tighten it very tight, but not 'death
grip' tight.
13. Slide the cylinder(s) back onto the arm.
14. Replace the cylinder assembly, including the cylinder bracket, back onto the arm. Replace the
bracket slide screws and tighten.
15. Tighten the bracket tension screw until the desired slide resistance is reached.
16. Hook the air up to the regulator and test the rebuilt cylinder. The piston should come down and
retract quickly. The lever action should be stiff, but not take a full body lean.
17. If the arm does not roll smoothly, adjust the arm according to procedure 8.20
Page 3

Page 4

Clamp Piston
Detail
Page 5

AT Cylinder Rebuild Kit
Part Number K08004
Drawing 1 of 2 - Clamp Cylinder Detail
Item
#
4
5
6
10
11
17
19
Part # Part Description Qty
F10377 Screw, Machine 10-32 x 7/8 PPMS 1
M08615 AT Stainless Steel Washer 1
G00051 AT Reinforced Neoprene Rubber Gasket 1
F32012 AT Pem Stand-Off 1
F10000 # 10 SAE Flat Washer - 90126A11 1
H00352 Buna-N O-Ring - 003 1
H00600 Buna-N O-Ring - 006 1
Drawing 2 of 2 - Cylinder Piston Detail
Item
#
Part # Part Description Qty
8
Item
#
###
H32200 Buna-N O-Ring - 322 1
Not Pictured
Part # Part Description Qty
S00243 LocTite 242,Threadlocker Adhesive, .02 oz 1
 Loading...