

Page 1

Cleaning
Clean the unit occasionally with a damp (not wet)
cloth. A dry cloth encourages the build-up of
static electricity.
Make sure that the charging contacts are clean
and free of grease.
Help
If you have problems with the installation or
operation of this product, please call the helpline
during office hours on 01438 749009.
If you suspect that your charging cradle is not
working properly, please make sure that:
• The power adaptor is correctly plugged into
the handset charging cradle.
• Y our handset is correctly located in the
charging cradle.
• Your handset batteries are correctly inserted
into your handset.
For further information regarding
the operation of the handset, please
refer to the Casio DC5000 user guide.
Guarantee Procedure
If you believe your Casio Phonemate product is
not functioning correctly, before returning for
repair of exchange, please undertake the following:
• Ensure you have read and understood the
instructions and are operating the product as
described in the instructions.
• Read the Help and troubleshooting sections
of this guide and the DC5000 guide, following
any advice given for the problem you are
experiencing.
• Call the Casio Phonemate helpline on the
number shown below during office hours.
Casio Phonemate Helpline
01438 749009
The helpline staff are available during office hours
and in many cases are able to help with a
solution to problems, without requiring the
product to be returned.
Guarantee Registration
To register your guarantee, please fill in the card
enclosed with the product and return to
Lazerbuilt, 20 Gunnels Wood Park, Stevenage,
Herts, SG1 2BH
In the unlikely event that your Casio Phonemate
product develops a fault within the first month of
purchase, it should be returned (along with a
copy of the purchase invoice) to your retailer who
will replace it with a new one.
If it becomes faulty within the guarantee period
but after the first month, it should be returned for
repair to Lazerbuilt at the address shown above,
either directly or via your retailer.
After the guarantee period, return your product to
Lazerbuilt, indicating the problems. Include your
Name and address and a cheque/Postal order for
£5.00 to cover the handling charge. Lazerbuilt will
then send you an invoice for the repair.
DC5001
User Guide
DC5001 5/10/99, 12:09pm1
IMPORT ANT
This Casio DECT handset is for use with a Casio
DC5000 DECT base station (or other GAP
compatible DECT base station). It may be used to
add an additional handset to an existing installation, or to replace the handset of an existing
installation. It will not operate unless it has been
registered on to a Casio DC5000 or other GAP
compatible base station.
Before the handset can be used, the batteries must
be charged and it must be registered with the base
station.
Page 2
35mm
SCREW
Charging
Charging
indicator
compartment
Setting up
Inside this package you will find:
• Casio DC5001 handset and belt clip.
• Charging Cradle.
• Power adaptor with cable attached.
• Users guide for the CASIO DC5000.
Installation
1. Install the rechargeable batteries (supplied)
into the handset. Slide open the cover and
insert as indicated on the label inside the
battery compartment, then refit the cover.
2. Decide where you will locate the charging
cradle.
Y ou can choose to place your charging cradle
on a desk or attach it to a wall, whichever is
the more convenient. Make sure the charging
cradle is not placed in direct sunlight, or in a
room with high humidity. It is also important to
ensure that the cradle is located within range
of the base station.
I.E. in a location from where you can make
calls from your existing handset.
Try not to place your charging cradle too close
to existing electronic equipment (such as a
phone, fax, answering machine, computer, TV
and radio) as this may impair performance of
the equipment. We recommend a distance of
at least one metre.
3. Connect the power adaptor cable plug to the
charging cradle.
Use only the power adaptor — supplied with
your charging cradle.
4. Fit the adaptor cable into the groove.
5. Slide the adaptor cable under the groove and
gently tighten the loop.
6. Plug the mains power adaptor into a (230V)
mains socket and switch it on.
7. Place the handset into the charging cradle
with the keypad facing towards the front. The
charging light will come ON.
8. Charge the batteries for at least 16 hours. (16
hours charge time is required for the first
charge, subsequent charges will take around
4 to 5 hours.)
9. Register the handset on to the Casio DC5000
base station.
• Press and hold down P AGE (on the base) for
longer than 5 seconds. The base will start to
beep.
• Press PROG on the handset to be registered.
• Press the 8 button.
• Select a base station number shown on the
display 1-4. If you only have 1 base station,
this should be 1.
• Enter the 4-digit sys code (this will be the
factory setting of 0000 unless you have
changed this on your base unit).
• Press PROG. The handset will now register
with the base and the display will show the
available handset numbers.
• Select a number to be used for the handset
from those shown on the display .
Wall mounting the charging
cradle
1. Before mounting the charging cradle on a
wall, ensure that the handset is within range
of your base station, when located in your
chosen wall mounted position.
a) Follow the instructions given above,
including the charging of the handset
batteries and registering the handset on
the base station.
b) Press the P AGE button on the base unit
and within 30 seconds, hold the handset
temporarily in your chosen location and
ensure that it rings.
c) When you are confident that the handset
is within range of the base when located in
your chosen position, disconnect the
adaptor plug from the mains wall socket
and proceed as follows.
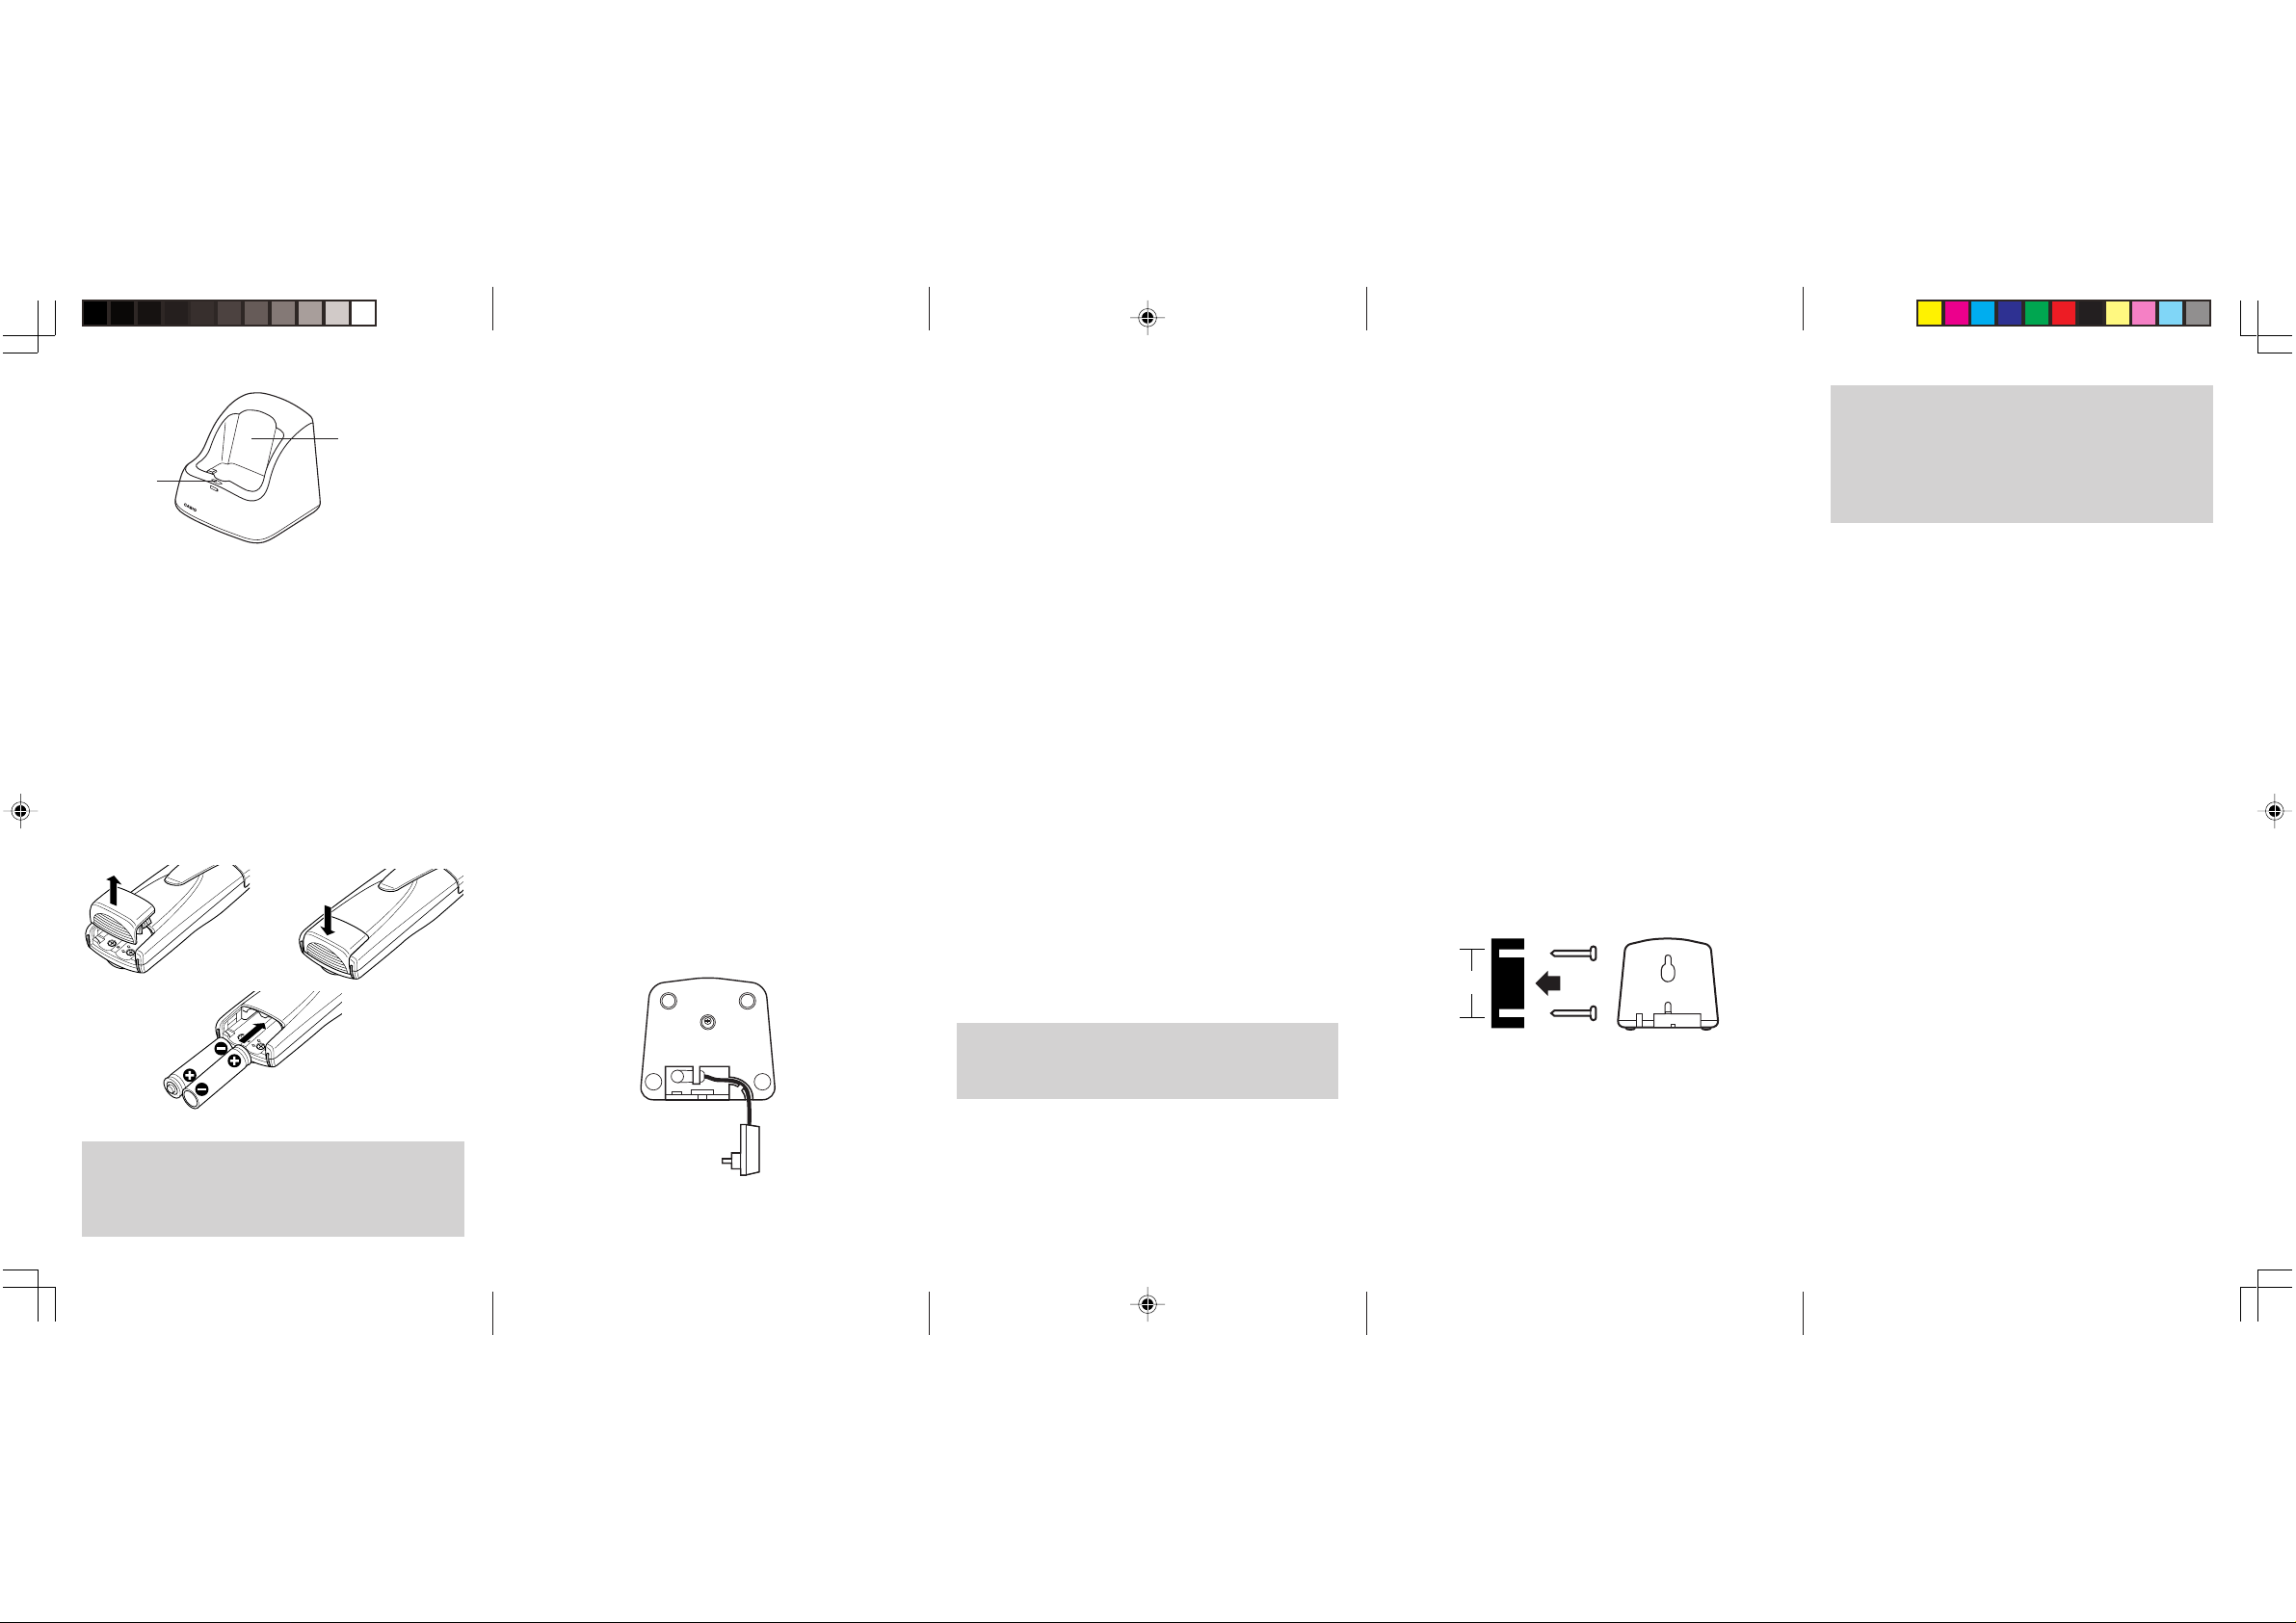
2. Secure the cradle to the wall using Brass
round head size 10 screws, 1 1/4" in length
(30mm).
The screws should be fitted 35mm apart.
IMPORTANT — Before drilling the wall, check that
there are no pipes or cables buried in the wall,
that will be damaged by the drill. Do not drill
directly above or below other electrical fittings
unless you are sure that the cables to these are
routed away from the drill position.
3. Mount the charging cradle on the screws.
4. Put your handset back in the charging cradle
and switch the power on at the wall socket.
The charging light should come on.
If you have problems with the installation of the
cradle or registration of the handset, please call
the helpline during office hours on 01438 749009.
IMPORTANT — The batteries supplied with this
product are rechargeable Ni-MH, 1300mAh.
When replacing batteries, never use other types of
batteries or conventional alkaline batteries.
DC5001 5/10/99, 12:09pm2
 Loading...