

1
QUICK START INSTALLATION AND USER GUIDE
Content
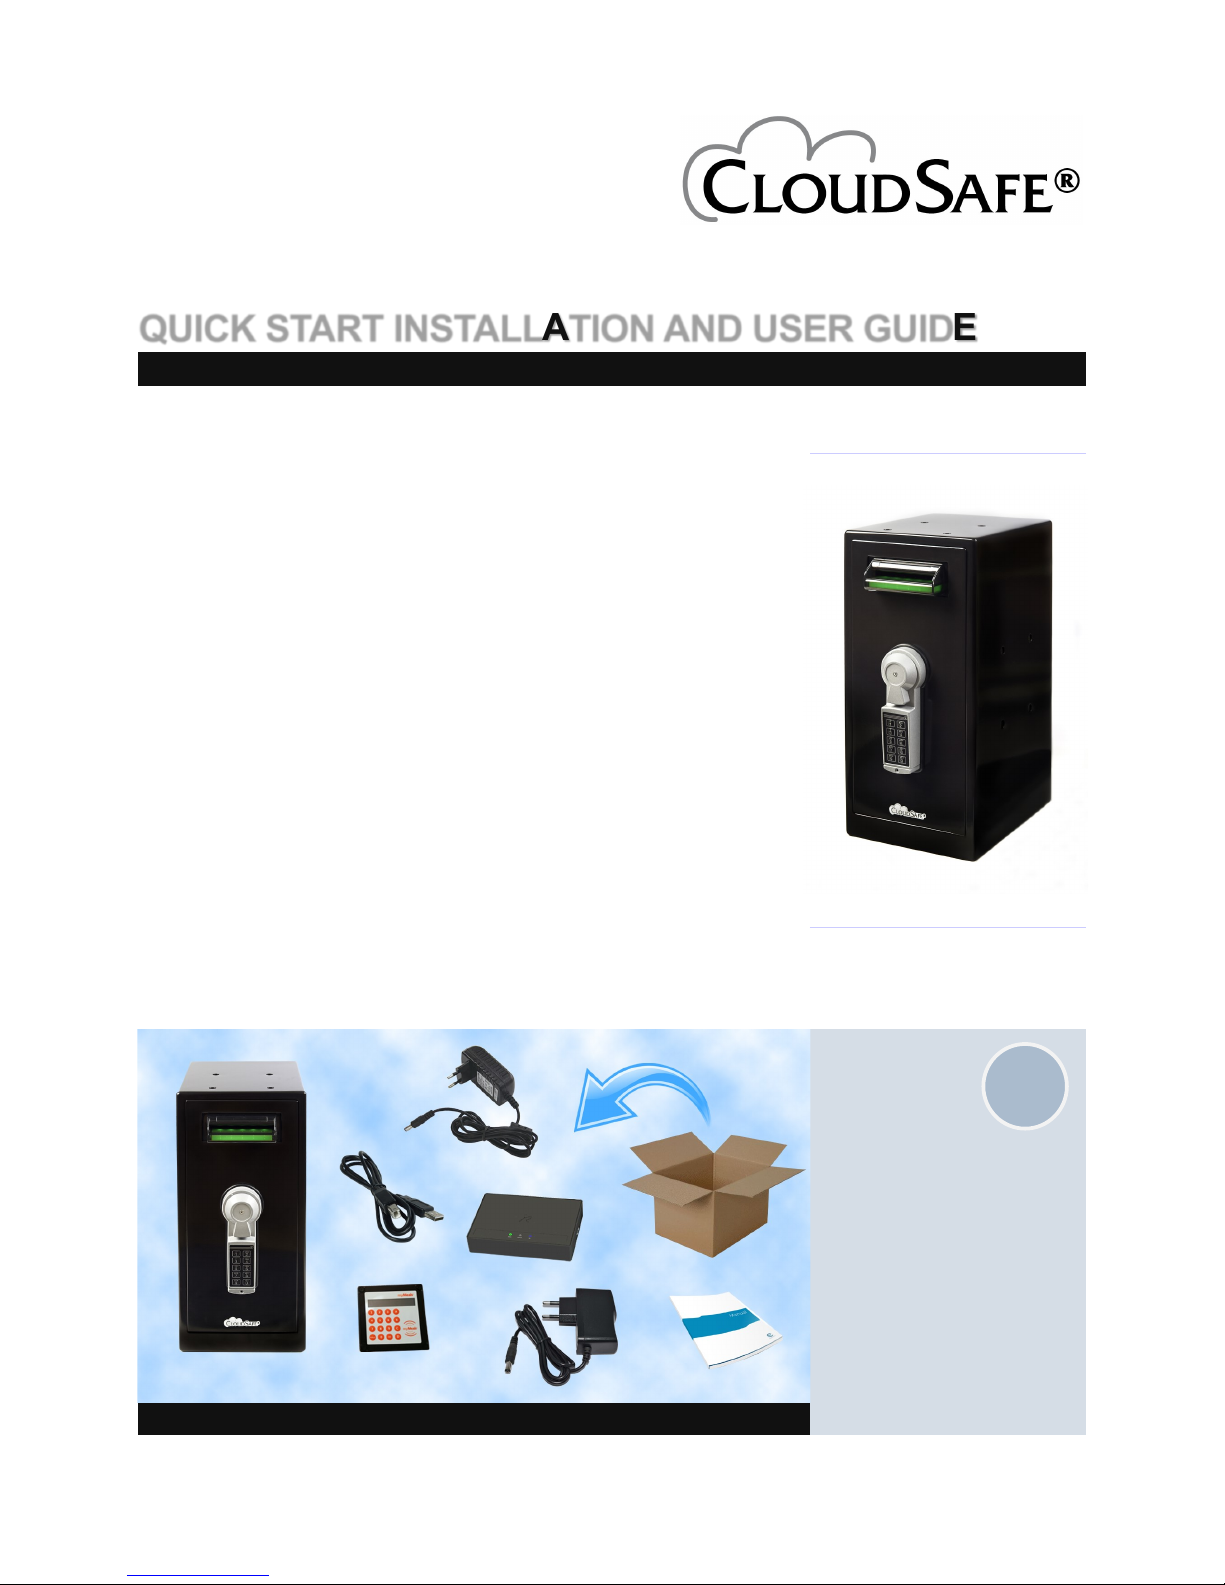
Cabinet
USB cable
Communication unit
Teller terminal
Power supply 5V
Power supply 12V
User manual
Content of package
Table of content
1. Content of package
2. Connections
3. ePass Codelock
4. CloudSafe® Communication Unit
5. Teller Terminal
6. CloudCash® Cloud Service
7. CloudSafe® Cabinet
8. Banknote Reader/ Casett
9. Optional Printer
CashBow AB 2014-0.1
1

2
Connections
Make sure all connections are in place before
turning on the power to
the CloudSafe® Communication Unit.
CloudSafe® Communication Unit will be automatically configured according to the devices connected during startup.
Cable connections
Connect according to above illustration
Connect the 5V power supply to the CloudSafe
®
Communication Unit.
Connect the 12V power supply to CloudSafe
®
cabinet.
Connect CloudSafe
®
Communication Unit to the CloudSafe® cabinet with enclosed USB cable.
Connect CloudSafe
®
Teller Terminal to CloudSafe® Communication Unit.
Connect CloudSafe
®
Communication Unit with RJ45 Ethernet cable to a network for Internet access.
No Ethernet cable connection is needed for the 3G version of CloudSafe
®
Communication Unit.
Connect the optional USB printer to the CloudSafe
®
Communication Unit.
2

3
ePass Codelock
The ePass features a 6digit Main code and one
secondary code that can
be changed by the user.
When a valid code has
been entered, the lock is
open for 3 seconds.
When moving the handle
into LOCKED position the
ePass automatically
secures. The ePass is
delivered with main code
(1-2-3-4-5-6)
ePass Codelock
Change manager code
Press and hold key (0) until double signal;
Enter the old 6-digit manager code (double signal);
Enter a new code (double signal): for example 2 6 9 3 7 1;
Repeat the new code to confirm. In case of entry errors
(long signal) wait 30 seconds and start over the procedure
(the old code remains valid).
.Adding an opening code
Press and hold key (1) until double signal (the light remains
on during following actions);
Enter the manager code;
Enter selected position (1)
Enter the opening code (double signal);
Repeat entering the opening code (double signal);
In case of an entry error, wait 15 seconds and start over
this procedure
Time Delay (max.99 min) open window (max.19 min)
Press and hold key “9” until double signal. The light
remains on during the following actions.
enter manager code (double signal)
enter time delay and open window time, f.i. 2612 for 26mi-
nutes time delay and 12minutes open window (double signal)
repeat values (double signal)
Opening by time delay
After code entry, time delay starts, the light flashes at onesecond interval. At the end of the delay period the open window starts, the light signal flashes every second and the lock
beeps every 2 seconds.
To open the lock, a valid code has to be entered during the
open window. If the open window expires the lock is secured
again with the time delay.
ATTENTION!
Always change the manager code with the door opened.
Make sure you test opening the door a few times with the
new code before you lock the door.
3
Step Task
1
To insert a battery, slide the cap off the unit. Connect one (1)
battery to the battery clip. Only use fresh 9V- Duracell Procel
ALKALINE or Energizer batteries. Insert battery as shown on
the right. Align cap in the little track of the housing and slide
back on.
2
The battery cover features a positive snap to lock it to the unit.
For additional protection against sliding off, use the provided
screw.

4
Communication
Unit
The CloudSafe® communication unit is available
in two versions:
- RJ45 Ethernet connection.
- 3G Ethernet connection.
CloudSafe® Communication Unit
CloudSafe® Communication Unit
When connected to the CloudSafe® cabinet and powered on by connecting the power supply, the system boots. This is indicated by the red status LED. When the system is ready the color will change from red to green.
On the RJ45 model the Ethernet LED will light up when connected to the internet and CloudCash® Cloud Service
On the 3G model the 3G LED will light up when connected to the internet and CloudCash® Cloud Service
CloudSafe® Communication Unit will automatically buffer data if the internet connection is lost. When the connection is
reestablished the data will automatically be uploaded to CloudCash® Cloud Service
The Sim-Card is inserted trough a slot on the side of the CloudSafe® Communication Unit. (SIM-Card is not included.).
Connections:
Serial 1 - 3 : Not in use
USB in : Programming purposes
USB 1 - 3 : CloudSafe
®
cabinet, CloudSafe® Teller terminal, optional printer
Ethernet : Internet/ CashBow™ Cloud, API
Power: 5V
.
4
5
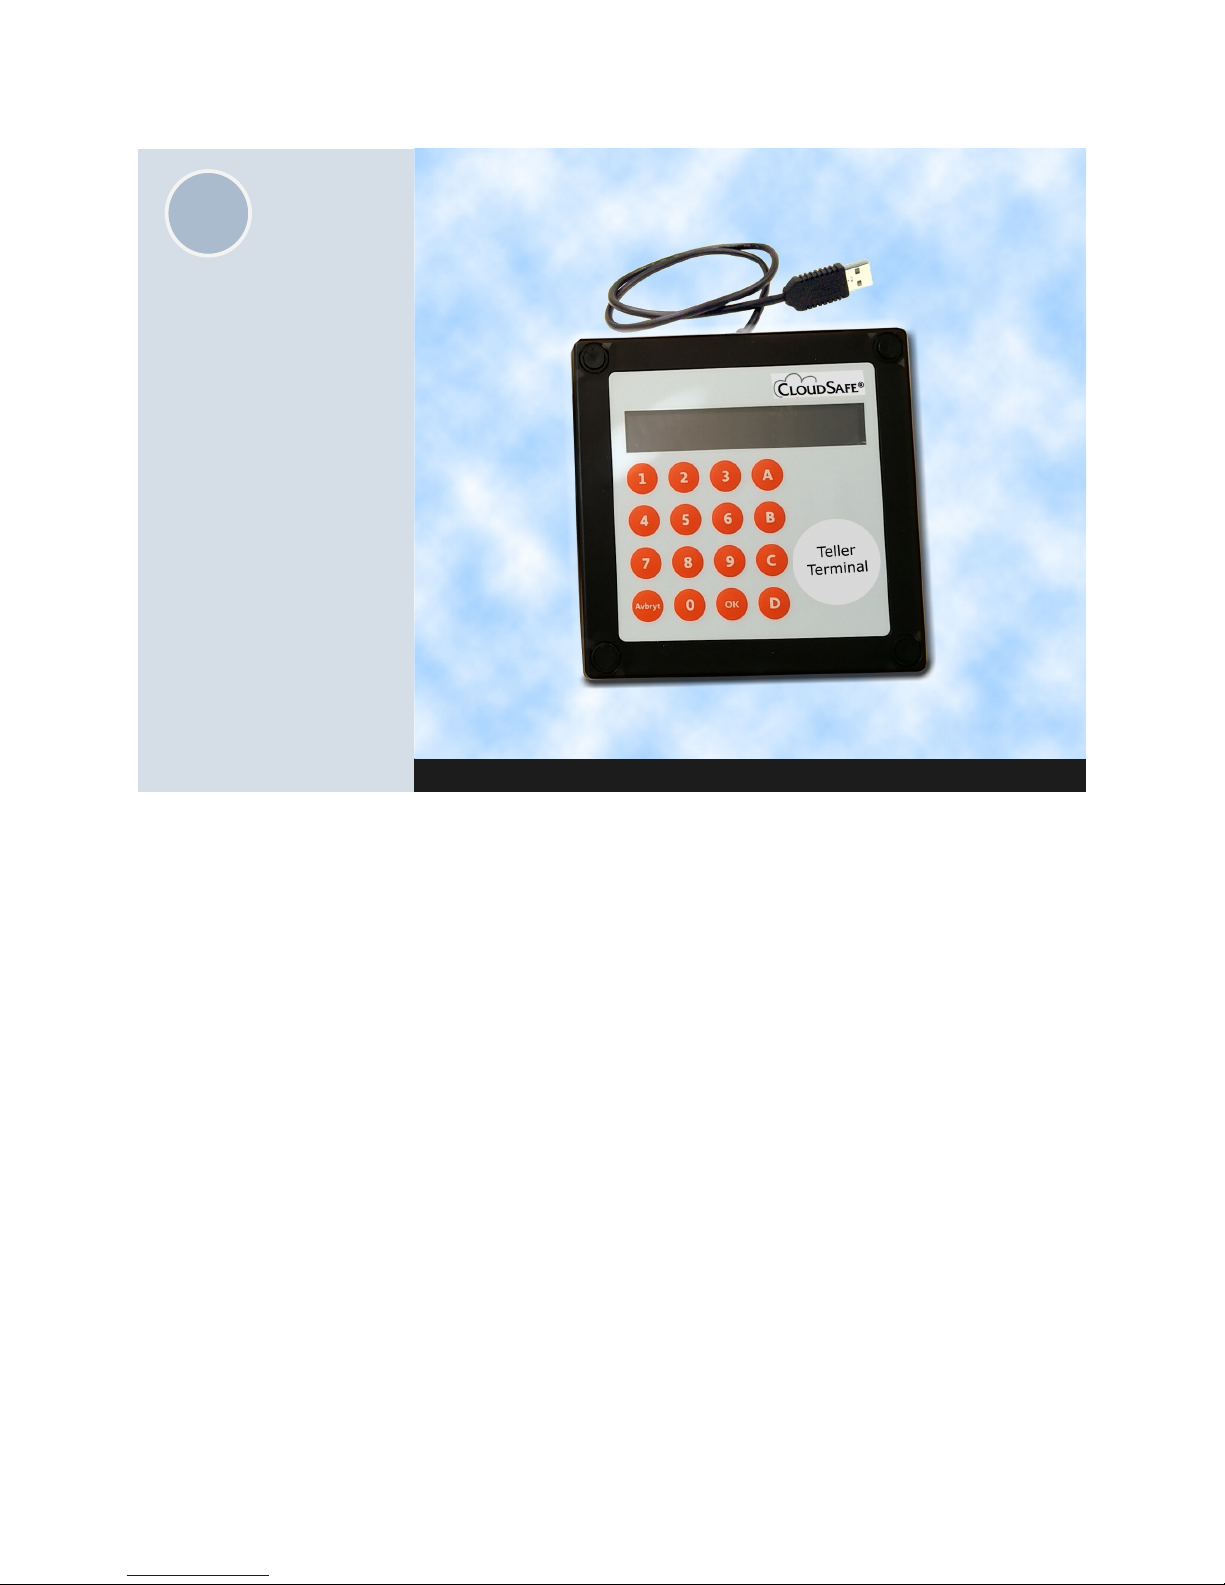
Teller Terminal
The terminal is equipped
with buttons 0-9 and A-D,
and a two line display.
From the teller terminal a
user is able to:
- Validate banknotes
- Log in with teller Id.
- Log out and print a re-
ceipt ticket when finalizing a deposit.
CloudSafe ® Teller Terminal
Terminal functions
Teller log-in
The teller can enter a user id by pressing a Id number (1-99)
and then press ok.
If no teller Id is entered the default user Id is 0.
The terminal display will show the id of current logged in user.
Banknote validation
A button will set CloudSafe® in validation mode.
The teller terminal will indicate the entering of validation
mode with a beep sound.
The banknote validator in the CloudSafe® cabinet will light up
white to indicate validation mode.
If a valid banknote is inserted, the teller terminal display will
show the banknotes currency and denomination.
If the banknote inserted is not valid, the teller terminal will
show: Not recognized banknote.
The banknote is returned to the teller in validation mode.
Banknote deposit
B button will set CloudSafe® in default deposit mode.
The banknote validator in the CloudSafe® cabinet will light up
green to indicate deposit mode.
The teller terminal display will show the banknotes currency
and denomination during the deposit.
The banknotes will now be validated and safely stored in the
cashbox.
Finalizing deposit
D button will finalize deposit, log out the current teller
and print out a receipt of the total number of banknotes sorted by currency and denomination.
Two minutes after the last banknote has been deposited, the
system will automatically print out a receipt of the total number of banknotes sorted by currency and denomination deposited by the current logged in teller.
5

6
CloudCash® Cloud
After a deposit or a withdrawal has taken place,
the information is sent via
a SSL connection to
CloudCash® Cloud.
See all deposits made
from the start of the system.
See all withdrawals made
from the start of the system.
Number of banknotes
present in the CloudSafe®
cabinet in real time.
Graphs showing trends
and totals.
CloudCash® Cloud Service
CloudCash® Cloud Service functionality
Login
Login to CloudCash® Cloud Service using a regular web browser:
Go to www.cashbow.se and click on “Login CloudCash® Cloud Service ”
User name: and Password: is printed on the bottom of the CloudSafe® Communication Unit.
Immediate reporting
The deposit and withdrawal information is sent to CloudCash® Cloud Service database immediately.
Content
Deposits and withdrawals
Numbers and totals of banknotes per denomination and currency
Teller identification per deposit
Overview in graphics for all deposits during the last 30 days
Stores all transactions, unlimited in time
6

7
Cabinet
Dimensions, mm
Thickness: 3
Height: 372
Width: 158
Depth: 252
Weight: 18 kg
CloudSafe® Cabinet
CloudSafe® Cabinet
CloudSafe® Cabinet can be top mounted under the counter or mounted on either the left or right side.
Remove the plastic cover caps to use any of the four pre-made mounting holes.
A optional installation kit is also available to support and make the installation secure and easy. The mounting bracket has
space for the CloudSafe® Communication Unit to be mounted together with the CloudSafe® Cabinet.
The CloudSafe® Cabinet is made up of the ePass Codelock, banknote validator, chassis, cashbox, USB and power connectors.
The Banknote validator LED will indicate the function of the CloudSafe® Cabinet:
Orange: Startup
Green: Ready/ Deposit mode
Black: Busy validating/ depositing banknote
White: Banknote validation
Red: Cashbox Withdrawn
7

8
Banknote Reader
The banknote validator is
made up of three basic
components: an validator
head, chassis and a
cashbox
The banknote validator is
a device that can accept,
validate and store 500 or
1000 bank notes.
The cashbox comes with
a 500 or 1000 note capacity
Accepts, validates and
stores multiple denominations of bank notes in less
than 3 seconds
Banknote Reader
Banknote validator removal and cleaning
1. To remove the validator head unit, first unlock the cashbox
2. Then, lift the silver head release catch located on the front of the validator
3. Finally, slide the head unit forward and lift it off the chassis
4. After removing the head unit, to open the note path cover, pull the top cover release latch forward and lift the cover.
The note path is now visible and can be cleaned:
Carefully wipe the surfaces with a soft lint free cloth that has been moistened with a water and mild detergent solution (e.g.
household washing up liquid) - be very careful when cleaning around the sensor lenses and make sure they are clean and
dry before closing the cover and restarting the unit.
Standard 500 note cashbox supplied with CloudSafe® system, 1000 banknote cashbox optional.
8
1
2
3
4

9
Optional Printer
Printed receipt includes:
- User ID
- Time and date
- Total amount of bank-
notes by denomination
and currency
- Total nr of banknotes
- Total value per currency
Optional printer
Optional printer
Teller printed receipt
By pressing D on the teller terminal a printed receipt will be printed for the total deposit made by the current teller.
Prints automatically
Receipt of each total deposit
Receipt of each cashbox withdrawal
Supported USB Printers:
Star TSP743 (Set in Win driver mode)
Star TSP654 (Set in Win driver mode)
Orient BTP-R880NP (Set in Win driver mode)
Epson TM-T88V
Epson TM-T70II
9

10
Contact
CashBow AB
Apoteksvägen 8A
SE-741 42 Knivsta
Phone +46(0)8 559 014 00
E-mail: info@cashbow.se
www.cashbow.se
CE Marking
The CloudSafe® unit described in this manual set has been designed to comply with the
relevant sections of the following Harmonised European Standards:
EN60950-1:2001
EN60335-1:2002
EN60335-2-82:2003
The unit complies with all the applicable essential requirements of the Standards.
WEEE
The European Union’s directive 2002/96/EC on Waste Electrical and Electronic Equipment
(WEEE) was adopted by the European Council and Parliament in 2003 with a view to improving the collection and recycling of Waste Electrical and Electronic Equipment throughout
the EU, and to reduce the level of non-recycled waste. The directive was implemented into
law by many EU member states during 2005 and 2006.
Products and packaging that display the symbol (shown left) indicates that
this product must NOT be disposed of with other waste. Instead it is the user’s responsibility to dispose of their Waste Electrical and Electronic Equip-
ment by handing it over to an approved reprocessor, or by returning it to the
original equipment manufacturer for reprocessing.
Copyright 2015. CashBow AB
Trouble shooting
Issue Condition Solution
CloudSafe unit does not
accept any banknotes
Banknote inlet is not indicating any
colour
No power present.
Connect power supply units to power outlet
Banknote inlet is not indicating any
colour
No connection between cabinet and communication unit. Check USB cable connection
Banknote inlet is white System is in validation mode.
Press 'B' on teller terminal to exit.
Banknote inlet is blinking red. The banknote casette is not inserted into the
CloudSafe® Cabinet. Insert the banknote casette
Banknote inlet is indicating with
different blink patterns
See separate technical manual
No deposits present on the
web
Ethernet is used via RJ45, but LED
is off
Verify that you have a functional ethernet connection.
Ethernet id used via 3G SIM, but
LED is off.
SIM not present.
SIM not propertly inserted.
SIM protected by PIN code.
Out of range.
Edition 2015
-05.27
 Loading...