

Casa Lusso SP110, SP110MB, SP110BB Installation Instructions Manual
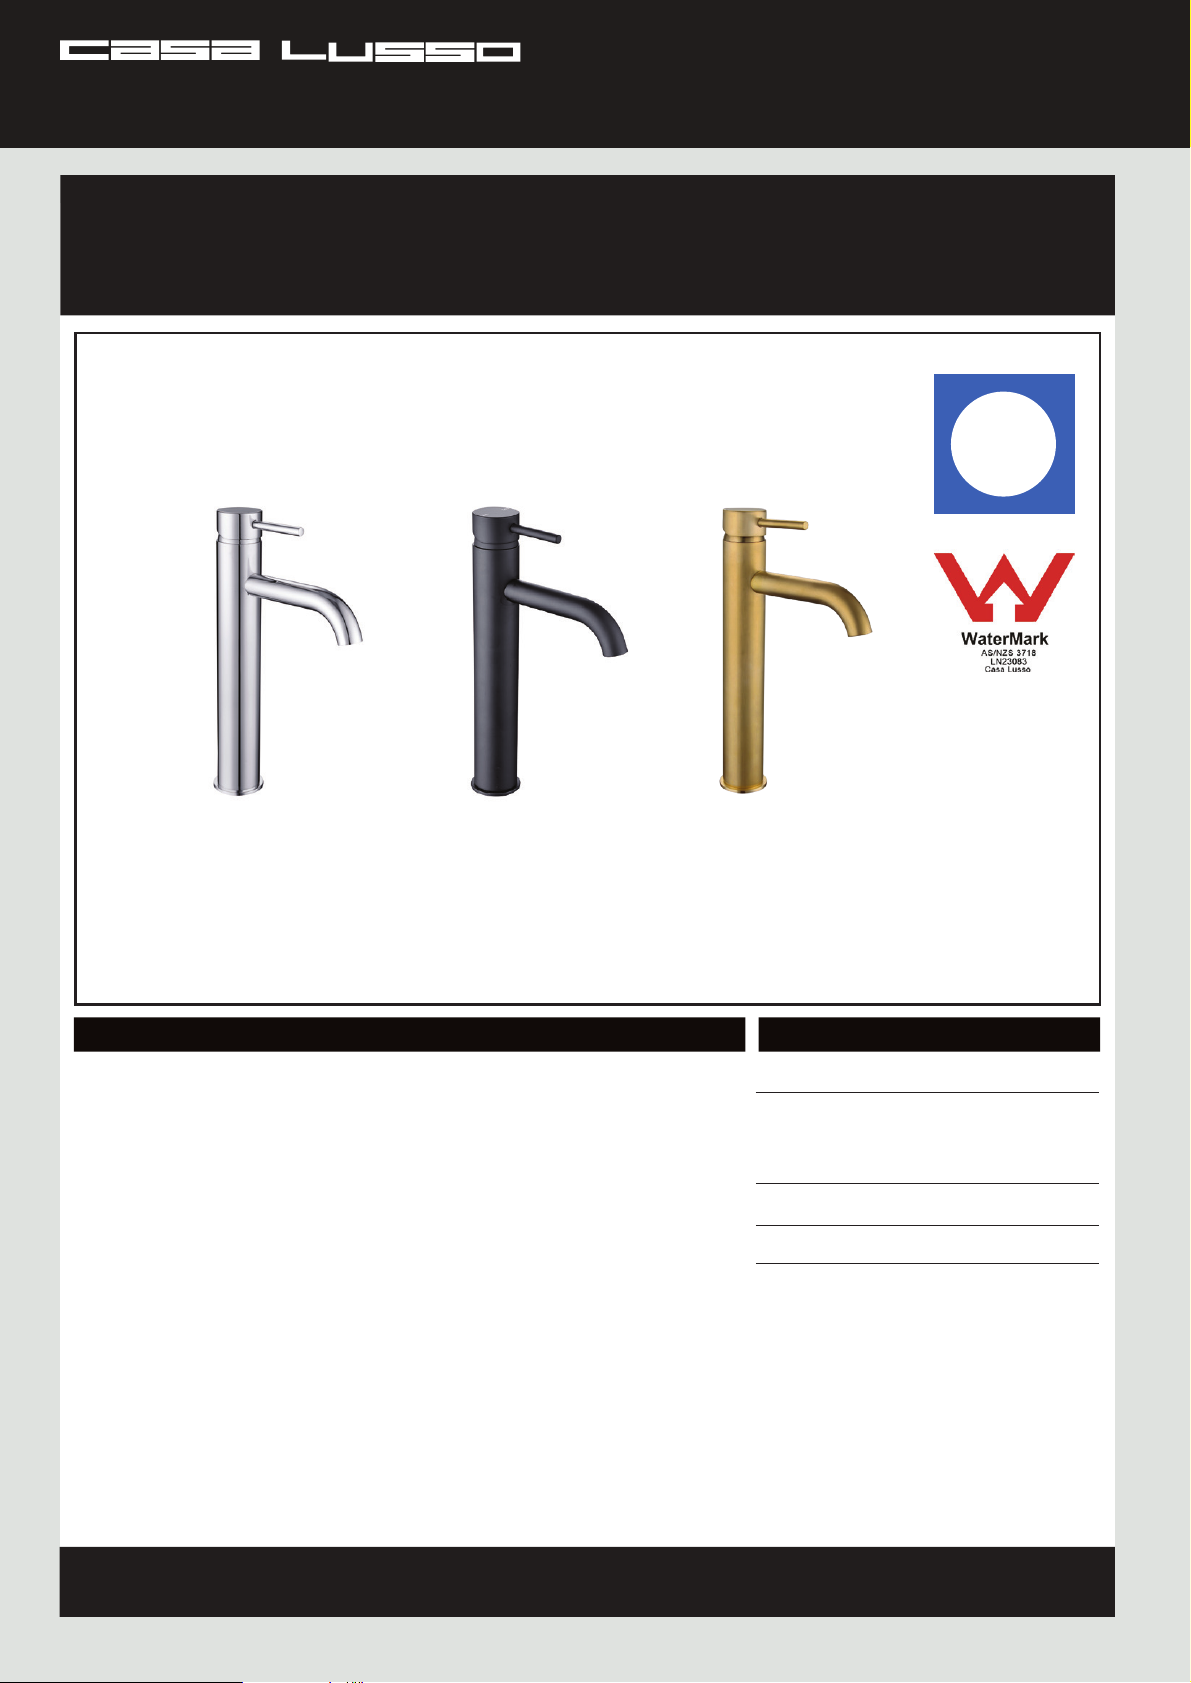
Spin Tall Basin Mixer - Installation Instructions
CONGRATULATIONS ON THE PURCHASE OF YOUR NEW CASA LUSSO TAPWARE,
WE HOPE YOU AND YOUR FAMILY ENJOY YOUR NEW PRODUCT AND CONSIDER US
FOR ANY FUTURE PROJECT. CASA LUSSO PRODUCTS HAVE BEEN MANUFACTURED
UNDER THE HIGHEST STANDARDS OF QUALITY AND WORKMANSHIP.
15 YEAR
WARRANTY
Chrome
SP110
Matte Black
SP110MB
Brushed Brass
SP110BB
GENERAL INFORMATION
MAINTENANCE
• Clean regularly using mild soap and dry with a soft cloth.
• Do not use abrasive cleaners, harsh detergents or citrus based cleaners on any products
as these will scratch the surface.
• Tightening or adjustment of Tapware over time is considered general maintenance.
• Failure to clean/replace aerators/flow restrictors as required will void warranty.
• Damage to finishes that arise from installation or post installation will void warranty.
The warranty will not apply if:
• The product has been damaged by improper use;
• The product has not been used in accordance with any applicable instruction guide;
• The purchaser has attempted to modify or repair the product;
• The purchaser has failed to observe the cleaning and maintenance guidelines;
• The product is not installed by a licenced Plumber.
• Flow controllers/ aerators not regularly cleaned/ replaced.
Product warranties are personal to the person who acquires the product for their own consumption or use and not for resale
or resupply. Claims with this product cannot be made by anyone other than the consumer. Where a product is covered by
parts and labour warranty, the warranty covers both the repair of the defective part or the provision of a spare part to
replace the defective part and the installation of that part.Where a product is covered by parts only, the warranty covers
both the repair of the defective part or the provision of a spare part in replacement. It does not include the removal of the
defective part or the installations of the repaired or replaced part. We reserve the right to provide minor components (e.g.
handles, aerators, hoses, dress rings and washers) as ‘Parts Only’ to the customer. Casa Lusso reserves the right to alter, or
amend this warranty offer in writing at any time.
FEATURES
Product Code: SP110 / SP110MB / SP110BB
Premium Warranty (Domestic Use) :
15 year Ceramic cartridge replacement only
7 year Replacement products and parts
1 year parts & labour
2
Material: Solid Brass Construction
WELS: WELS 5 Star, 6 litres per minute
Made to Australian Standards code:
AS/NZS 3718:2005
Water supply - Tap ware LN23083
1
Excludes Damage to ceramic disk cartridges from pieces
of copper tube, plastic tube, sand, dirt or thread tube etc.
All speciality finishes are subject to 2 year replacement
product and parts and 1 year replacement product and
parts & labour.
1 year parts only.
2
Jumper valves and ceramic disk spindles;
1
FAILURE TO COMPLY WITH ANY OF THE ABOVE INSTRUCTIONS WILL VOID ALL WARRANTIES
FAILURE TO COMPLY WITH ANY OF THE ABOVE INSTRUCTIONS WILL VOID ALL WARRANTIES
www.casalusso.com.au
Spin Tall Basin Mixer - Installation Instructions
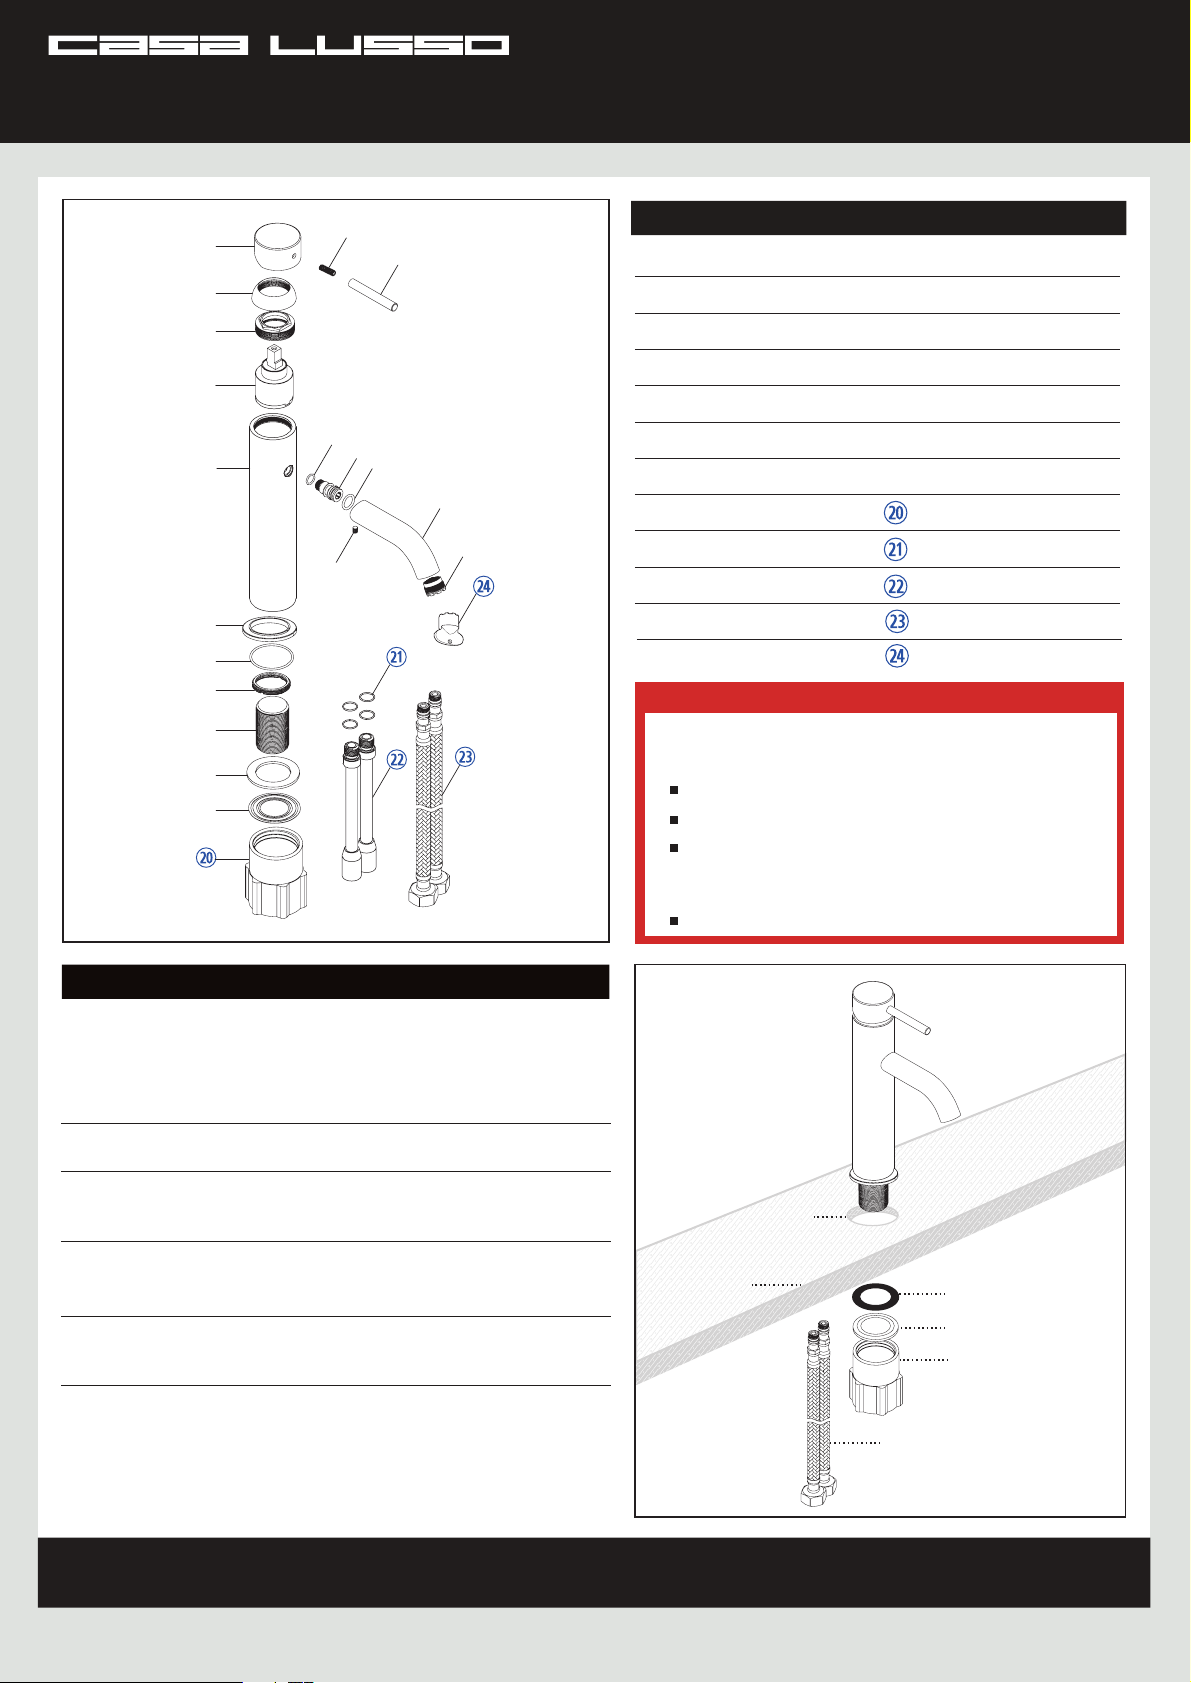
CONTENTS
Handle
Hex Key Screw
Handle Lever
Brass Dome Cover
Cartridge Securing Nut
Cartridge
Mixer Body
O-ring
Spout Joining Piece
O-ring
Hex Key Screw
Spout
Water Efficiency Aerator
Base Plate
O-ring
Brass Threaded Joint
Thread Pipe
Rubber Washer
Washer
Quick Fix Nut
O-ring
Inside Pipe
Inlet Flexi Hose
Aerator key
IMPORTANT
IT IS IMPORTANT TO FLUSH OUT THE WATER
PIPES BEFORE INSTALLING THE MIXER.
Hot and cold water inlet pressures should be equal.
Inlet pressure range: 150 – 500 kPa
New Regulation:
500 kPa maximum operating pressure at any
outlet within a building.
Maximum hot water temperature: 80oC.
(Ref. AS/NZS 3500.1-2003, Clause 3.3.4)
INSTALLATION
1. Install the flexible hoses into the mixer and hand tighten in place.
The flexible hoses are to be fitted into the correct inlets for hot water
and for cold water (Red band for hot and blue band for cold).
Ensure hoses are not twisted, kinked or bent.
DO NOT USE SPANNER TO TIGHTEN AS IT CAN DAMAGE THE O RING
2. Place the mixer into position and secure using the quick fit
cylinder.
IT IS IMPORTANT TO FLUSH OUT THE
WATER PIPES BEFORE INSTALLING THE MIXER.
3. Ensure gauze strainers are placed into the flexible hoses
then connect the isolating taps.
50mm Max
Bench
thickness
Hole size
34-40mm
Rubber Washer
Washer
Quick Fix Nut
Inlet Flexi Hose
FAILURE TO COMPLY WITH ANY OF THE ABOVE INSTRUCTIONS WILL VOID ALL WARRANTIES
www.casalusso.com.au
 Loading...