

Carving Fitness Balance Installation Manual
www.carvingfitness.com
CARVING BALANCE INSTALLATION GUIDE
Tools Needed
Hex key 8mm
Hex key 7mm
Hex key 4mm
Hex key 3mm
17mm Wrench
Blanket for floor protection
________________________________________________________________________________
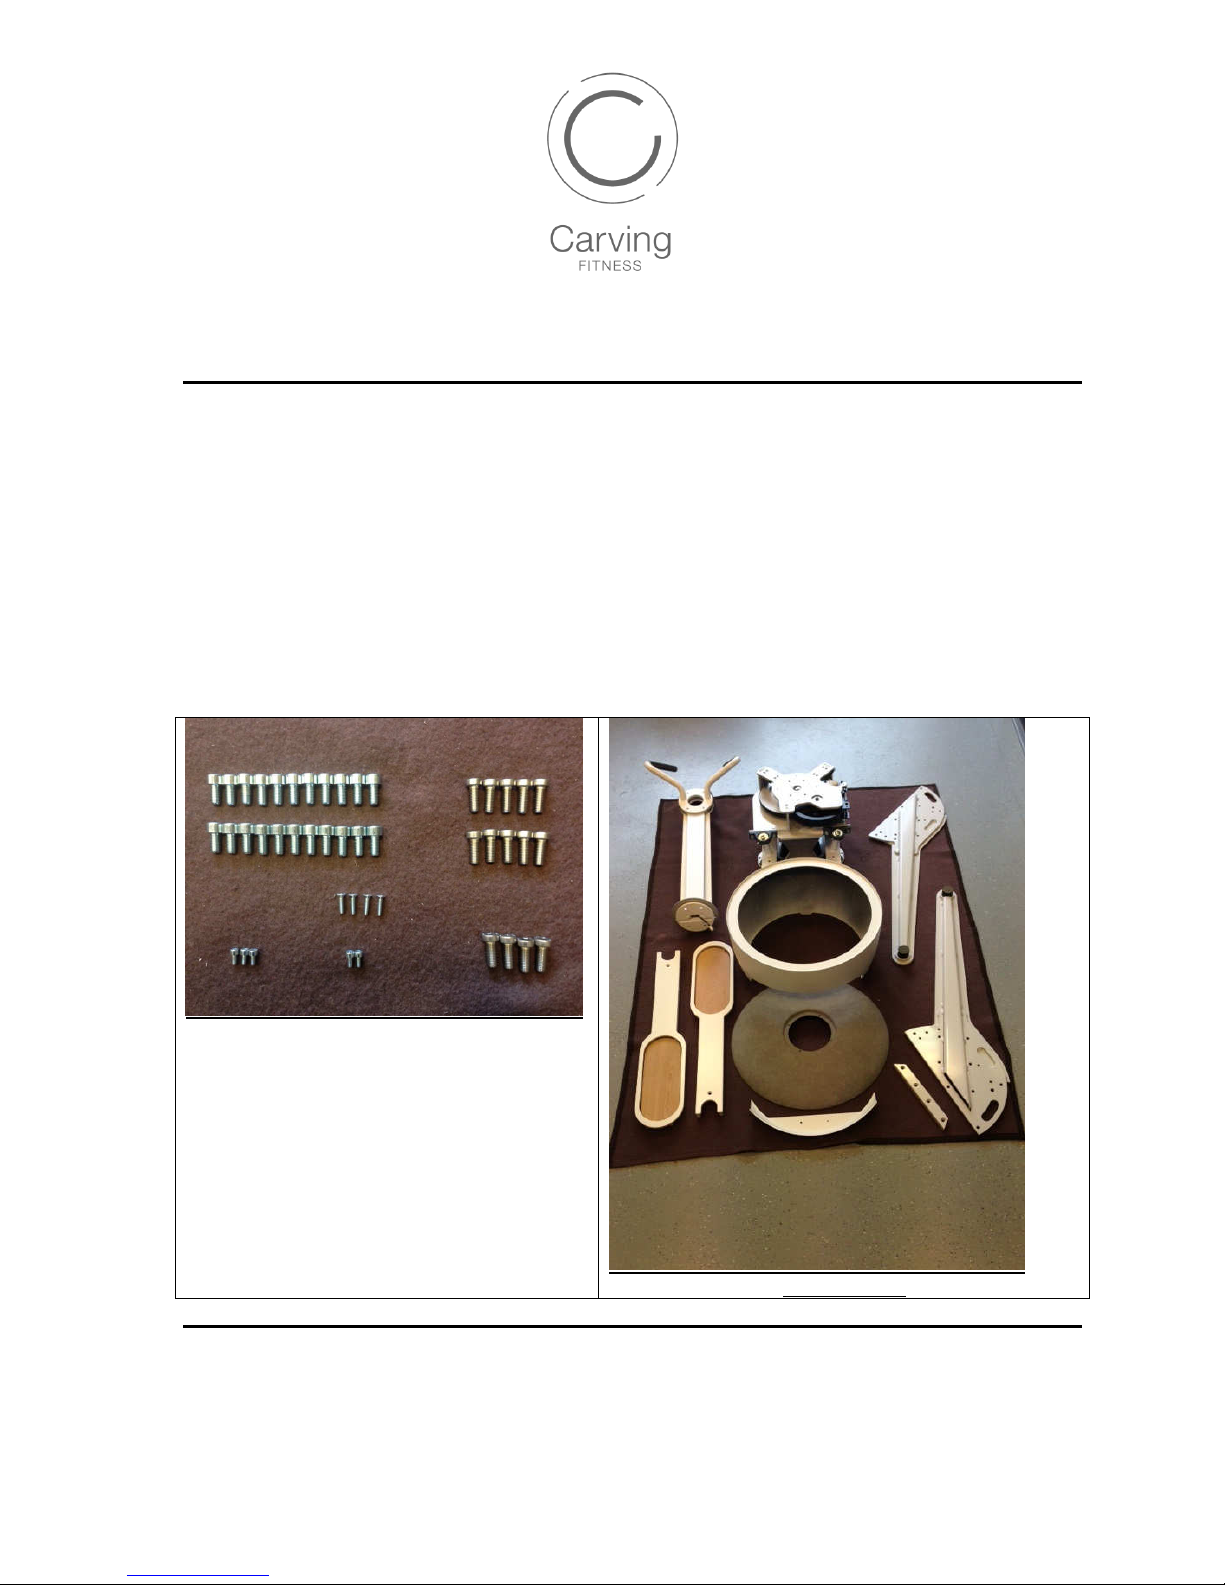
Installation hardware kit
14x (M10 x 25mm) - Hex Bolt Stainless Steel
22x (M10 x 20mm) - Hex Bolt
4x (M5 x 20mm) - Hex Deep- set Screw
5x (M5 x 10mm) - Hex Bolt
2x Leveler for under Base Frame
1x Power Adapter kit (EU plug)
Hardware parts

www.carvingfitness.com
www.carvingfitness.com
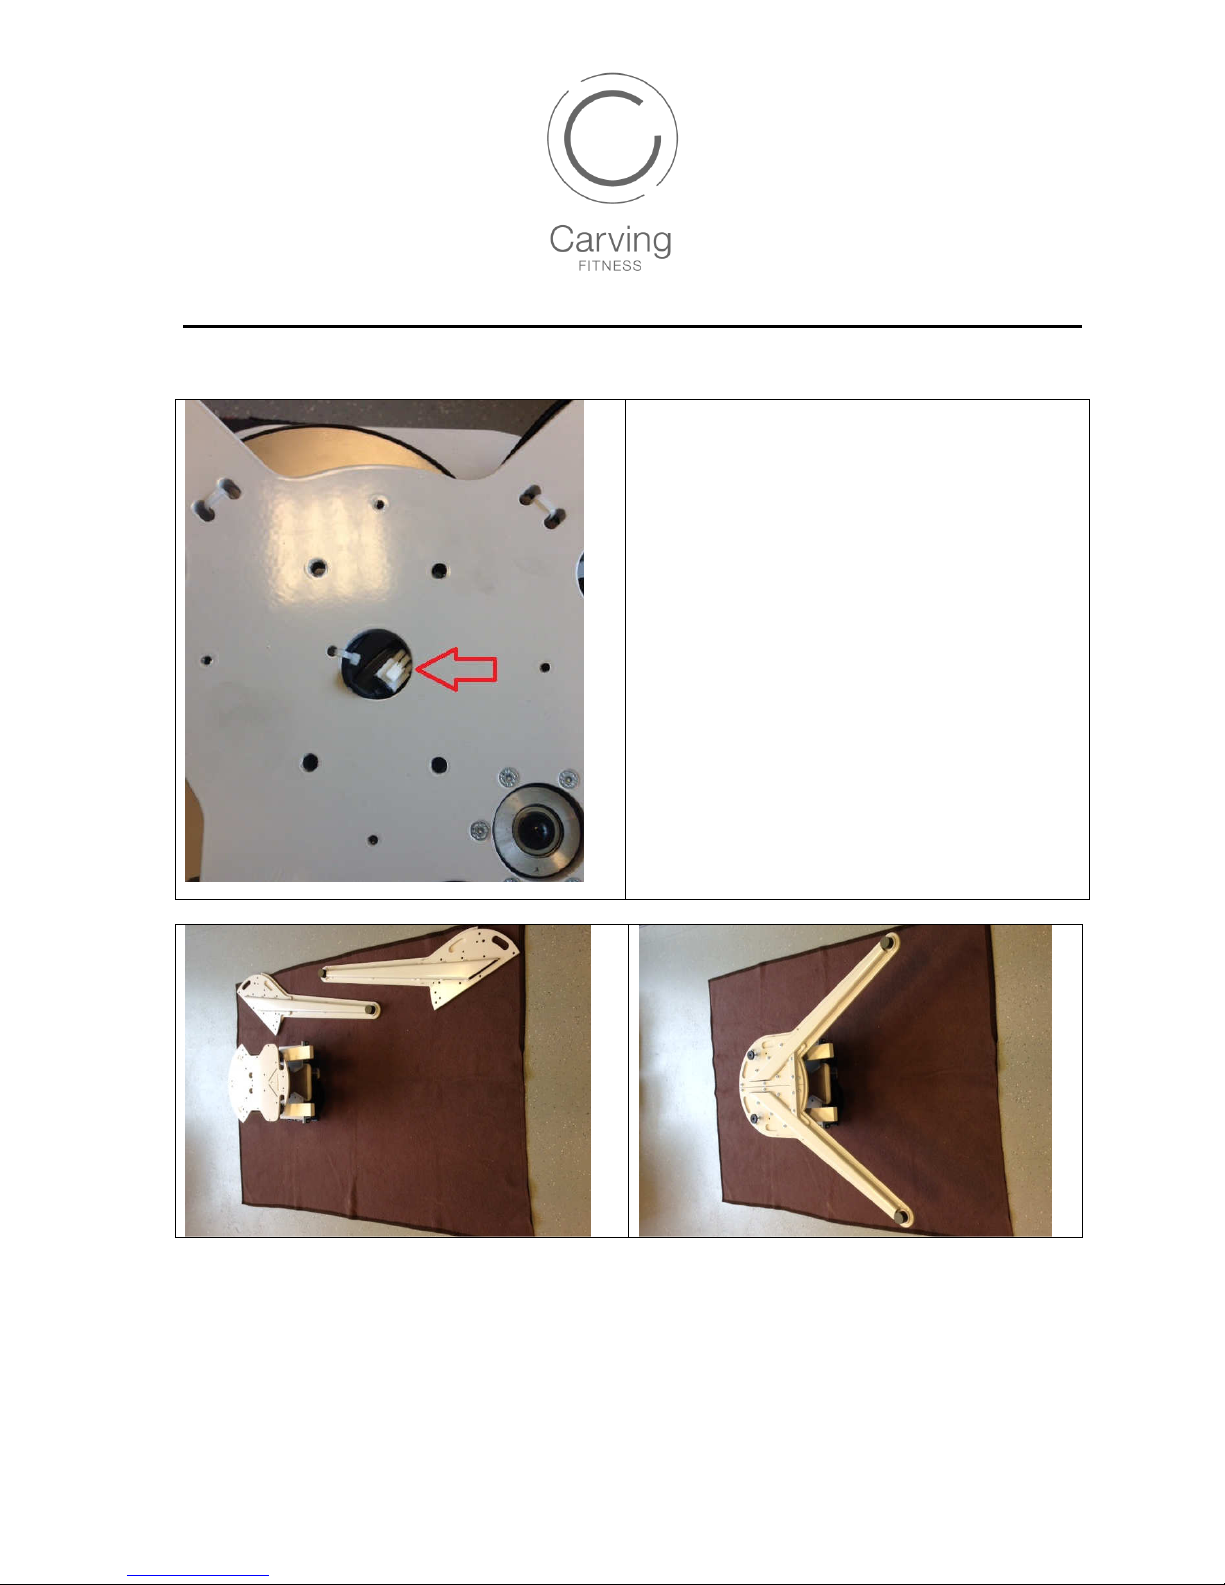
Use a blancket to protect both the floor and the Carving Balance Unit.
Put Frame connector cable into frame hole like indicated
with the red arrow
Flip Base Frame and let it rest on its upper side to connect
the Stabilizer Legs to the Base Frame with 18x (M10 x
20mm) Hex Bolt. Use a 8m Hex key. See pictures below
for reference.
 Loading...