

CARVIN SX50C, SX100C, SX200C, SX200H Operating Manual
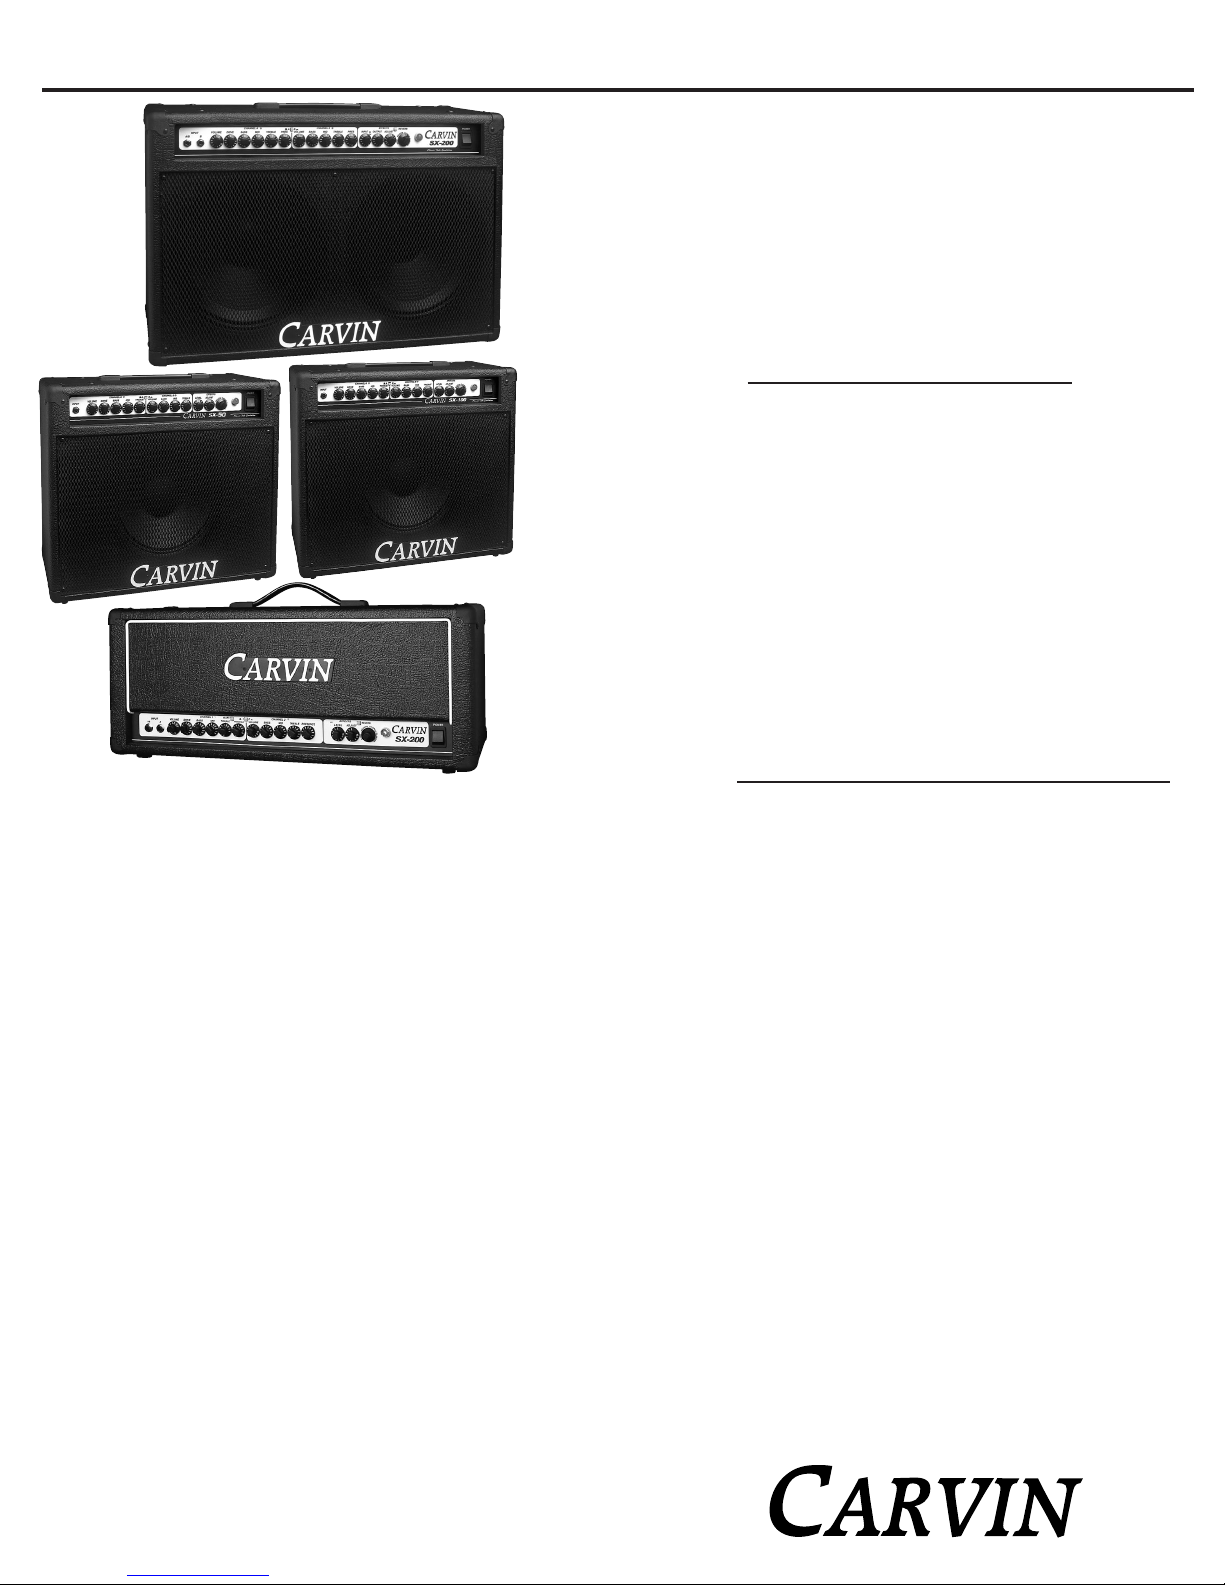
SX50C
SX200H
CARVIN ENGINEERING DATA OPERATING MANUAL
SX100C
For your records, you may wish to record the following information.
Serial No._____________________ Invoice Date_______________
SX200C
RECEIVING INSPECTION—read before getting started
INSPECT YOUR AMP FOR ANY DAMAGE which may have occurred during shipping. If any damage is found, please notify the shipping company and CARVIN
immediately.
SAVE THE CARTON & ALL PACKING MATERIALS. In the event you have to re-ship
your unit, always use the original carton and packing material. This will provide the
best possible protection during shipment. CARVIN and the shipping company are not
liable for any damage caused by improper packing.
SAVE YOUR INVOICE. It will be required for warranty service if needed in the
future.
SHIPMENT SHORTAGE. If you find items missing, they may have been shipped
separately. Please allow several days for the rest of your order to arrive before
inquiring.
RECORD THE SERIAL NUMBER on the enclosed warranty card or below on this
manual for your records. Keep your portion of the card and return the portion
with your name and comments to us.
SX50C, SX100C, SX200C & SX200H
GUITAR AMPS
SX SERIES SPECIFICATIONS:
Speakers: SX50C, SX100C, SX200C: Celestion SEVENTY 80 RMS
Power: SX50C: 50 watts @ 8Ω
SX100C: 100 watts @ 8Ω
SX200C/SX200H: 100 watts @ 4, 8, 16Ω
Output Impedance: 4-16 ohms switchable
Power Amp: THD: Less than 1%
Input Impedance: 100k ohms
Channels: 2—switching
Tone Controls: BASS: 80Hz
Drive Channel MID: 600Hz
TREBLE: 8k Hz
PRESENCE: 11k Hz (SX200 only)
Clean Channel BASS: 90Hz
MID: 575Hz
TREBLE: 9k Hz
PRESENCE: 8-11k Hz (SX200 only)
Ch 1 Sensitivity: 1mV for clipping, dynamic range 72dB
Ch 2 Sensitivity: 75mV for full output
Line Out: 1.5 VAC @ full power
Power: SX50C/SX100C: 90-250VAC, 50-60Hz, 125VA
SX200C/SX200H: 120V or 240V model
Fuse: 5 amp 250V internal
Cabinet Size: SX50C/SX100C: 19.5W x 10.25D x 17.5”H
SX200C: 26W x 10.25D x 17.5”H
SX200H: 24.5W x 9.5D x 10.5”H
Cabinet: Plywood–no particle board
Net Weight: SX50C/SX100C: 30 lbs, SX200C: 44 lbs, SX200H: 24 lbs
Warranty: One Year
Options: FS22 footswitch,
CV211 cover SX100 & SX50
CV3212 cover SX200
CV3200 cover SX200H
SC212E two 12” 200w 4Ω extension cabinet
SC412T/B four 12” 200w 8Ω extension cabinet
76-10205C 0705
SX SERIES
Classic Tube Emulation, awesome digital effects, rich black vinyl
covering and the brass red jewel light continue to make the AMERICAN MADE SX
Series one of the hottest amps on the market today!
EMULATION OR MODELING?
Unlike other “modeling” amps, the SX
doesn’t just copy the sounds of other amplifiers – it actually emulates 12AX7 tube
circuitry. The SX waveforms successfully “emulates” real tube waveforms that
breathe and express warmth from a mild soft-clip to a full power soaked sustain.
Pro players and industry gurus have stated that the SX Tube Emulator actually
sounds better than many tube amps!
TWO CHANNELS
– Clean and Distortion. Each channel has its own inde-
pendent volume control for setting up equal levels quickly and easily. The SX200C
and SX200H adds true “DUAL CHANNEL 1 & 2” capabilities allowing both chan-
nels to be played at the same time.
ACTIVE TONE CONTROLS
All models feature BASS, MID and TREBLE
controls on both channels. The SX200C and SX200H goes even further by adding
a PRESENCE control to each channel for more high-end.
24-BIT EFFECTS
Once you have your tone, add in just the right amount of
lush REVERBS, rich CHORUSES, thick textured FLANGING and pristine ECHOES
using fully adjustable parameters for damping, decay, depth, speed, time and regeneration–up to 256 24-BIT effects. The SX200C and SX200H adds a second digital
processor dedicated to creating a lush, concert-hall reverb at the push of a button.
SX MODELS
The 50 watt SX50C with one heavy-duty Celestion SEVENTY 80
speaker is perfect for any venue. The SX100C, SX200C and SX200H feature a full
100 watts RMS – plenty for most situations. All combos & stacks feature the
heavy-duty Celestion SEVENTY 80 speaker that provides awesome guitar reproduction – from clean to blues to scream’n metal. The SX200C features two 12”
speakers for an even bigger sound. The SX200H head can be paired with either a
4x12 half stack or 8x12 full stack.
REAR PANEL CONNECTIONS
All back panels feature a voiced LINE
OUT for recording or running a slave amp, HEADPHONE jack, EXTENSION
SPEAKER jack and a FOOT SWITCH jack for the optional FS22 (for remotely
changing channels and turning on/off the effects). The extra dedicated
reverb on the SX200C & SX200H is controlled by a front panel switch. The
SX200C & SX200H also adds SEND/RETURN jacks for your own external
effects. A 4, 8, 16Ω impedance switch is featured for matching speakers.
RUGGED CONSTRUCTION
SMT surface mount electronics
ensure consistent, reliable performance and are nearly impervious to
bumps and vibrations. Strong, lightweight plywood cabinet (not particle
board), aluminum chassis, steel grille and corners deliver one of the lightest, yet most rugged amps available.

VOLUME DRIVE TREBLE TRVOLUME BASS MIDMIDBASS
CHANNEL 2CHANNEL 1
1
PRESENCE
2
1/2 2
INPUT
1
0
10
9
8
7
6
5
4
3
2
1
0
10
9
8
7
6
5
4
3
2
1
0
10
9
8
7
6
5
4
3
2
1
0
10
9
8
7
6
5
4
3
2
1
0
10
9
8
7
6
5
4
3
2
1
0
10
9
8
7
6
5
4
3
2
1
0
10
9
8
7
6
5
4
3
2
1
0
10
9
8
7
6
5
4
3
2
1
0
10
9
8
7
6
5
4
3
2
1
0
4
3
2
BLUES
GETTING STARTED QUICKLY
If you are like most players, you probably want to plug in your new amp and get started playing right away. You can read the rest of the manual later to learn the finer points
of operating your amp. In order to get started you will need your SX AMP, a 120 or 230
AC grounded power outlet, your instrument, and a standard guitar cord. With the amp
turned off, you may now plug it into the proper AC voltage.
Now turn all the volume and overdrive controls off and set tone controls at their mid center
position. If you have purchased the FS22 foot switch, plug it into the rear foot switch jack
for switching the channels and effects. Note: The CH SELECT
SWITCH
must be in the OUT
position (CH 1) for the FS22 to function (only CH 2 will function if it’s in the wrong position).
Now, turn the POWER SWITCH ON. Gradually raise the volume and overdrive controls.
Check the BLUES SWITCH setting before adjusting the tone controls.
FRONT PANEL
1. INPUT 1 (INPUT 1/2 ON SX200C & SX200H)
Connect a 1/4” guitar cable to this input. The 1/2 CH SELECT SWITCH will toggle
between channel 1 and 2. Use a professional quality 1/4” plug shielded guitar cord
(Carvin SH25) no longer than 25 feet. A long cable will reduce the overall treble response
from your pickups. Note: For remote footswitching leave the 1/2 CH SELECT SWITCH
in the “out” (CH 1) position when connecting the FS22 footswitch.
2. INPUT 2 (DUAL CHANNELS SX200C & SX200H ONLY)
To use the true dual channel feature of the SX200 and SX200H, plug a second guitar into
INPUT 2. When a guitar is plugged into both inputs, the channels become independent
of each other and can be played simultaneously.
3. CHANNEL SELECT
Set the channel switch to the desired channel. The LED’s next to the CHANNEL 1/2 will
let you see which channel is functioning. Use CH 1 for overdrive/lead. Use CH 2 for clean
playing. For the FS22 footswitch to function, set the CH SELECT to the “ OUT” or “CH 1”
position.
CHANNEL 1 DRIVE
4. CHANNEL 1 INDICATOR
The RED LED will illuminate when the OVERDRIVE channel is selected.
5. CHANNEL 1 VOLUME
The volume of the drive channel is to be used as a master level control. For partial clean
output, set the VOLUME control to 10 and turn the DRIVE nearly off.
6. CHANNEL 1 DRIVE
The drive channel delivers 12AX7 tube saturation and EL34 power tube compression.
This channel incorporates a dual section lead DRIVE control with a 72 dB dynamic range
so you can get shimmering clean, a fabulous blues tone or soft clipping to full blown over-
drive with total tube warmth. For mild 12AX7 tube emulation, set the DRIVE control
between 2 & 3. For some of the best saturation, set the control between 4 & 6. For full
blown drive, set the control between 6 and 10 (your guitar volume should be turned all
the way up). Because the SX AMP has a lot of gain in the DRIVE control, you can get
guitar feedback. If feedback is a problem, reduce the amount of DRIVE or move the guitar away from the speakers.
7. BLUES SWITCH
The exclusive BLUES SWITCH adds the critical mid tones in the 525 Hz range that is so
important to great sounding blues-rock tone. However, when the BLUES SWITCH is not
used (OUT), the SX delivers a great “scooped” sound for hard rock metal players. It is
important that you pre-select this switch for your style of playing before adjusting the
tone controls.
8. CHANNEL 1 BASS, MID & TREBLE
These active tone controls develop the heart of your sound. It is important that you start
at the mid point (5) on each control. The total range of these controls are a substantial 20
dB (±10 dB) with a center frequency at 80 Hz for BASS, 600 Hz for MIDS and 8k Hz for the
TREBLE. These controls are very powerful in their effect so take time with the different settings for your ultimate sound.
9. CHANNEL 1 PRESENCE (SX200C/H ONLY)
Channel 1 features its own PRESENCE for added treble. It’s frequency range is at the
very high end of the guitar spectrum (11k Hz) for shimmering, glassy harmonics. If your
sound is too bright with single coil pickups, you may want to adjust the PRESENCE con-
trol and TREBLE control.
CHANNEL 2 CLEAN
10. CHANNEL 2 CLEAN INDICATOR
The GREEN LED will illuminate when the CLEAN channel is selected.
11. CHANNEL 2 CLEAN VOLUME
Channel switching from the Drive channel into
CHANNEL 2
gives you crisps, clean sounds.
Thanks to special mud-cutting circuits that work between the frequencies of 550 and 700 Hz,
your guitar tones will be full and vibrant.
12. CHANNEL 2 BASS, MID & TREBLE CONTROLS
To start, set the BASS, MID & TREBLE controls at their center (5) position. These con-
trols are most likely to be set according to the type of pickups used (dual or single coil).
Most musicians like to reduce the MIDs deeper bass and crisper highs.
13. CHANNEL 2 CLEAN PRESENCE (SX200C/H ONLY)
For added clarity, the
CH 2 PRESENCE
control increases the highest guitar harmonics in the
8-11k Hz range. A normal bright switch works only in the 3-5k Hz range leaving your sound
somewhat flat.
Single or dual coil pickups will determine the level of this control.
SX50C, SX100C, SX200C & SX200H FRONT & REAR PANEL CON-
1
2
4
6
5
8
9
11
10
12
7
3
VOLUME DRIVE TREBLEVOLUME BASSMIDBASS
CHANNEL
2
CHANNEL
1
1
EFFECTS
ADJUST
2
INPUT MIDTREBLE
BLUES
1
0
10
9
8
7
6
5
4
3
2
1
0
10
9
8
7
6
5
4
3
2
1
0
10
9
8
7
6
5
4
3
2
1
0
10
9
8
7
6
5
4
3
2
1
0
10
9
8
7
6
5
4
3
2
1
0
10
9
8
7
6
5
4
3
2
1
0
10
9
8
7
6
5
4
3
2
1
0
10
9
8
7
6
5
4
3
2
1
0
10
9
8
7
6
5
4
3
2
1
0
10
9
8
7
6
5
4
3
2
1
0
10
9
8
7
6
5
4
3
2
E
C
H
O
C
H
O
R
U
S
F
L
A
N
G
E
R
E
V
E
R
B
SELECT
1
5
6
11
17
14
15
8
12
18
7
3
4
10
 Loading...