

CartTek GRI-975Li User Manual
Page 1 of 12
www.carttekcanada.ca –(888-245-7835)
User Manual -GRI-975Li

Page 2 of 12
TABLE OF CONTENTS
INTRODUCTION 3
BASIC SET-UP 4
TURNING ON YOUR GRI-975LI 6
FREE WHEEL MODE 7
PRECAUTIONS 7
BATTERY MAINTENANCE 8
ALIGNMENT SYSTEM 10
FOR WARRANTY, SPARE PARTS AND ACCESSORIES: 12

Page 3 of 12
INTRODUCTION
Thank you for purchasing the CartTek GRI-975Li golf trolley.
Your CartTek trolley cart was thoroughly quality control
checked and road tested before being shipped to your address.
We do everything possible to assure that your trolley is in
perfect working order upon arrival. Should you have any issues
or questions about the performance of your trolley, please
contact us at don@carttekcanada.ca or 888-245-7835.
Please read this manual carefully before use. After unpacking
please keep the carton and all internal sections in safe storage.
In the unlikely possibility that you need to return the whole
unit due to a defective component, you will need to repack the
unit in the original manner to ensure safe and secure transit.
Check that all components are included in the package –
Main Trolley frame
Drive wheels
Battery, complete with battery bag and extension
cable
Battery charger
Accessories
User Manual
Please note that our design and manufacturing policy is aimed
at continuous improvement, this can result in changes without
notice to the specifications contained in our websites and in
this manual.
Page 4 of 12
QUICK TIP
BASIC SET-UP
Remove all components from carton. Note any damage
with carrier.
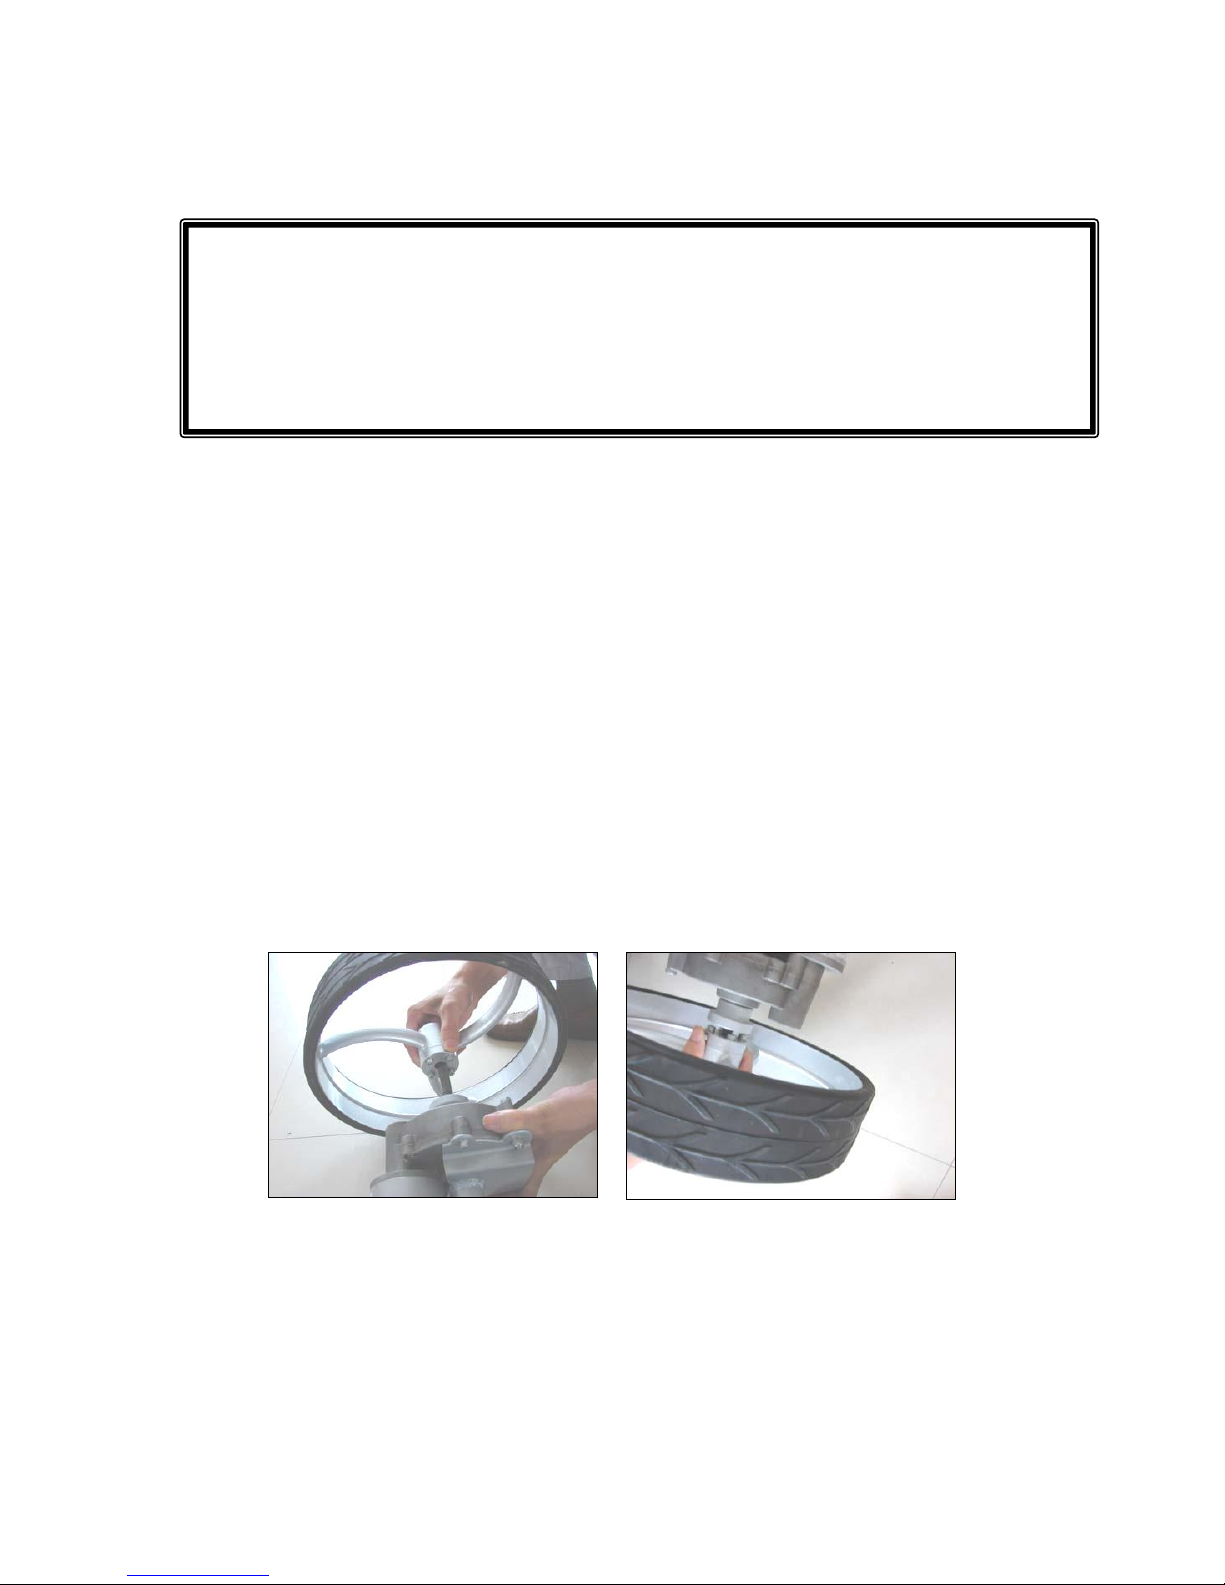
Install the two large drive wheels. The arrow design on
the tire should face forward. Depress knob on inside
wheel hub to fully seat wheel onto axle drive collars. The
metal prongs should fully insert into the holes on the
drive collar.
Install front wheel. Review the following drawing and
install the front wheel.
After unpacking the trolley and while reading this manual, place
the battery on charge while you assemble the unit. Plug battery
into charger and charger into power source. The battery may be
delivered with a charge but you should verify a full charge before
using the trolley for the first time.
 Loading...