

Page 1
Warranty
Since
1947,
foodservice Equipment Tliol
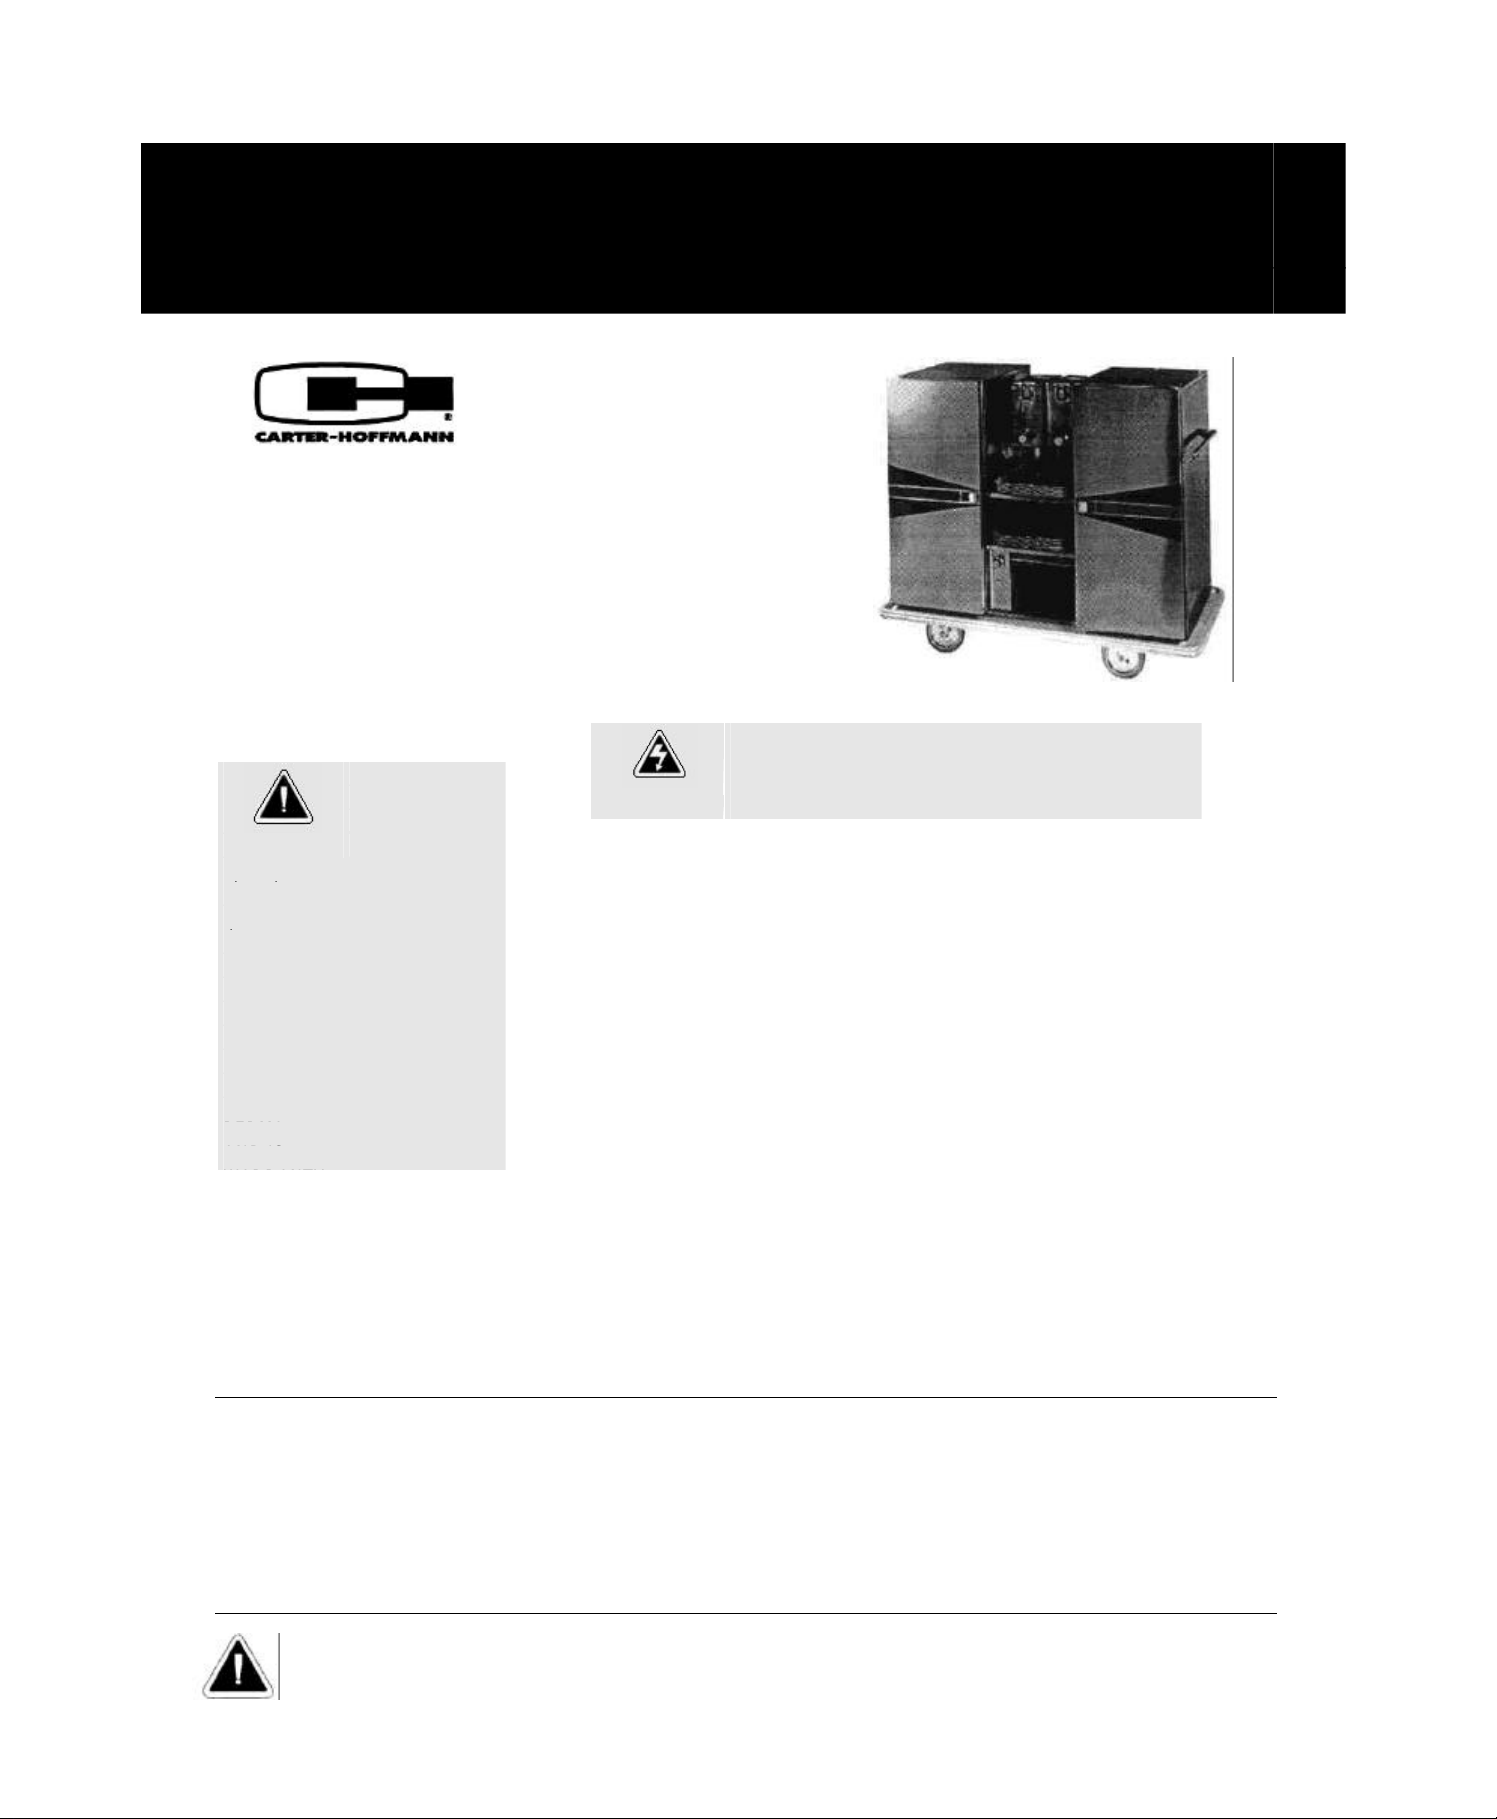
For Model HC75
Cleaning, Operating, Maintenance Instructions, Parts List &
Shown with optional
beverage containers.
Delivers!
NOTE:
This equipment has been designed and
manufactured to meet all applicable health
and safety codes and will give years of
dependable service if used properly. All
carts should he thoroughly cleaned before
using.
Cleaning Instructions
Be sure the cabinet is unplugged and cool before
Cleansers, detergents, degreasers,
sanitizers, or
CAUTION bleaching agents
that contain chlorides or
will cause permanent damage to
stainless steel products. The
appears as pits, eruptions, voids,
small holes, cracks, severe discol
oration, or dulling of the metal
finish. Water with high chloride
content can also damage stainless
steel. If unsure of your water
quality, we recommend you have
it tested. THIS DAMAGE IS
NENT, COSTLY TO REPAIR,
NOT COVERED BY THE
WARNING components will result.
1. Before cleaning, unplug the cabinet.
2. Racks or shelves are easily removed without tools for cleaning. Simply
lift up and pull out. The tray slides may be hand washed or run through
an automatic washer.
3. If applicable, vinyl trim or laminate should be washed with a chlorine-free
detergent and water. Rinse thoroughly with clear water and allow to dry.
Never use abrasive cleaners, waxes, car polish or substances containing
strong aromatic solvents or alcohol. Caution: When using solvents, it is
essential that proper precautionary measures be observed. Refer to
solvent manufacturer's instructions. Us e of direct steam/hot water
cleaning at temperatures above 190°F may result in "bubbling" or
loosening of vinyl adhesive.
4. To clean stainless steel surfaces use only cleansers, detergents,
degreasers, or sanitizers that are certified to be "chloride-free" and
"phosphate-free," and cleansers, degreasers, or sanitizers only in the
recommended concentrations. DO NOT exceed recommended
concentrations or mixing ratios. After cleaning and sanitizing, rinse all
exposed surfaces thoroughly with large amounts of clear water. Wipe off
any standing liquid or residue from all surfaces, corners, or near edges.
The heater should not be exposed to direct contact with
or cleaning sprays. Permanent damage to the electrical
Purpose Frequency Cleaning Agent Method of Application
Routine Daily Soap, ammonia detergent Sponge with cloth, rinse with clear water and wipe dry.
cleaning
Smears/ As Needed Stainless steel cleaner Rub with cloth as directed on package. Rub in direction
fingerprints
Stubborn Daily Any chloride-free Apply with damp sponge or cloth. Rub in direction of polish
--spots and As Needed or phosphate-free lines. Rinse thoroughly after use, especially if cleaner
stains
Hard water Daily Vinegar Swab with cloth. Rinse with water and wipe dry.
spots As Needed
RECOMMENDED "TIPS" FOR CLEANING STAINLESS STEEL
and water
or similar products of grain of stainless steel. Do not use on vinyl trim.
cleaner contains chlorine bleach. Do not use on vinyl trim.
CAUTION: Do not use steel wool pads as they will result in rusting from the ferrous metal in the pads.
Page 2

Cabinet Operations
Do not plug into ungrounded receptacle. Check to ensure that
heater plug is in safe operating condition.
1. Familiarize yourself with the control panel located in lower left of center
section in the front of the cabinet. The control panel contains the
following:
-White light (ON) indicates unit is plugged into electrical outlet
and power is on.
-Thermostat knob is for heated section. Turn knob clockwise to
increase temperature and counterclockwise to decrease
temperature to off position.
2. Plug the cabinet into proper outlet and turn power switch on. The white
light will illuminate indicating the heating and the refrigerating units are
on and working. Food serving temperature will vary with the mass,
type and quantities of food served. Set the thermostat for the desired
holding setting. Turn clockwise to increase the temperature and
counterclockwise to decrease the temperature.
NOTE: On the initial start-up time, allow approximately 45 minutes with
doors closed to reach operating temperature for both sections. Heated
range 140°F to 180°F. Refrigerated range 38°F-42°F.
3. The HC75 provides complete service for twenty patients using half
size trays in the hot and cold sections. Trays are supplied with the
cabinet. The full size serving tra ys are stored in the center work area
AT ROOM TEMPERATURE eliminating the unpleasant effect of a
patient receiving a hot or cold serving tray. Reassembly of hot and
cold trays is fast and simple as each patient's hot and companion cold
tray is removed from its compartment and placed on the serving tray
and then delivered to the bedside.
4. During loading, the cabinet temperature will drop. Try not to move the
cart right away: wait 10 -15 minutes until the cabinet recovers air
temperature. After loading the t rays, place the loaded hot and cold half
trays in their respective hot and cold sections in the cabinet, on the
matching tray slides in the hot and cold sections, in the order they are
to be served.
NOTE: When loading the cabinet be sure to keep the unit plugged in.
DO NOT keep the doors open unnecessarily. Be sure the hot foods you
are dishing up are hot when put into the cabinet. Your food should be
as hot as, or hotter, than serving temperature when put into the cabinet.
The cabinet is designed for food holding, not cooking. If your food is
cool when inserted, it will not reach serving temperature. After loading
be sure the doors are kept closed at all times. Keep the cabinet
plugged in at all times. In loading the refrigerated compartment keep
doors closed as much as possible and put food in at serving
temperature. If food is warm when inserted, it will not reach serving
temperature. After loading be sure the doors are kept closed at all
times and the compartment is allowed to recover to the desired
temperature.
5. Be sure to remove the plug from the outlet and wind the cord on the cord
bracket or push handle before moving the cart. Move the cart to the service
area as quickly as possible.
6. Upon reaching the serving area, unwind the power cord and reconn ect the
heater as quickly as possible. Wait 5-10 minutes (check the thermometer to
see if the temperature is at the desired level). If not, adjust the thermostat as
required.
2
Page 3

Calibration
THERMOSTAT CALIBRATION
Maintenance
Instructions
If additional heat range is required in the heating unit, unplug unit,
remove thermostat knob, insert small straight blade screwdriver into
opening and turn limit control set screw counterclockwise (not
clockwise) on e full turn. Replace thermostat knob and turn clockwise to
reach new maximum temperature. Repeat this until desired temperature
is reached. Each 1/4 turn of the calibration set screw will raise the
element heating capacity by approximately 25°F -35°F.
If a reduction of heat is desired, turn limit control set screw clockwise
one full turn. Hold the door open allowing unit to cool until inside
temperature is below the temperature desired. Close the door and allow
unit to rise to new maximum temperature. Repe at this until desired
temperature is reached.
THERMOMETER CALIBRATION
Place an oven thermometer in the center of the cabinet. Turn heater
on; turn thermostat to maximum setting and wait approximately 45
minutes. Open the door and check inside thermometer temperature.
If recalibration is required, pry the plastic cover off the dial body and
with a small flat blade screwdriver insert into the pointer as shown.
Carefully turn the pointer with your finger to the correct setting. Be
careful not to bend the po inter, it is very fragile.
CASTERS
Some casters are equipped with Zerk grease fitting so that they may be
easily lubricated with a grease gun. Recommended lubrication is at least
once every six months. Lubrication will be required more often if carts are
cleaned with a hot water or steam cleaning system. Casters with special
bearings are recommended for frequent cart wash or steam cleaning
situations.
LATCHES
Check frequently to insure that all door latches are secure. Latches may
become "sticky" due to residue buildup from daily use and cleaning.
Lubricate latches regularly with WD-40, silicone spray, graphite or other
commercial lubricants for stainless steel products. Do not use oil.
PERIMETER BUMPERS
If applicable, vinyl which has been dislodged from the channel due
to severe bumping or scraping can be pried back into place with a
common screwdriver.
3
Page 4

Replacement
Part Number Description
Parts
Contact factory with your model
and serial number for replacement
cart components. If your model is
not listed, please contact factory
for listing of parts.
CABINET COMPONENTS
Part Number Description
HEATER COMPONENTS
REFRIGERATION COMPONENTS
Part Number Description
4
Page 5

Page 6

Carter-Hoffmann
Corporation
Warranty:
Warranty
Exclusions And
Limitations:
CARTER-HOFFMANN Since
1947. Foodservice Equipment
Carter-Hoffmann Corporation ("CARTER -HOFFMANN") warrants to the initial
purchaser of its standard Carter Line Products that CARTER-HOFFMANN will, at its
option, repair or replace, during the warranty period set forth below, any part of such
products made necessary due to a defect in material or workmanship which is present
when the product leaves its factory and which manifests itself during the warranty
period under normal use and service.
This warranty applies only to original equipment owned and possessed by the initial
purchaser and the warranty period begins on the date of original shipment from the
CARTER -HOFFMANN factory and extends as follows: to electrical and refrigeration
components for one year; to electrical and refrigeration labor for 120 days; to
refrigeration compressor unit for I year (limited to replacement of the unit only—not
to include labor for removal, repair or replacement), and to all other component parts
and labor for 12 months.
Repair or replac ements under this warranty will beperformed, unless otherwise
authorized in writing by CARTER-HOFFMANN, at its factory. All parts or
components to be repaired or replaced under this warranty are to be shipped prepaid
to CARTER-HOFFMANN, with reimbursement credit for such part or component to be
given if found by CARTER-HOFFMANN to be defective.
CARTER -HOFFMANN neither makes nor assumes and does not authorize any other
person to make or assume any obligation or liability in connection with its products
other than that covered in this warranty. This warranty applies only within the
continental United States and Canada, in Alaska and Hawaii, this warranty applies
only to and is limited to the supply of replacement parts.
Any implied warranty of merchantability or fitness for a particular purpose is hereby
specifically disclaimed by Carter-Hoffmann Corporation. There are no warranties,
expressed or implied, which extend beyond the description on the face hereof.
This warranty does not cover and CARTER-HOFFMANN shall not under any
circumstances be liable for any incidental, consequential or other damages (such as
injury to persons or property, loss of time, inconvenience, loss of use, loss of business
or profits, or other matters not specifically covered) arising in connection with the use
of, inability to use, or failure of these products.
Specifications subject to change through product improvement and innovation.
Printed in U.S.A.
1551 McCormick Avenue, Mundelein, Illinois 60060 Tel.
1-800-323-9793 • Fax No. (847) 367-8981
18400- 3038
SN/97P0913
'
 Loading...