

CarShow CS-GM1012 GM Series Installation And Use Manual
GM Series
Installation Guide
NOTICE OF INTENDED INSTALLATION AND USE
THE CAR SHOW MULTI-MEDIA NAVIGATION SYSTEMS CONTAIN AN INTERNAL VIDEO PLAYER, WHICH
IS NOT INTENDED FOR VIEWING BY THE DRIVER. THE VIDEO PLAYER IS DISABLED WHEN THE
VEHICLE IS IN MOTION THROUGH A CONNECTION TO THE PARKING BRAKE.
THE INSTALLER OF THIS PRODUCT MUST INSURE THE VIDEO DISABLE CONNECTION IS
WORKING PROPERLY PRIOR TO DELIVERY OF THE VEHICLE.
IMPROPER INSTALLATION COULD DISTRACT THE DRIVER OR INTERFERE WITH SAFE OPERATION
OF THE VEHICLE, WHICH COULD RESULT IN SERIOUS INJURY OR DEATH, AND COULD ALSO
VIOLATE STATE AND/OR FEDERAL LAW.
CAR SHOW DISCLAIMS ANY LIABILITY FOR ANY BODILY INJURY OR PROPERTY DAMAGE THAT MAY
RESULT FROM ANY IMPROPER OR UNINTENDED INSTALLATION AND/OR USE.
STOP
Damage to the vehicle may occur
Do not proceed until process has been completed
CAUTION
CAUTION
Process must be carefully observed in order to reduce
the risk of damage to the accessory or vehicle
CRITICAL
Process must be carefully observed in order to ensure a
quality installation
TOOLS and EQUIPMENT
Specific tools and equipment recommended for this
process
SAFETY RISK
Observe safe practices, this process can be dangerous
and there is a risk of personal injury
TESTING and TROUBLESHOOTING
Content specific testing and troubleshooting points
CS-GM1012 GM Series
CarShow Copyright 2012 All Rights Reserved
Multi-Media Navigation System Installation Guide Rev C
PREPARING FOR THE INSTALLATION
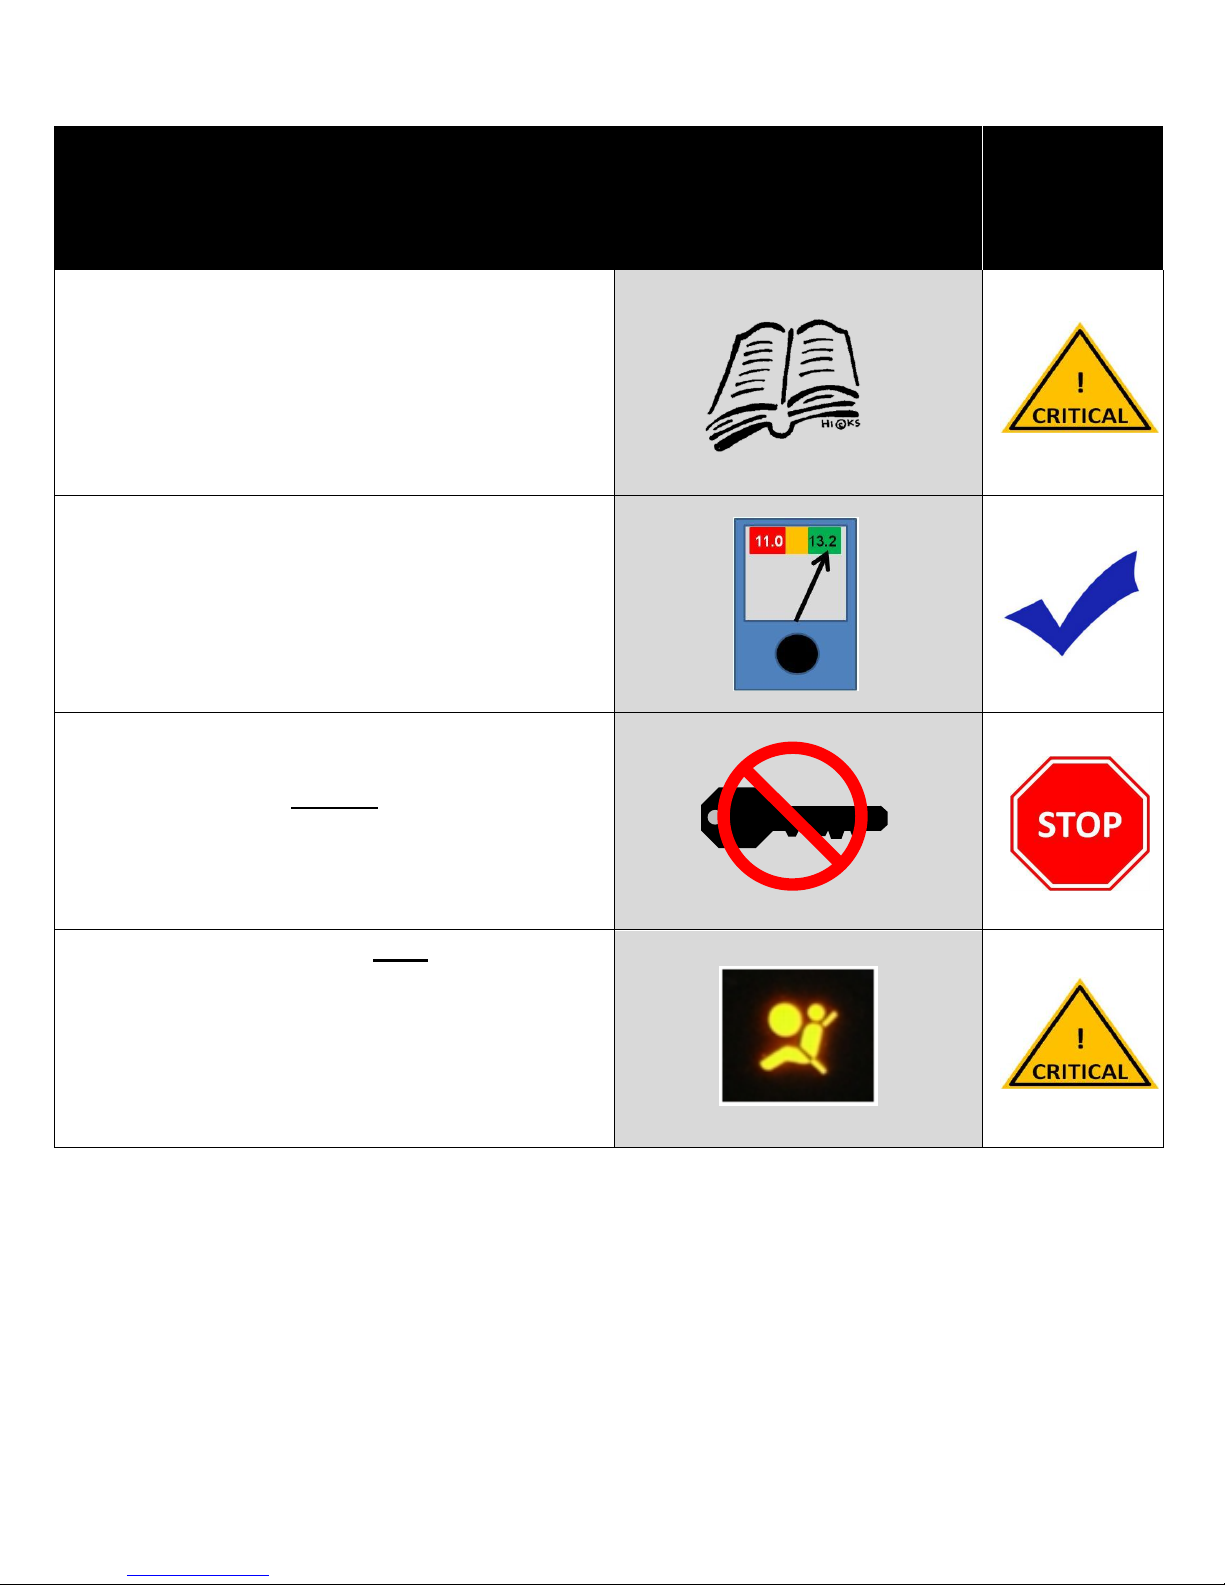
Before you start, please read these critical steps below
STEP
1
BEFORE YOU START THE
INSTALLATION,
READ THIS GUIDE!
CHECK THE BATTERY
Test the battery voltage to make sure it’s fully charged
This only takes seconds and can save hours of
troubleshooting later.
TURN THE VEHICLE
OFF
Keep the Vehicle Off during the installation to avoid
setting various Vehicle Faults
Keep the Vehicle OFF during the
installation
Failure to follow this may cause the AIRBAG FAULT
SENSOR to become enabled. Dealer Service
Departments charge a significant fee to reset the Fault
Sensor.
CarShow Copyright 2012 All Rights Reserved
Installation Guide CS-GM1210-12
Page 2
REMOVE THE FACTORY RADIO
2012 GMC Sierra Shown
You will need to remove multiple interior trim components prior to removing the factory radio.
The following steps will help guide you through this process.
STEP
2
Tools Required:
7mm nut-driver
Panel pry tool
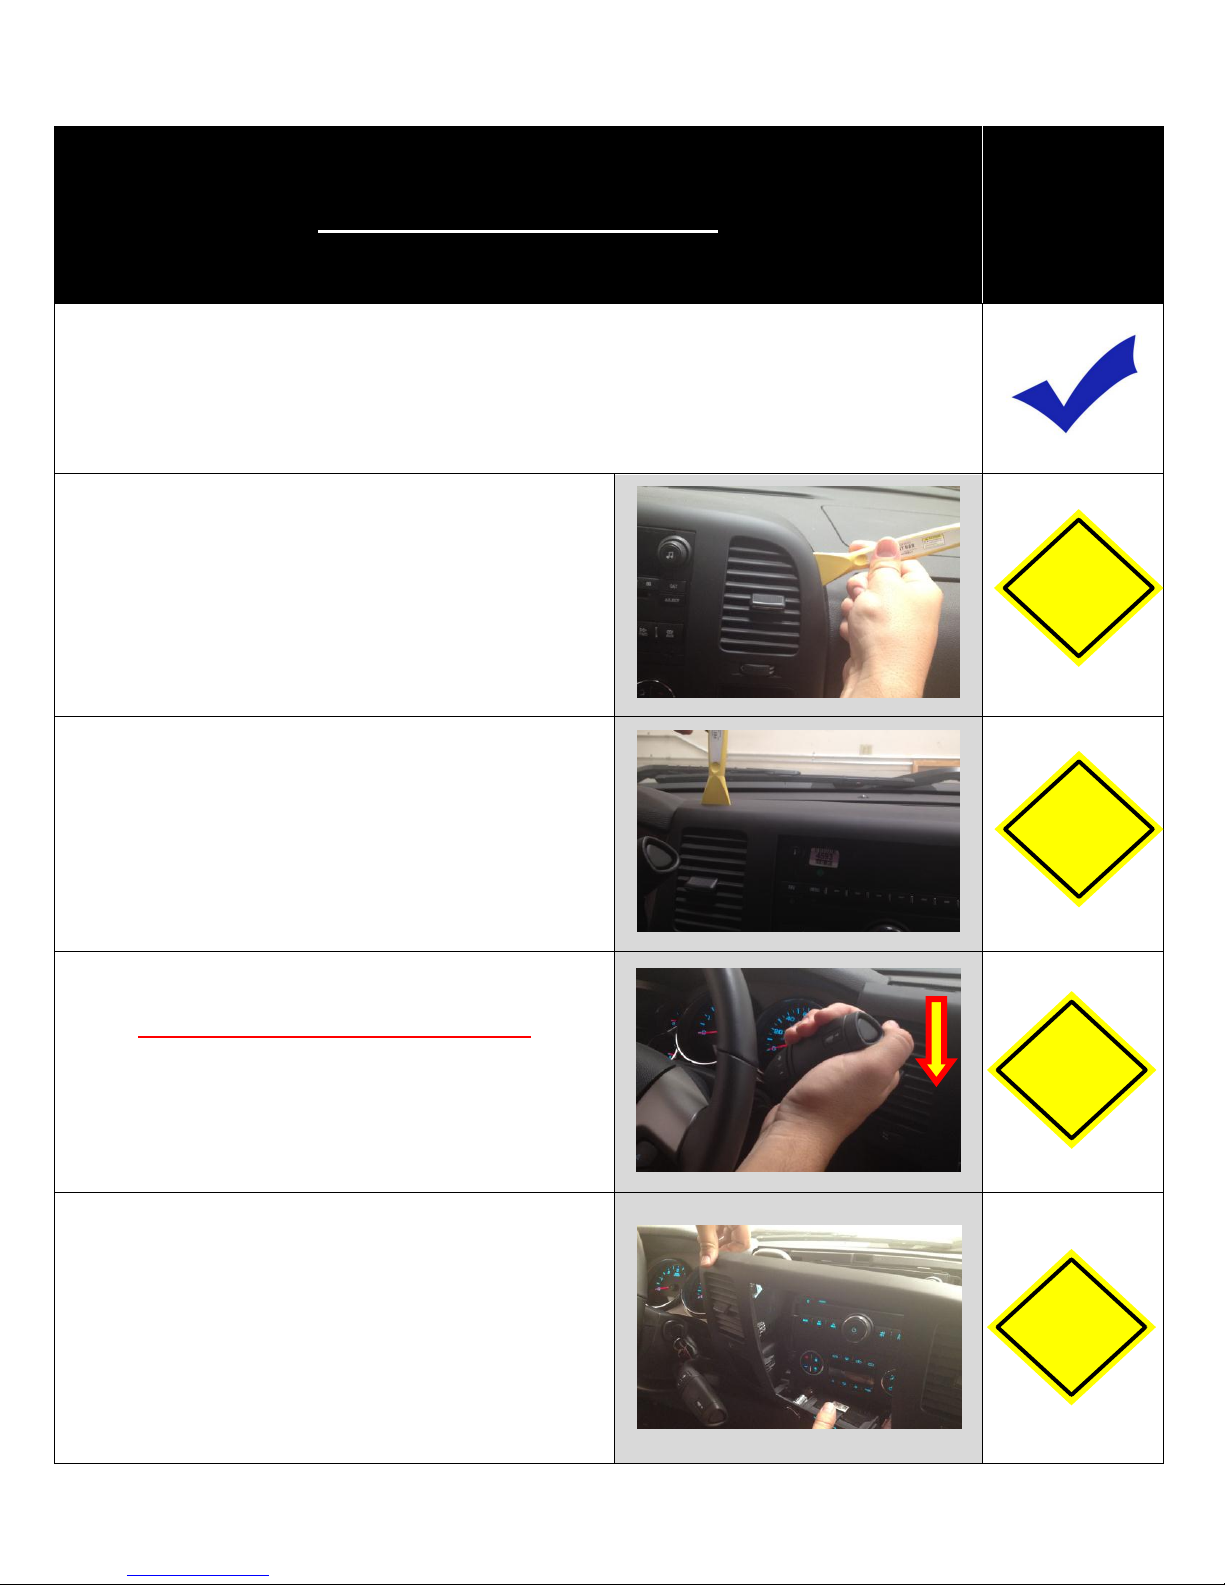
Carefully Remove Right Dash Trim
Remove the right side dash trim using thin pry tool
Carefully Remove Upper Left Dash Trim
Remove the upper Left dash trim using thin pry tool
Lower Shift Lever
Make sure parking brake is engaged!!
Carefully pull shift lever down to ease dash panel
removal.
Remove Dash Trim
Cautiously remove dash trim using caution not to break
plastic. Pull dash trim towards you.
CAUTION
CAUTION
CAUTION
CAUTION
CarShow Copyright 2012 All Rights Reserved
Installation Guide CS-GM1210-12
Page 3

Unplug Dash Panel Harnesses
Carefully unplug dash panel harnesses
Remove Climate Controls
Use 7mm socket to remove 2 x 7mm bolts to remove
climate control assembly
Unplug Climate Controls
Carefully unplug climate control assembly
Remove Radio Mounting Bolts
Use 7mm socket to remove 4 x 7mm radio
mounting bolts
Unplug radio Harnesses
Carefully unplug all harnesses at back of radio
CAUTION
CAUTION
CarShow Copyright 2012 All Rights Reserved
Installation Guide CS-GM1210-12
Page 4
 Loading...